How to Achieve a Precise Zero Setting Without a Touch Probe on Your CNC Bits

Alt image

If you want clean toolpaths, reliable repeatability, and fewer ruined boards, the first skill to master on any CNC router is how to set work zero with precision. “Dead nuts” accuracy is not a myth; it’s a combination of careful setup in your control software, deliberate jog moves, and a simple touch-off routine that places the center of your tool exactly over the corner of your stock.

 
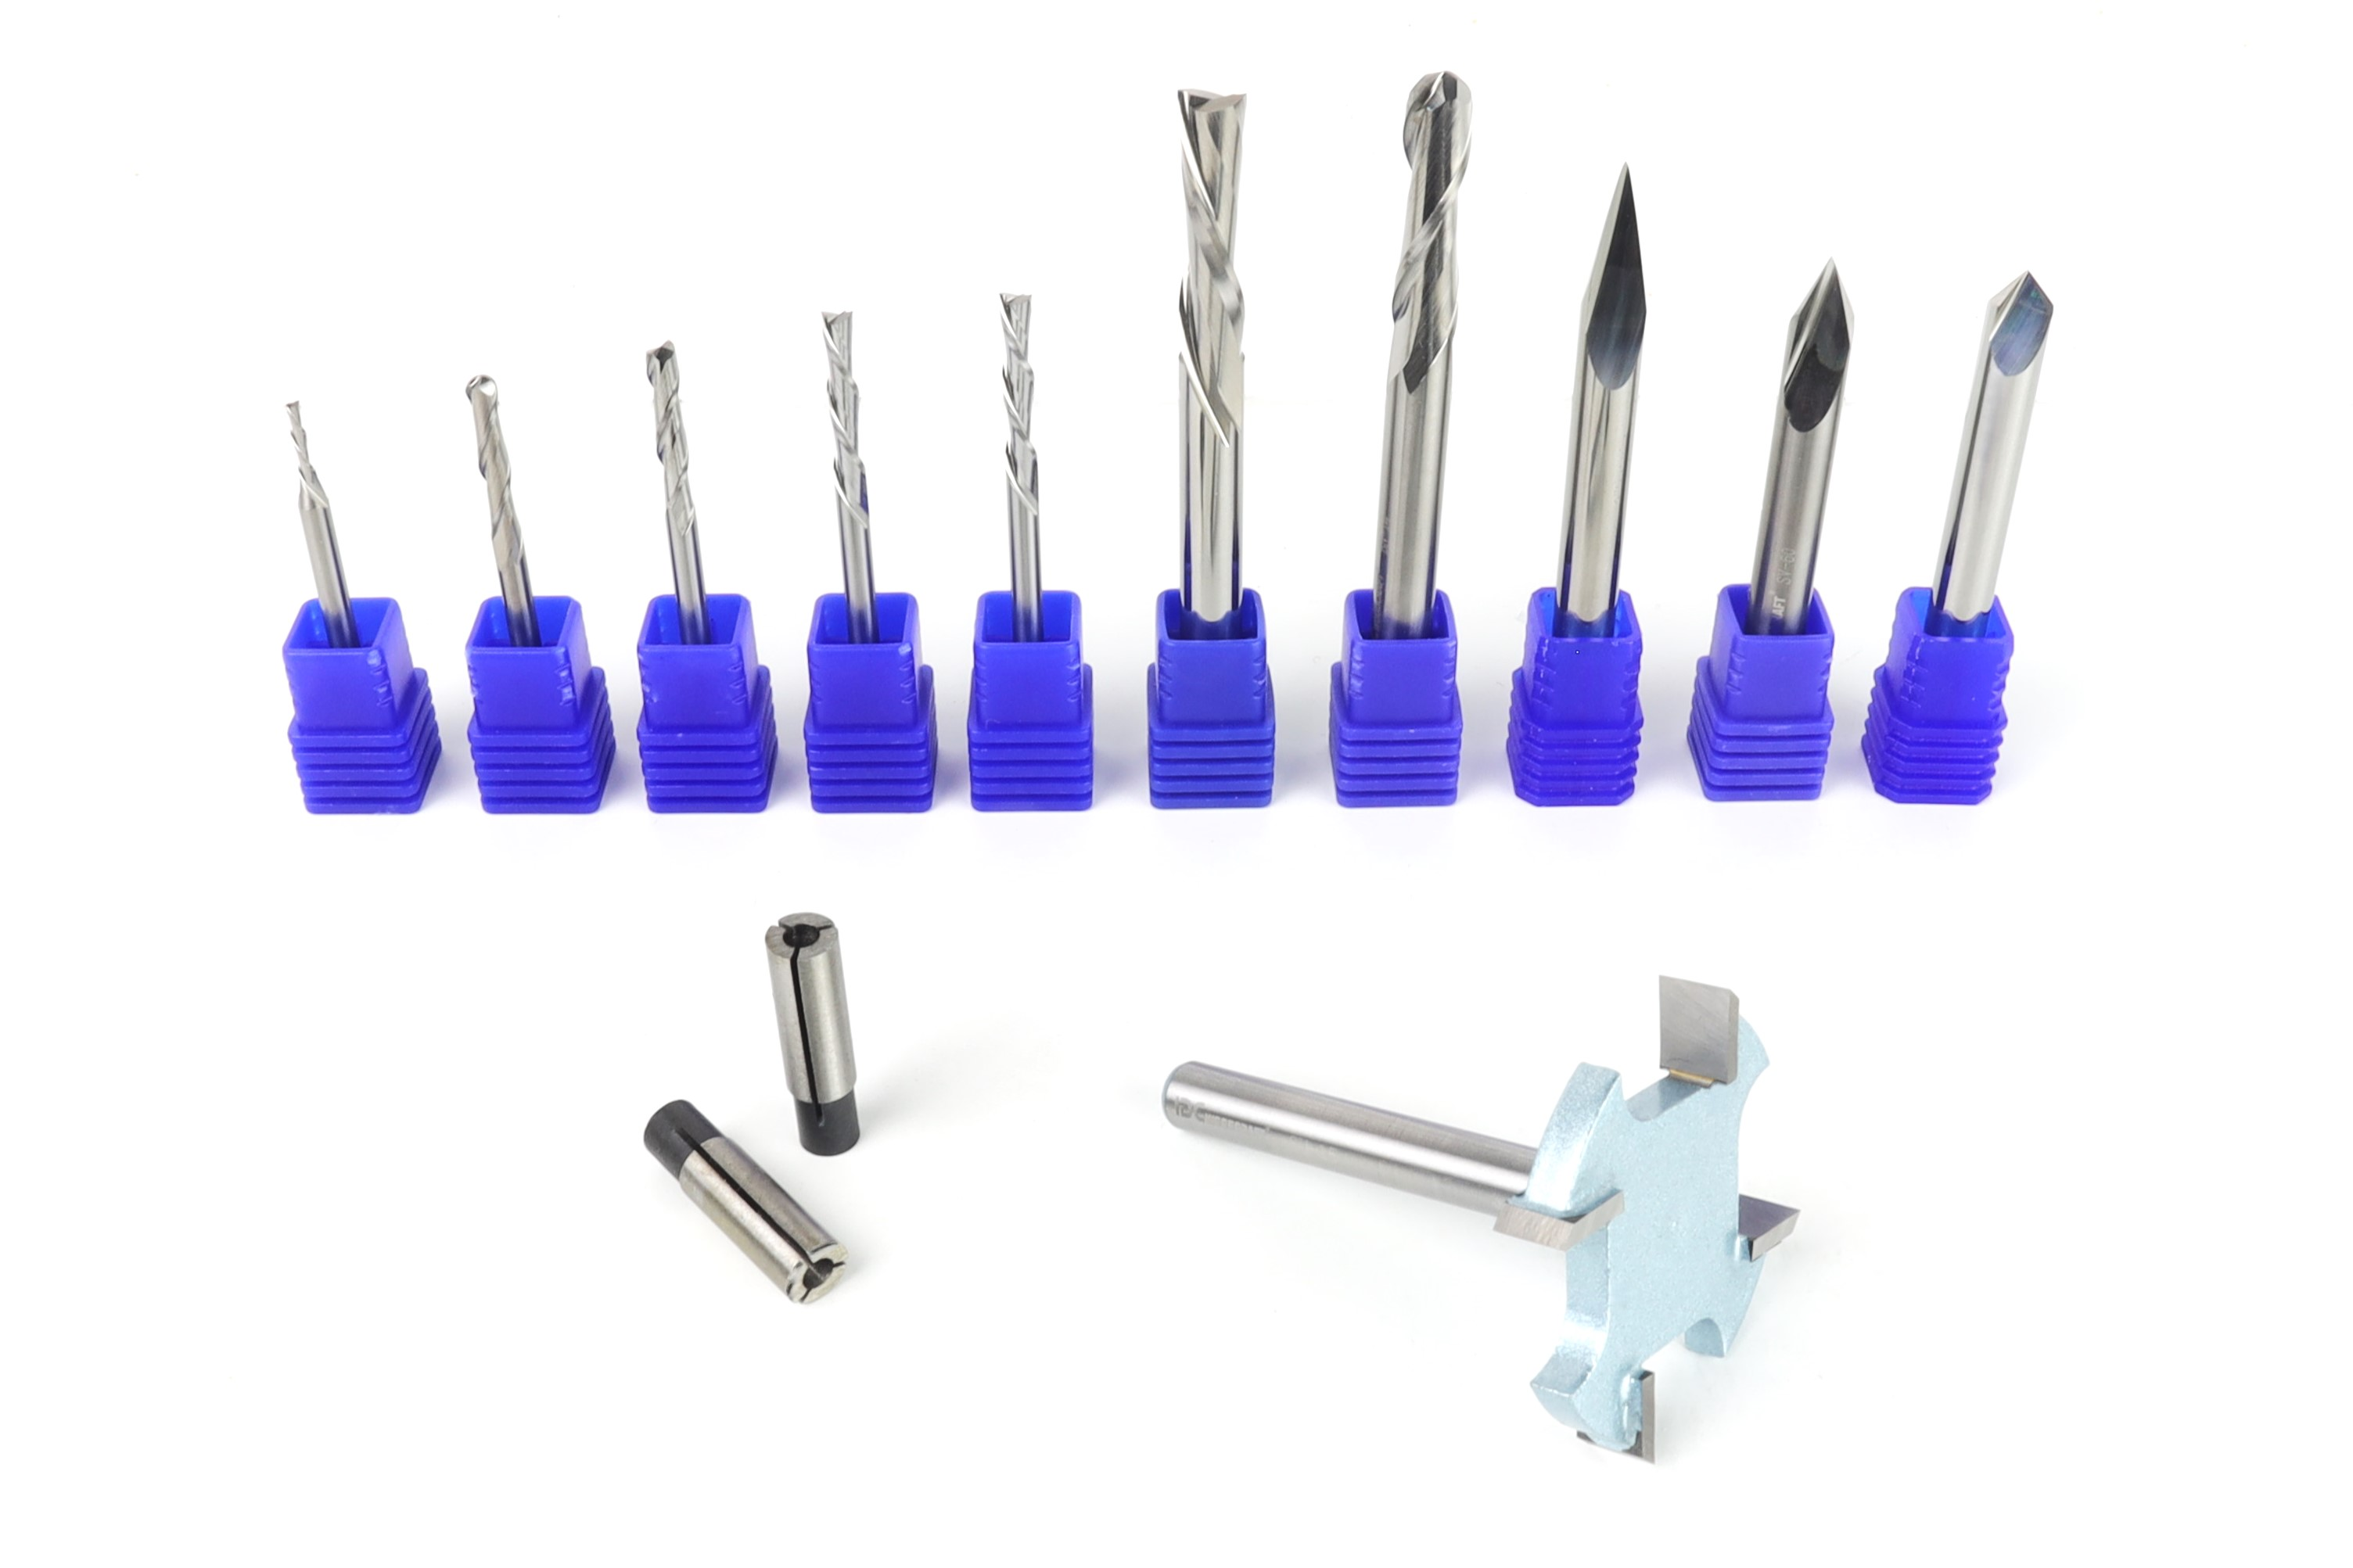
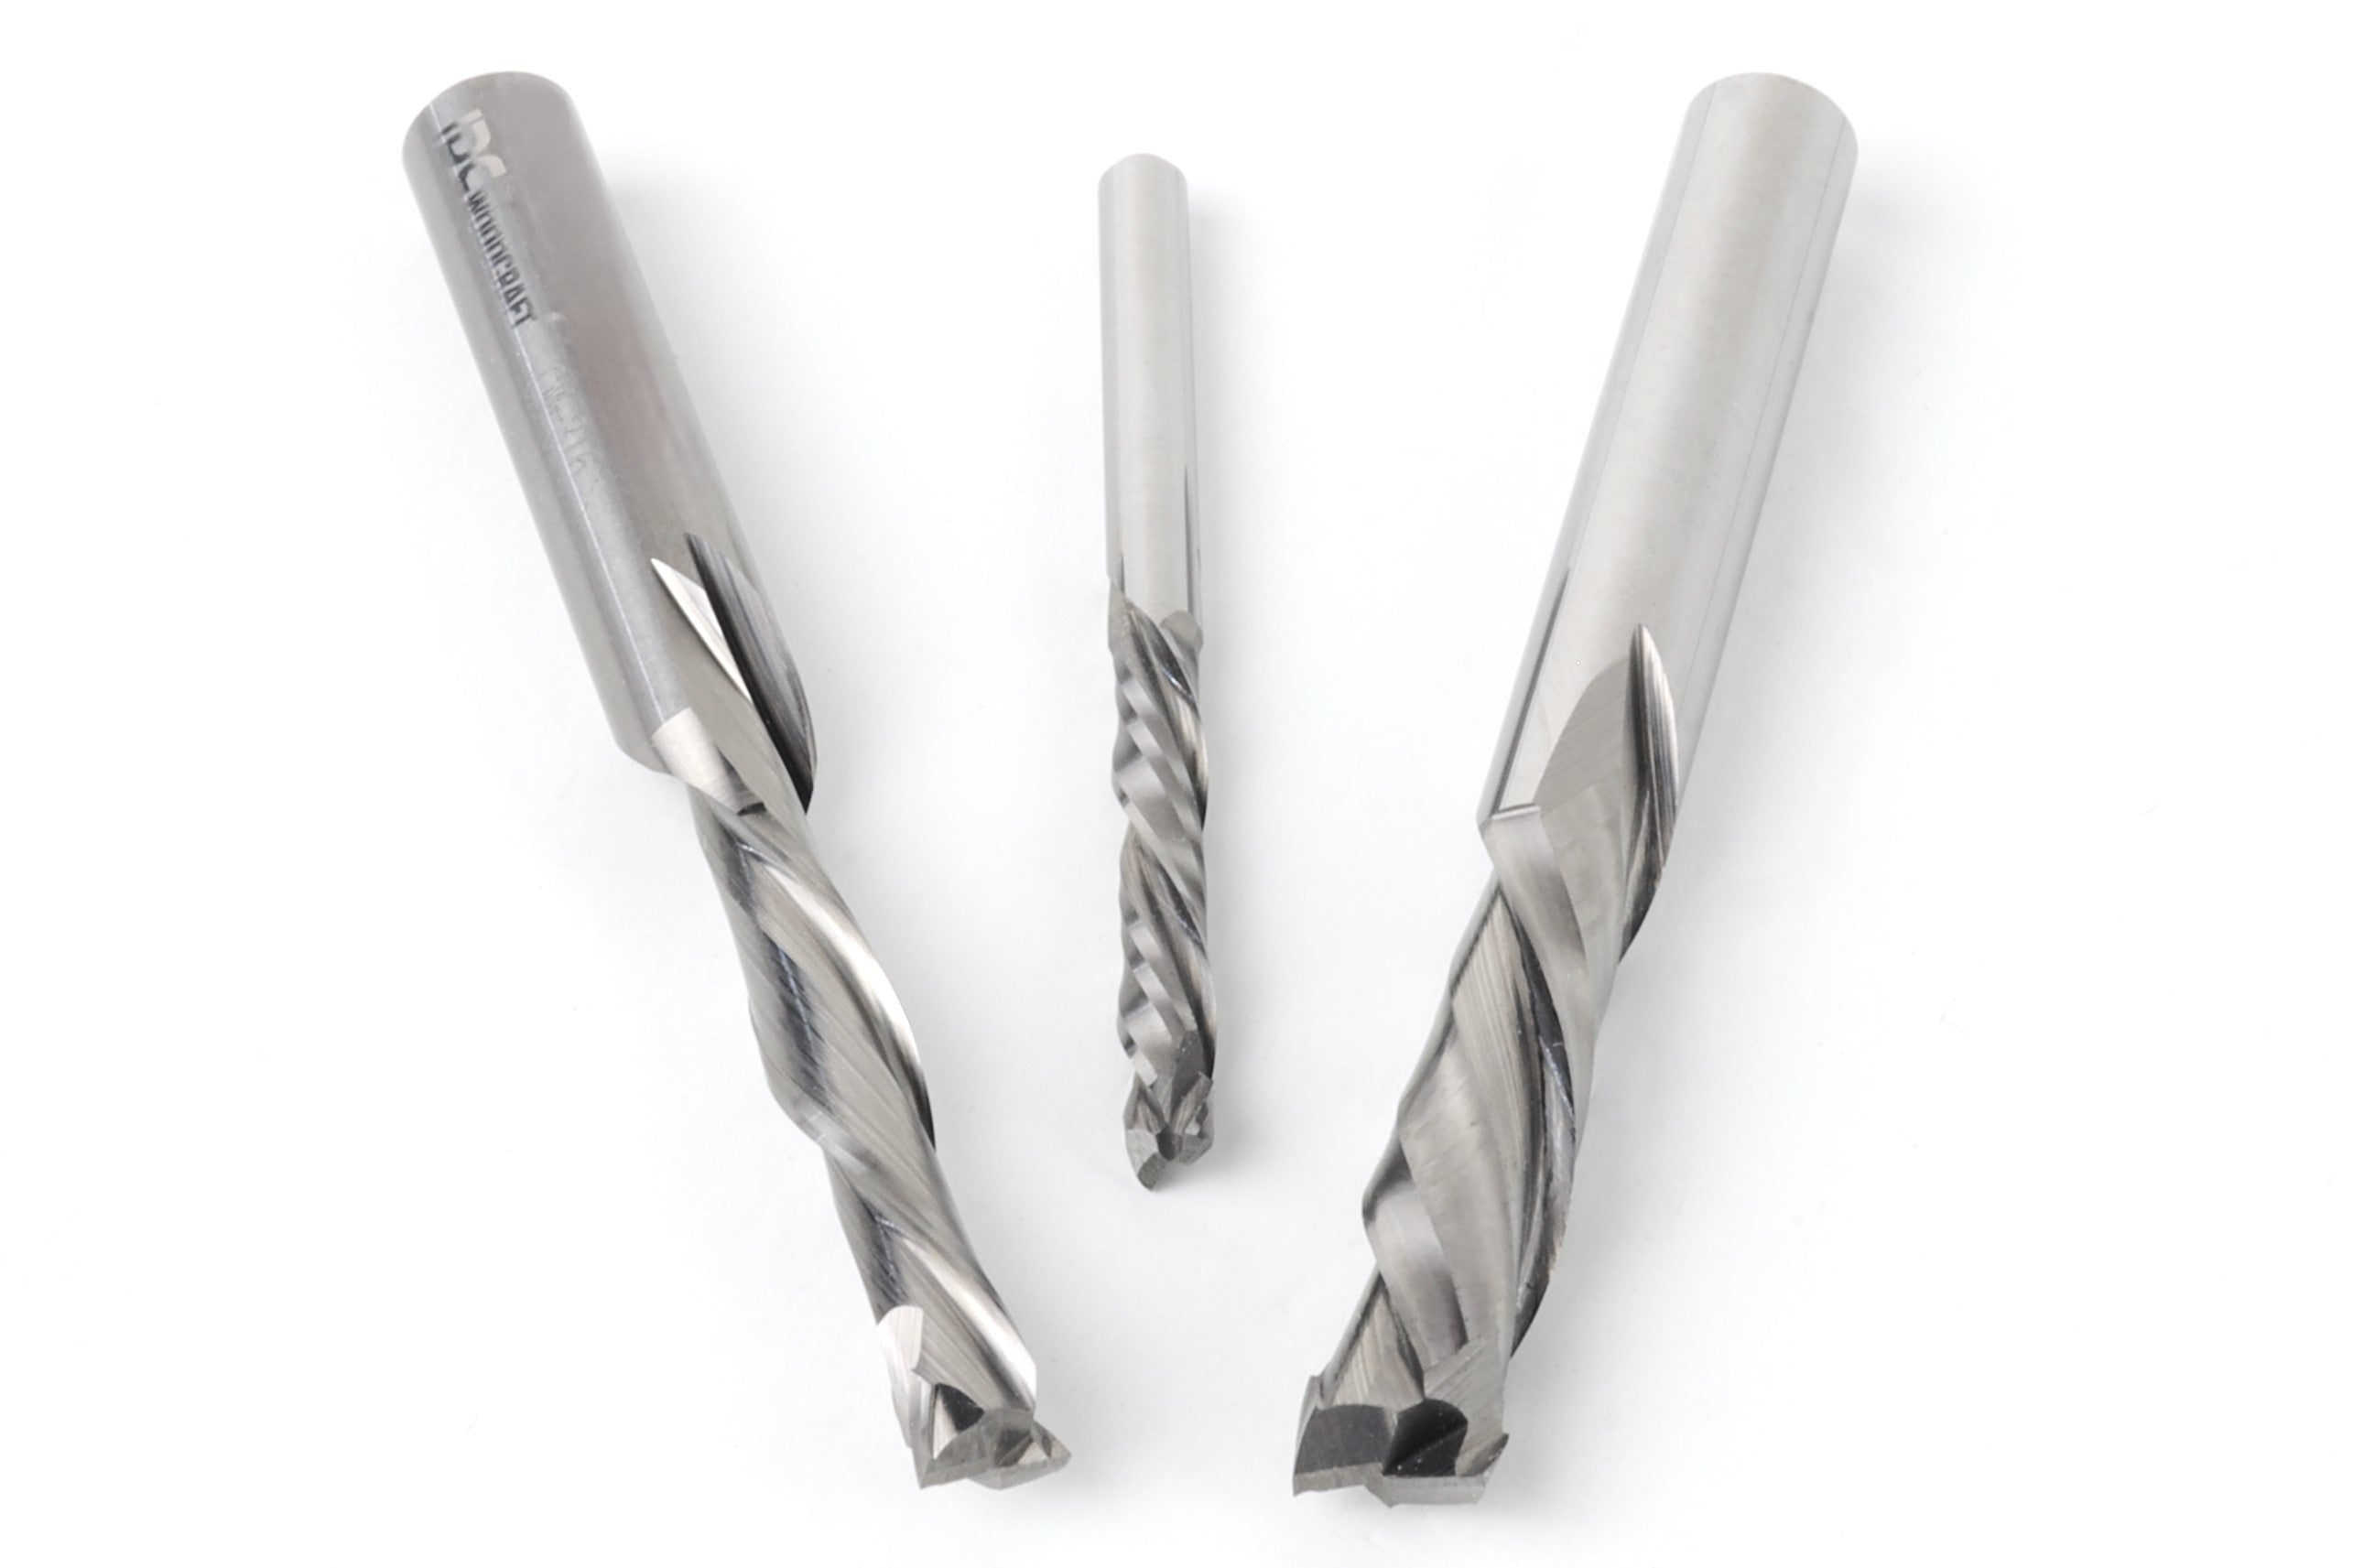
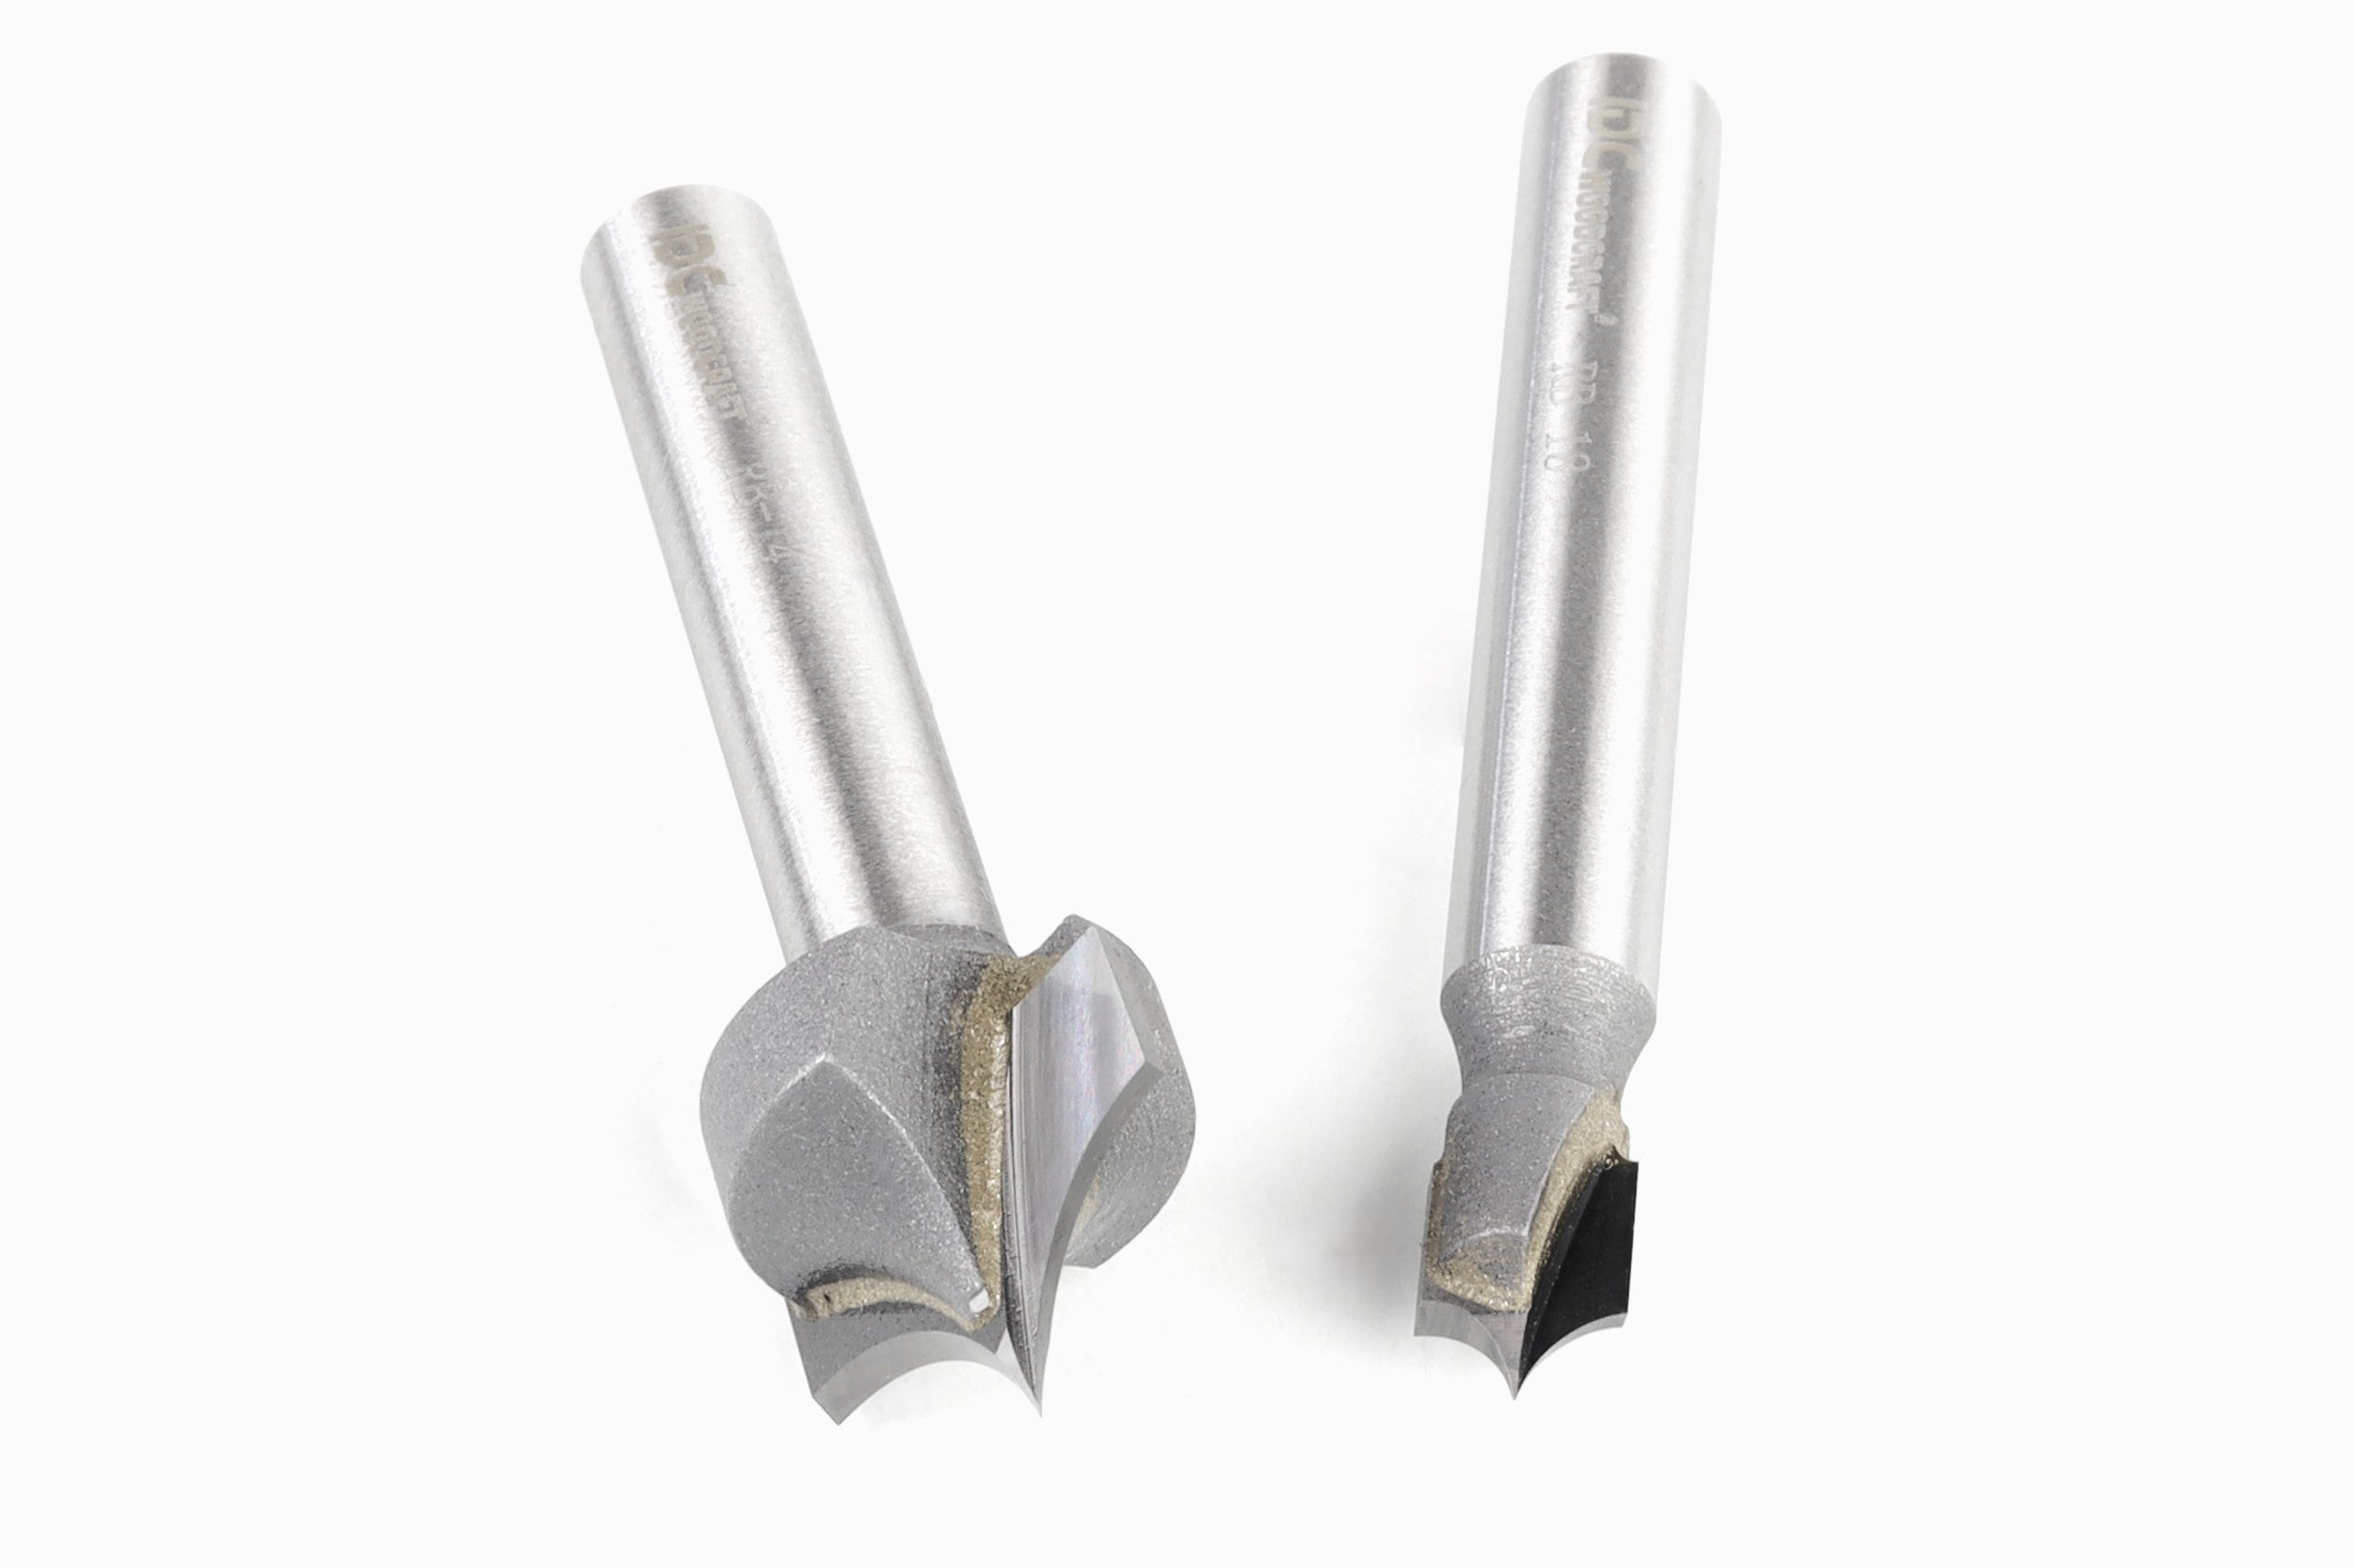
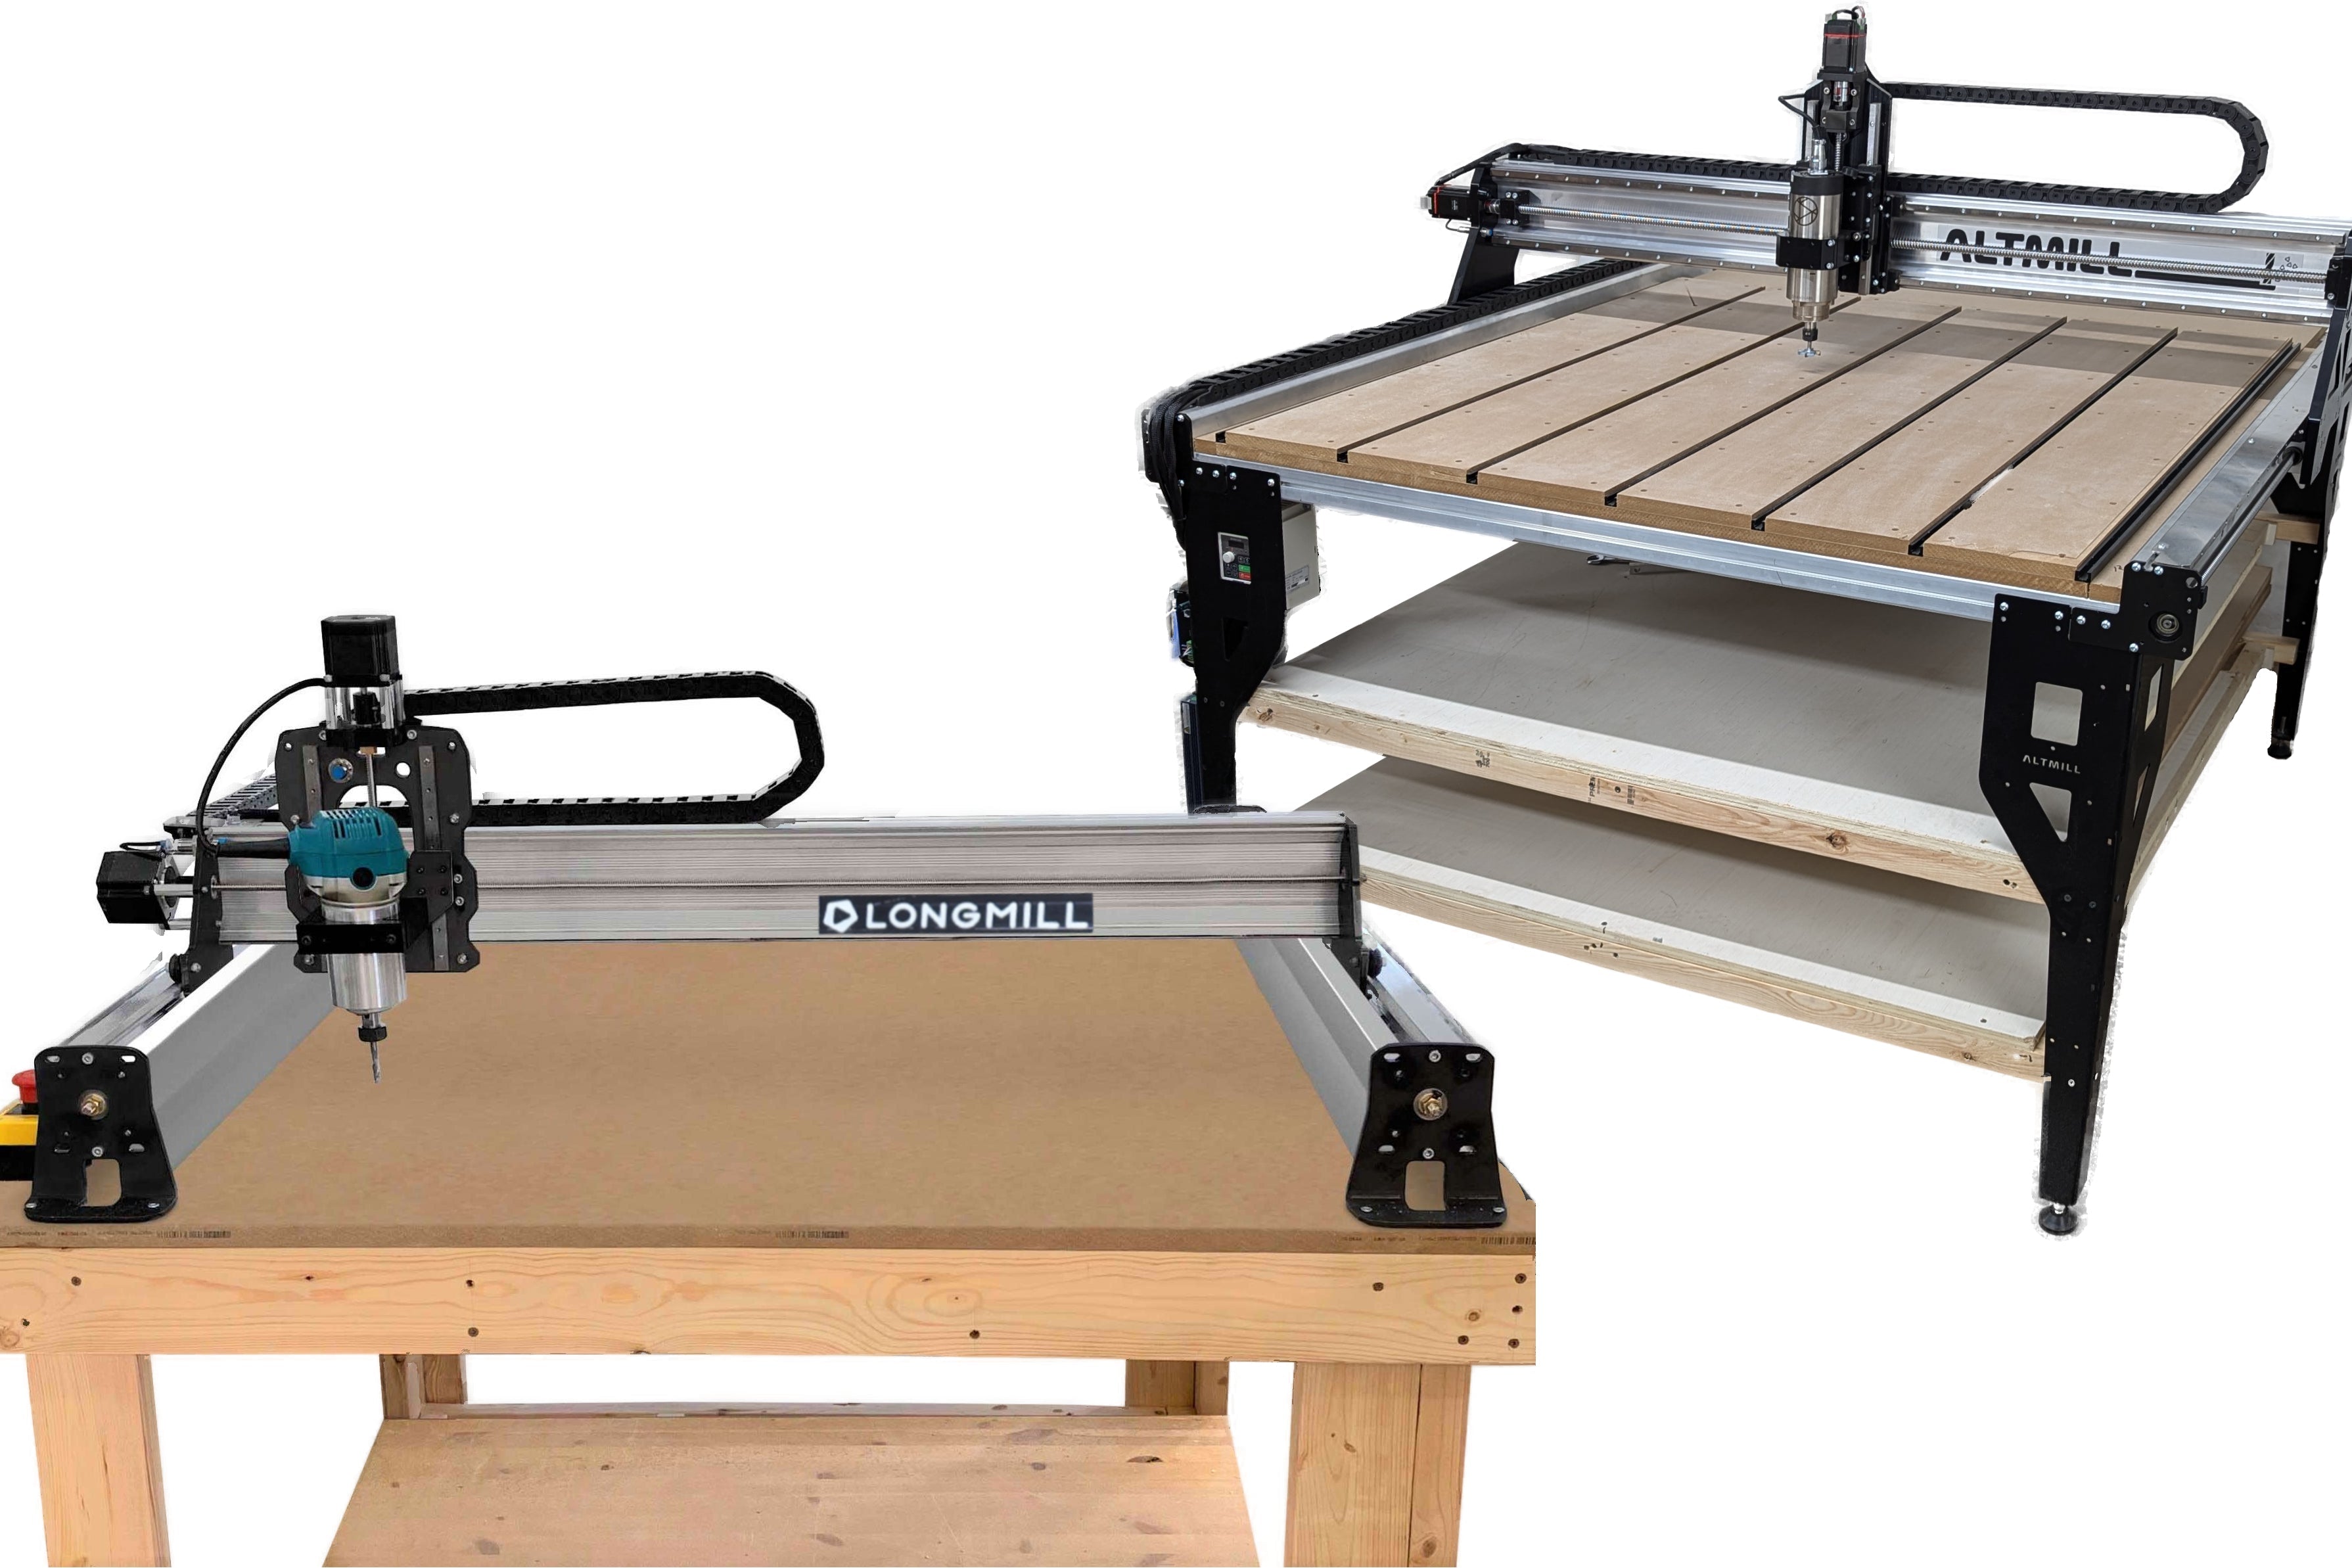
This probe-free method works on any CNC router. The demonstration references a Bob’s CNC E4 and Universal G-code Sender (UGS), but the logic applies to Shapeoko, X-Carve, Onefinity, custom GRBL machines, and more. This is how to set a repeatable Z-zero using the paper method, how to find the true XY edges without crashing a bit, and how to offset by tool radius so the cutter’s centerline sits directly above your stock corner before the first pass. 


The steps we’ll go over here can be summed up with a sort of mantra you can say to yourself every time: set units, set absolute, set small jogs, paper Z, touch Y, touch X, offset radius, re-zero XY, air pass, cut. Don’t worry about memorizing or even understanding it yet, but know that these steps will become an easy but essential routine for you quickly.
 

Whether you’re new to CAM or turning your garage shop into a side business, dialing in this routine will save time, money, and material.


Before you move an axis, confirm the unit system. G20 tells the controller to interpret values in inches, while G21 switches to millimeters. If you model and program in inches, force the sender to obey by typing G20 into the command box and pressing enter. If you work in metric, choose G21. Next, lock the controller into absolute positioning by sending G90. Absolute mode means every move you type goes to a specific coordinate in your current work coordinate system, which is essential when you apply a radius offset later. 
 

With units and mode settled, configure the jog controls. UGS lets you adjust the step distance, which is the size of each jog click. For finding edges, a one-inch step is a wrecking ball. Set X and Y steps to 0.01 inch, and do the same for Z. Keep a reasonable jog feed rate—around 100 inches per minute is typical for short, manual moves—but remember that the small step distance is what prevents shattered cutters and gouged stock.

Set Up the CNC Sender

The process starts in software, because your sender is the driver of the machine. Open Universal G-code Sender and look for the sections that matter for manual zeroing. The Work Coordinates display shows the large X, Y, and Z values tied to the current job. These are the coordinates you will zero. 


You may also see smaller machine coordinates associated with homing and the back-right corner on many hobby routers; ignore those for now because they do not define your job’s starting point. The goal is to persuade the large X, Y, and Z numbers to read exactly 0.000 at the precise place you choose on the material.


Before you move an axis, confirm the unit system. G20 tells the controller to interpret values in inches, while G21 switches to millimeters. If you model and program in inches, force the sender to obey by typing G20 into the command box and pressing enter. If you work in metric, choose G21. Next, lock the controller into absolute positioning by sending G90. Absolute mode means every move you type goes to a specific coordinate in your current work coordinate system, which is essential when you apply a radius offset later. 


With units and mode settled, configure the jog controls. UGS lets you adjust the step distance, which is the size of each jog click. For finding edges, a one-inch step is a wrecking ball. Set X and Y steps to 0.01 inch, and do the same for Z. Keep a reasonable jog feed rate—around 100 inches per minute is typical for short, manual moves—but remember that the small step distance is what prevents shattered cutters and gouged stock.

Z-Zero with the Paper Method

Garrett shows how to use a piece of paper to find true zero without a touch probe.

Z-zero is the foundation for every cut. The paper method is precise enough for almost all routing tasks and costs nothing. Position the spindle roughly above your intended origin corner on the stock and raise Z to a safe height. Use a coarse Z jog to descend until the bit is close to the surface. Many senders, including UGS, allow you to hold the button for a faster move, so take advantage of that to save time, but stop short of contact. 


Slide a clean sheet of printer paper beneath the cutter. Tap the Z- jog in 0.01-inch increments, and after each click, try to move the paper. You’re looking for the moment when the paper drags. That drag tells you the bit has made contact through the thickness of the paper. Press the Z-zero button in the Work Coordinates area so the large Z readout becomes 0.000. You have defined the top of your material as Z zero. If you prefer to compensate for paper thickness, measure your sheet with calipers and jog up by that exact amount before you press Z-zero. For most woodworking, the standard “paper grab equals zero” is accurate.

Capture the Y Edge with a Shaft Touch-Off, Repeat for the X Edge

With Z established, you can chase the Y edge. Raise Z a quarter inch or so to clear the surface and jog the tool so it sits slightly in front of the workpiece in the Y-direction. Lower Z until the tool’s cylindrical shank is below the top surface of the stock. This matters because you want the smooth shaft, not the cutting tip, to be the first thing that touches the stock when you move laterally. 


Confirm that X and Y step distances are set to 0.01 inch. Gently press Y+ one click at a time and, while you do this, spin the tool by hand. As long as there is air between the shaft and the stock, the tool will spin freely. The instant the shaft kisses the edge, you’ll feel the spin stop, or you’ll hear a faint rub. If you overshoot, back up one click and test again. The goal is a just-touching position that’s tactilely obvious but not binding. Press the Y-zero button. Your Y axis now references the stock’s front edge.


Repeat the same dance for the X edge. Move the tool to the left of the stock in X- (or to the right if that’s your chosen corner), and keep Z low enough that the shank would get there first. Tap X+ in 0.01-inch increments. Expect to use your ears here, especially if your view of the side edge is blocked by clamps. When you feel or hear the contact, press the X-zero button. Raise Z back above the stock. 


At this point, you have an honest Z zero at the surface, and you have defined X and Y at the moment when the outside of the tool touched each edge. That means your current work zero at X0 Y0 is not yet over the corner; it is offset by the radius of your tool in both axes.

Apply the Tool Radius Offset to Hit the True Corner

This is the step where many beginners get lost, and it’s why setting absolute mode earlier matters. Check your sender readout for G20 or G21 to verify units and confirm G90 is still active. If not, resend those modal commands. Now visualize the present work zero by typing G0 X0 Y0. The machine will rapidly move so that the outside of the tool lines up with the outside of the stock in both directions. 


The fix is simple math. If you’re using a 1/4-inch end mill, the radius is 0.125 inch. Move the machine positively by the radius in each axis. In inches, type G0 X0.125 Y0.125. If you’re in metric and the cutter is 6 mm, the radius is 3 mm so you would send G0 X3 Y3. After that single rapid move, the centerline of the tool is directly above the true corner of your workpiece. Press the X zero and Y zero buttons again in the Work Coordinates display. Your job origin is now correct in all three axes, and your CAD/CAM origin should match the same corner you used on the table.

Good Habits for Consistency, Speed, and Safety

Take a moment for a quick sanity check to prevent heartbreak. Raise Z by a small, safe amount so the cutter hovers just above the surface, and run an air pass of your first operation. If the path looks right relative to the stock and fixtures, you’ve nailed it. 


If the path looks shifted by half a tool diameter in X or Y, you forgot to apply the radius offset, or you moved in the wrong direction. If the path is mirrored along an axis, your CAM origin corner is not the same as your physical corner; update the CAM job or re-zero on the correct corner to match. If the cut is too deep or shallow, revisit Z-zero and repeat the paper-touch routine.


A few foundational principles will make this routine even more consistent from job to job. Keep your jog step small during touch-off, because a one-inch step on X or Y combined with human impatience is how bits die and clamps get chewed. Always send units and absolute mode after connecting to a controller or after a reset; G20/G21 and G90 are modal states, but they are not guaranteed across sessions, and assuming the wrong mode can move a gantry by an order of magnitude. 
 

Work coordinates are your friend. Learn to use G54 and its siblings, up to G59. Once you’ve set a perfect zero for a repeated part, store it in a work offset, and you won’t lose it when you home the machine. For accuracy beyond woodworking tolerances, measure your end mill’s actual diameter with calipers and offset by half of that measured value instead of the box label. Wood moves, cutters wear, and numbers lie; measurements beat assumptions every time.
 

Safety belongs in this conversation because manual touch-off brings your hands close to a machine that is built to remove material. The spindle must be off during touch-off. Keep fingers away from sharp flutes and only spin the tool by the shank when checking contact. Lift Z before any rapid move, just in case you mistyped an axis letter. 
 

Wearing eye protection even when you think you won’t make chips is just as important. They have no sense of humor and no respect for your squishy eyes. The small discipline of pausing to verify your step distance and mode saves hours of cleanup and rework, and, worst case, a trip to the hospital.

When to Consider Probes and Corner Finders

You may wonder whether a probe or a corner finder would be faster. Probes are excellent for high-volume repetition and for capturing inside corners, boss features, and angled faces. They also help when you need to find a center on a circular part or perform automated tool length measurement after a tool change. None of that is required for accurate work zeroing on flat stock. 


The method we just went over costs nothing, works with every material that a desktop router can handle, and teaches the tactile language of your machine. The paper method gives Z-zero within a few thousandths of an inch, which is well within the tolerance of most woodworking and plastics projects. The shaft touch-off on X and Y, when done with 0.01-inch steps, is consistent and predictable. If you ever need tighter control, reduce the step to 0.005 inch for the last few taps, and you will feel the difference.

Fences and Jigs for Repeatability

If you are building repeat fixtures and jigs, consider establishing a sacrificial fence on your spoilboard that defines a consistent origin corner. Square the fence carefully to your machine’s axes, pocket two T-nuts for clamps that won’t interfere with the gantry, and assign that corner to G54. 


Every time you bolt a new blank against the fence and set Z with the paper method, you’ll be one command away from a known good XY zero. That simple habit, coupled with the radius-offset move, makes short-run production not just possible but pleasant.

Troubleshoot by Translating Symptoms Into Causes

Troubleshooting is part of the craft, so it is useful to translate symptoms into likely causes. If you move in X or Y and the bit digs into the stock immediately, your step distance is too large; open the jog settings and set 0.01 inch for both axes before you try again. 


If G0 X0 Y0 unexpectedly flies the machine off to the wrong side, you are in relative mode; send G90 and retry. If your tool descends far more than expected during Z touch-off, check whether you typed .01 instead of 0.01; leaving off the leading zero can produce unintended numbers in some senders. If you press the wrong zero button and the machine loses reference, don’t freak out. Retrace your steps, return to the edge, and re-zero the correct coordinate; work coordinates are designed to be overwritten when necessary.


It is worth mentioning CAM alignment once more because it’s where most first-time mistakes hide. Your CAD sketch and CAM setup must choose the same origin corner as your physical zero. Many hobbyists prefer the near-left corner with Z zero at the material top, but back-right or center origins are also valid if you are consistent. 


If you like bottom-of-stock Z zero to account for precise finished thickness, then your paper method needs to reference a known machine surface, or you should use a measured tool setter on the spoilboard. This method assumes a top-of-stock Z zero, which dovetails nicely with the way most woodworking projects are modeled and planned.

A Short Mantra for Setup

Once you’ve run a few jobs with this routine, the steps will compress in your memory into a short mantra: set units, set absolute, set small jogs, paper Z, touch Y, touch X, offset radius, re-zero XY, air pass, cut. The mantra is simple because you’ve done the brainwork in advance. It’s also resilient when you switch materials or bit sizes. 


Swap the 1/4-inch end mill for a 1/8-inch cutter and change the offset move from 0.125 to 0.0625. Switch to metric and offset by half the measured diameter in millimeters. Nothing else changes. The same logic continues to pay dividends if you eventually add a probe; the muscle memory for unit modes, coordinate systems, and offsets will make probing faster and safer.

Why This Works and How It Scales

Accuracy on a CNC router is not just about the toolpath file. It is about honoring a chain of reference that begins at the sender and ends in the material. Units define scale. Modes define intent. Work coordinates define meaning. Touch-off defines reality. Radius offsets reconcile geometry. Once those links line up, the machine becomes predictable, and predictability is the gateway to better parts, smoother surfaces, and a shop that feels professional. 


When you are ready to level up further, explore work offsets like G54 through G59 for multi-fixture jobs, learn to park the machine with G28, and practice swapping tools with consistent measured lengths so you can re-touch Z quickly without disturbing XY zero. Each of those skills builds on the foundation you just poured.


To close the loop, consider the tiny set of modal commands and moves that encode the heart of this routine in inches. Send G20 to ensure inch mode. Send G90 to enforce absolute moves. Move to your current origin with G0 X0 Y0 to verify what the controller believes. Offset by the tool radius with G0 X0.125 Y0.125 if you are using a quarter-inch cutter. Then press the X and Y zero buttons again so your origin truly represents the corner under the tool’s centerline. That is the entire trick. When you press Start on your first operation, the bit knows exactly where it is in the world.