Free Shipping for CNC Bit orders over $160

Shop

Shop By Project

Shop By Type

Sets

Sets

Inlay

Inlay

3D Carving

3D Carving

Acrylic

Acrylic

Engraving

Engraving

Bowl And Tray

Bowl And Tray

Digital Files

Digital Files

Sets

Sets

Ball Nose

Ball Nose

Compression

Compression

Downcut

Downcut

Drills

Drills

Engraving

Engraving

Extended Cut

Extended Cut

Roughing

Roughing

Rounding

Rounding

Slotting

Slotting

Straight Cut

Straight Cut

Surfacing

Surfacing

Upcut

Upcut

V Grooving

V Grooving

Jenny Bits

Jenny Bits

Collets

Collets

Accessories

Accessories

CNC Machines

CNC Machines

Vacuum Tables

Vacuum Tables

Spindles

Spindles

Software

Software

Digital Files

Digital Files

Merch

Merch

Closeout

Closeout

CNC Resources

Database Downloads

About

Contact Us

Get A Gift Card

Finishing Old Glory: The Vectric Beginner’s First Pro-Level CNC Project

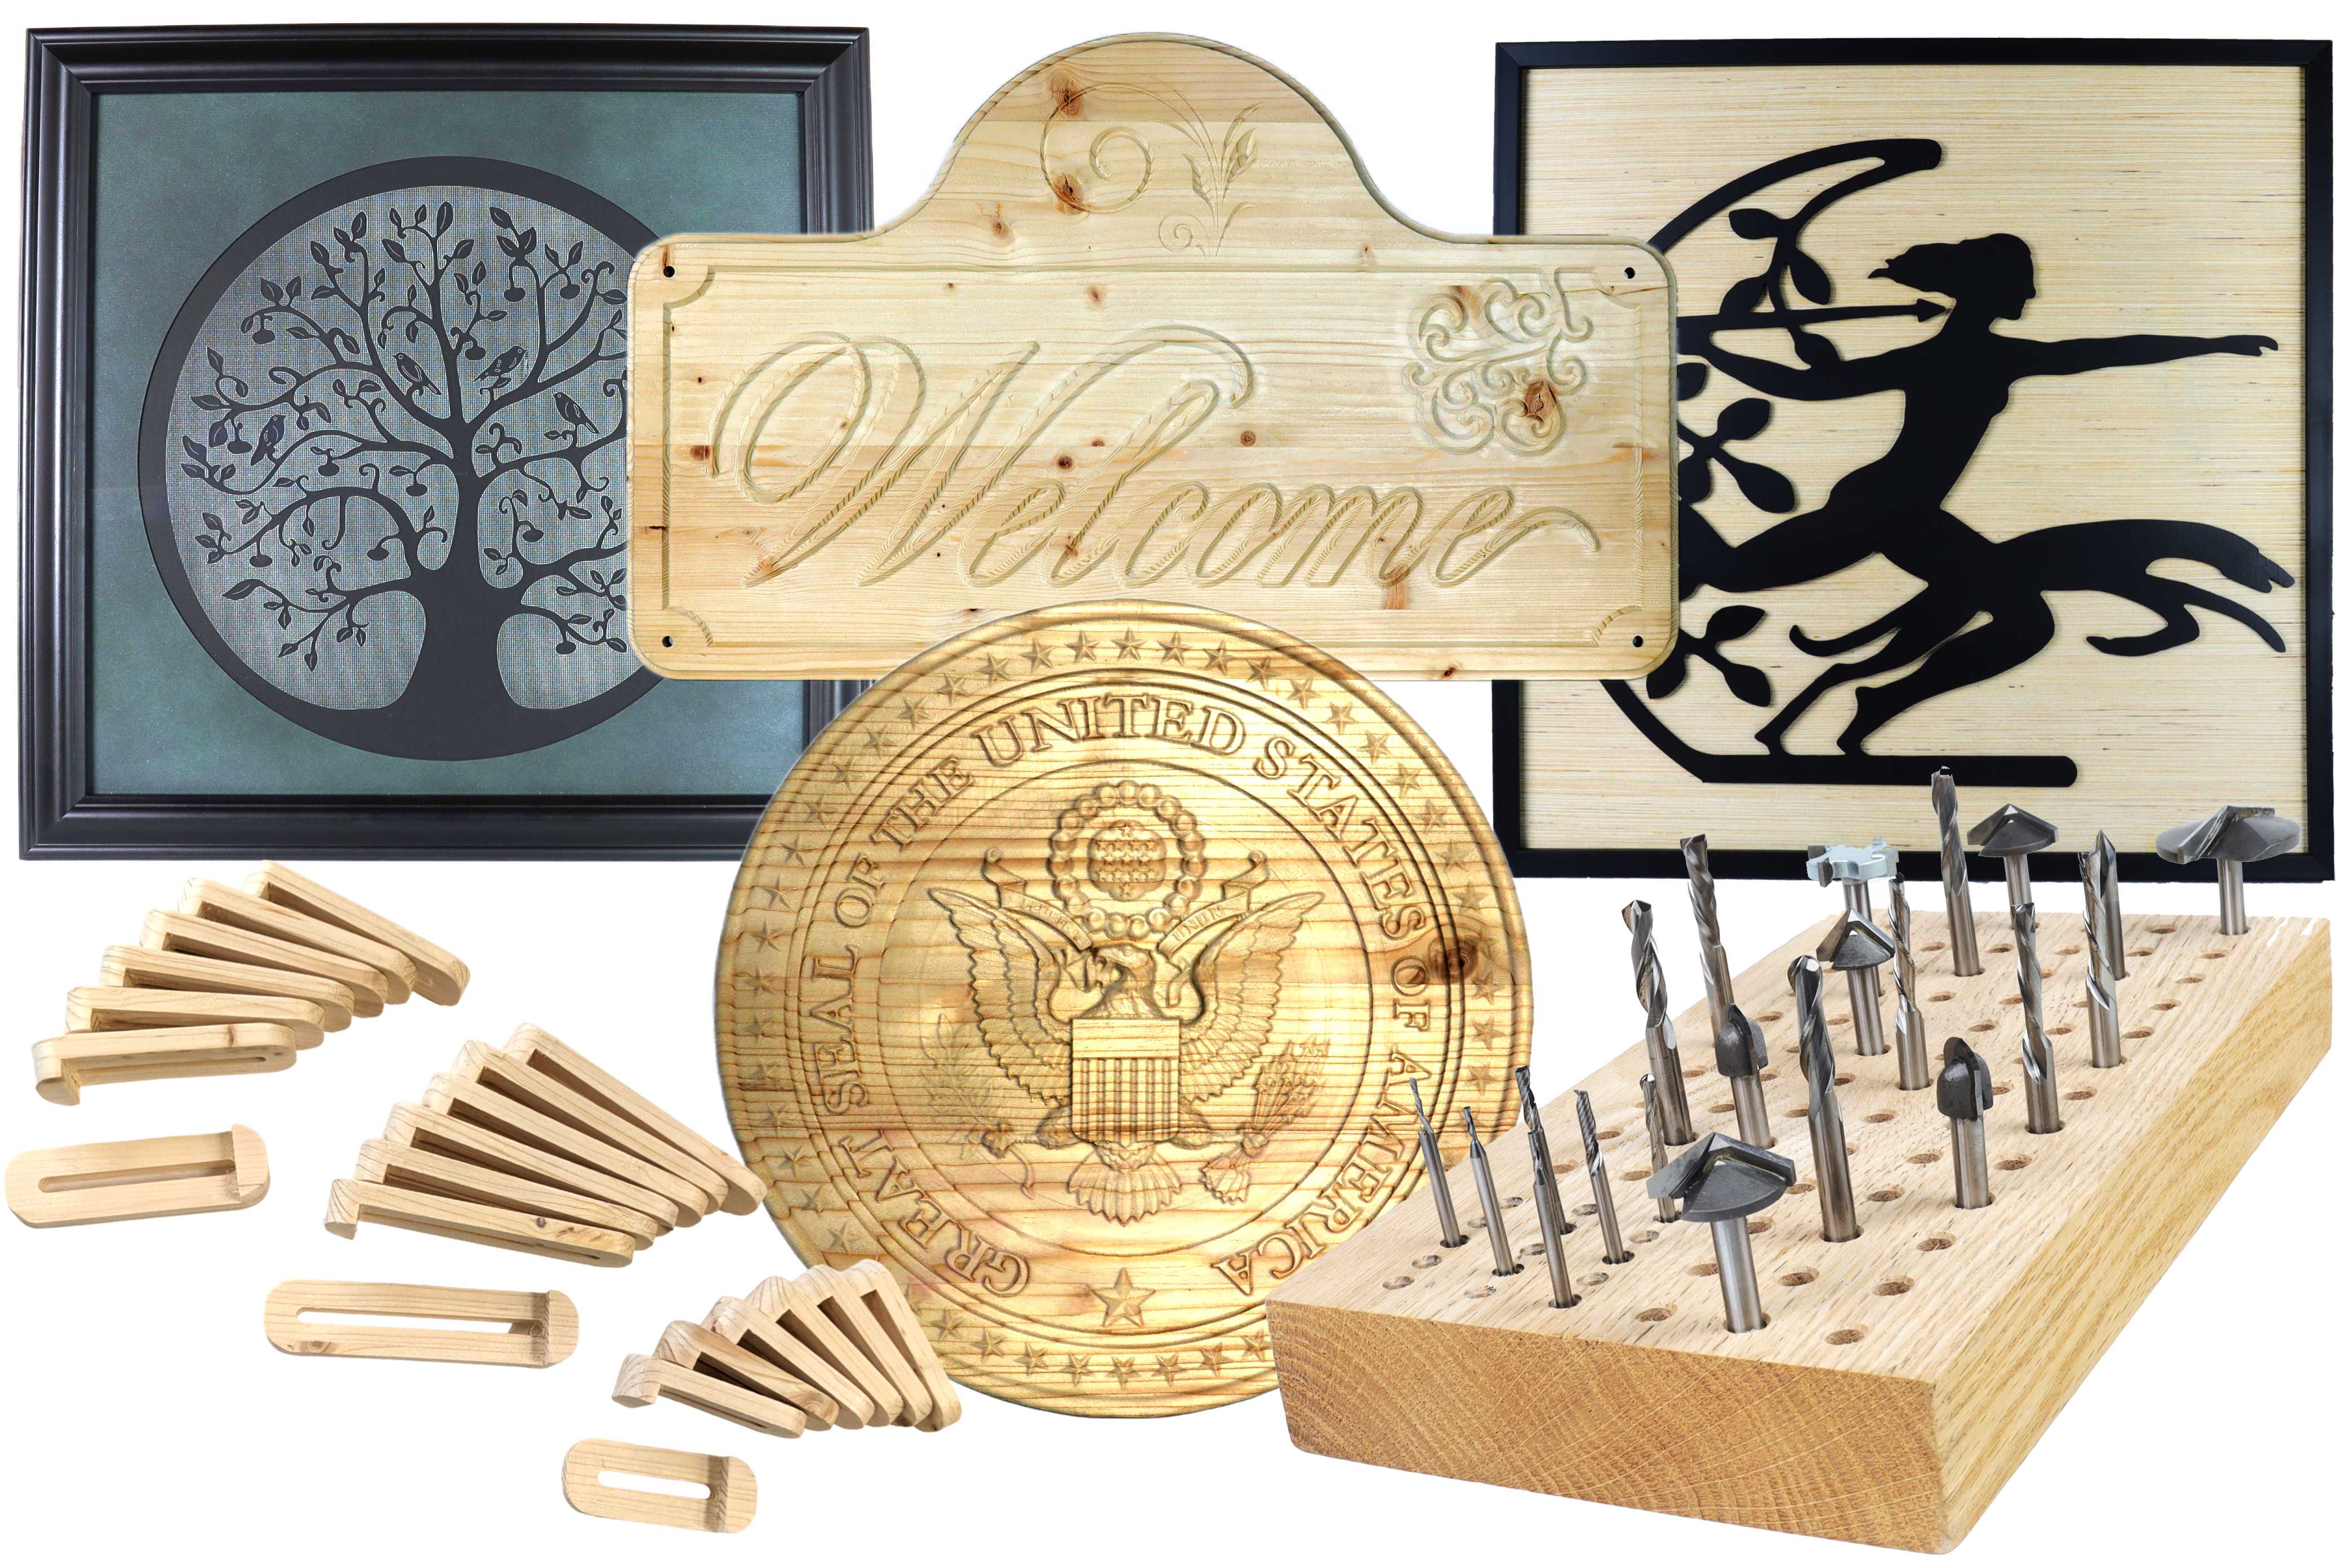
The American flag is one of those CNC projects that looks intimidating on day one and feels oddly addictive by day ten. It has everything: clear geometry, high-contrast details, and just enough room for artistic flair. The options for wavy stripes, emblem inlays, and distressed finishes make it a potentially standout portfolio piece. 


For many, this version of Old Glory can be their first pro-level project, and it sets the beginner to intermediate CNC enthusiast up for toolpaths they’ll use for nearly every sign, plaque, or other kind of wall art in the foreseeable future.


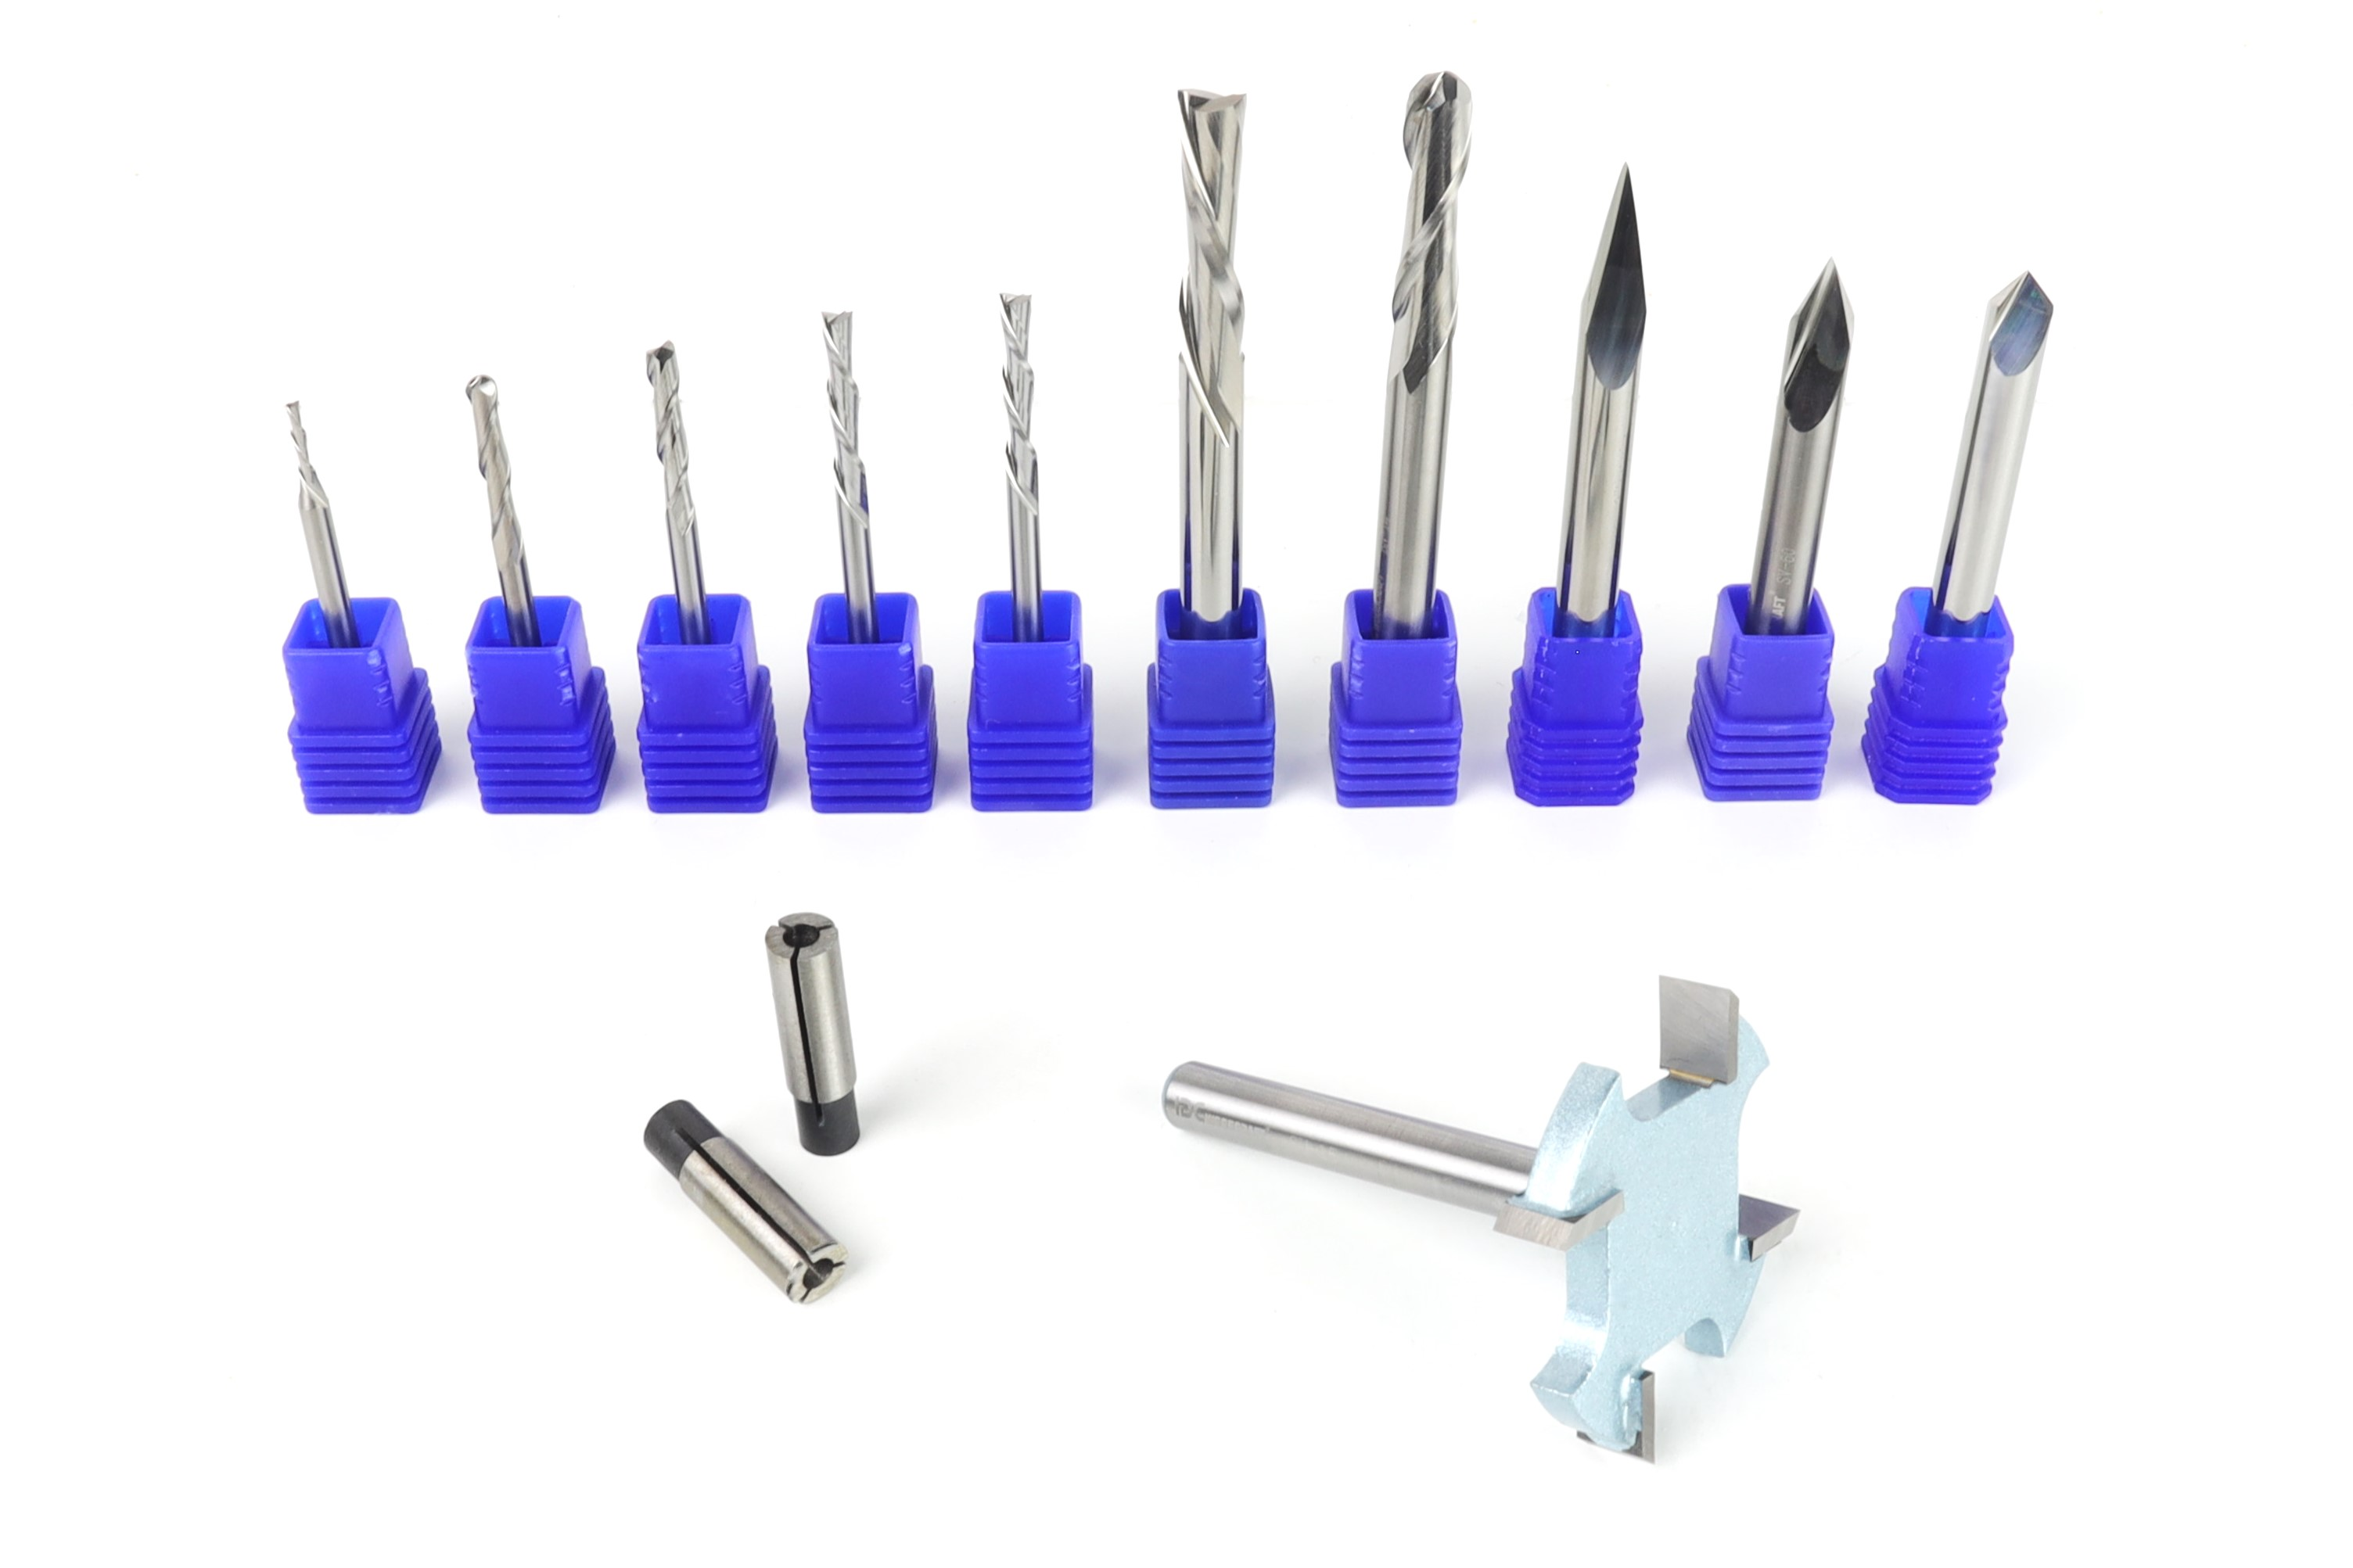
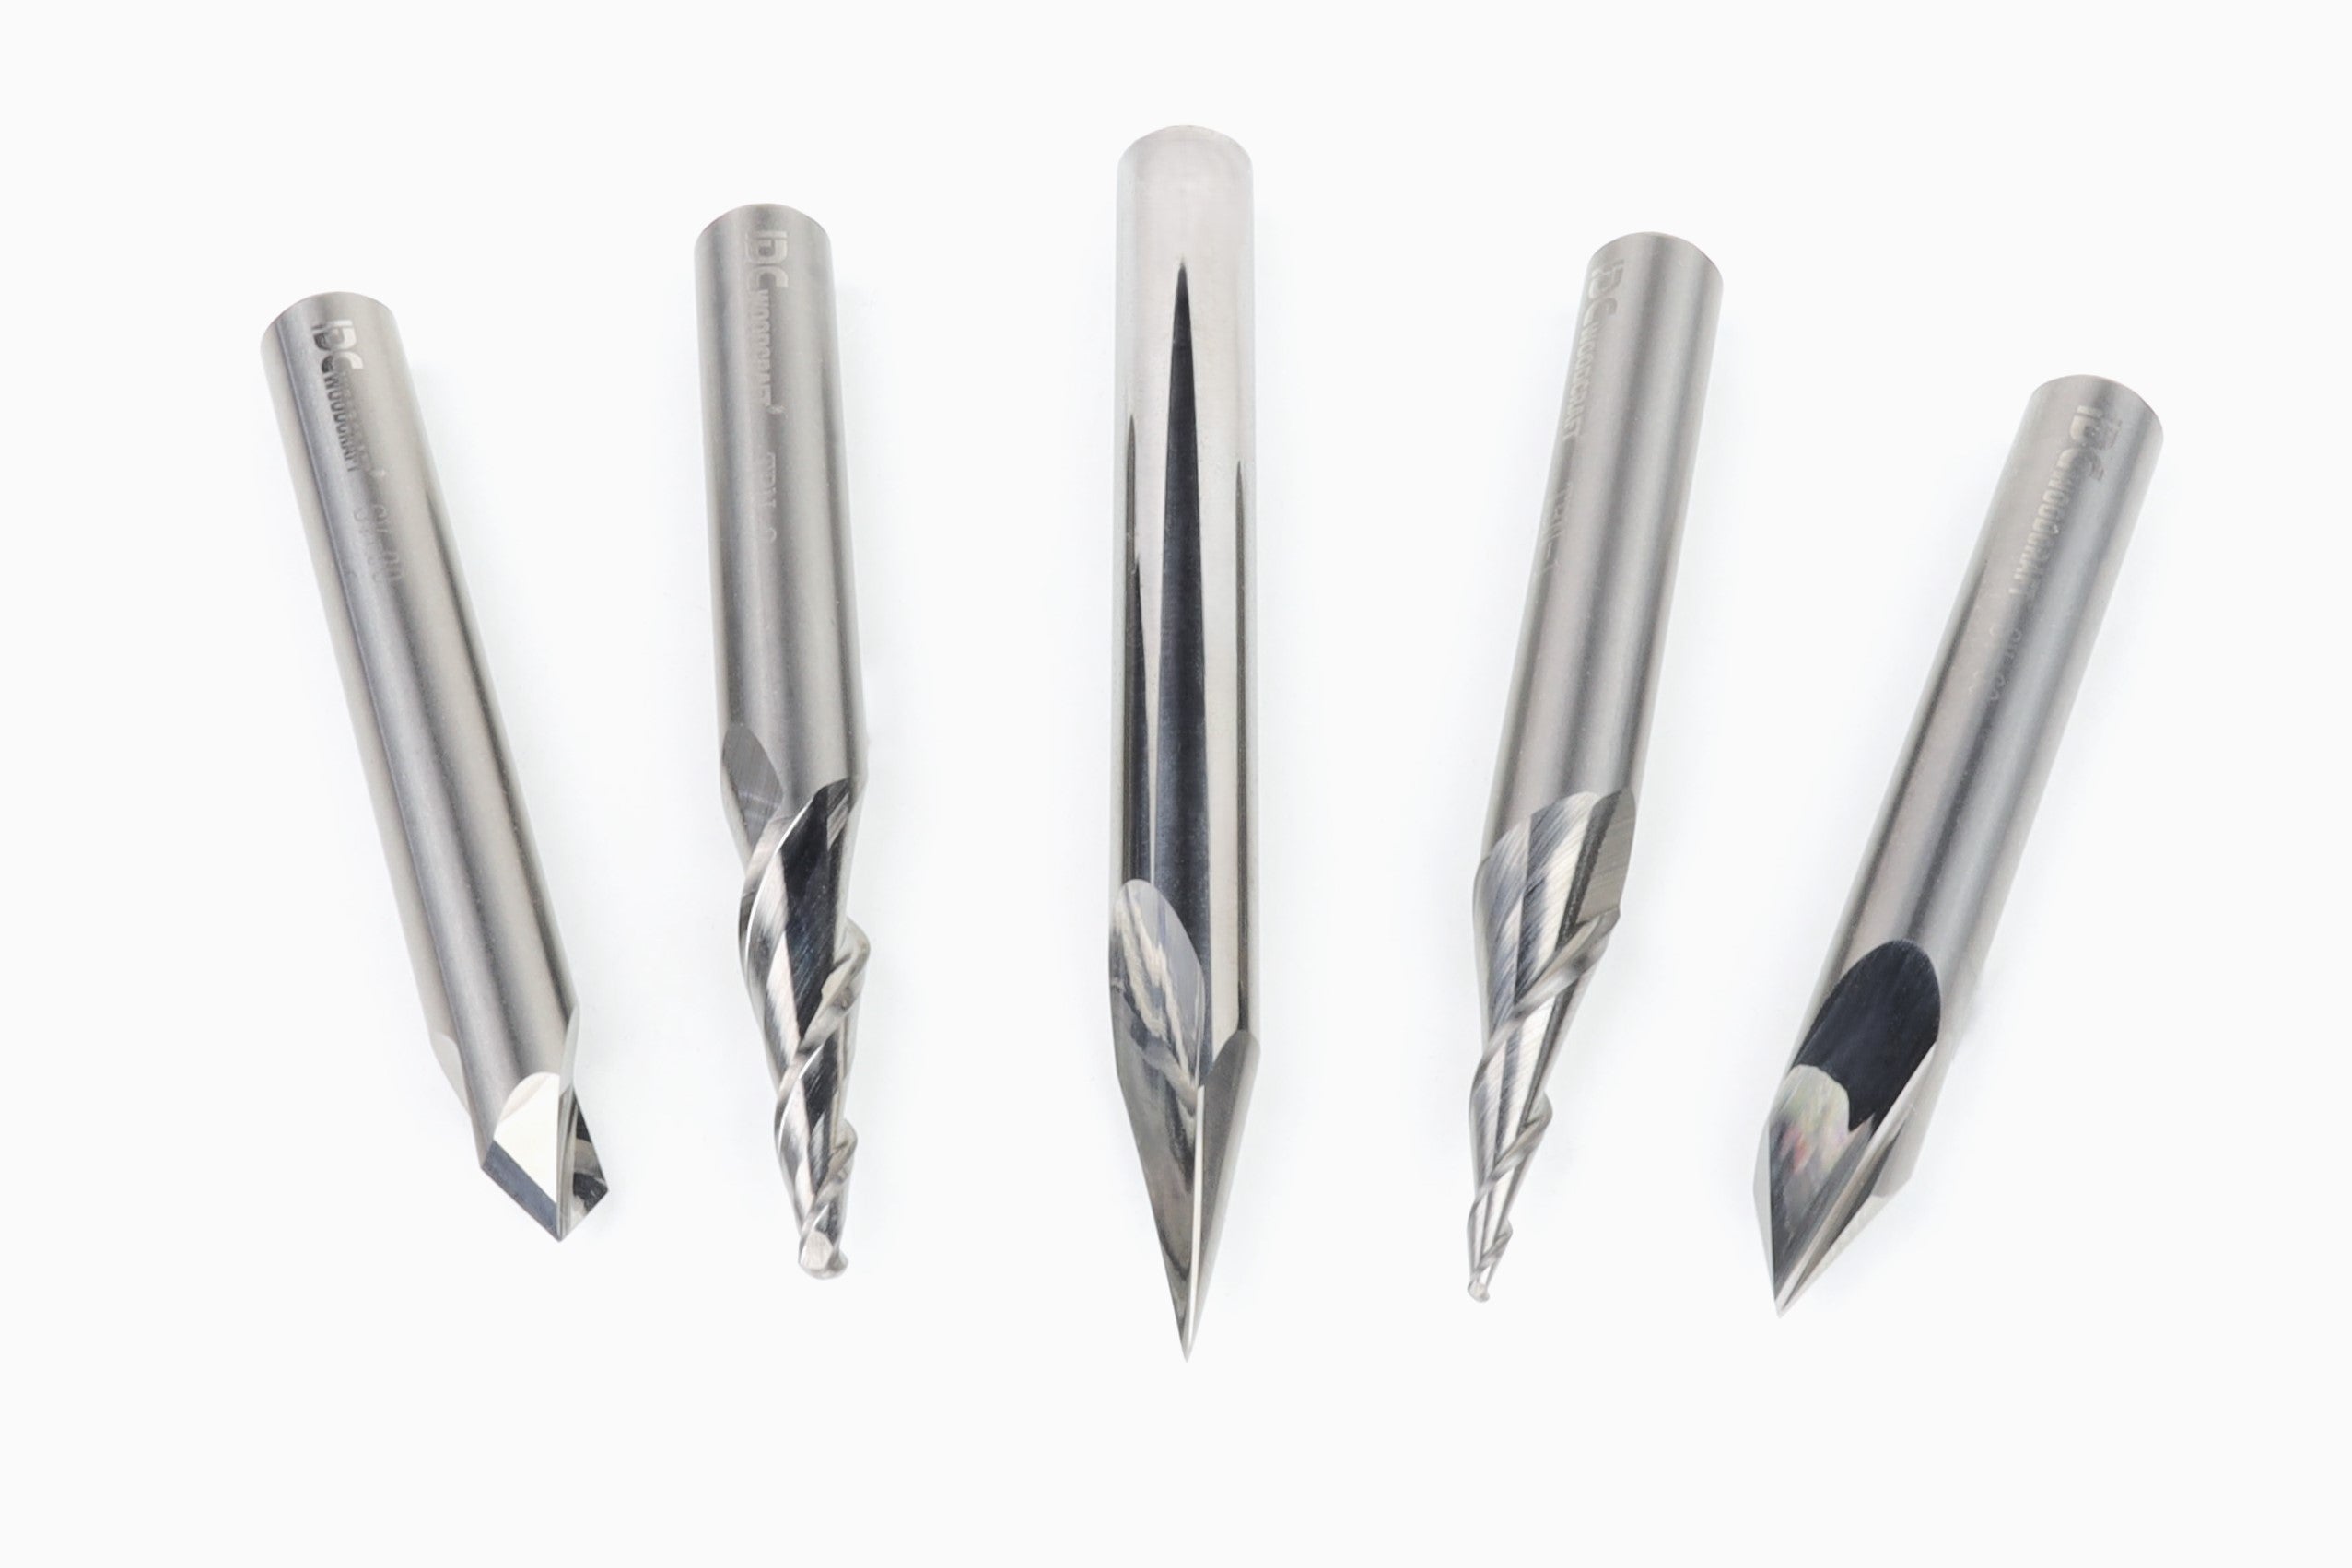
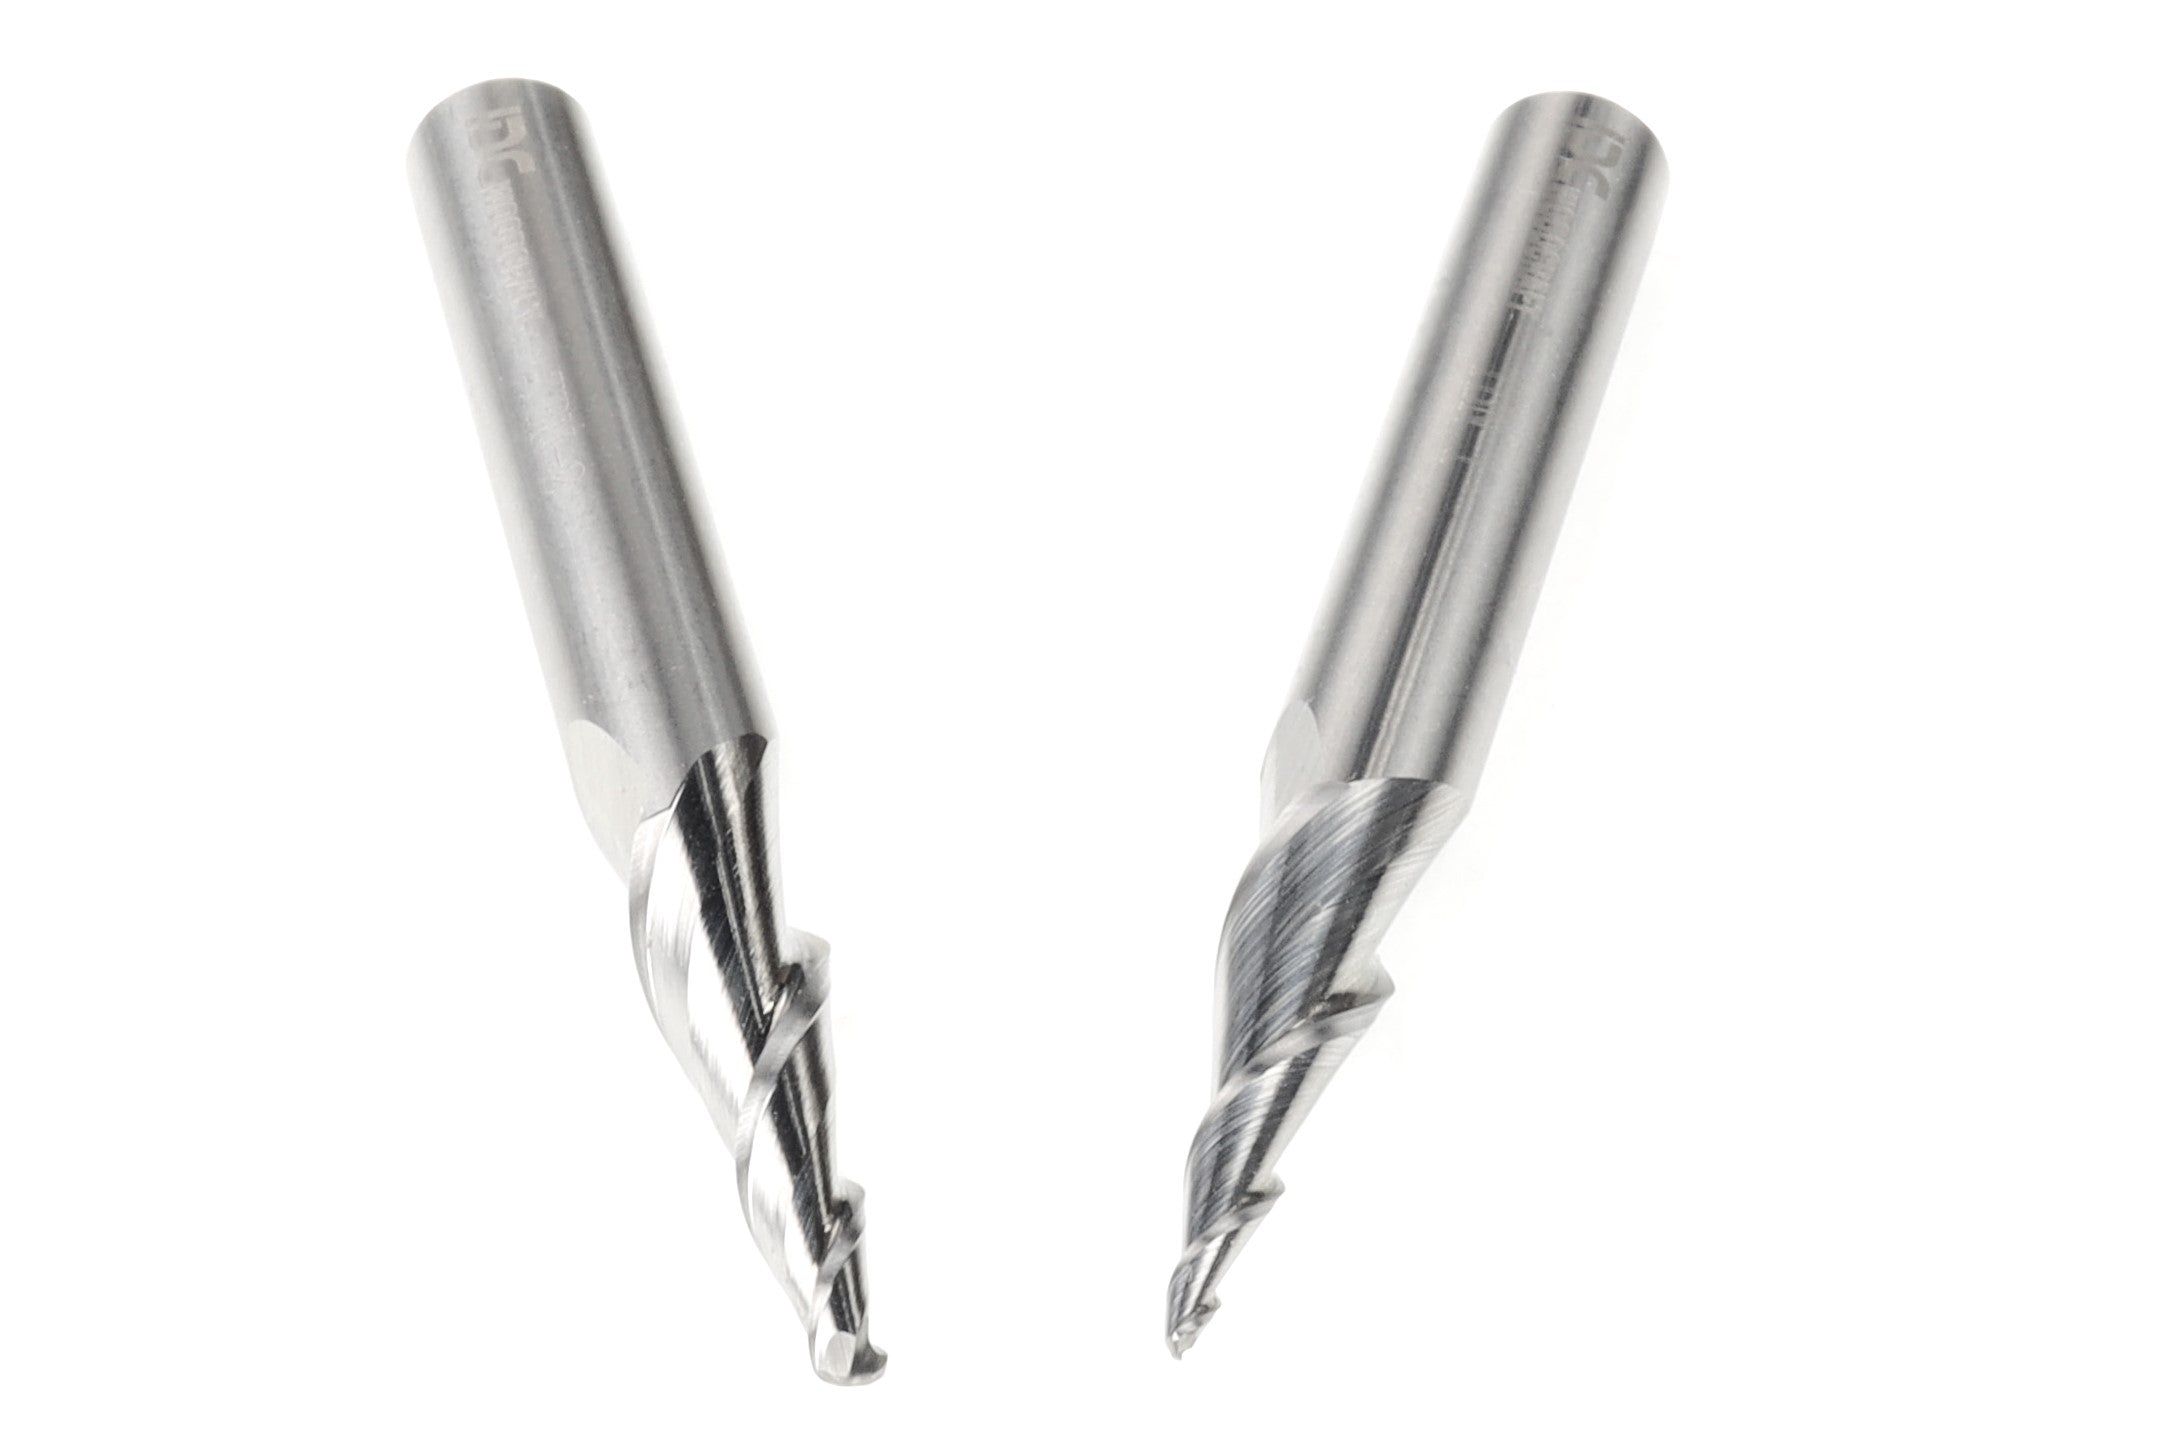
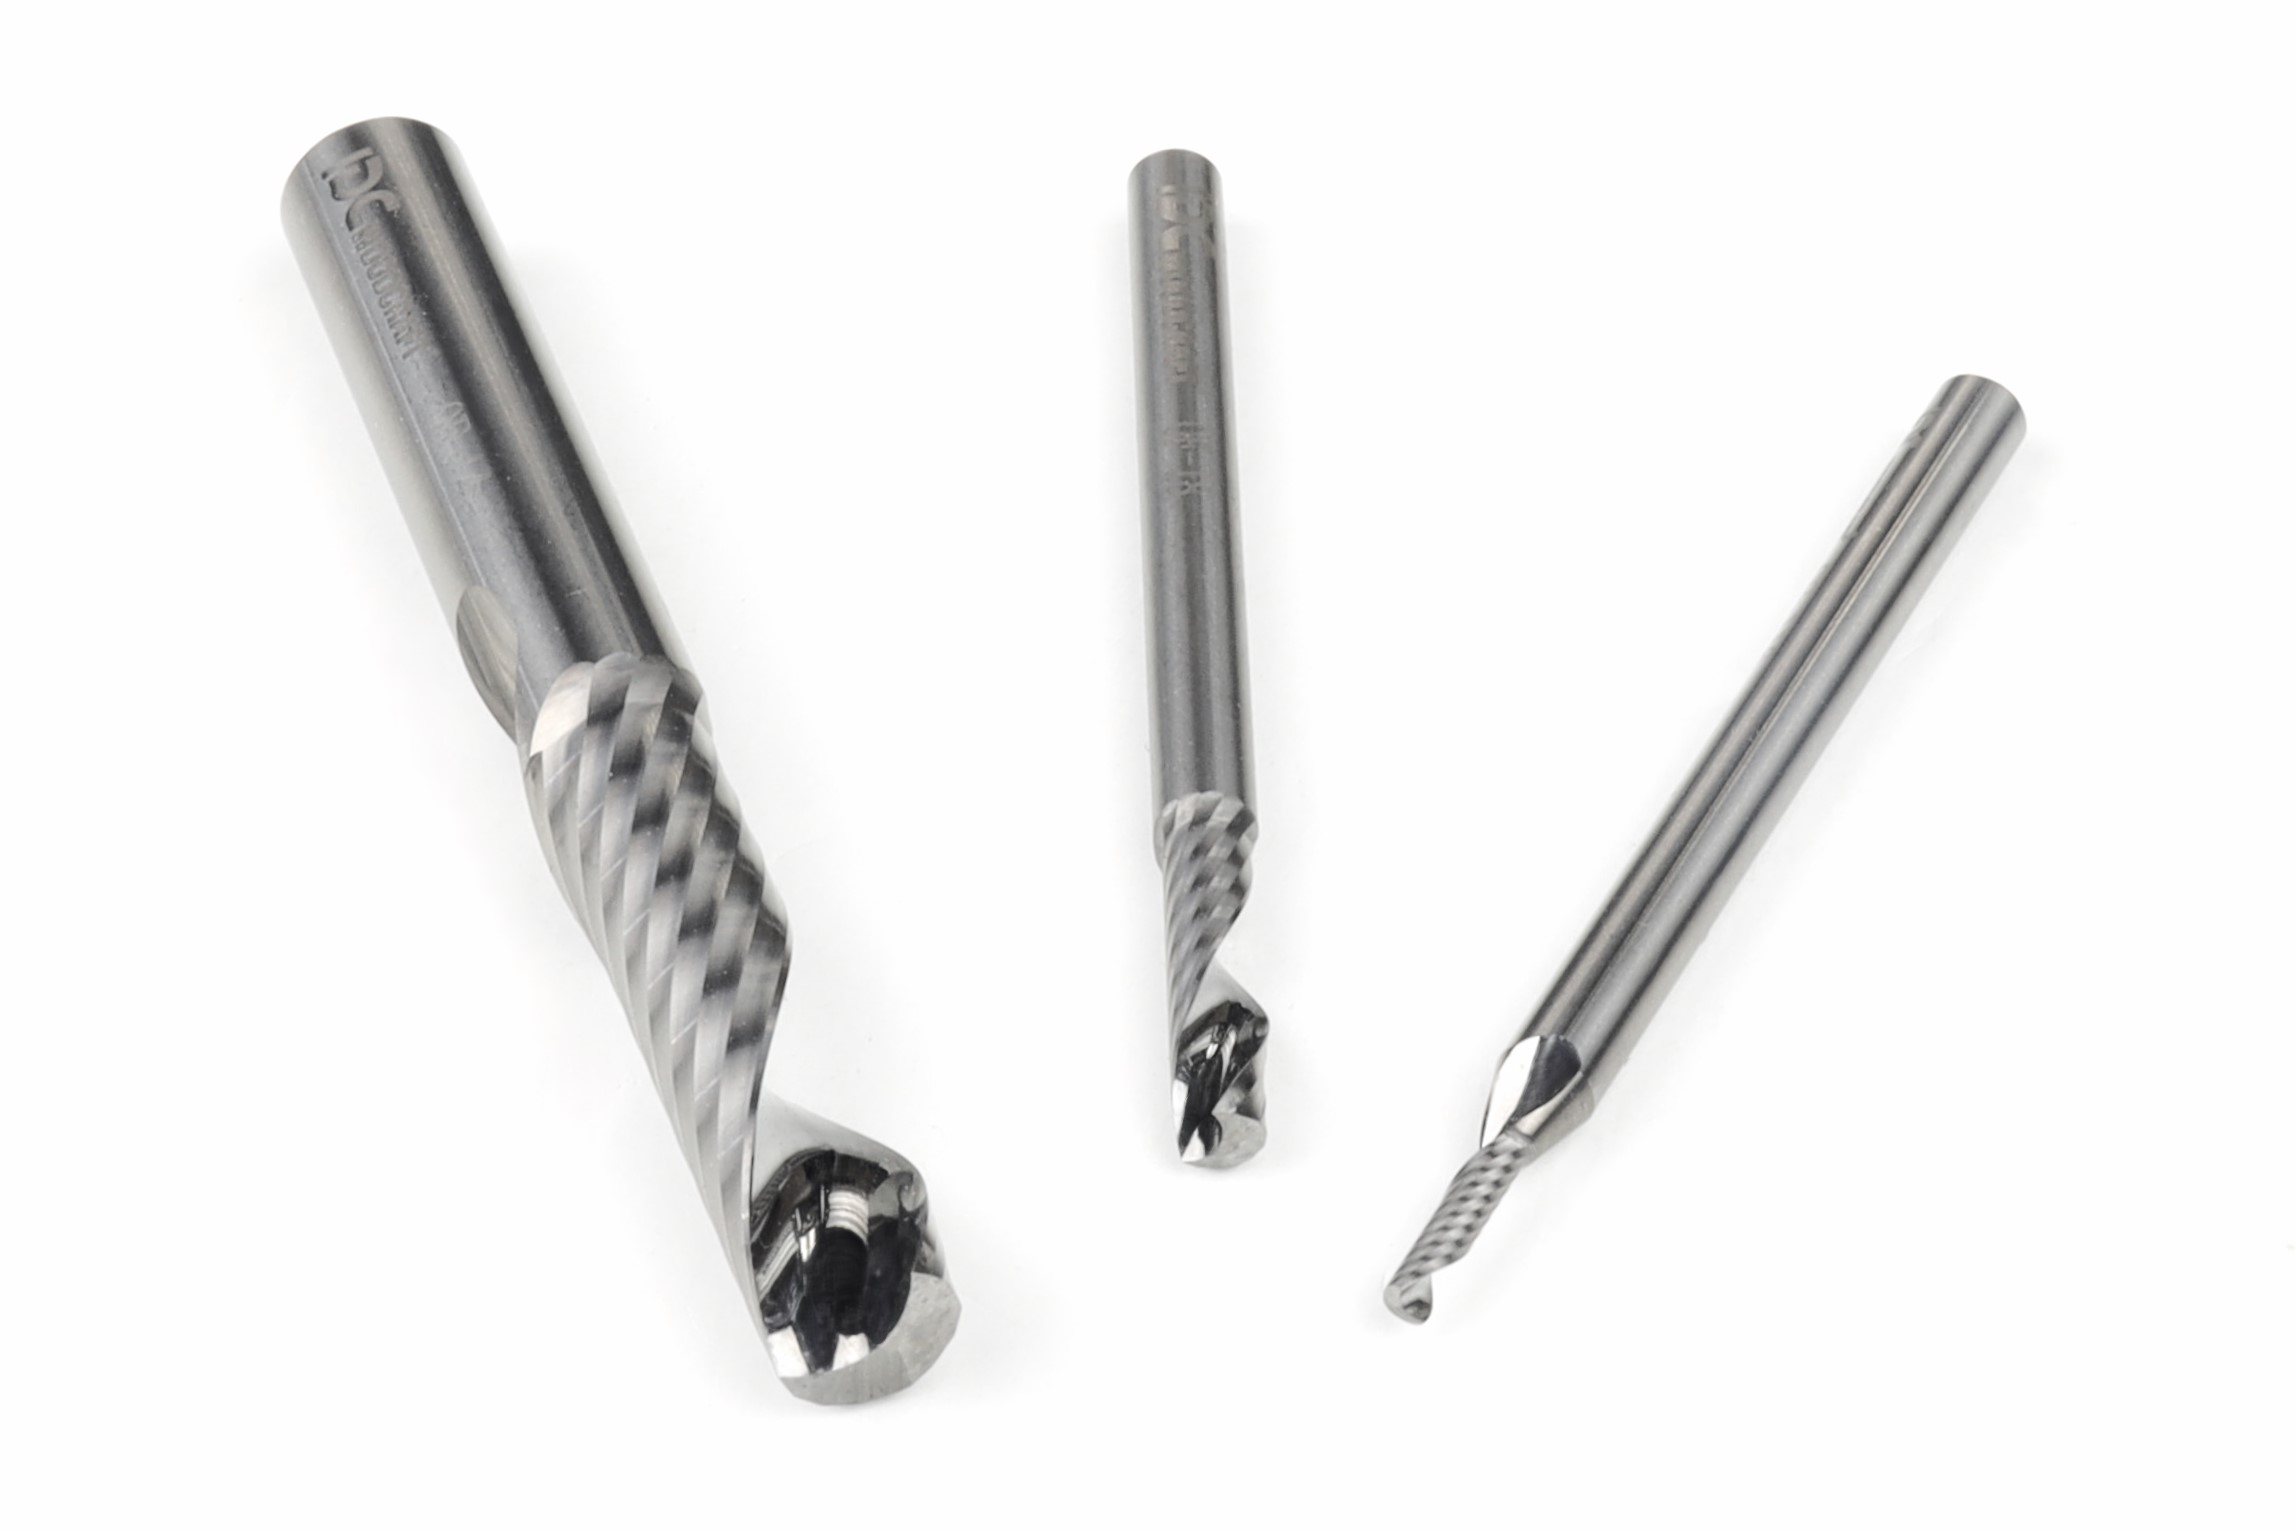
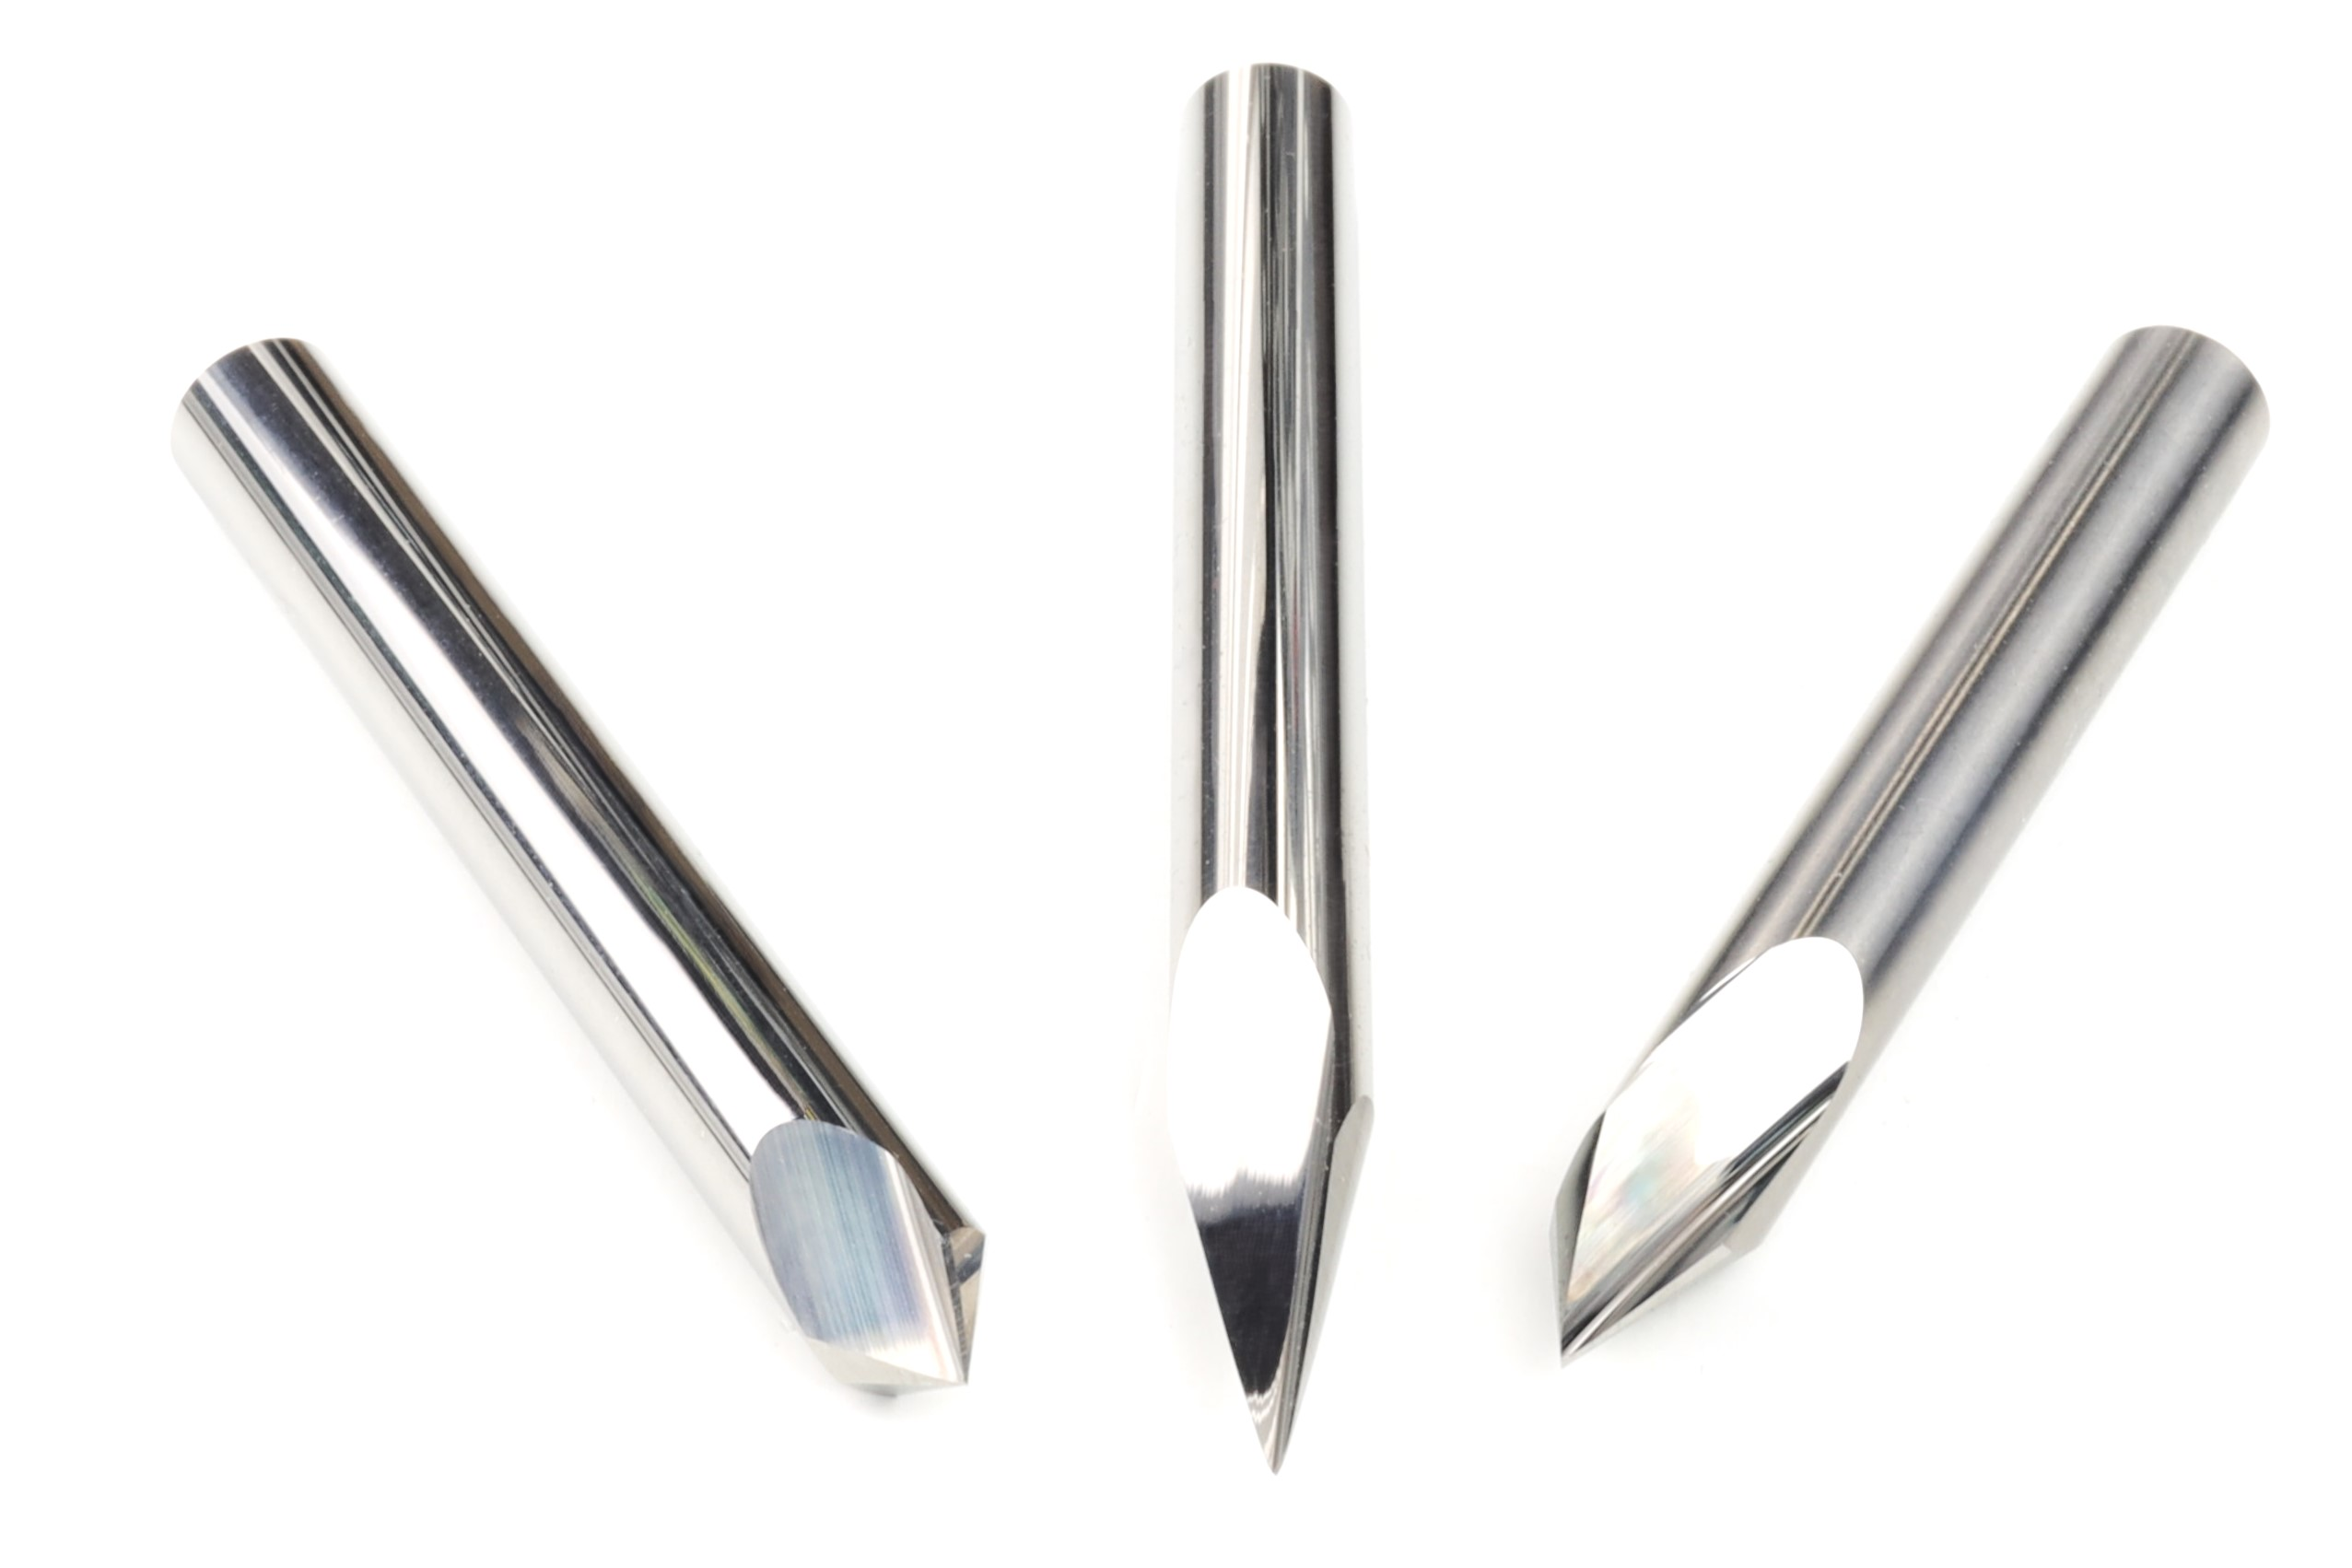
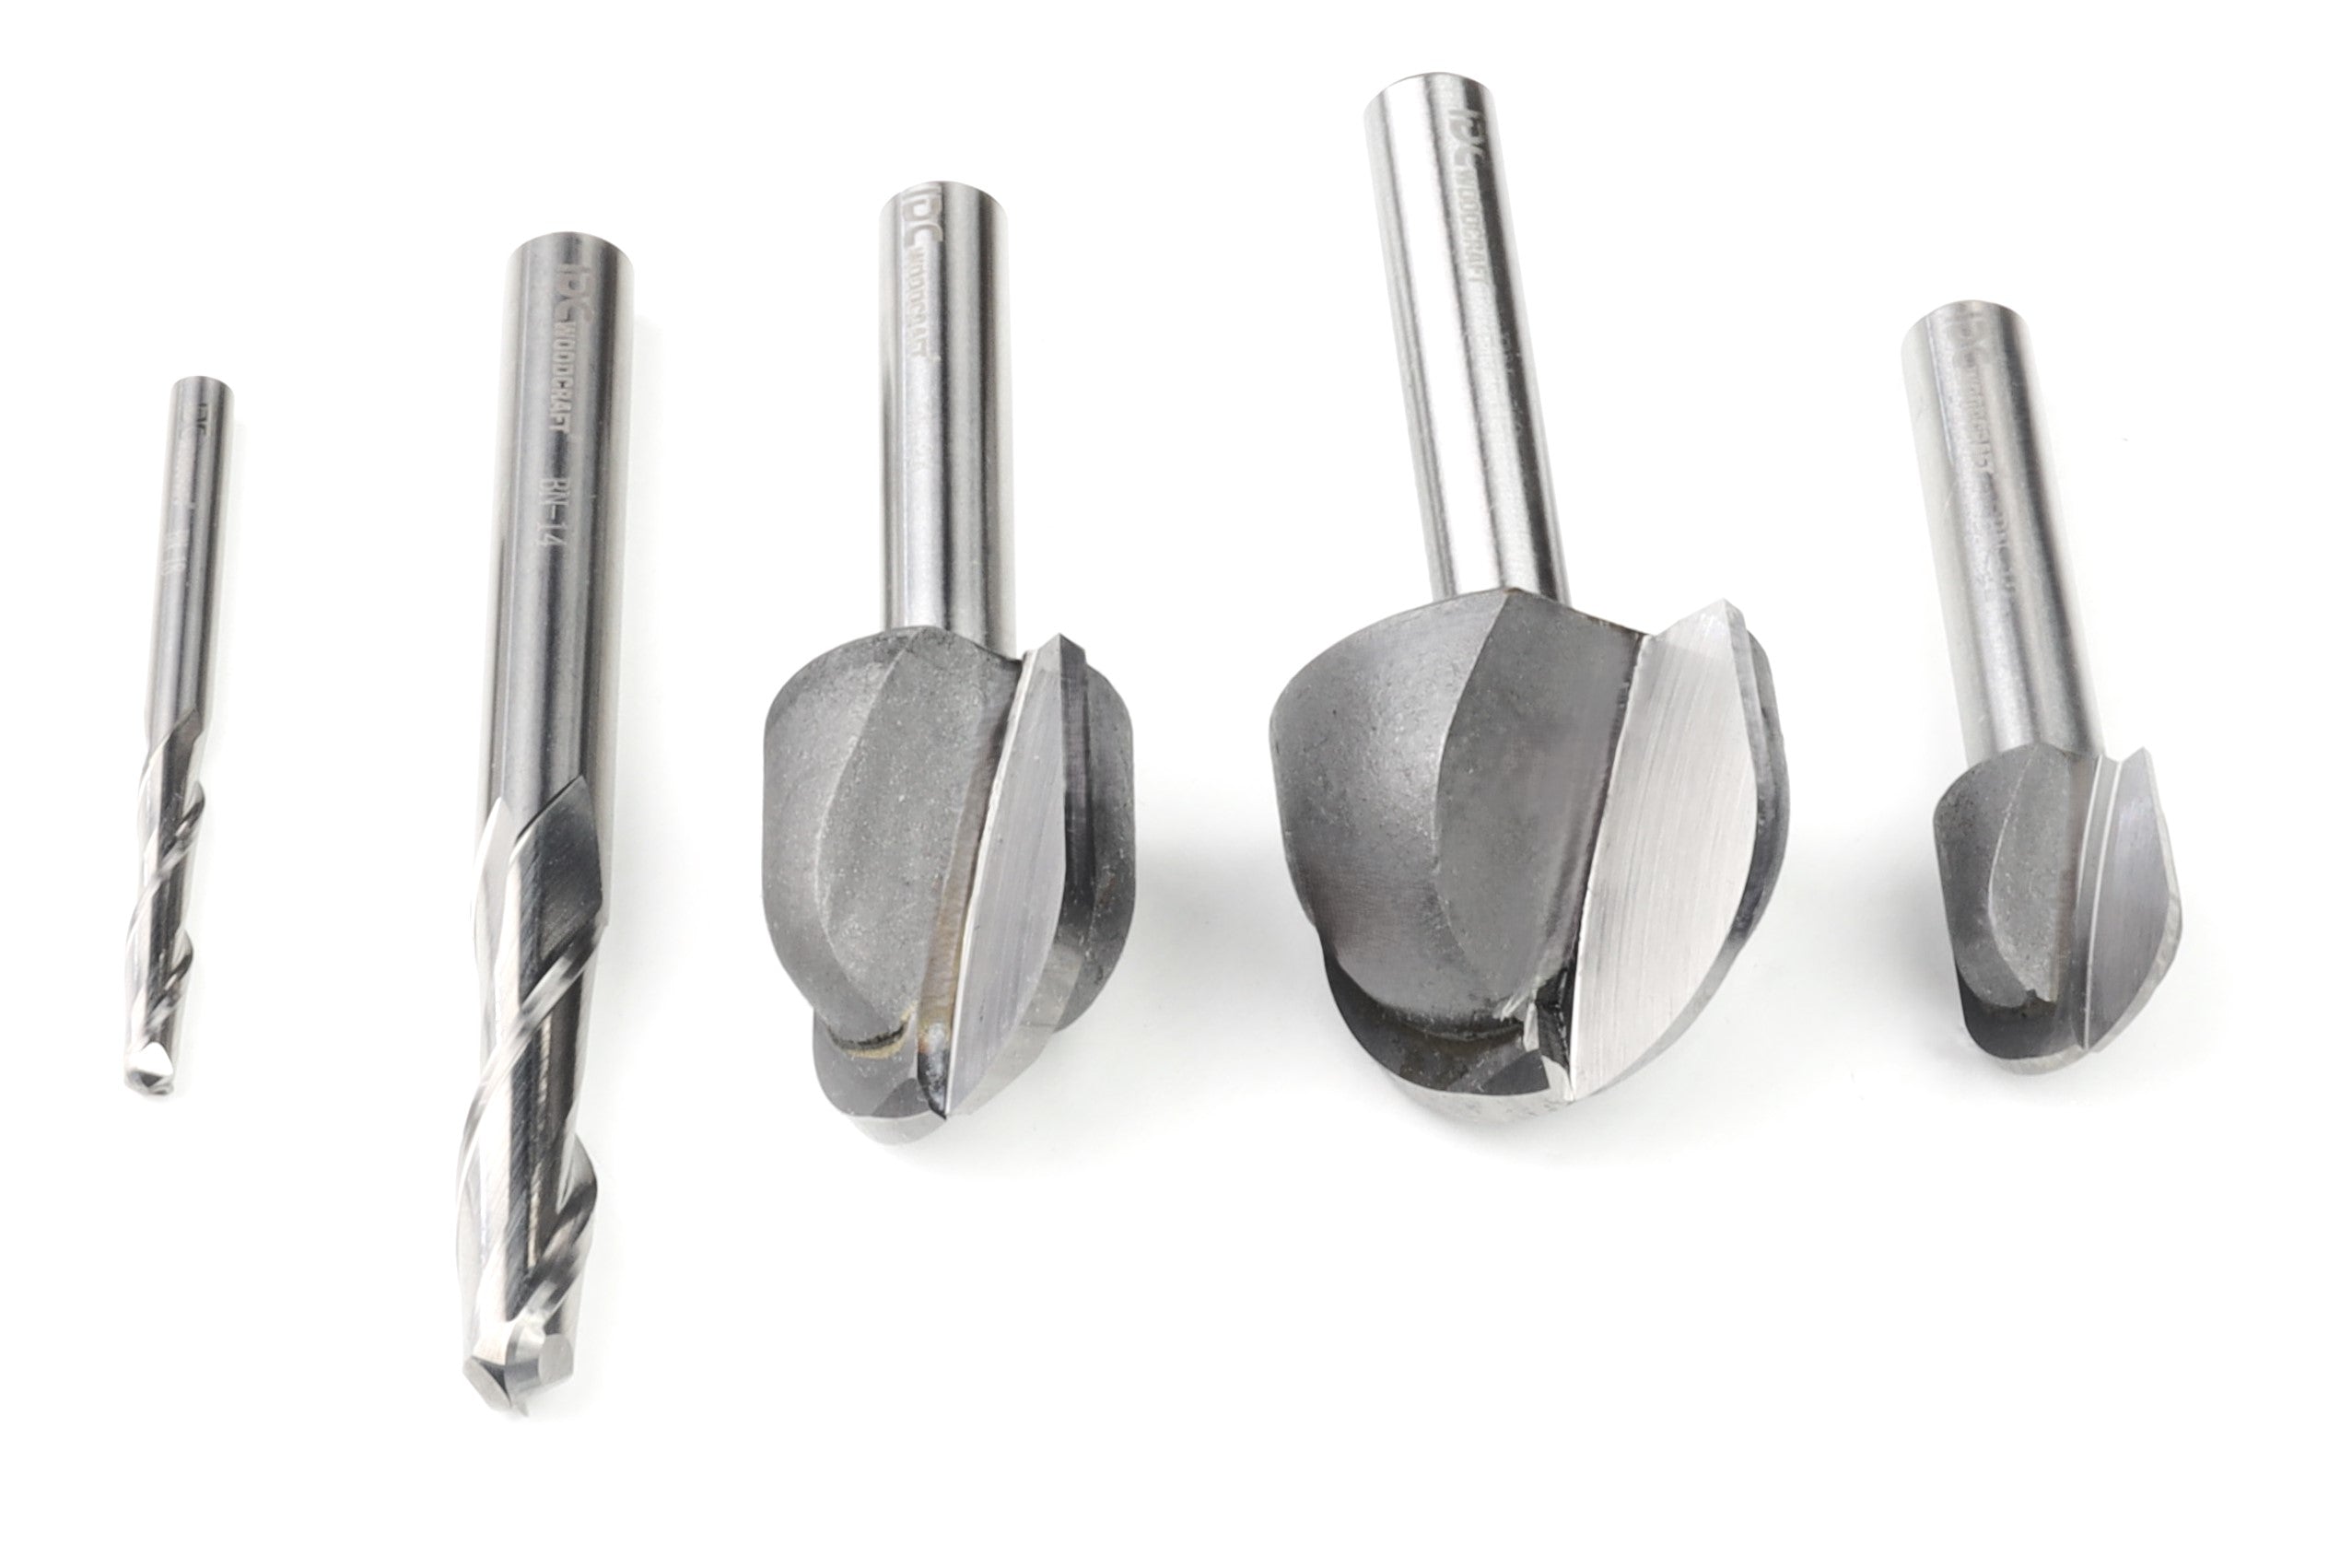
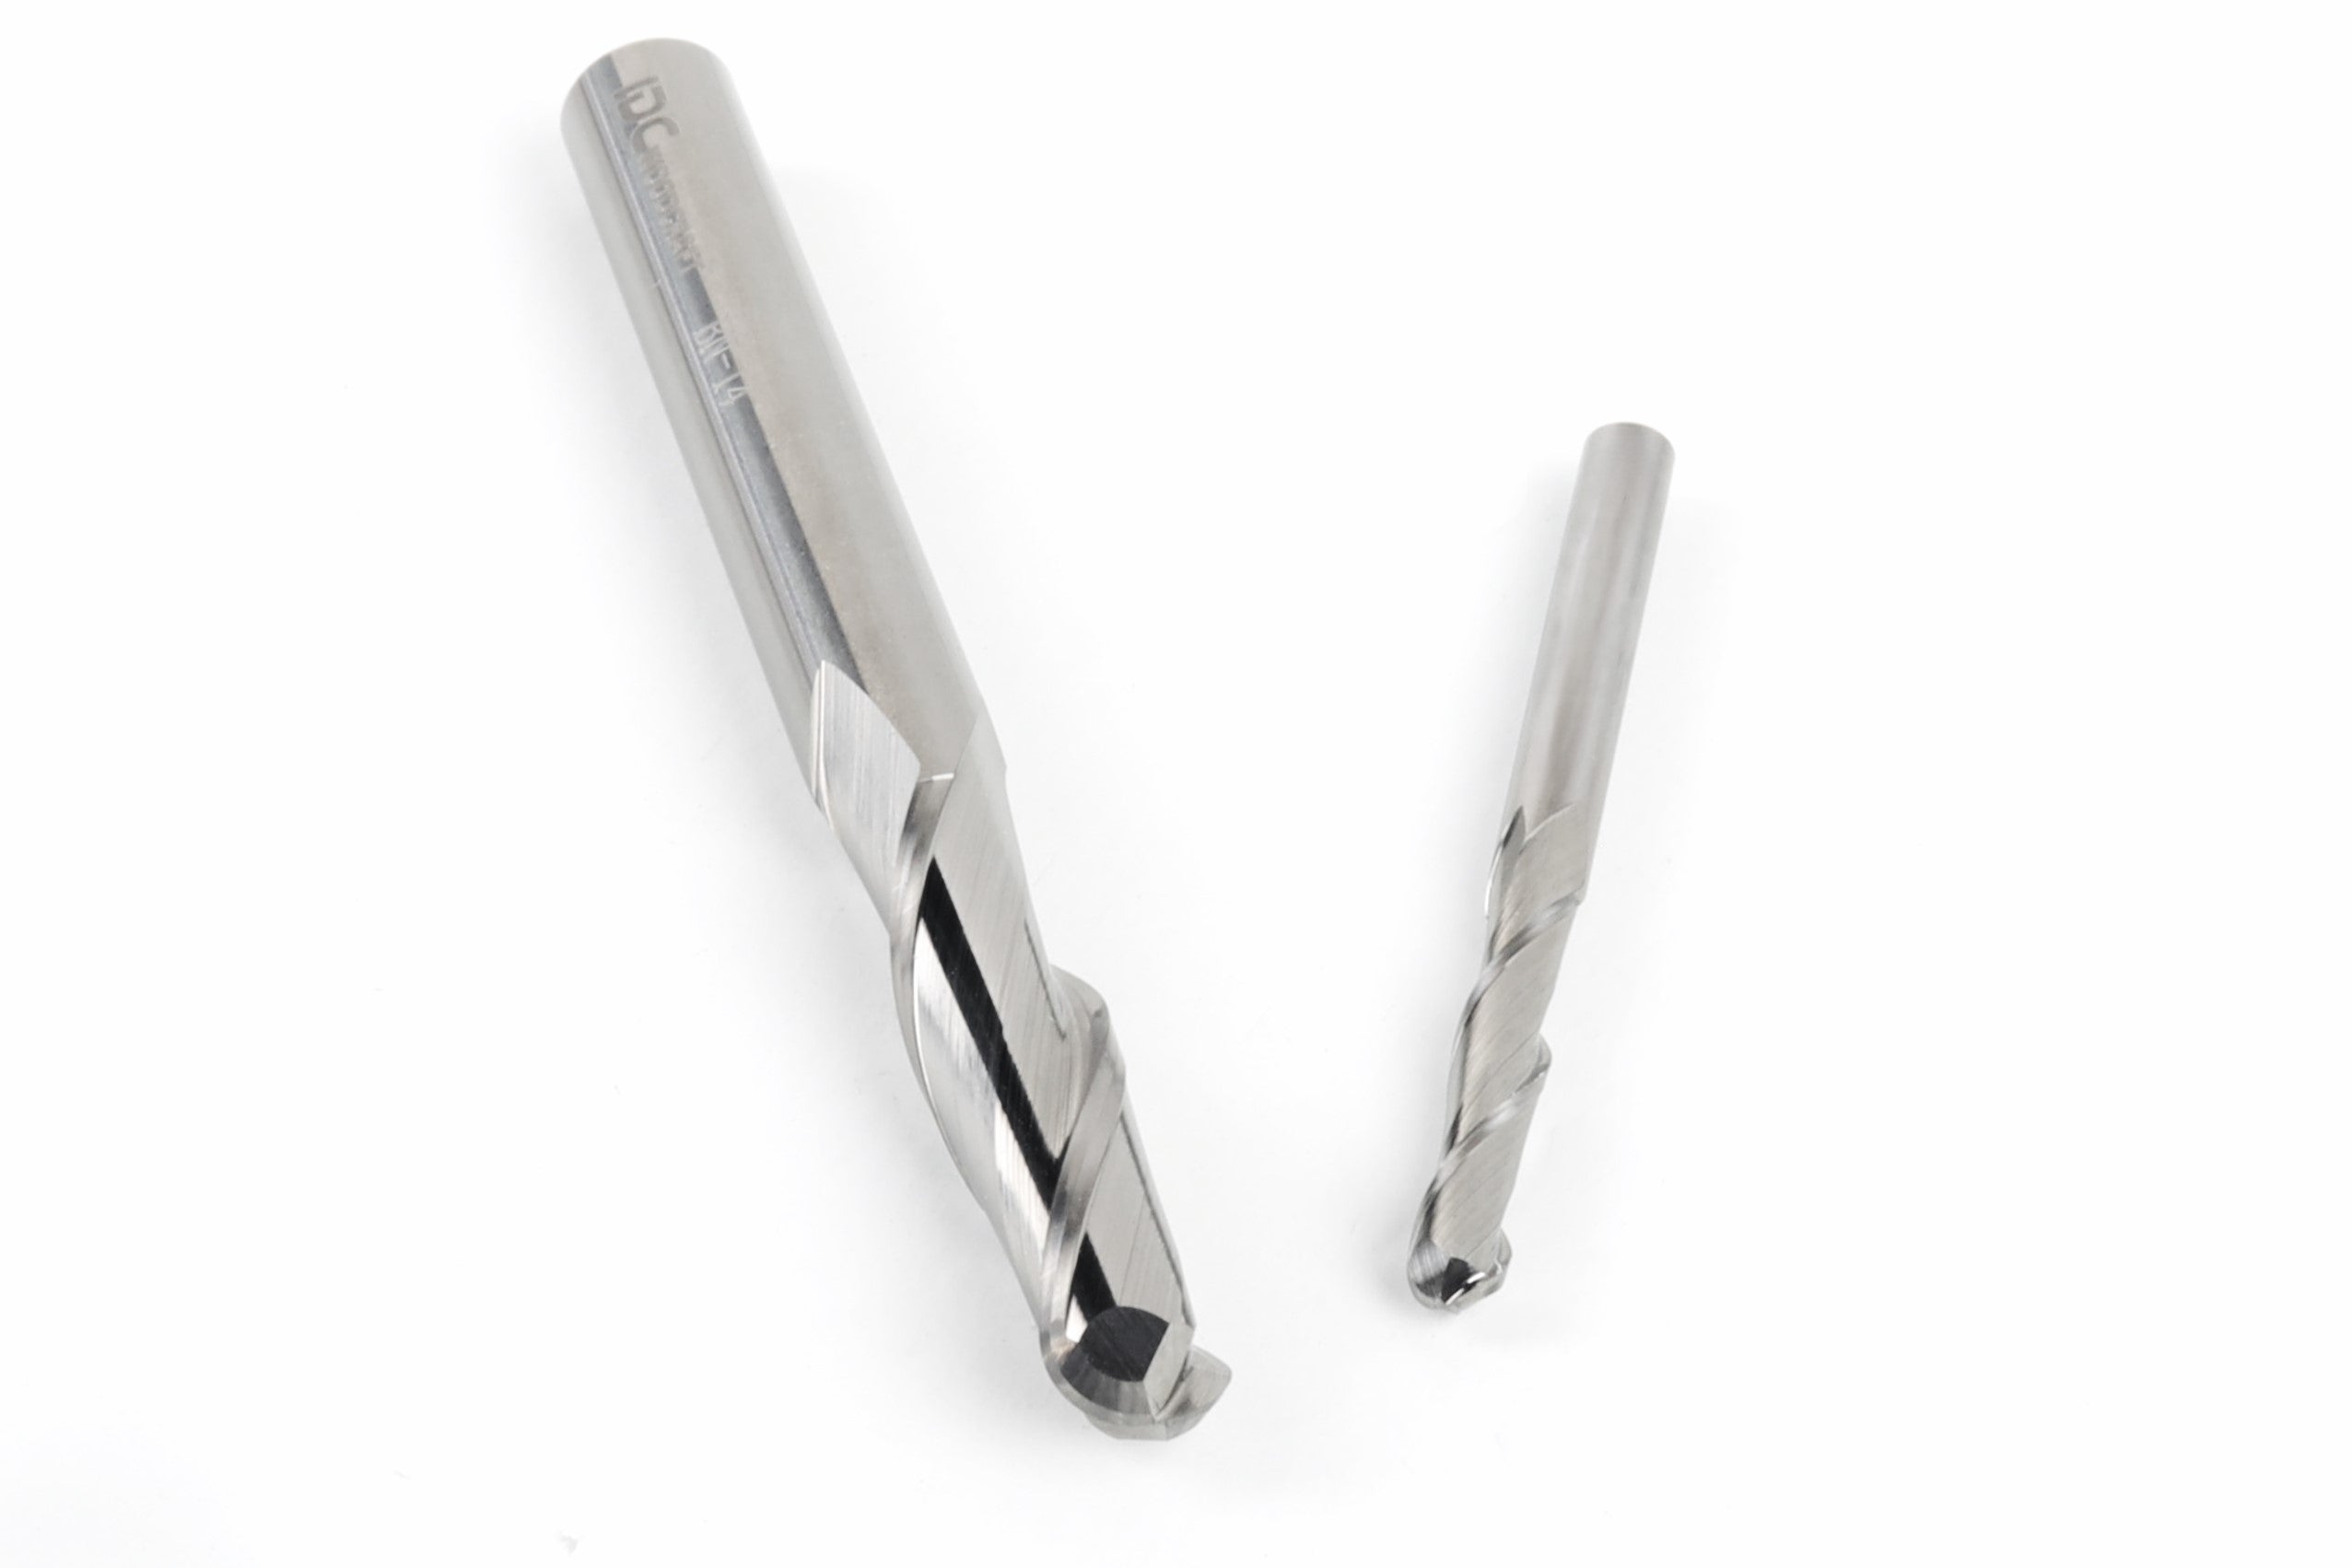
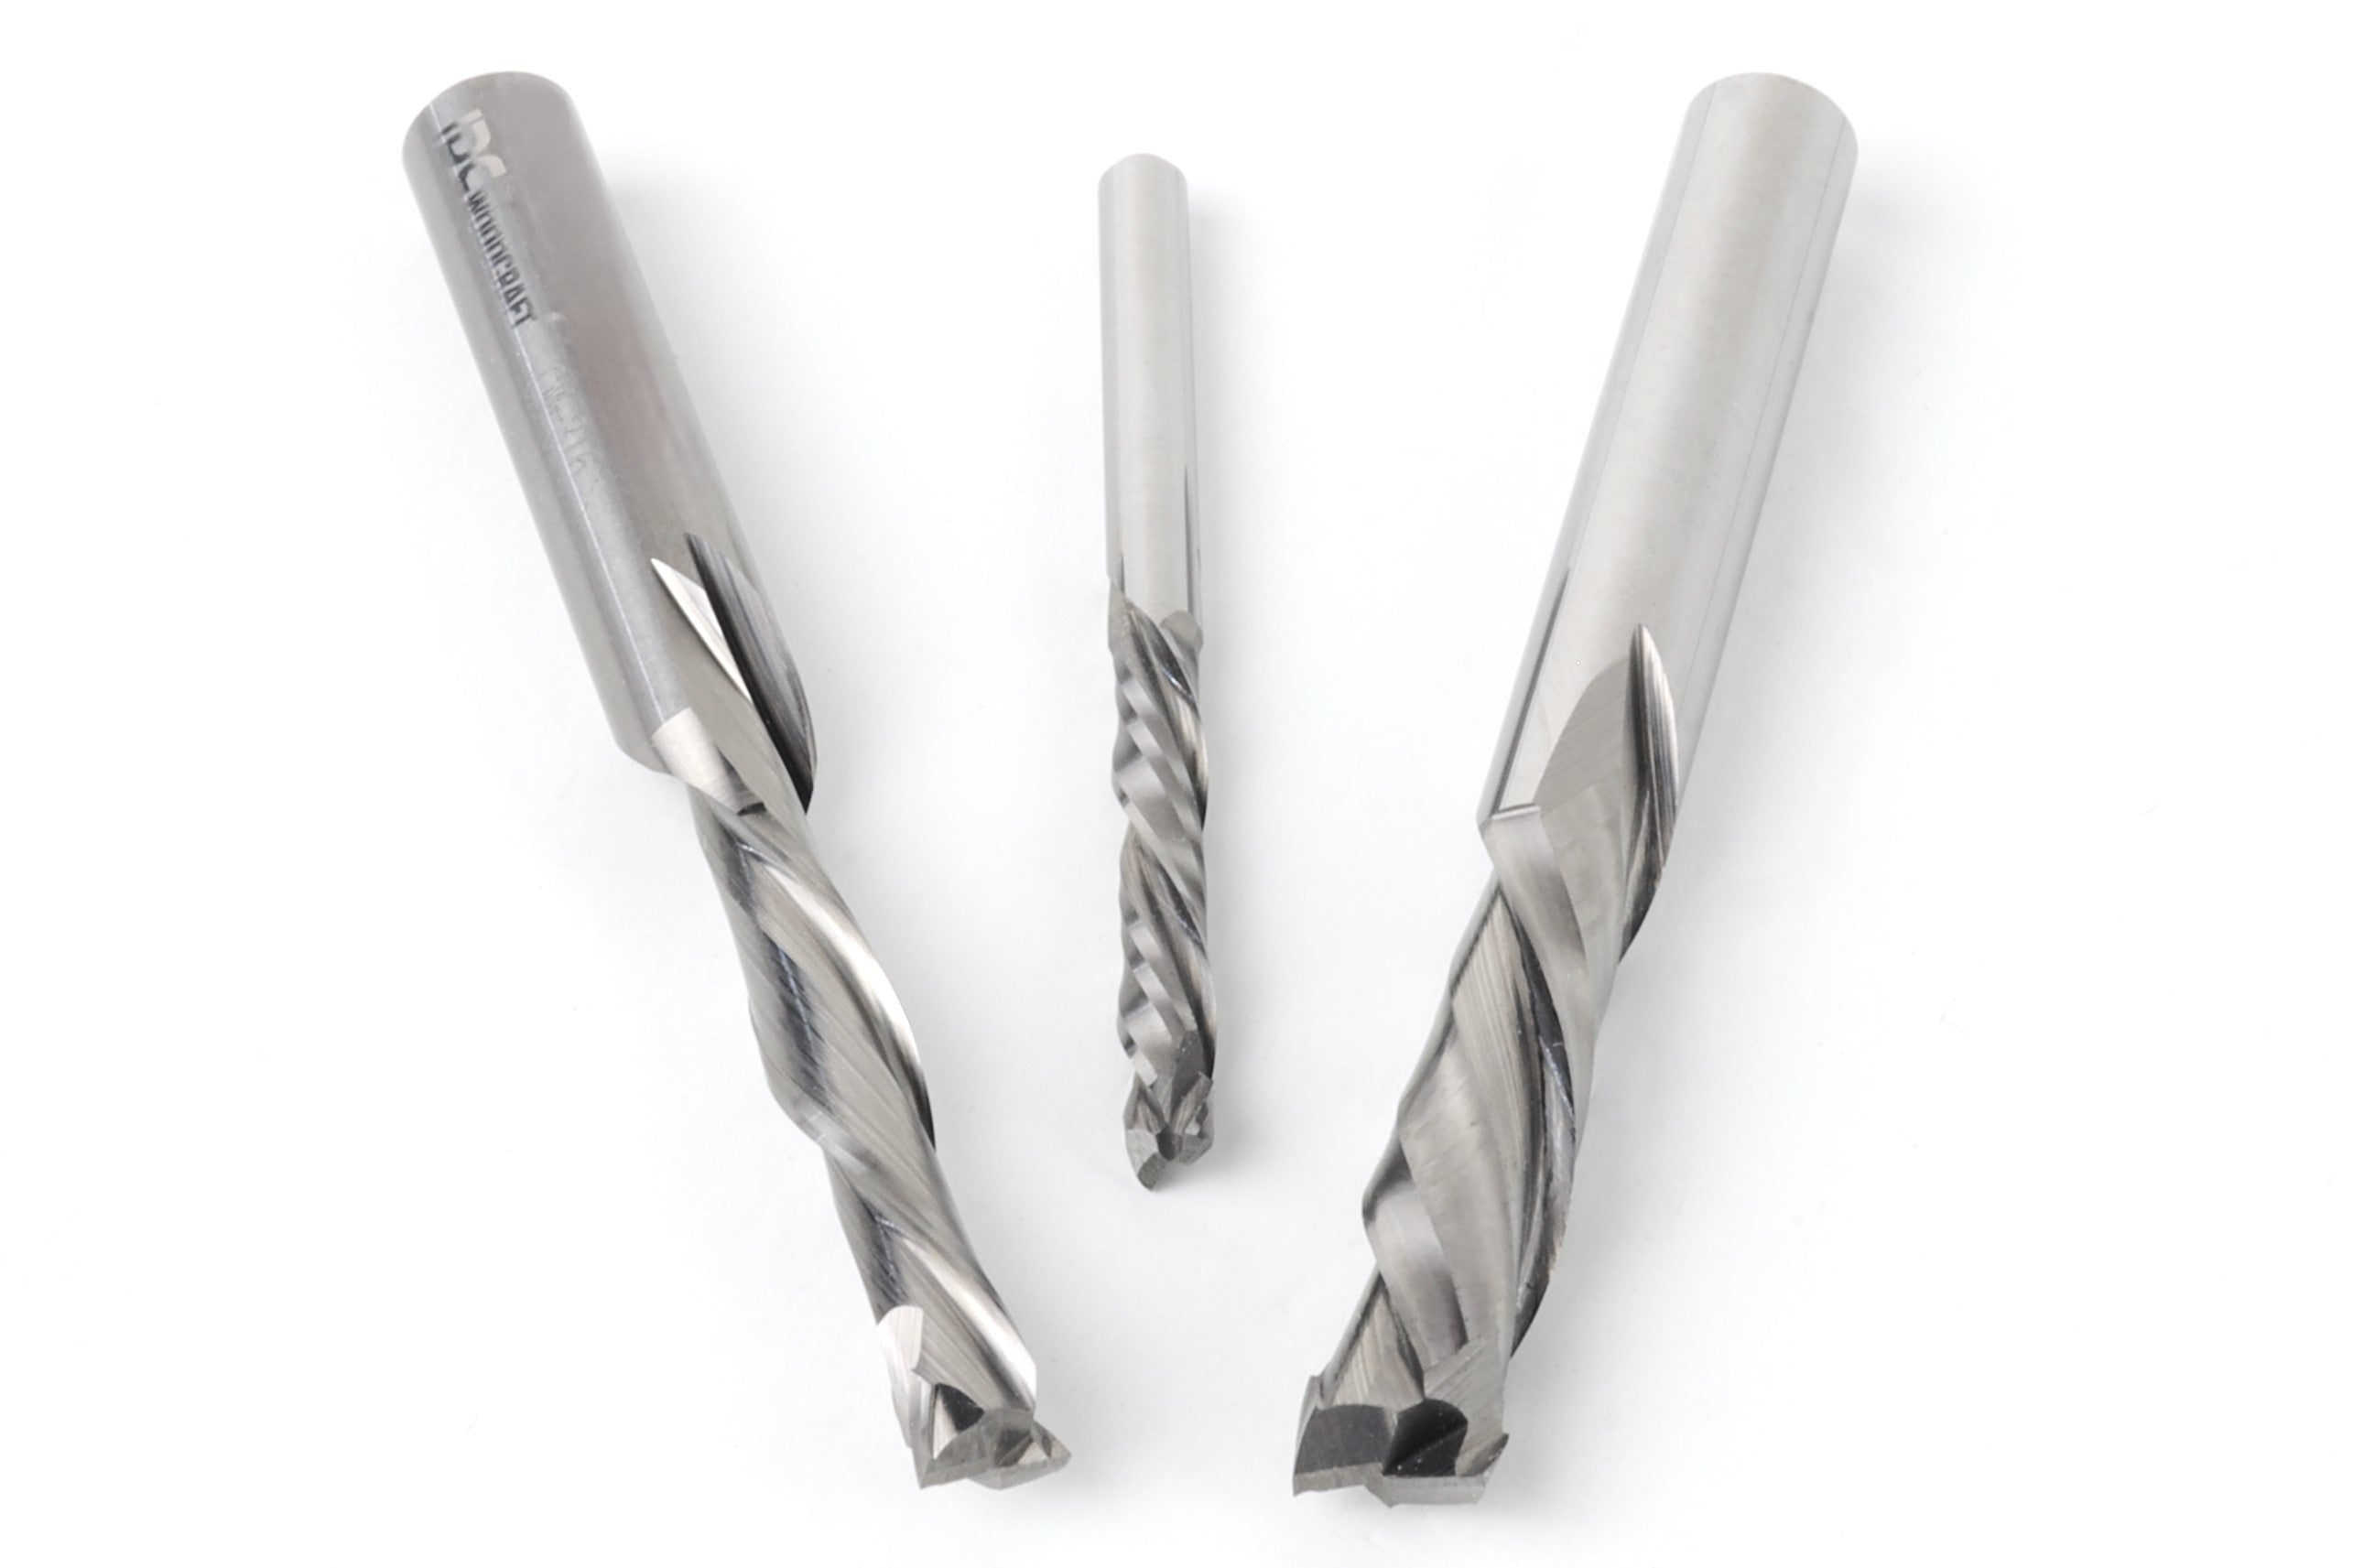
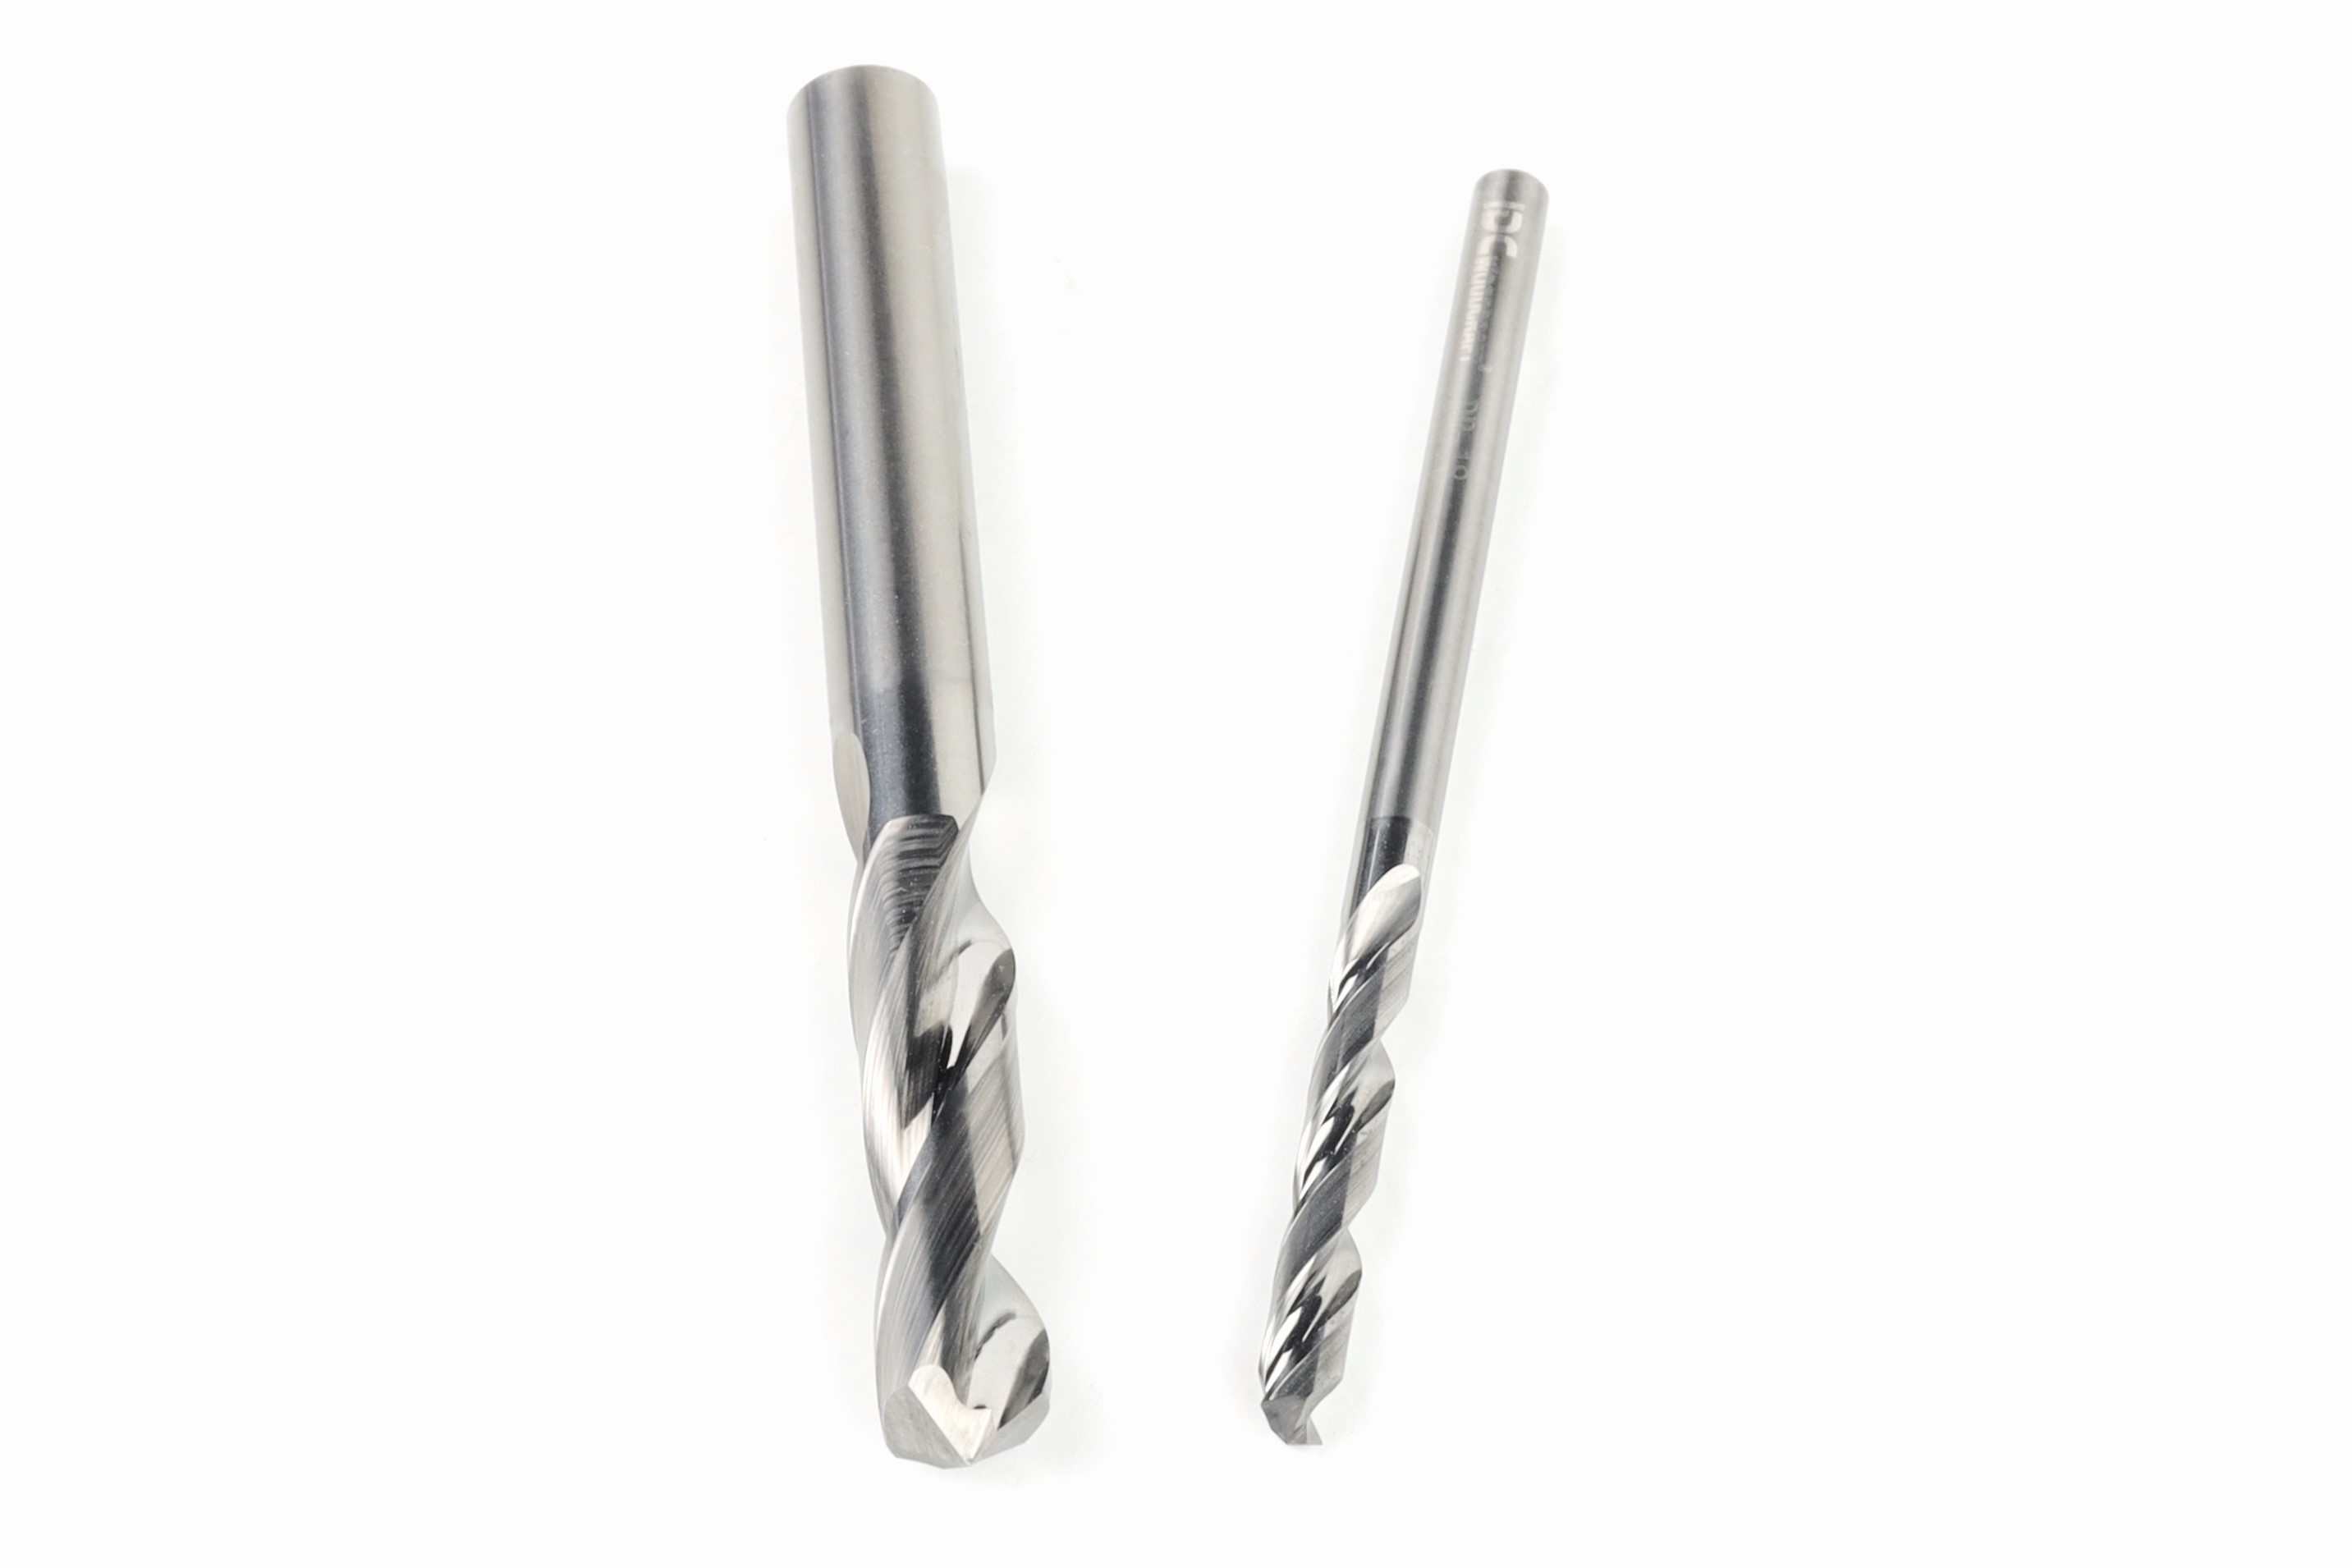
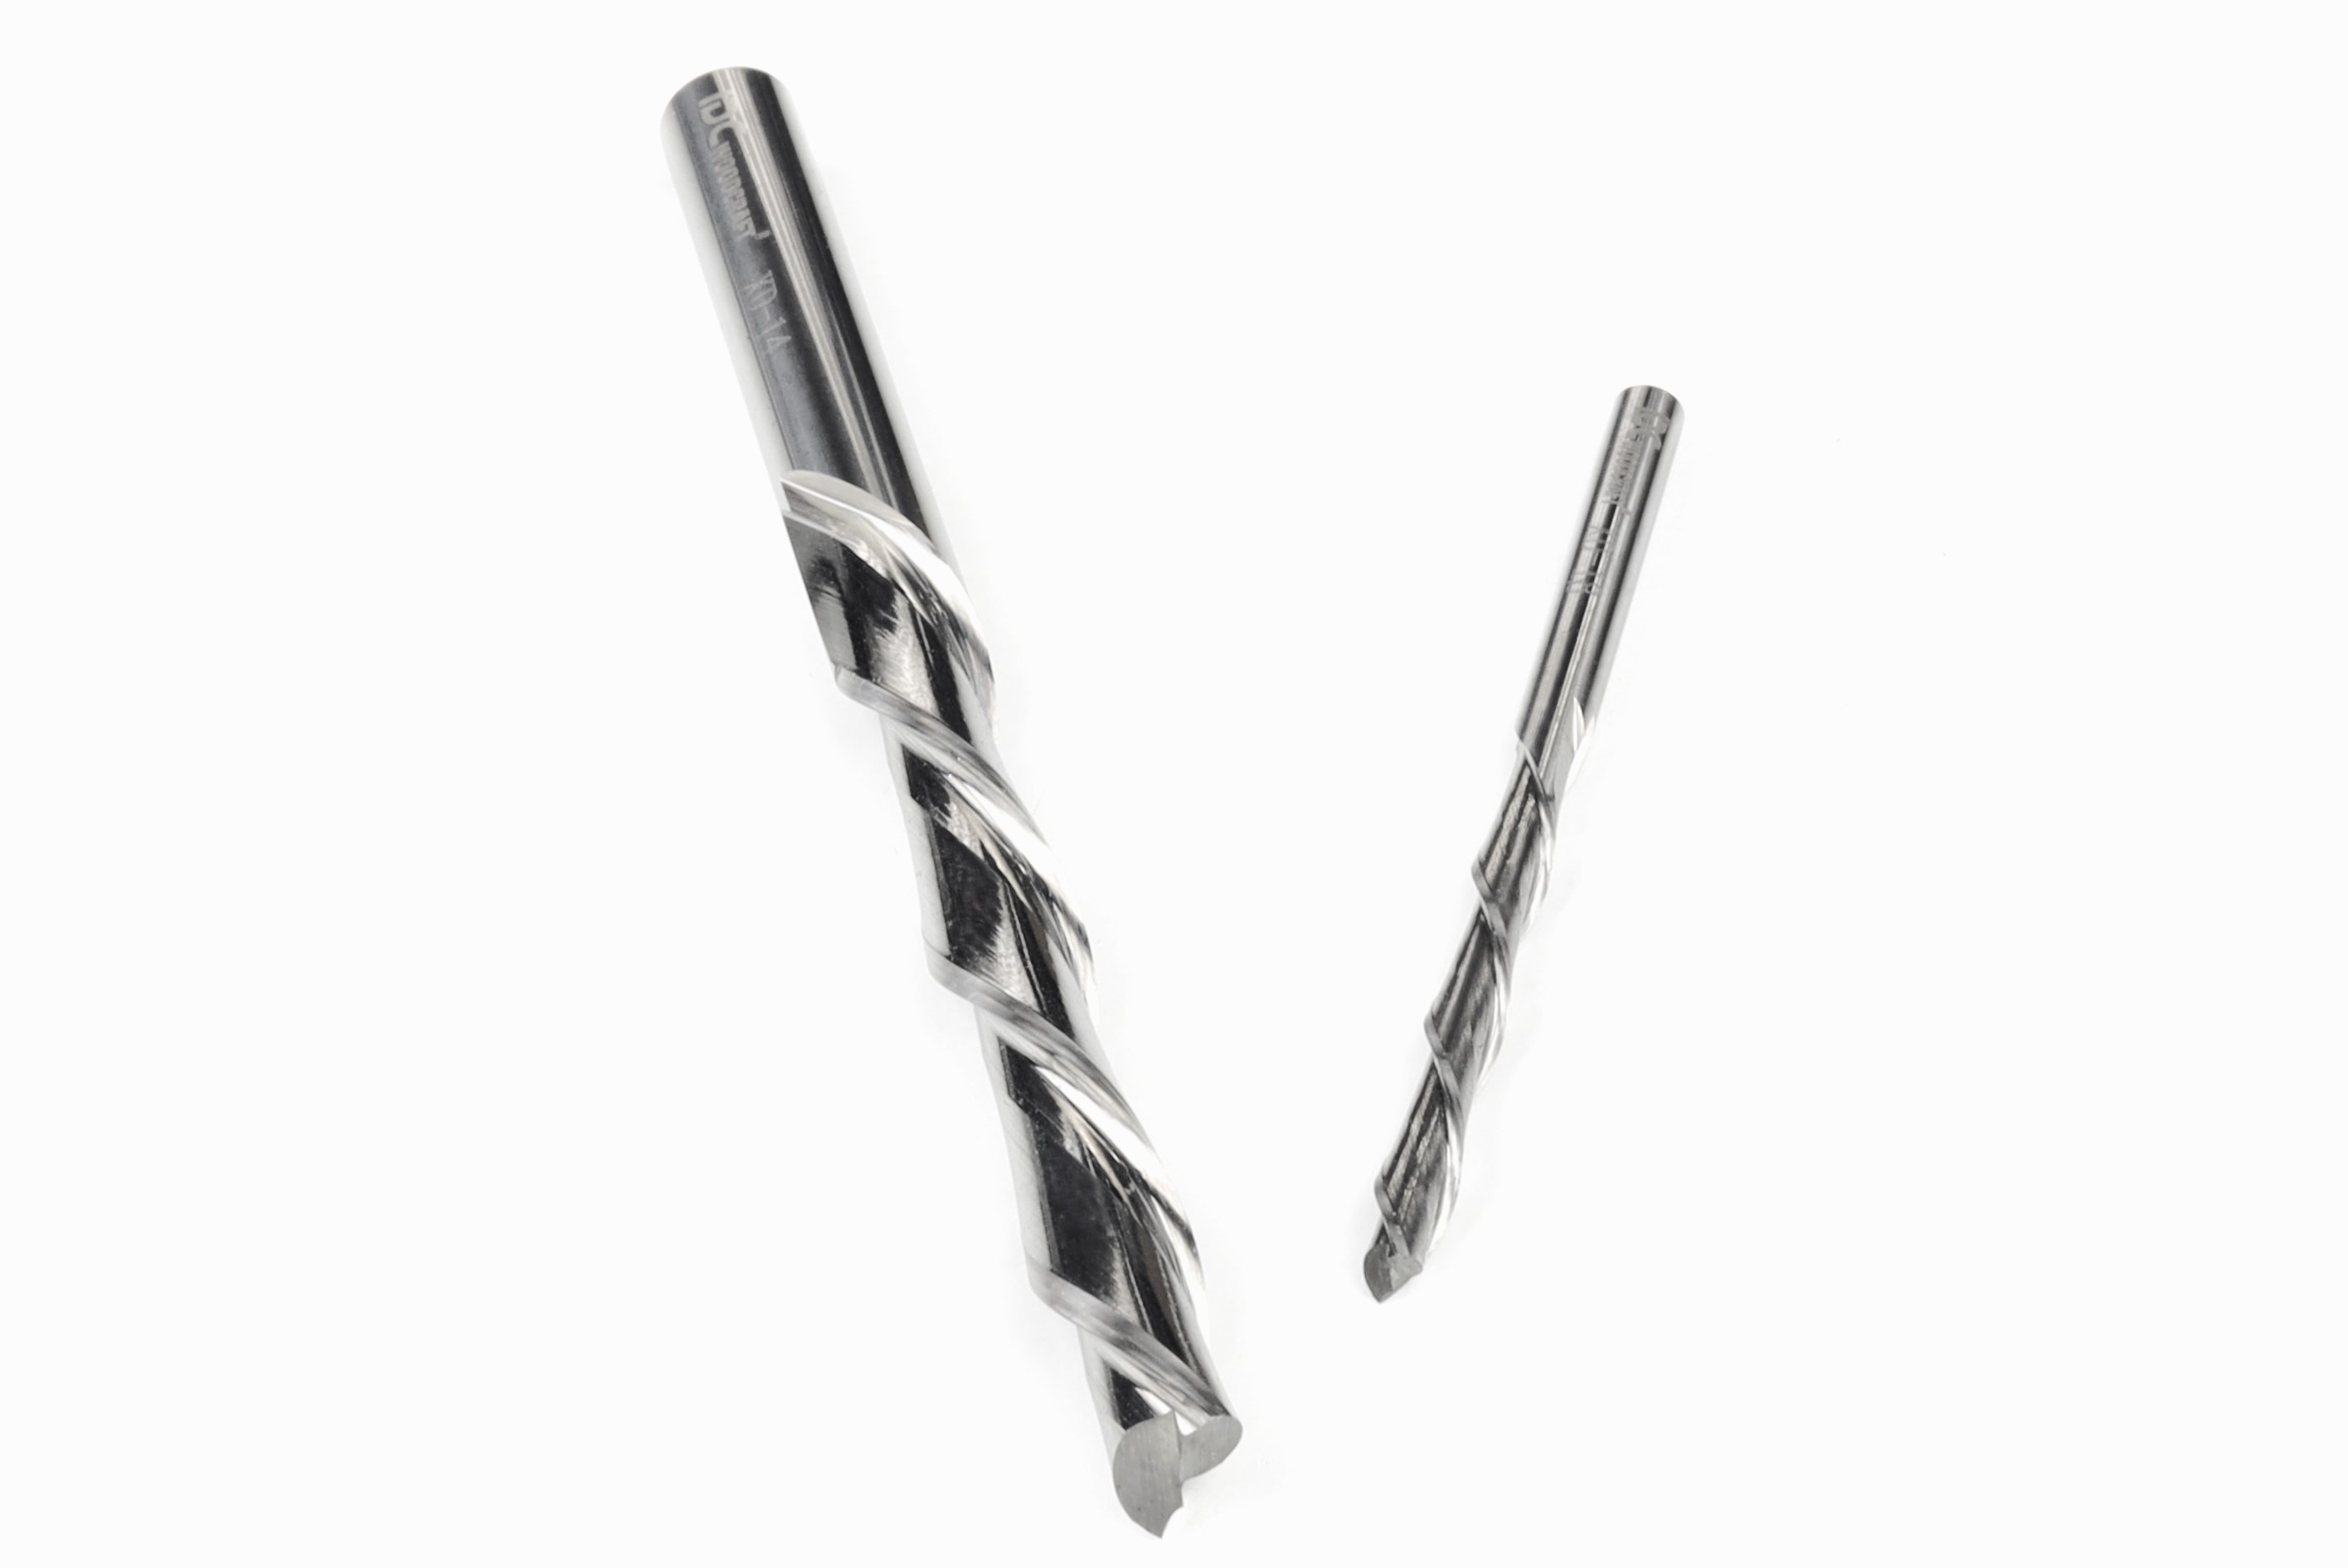
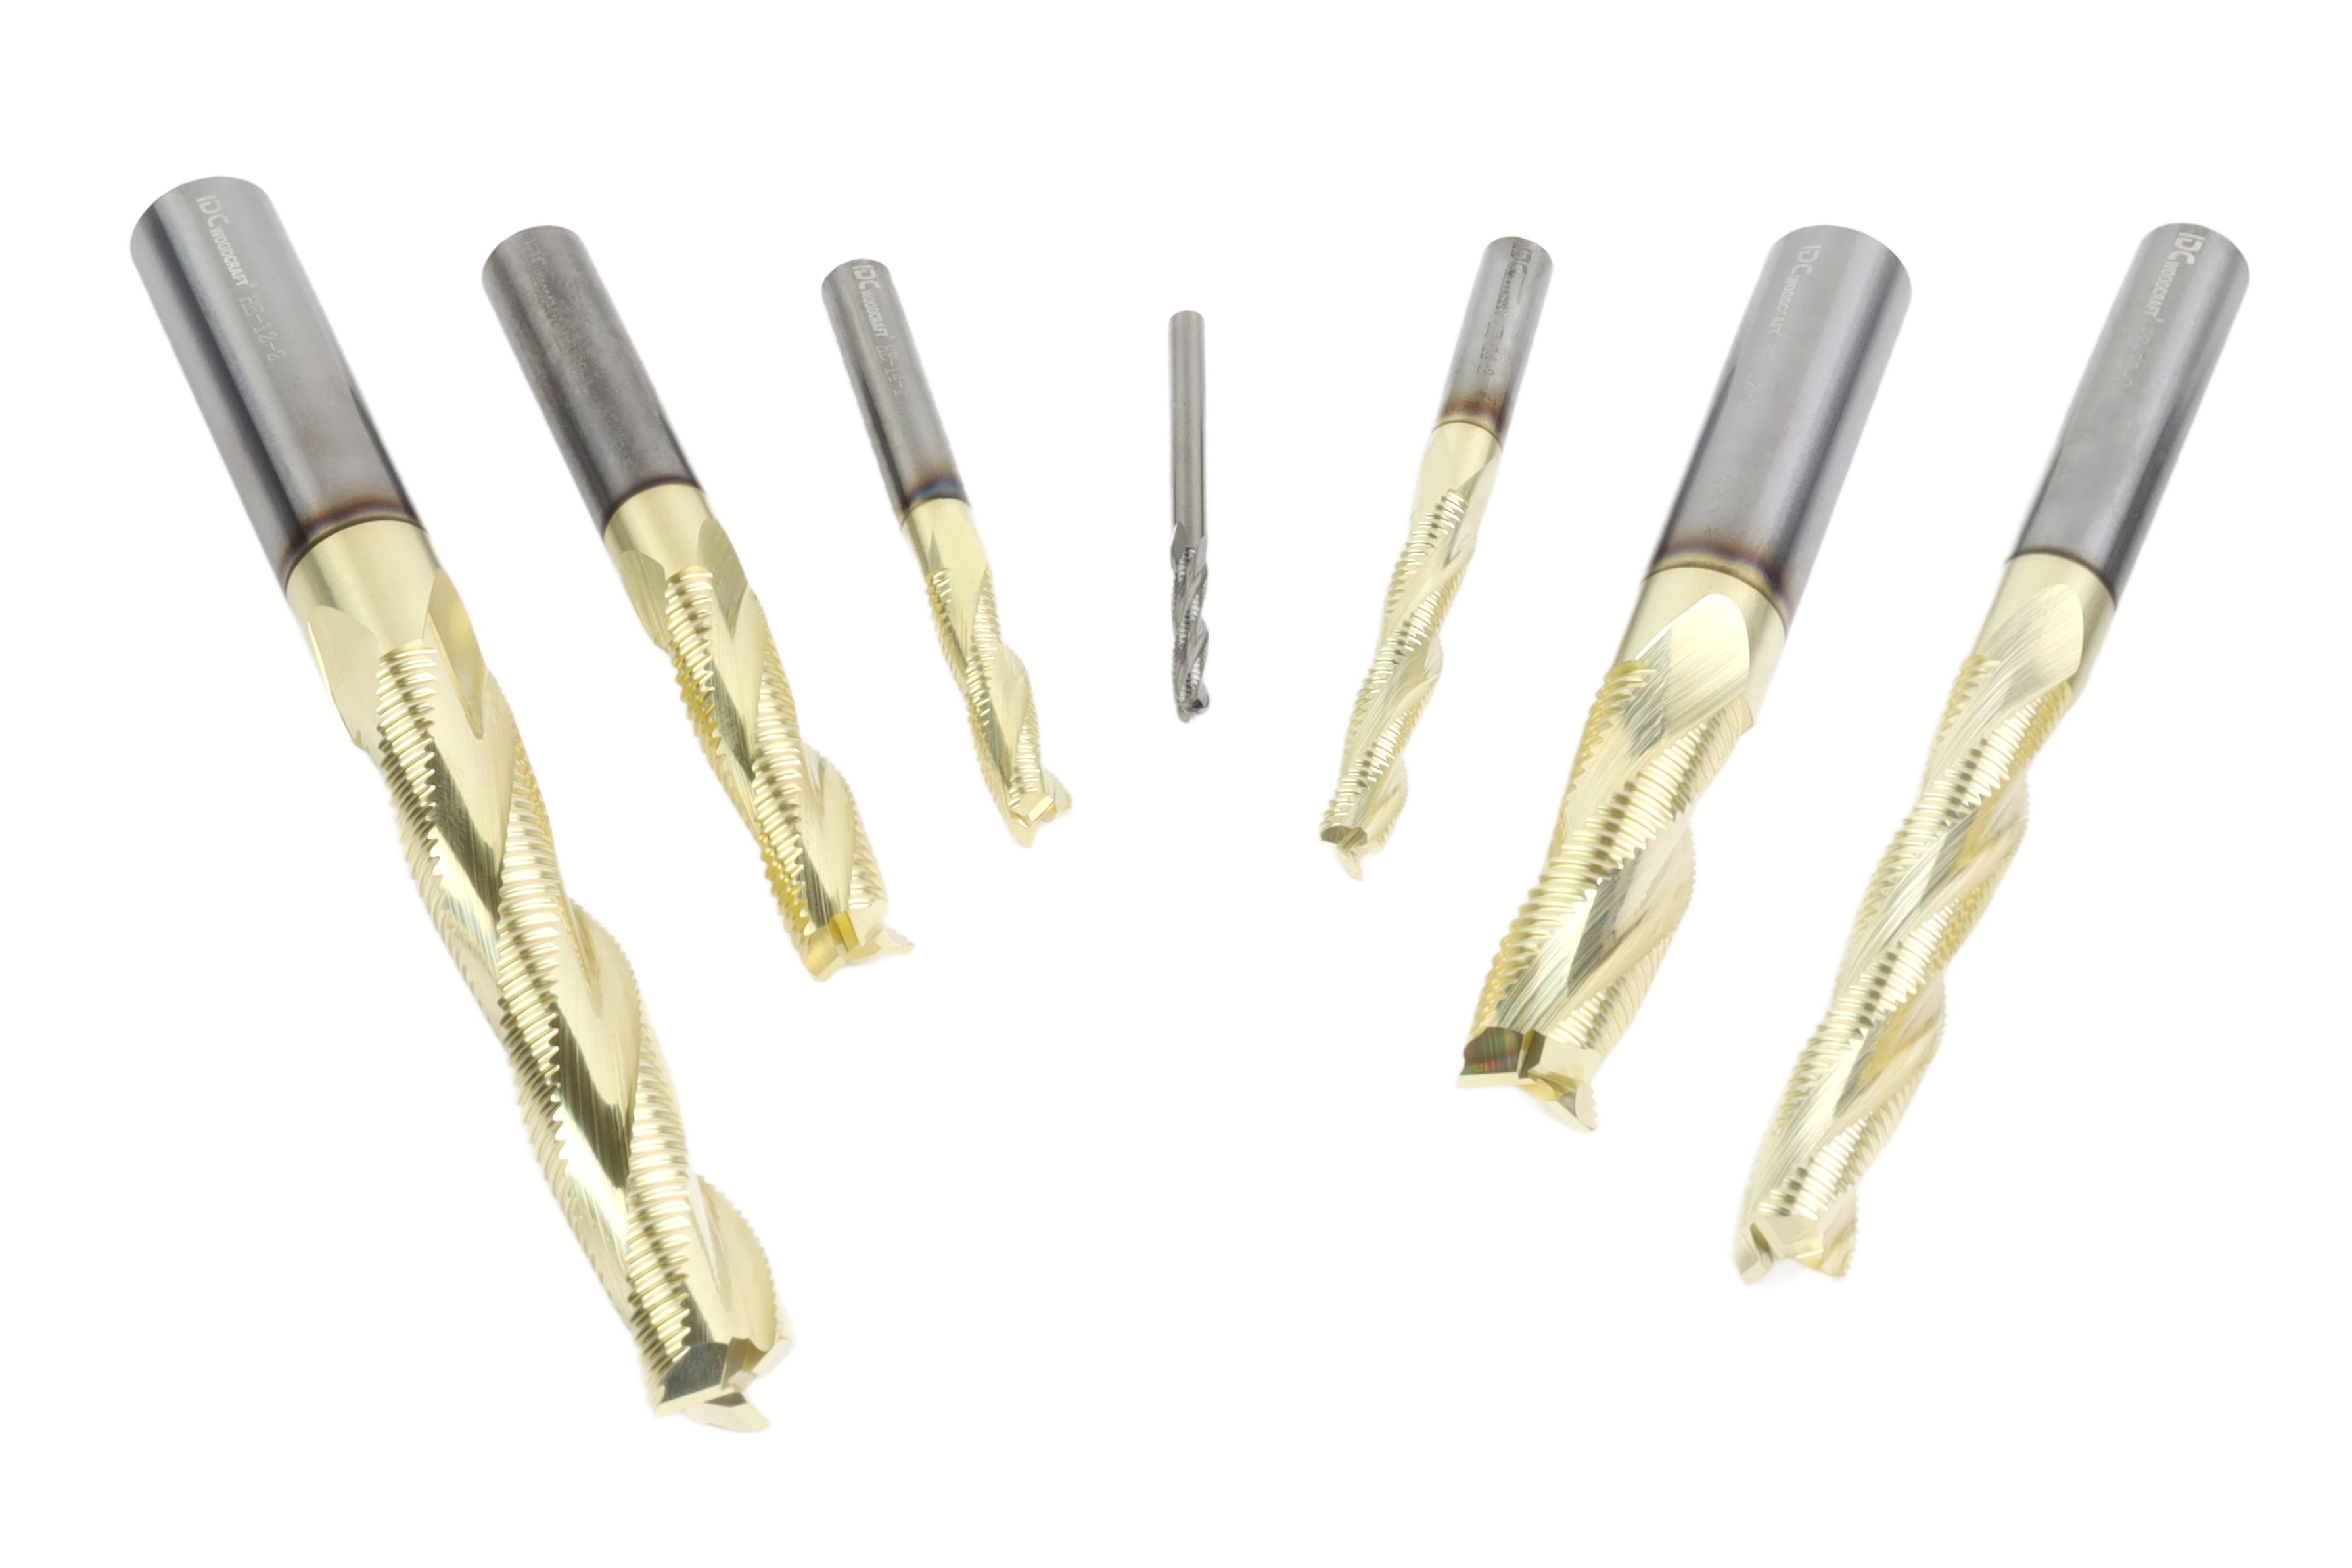
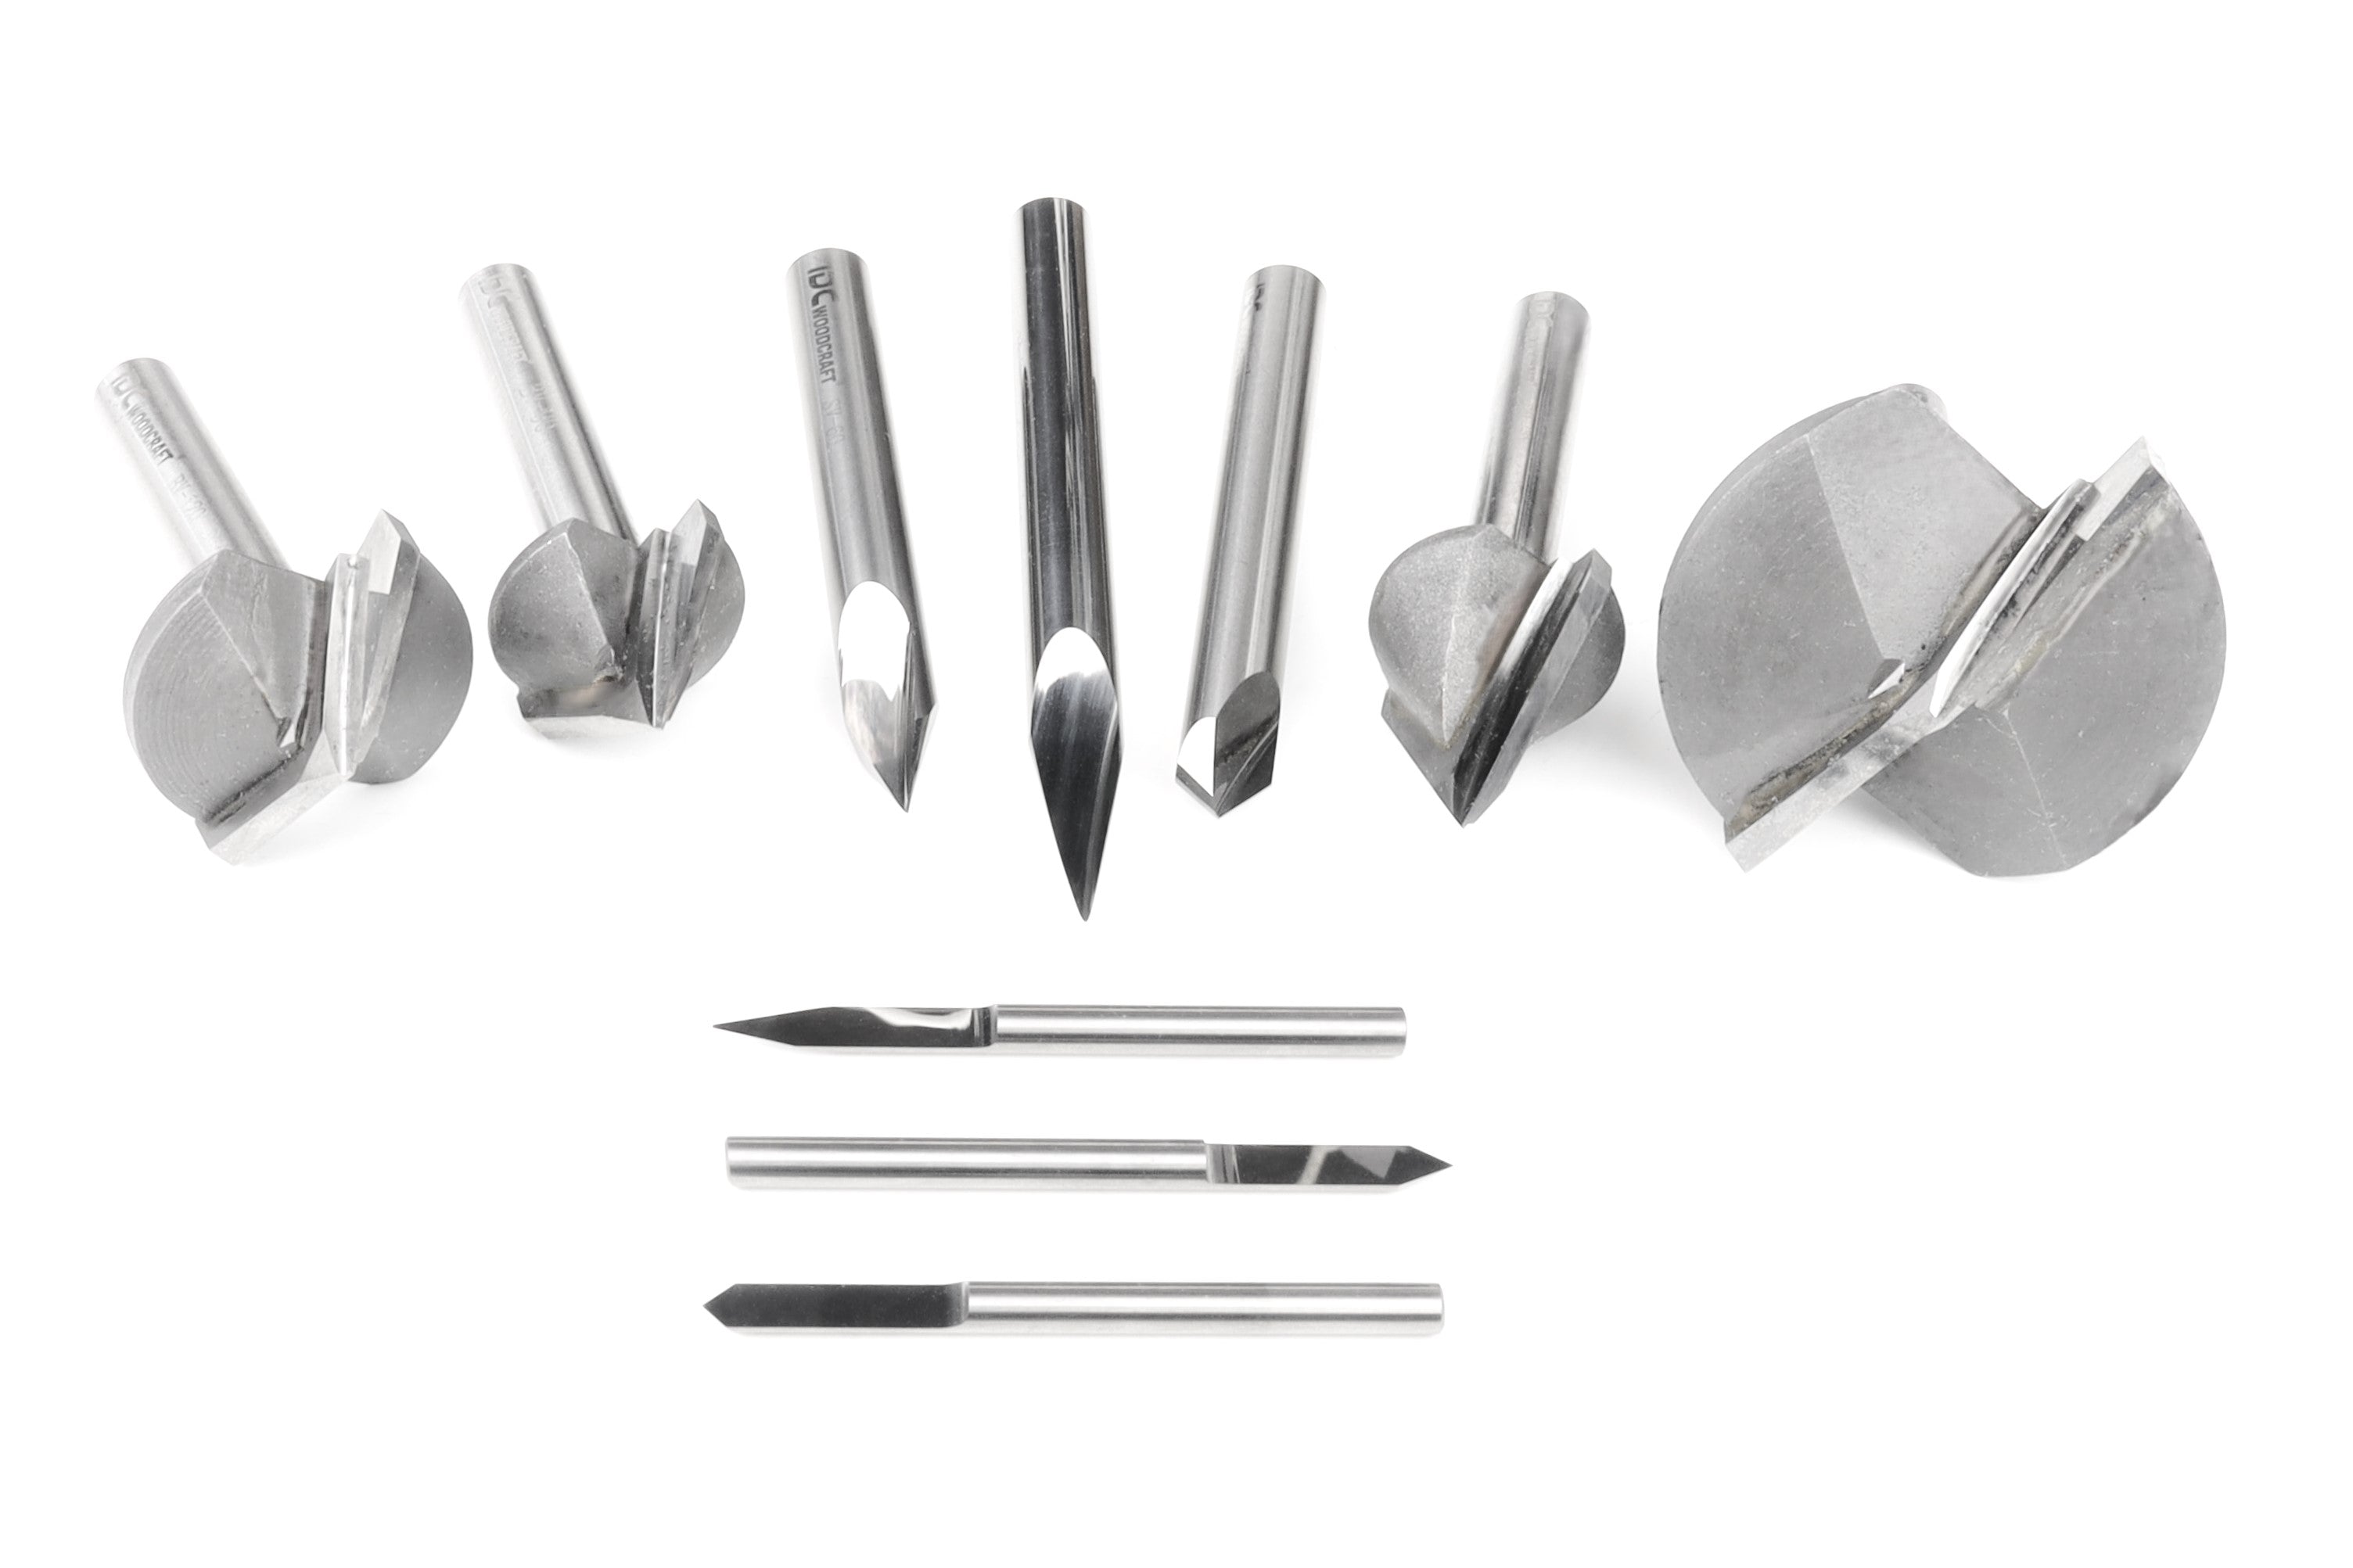
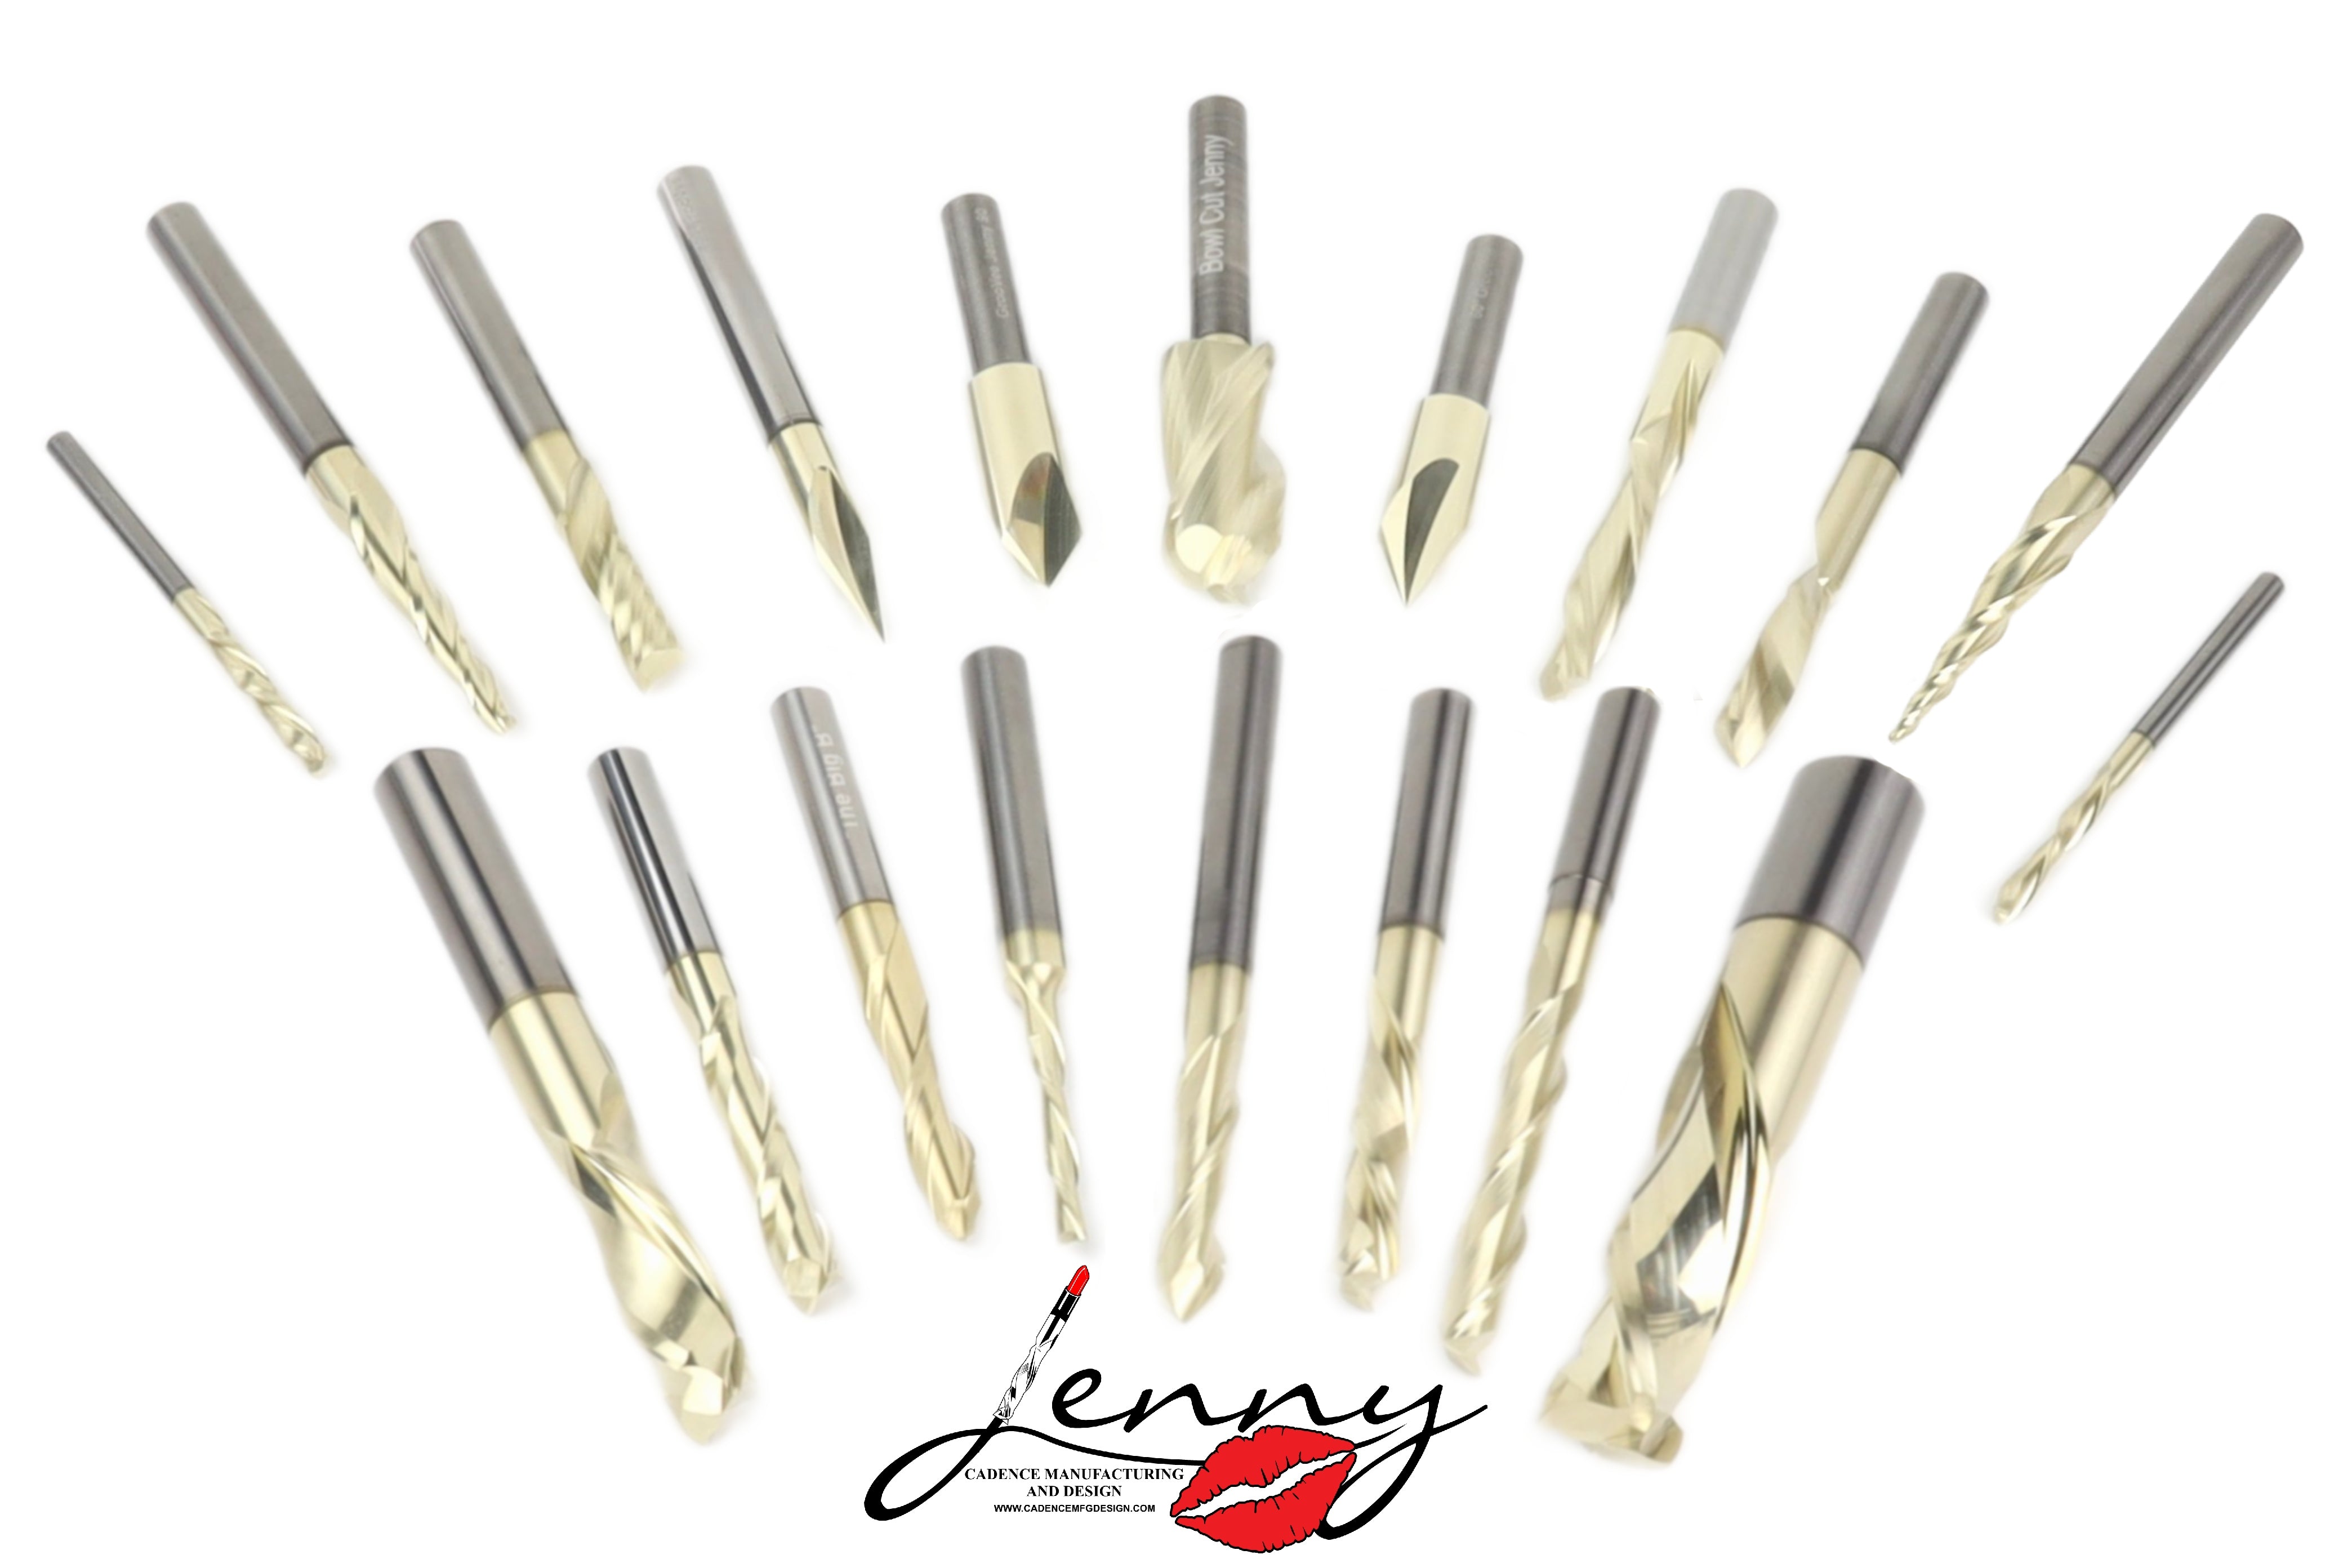
The bit choices, union math, star strategies, material setups, and finish work in this project are what really make the flag pop. Even those brand-new to Vectric will come away with a repeatable recipe for future commissions. 


Moreover, a flag condenses the entire Vectric learning curve into a single project. The precise geometry, multiple toolpaths, registration across glue-ups or tiles, and finishing all serve to highlight creative choices rather than hide mistakes. 


Most importantly, this teaches the beginner to think like a CAM operator: what cuts first, what moves second, how to avoid chip welding, tear-out, or corner blowouts; how to set Z-zero consistently; and why simulation is not optional. 


Download the IDC Woodcraft CNC Router setup checklist to make setting up any project easier.


Just be sure to run it down step-by-step, from concept to completion, so your head isn’t on a swivel between thirty dialog boxes and a full-blown panic attack.
 

Alt image

Choose Dimensions, Then do the Math

Select a finished size before opening Vectric, something like a common wall-hanging format with a width range of 30 to 48 inches. Once the width is set, the stripe math easily (and proportionally) follows.


U.S. Flag Code says the flag has 13 stripes of equal height, that the union height equals seven stripe heights, and the union width is typically about two-fifths of the flag width in classic proportions.


Vectric makes this easy. Set your job size to the final dimensions, snap guides for the 13 horizontal stripes, then draw a rectangle for the union whose height equals seven stripe heights and whose width respects your chosen proportion. This simple scaffold prevents the classic beginner error of designing the union as a guess instead of a geometric consequence.


If your CNC bed is smaller than the final flag, design full size and use tiling in Vectric to cut in sections; the software handles toolpath segmentation while preserving alignment marks. For glue-up flags, create vertical rectangles that represent your strip stock so the CAD mirrors your real-world panel glue-ups. When you keep design and fabrication in lockstep, fewer surprises appear when you press “Go.”


Speaking of glue-ups, especially when using contrasting woods that expand or contract at different rates (like maple and walnut), there's a risk of seasonal movement causing cracks or raised seams. Use stable, properly acclimated wood or consider quartersawn stock to save future heartache.

Pick a Stars Strategy Early to Avoid a Fight Later

Stars are where first-timers burn effort, time, and potentially lumber. We’ve got three good paths, and they change the toolpaths upstream.


One: V-carved stars directly into the union. Fast, crisp, minimal setup. Use a 60° V-bit for cleaner points. Simulate to confirm legibility at your chosen size, as undersized stars can flatten into awkward blobs. No one has time for that.


Two: Inset star pockets with separate star inlays. This takes longer but looks premium, especially with contrasting wood. Cut the pockets with a 60° V-bit for perfect points, and use a small end mill to clear the background if you prefer a V-inlay look. 

Next, machine the male stars from a lighter species, press them in, and surface flush. Feed-and-speed guidelines for 60° V-bits and small spiral end mills are published everywhere, and even example specs from similar flag builds give you a reality check on cutter behavior and pass depth.


Three: A textured or wavy union with stars masked or engraved afterward. This is more advanced but yields drama. If you’re going wavy, sculpt the ripple in Aspire or import an STL heightmap; then re-reference Z carefully when you cut star features so depths aren’t inconsistent across the topography.

The Toolpath Stack of Least Resistance

Next, machine the union pocket if you’re doing inlay or a recessed field. Then cut stripes if you’re carving grooves rather than painting. Many builders reduce complexity by leaving stripes as wood-color bands and letting the finish provide contrast (Keep It Simple, Stupid). But if you do carve stripes, choose a ball nose for gentle valleys or a V-bit for hard-edged fluting, and simulate to confirm your carve depth won’t create thin, fragile edges.


Cut stars or star pockets after the union is established. If you’re V-carving stars directly, use a single operation at conservative feed rates to preserve clean points. If you’re doing inlays, cut female pockets first, then the male stars from contrasting stock. Dry fit a few stars before running a full production set so you can adjust inlay allowance by a few thousandths for a clamp-friendly fit.


Add any backside details last. This includes keyhole slots, hanger recesses, or maker’s mark. Use a 1/4" spiral for through-cuts and hanger slots. A keyhole bit can create invisible wall mounts. There are plenty of published numbers for common keyhole and spiral bits used in flag builds, and leaning on those baselines and testing them elsewhere first saves time, headache, and trees. 

In your toolpath stack, a common variation is to perform the final profile cut (removing the flag from the stock) as the last step. This is sometimes called the "hero cut." This maximizes workholding and rigidity until every other operation is complete.

Prep—and test—the plan

You can build this flag without a single drop of dye and still get vivid color separation. Try dark walnut for the red stripes, maple for the white, and padauk for a rich red tone to create a classic palette. Many makers use walnut and maple, and let the finish deepen the contrast, while others insert padauk as inlay accents.


A flat, secure panel equals clean star points and non-wobbly stripe edges. Before a finishing pass, resurface or replace your spoilboard. Use a grid and fence, or at least a consistent X/Y proxy, so your second setup lines up with your first. Don’t rely solely on tape and glue for a large panel. Add clamps outside your cut area, use cauls across glue-ups to keep stripes co-planar while the adhesive cures, and probe Z on the actual workpiece surface after every tool change so you don’t compensate for a warped corner.


If you’re tiling a flag on a smaller machine, use the built-in Vectric tiling tool. It handles overlap and index marks, ensuring each tile stitches together seamlessly. The trick is to design at full size, then tile the toolpaths. Don’t redesign a smaller flag and try to scale it up tile by tile.


Vectric’s Preview Toolpaths feature isn’t a screensaver. It’s a pre-mortem on your project. Simulate each operation, watch for star points that flatten, verify the union pocket doesn’t break through because your glue-up finished thinner than expected, and confirm that a keyhole slot won’t intersect a screw or dowel.


If you’re experimenting with a textured union or a wavy flag, simulation exposes where a V-bit will lose definition in high spots and gouge in low spots.

The finish makes the flag

After the final surfacing and any inlay cleanup, sand across grits—and don’t skip steps—then break sharp edges with a gentle chamfer or hand-bevel so finish lays evenly.


The Stars and Stripes are more than a wood project, it’s a meaningful symbol to many—and finish is a conscious choice. Film finishes like semi-gloss lacquer, polyurethane, or hardwax oils each tell a different visual story. Lacquer offers clarity and speed, poly is tough and forgiving, and hardwax oils bring out chatoyance without a plastic sheen.


A pro-level demo of an all-wood, no-paint flag uses multiple spray coats with attention to edges, which is a good pattern to emulate if you’re chasing crisp color separation from species alone. 

What Beginners Learn That Scales

Three lessons carry forward from your first flag to your first paid project. First, choose tools that fit features. A 60° V-bit reproduces star points that a 90° often muddies at small sizes. A 1/4" spiral is your workhorse for slots and profiles, but a 3/16" earns its keep in tight radii. 


Second, sequence your cuts to protect your work. Surfacing and pockets that establish reference planes come before detailed V-carves, which would otherwise fuzz or chip. 


Third, standardize your registration. Once you have a fence and probing routine you trust, multi-tool and multi-day jobs stop being nail-biters. These practices aren’t folklore: you will see them again and again.

Smart Variations After Nailing the Basics

When you can produce a clean, flat flag with crisp stars on demand, only then is it time to show off. Aspire users can model a gentle wave and use a ball-nose finishing pass to sculpt the ripple, then V-carve stars in a second setup. 


Graphic-forward builders add service emblems, state outlines, or unit patches as inlays in the stripes or union. You can also texture the union with a rastered toolpath, then V-carve through the peaks for a heroic contrast. For hanging, consider a French cleat or mortised Z-clip instead of a keyhole, particularly on larger or thicker builds. 

Troubleshooting the Problems Literally Everyone Has

Blowouts at star tips typically indicate an aggressive pass depth or a dull V-bit. Reduce your stepdown and run a spring pass. Fuzzy edges in stripes signal climb cutting in the wrong grain direction, so try conventional passes for finishing and ensure your final DOC is shallow. A union that’s slightly out of square relative to your stripes often traces back to a panel that wasn’t against a fence when you zeroed. The fix is using physical stops and trusting them more than your eye.


If inlays feel too tight or too loose, tweak the allowance by thousandths and cut one test star pocket and plug. Once it slides in with firm hand pressure and no splitting, queue the batch. And if your surface looks uneven after finish, that’s a sanding problem. You likely jumped grits or failed to remove previous scratch patterns. Take one step back and do a full cross-grain pass before moving forward again.

Respect for Old Glory, and where to go from here

Flags aren’t just geometry; they’re symbolic objects. If you distress a finish to achieve a vintage look, do it intentionally and evenly, and avoid random gouges that feel careless rather than crafted. If the flag is for a memorial or a veteran’s gift, confirm the display orientation and hardware. When adding unit emblems or rank insignia, verify vector accuracy before you cut. This faithful check shows respect for the people who will 100 percent notice every detail.


Just kidding, there’s no rinsing, but the real magic here is repetition. You will likely build your second flag faster than your first, your third faster than your second, and so on. Keep a job file template with stock size, fence offsets, and default toolpaths. Maintain a crib sheet for feed rates and pass depths for your specific bits and woods.


Then, when you’re ready, go bigger, go wavy, go emblematic. Explore other makers’ approaches—the community is amazingly generous with files, techniques, and project ideas—and keep building. A single successful flag isn’t just wall art, it’s your entry point into CNC fluency. If you can make this flag cleanly, you can make almost anything in the sign and plaque universe.


Be sure to check out IDC Woodcraft’s free beginner’s CNC kickstarter guide. For those who want to try their hand with different router bits, including V-bits like the one used in this flag, check out this set in the IDC Woodcraft store. Or check out the CNC video center to learn more about all aspects of starting your CNC business.


IDC Woodcraft is also mobile! Check out our free apps on iPhone or Android.