Free Shipping for CNC Bit orders over $120

Shop

Shop By Project

Shop By Type

Sets

Sets

Inlay

Inlay

3D Carving

3D Carving

Acrylic

Acrylic

Engraving

Engraving

Bowl And Tray

Bowl And Tray

Digital Files

Digital Files

Sets

Sets

Ball Nose

Ball Nose

Compression

Compression

Downcut

Downcut

Drills

Drills

Engraving

Engraving

Extended Cut

Extended Cut

Roughing

Roughing

Rounding

Rounding

Slotting

Slotting

Straight Cut

Straight Cut

Surfacing

Surfacing

Upcut

Upcut

V Grooving

V Grooving

Jenny Bits

Jenny Bits

Collets

Collets

Accessories

Accessories

CNC Machines

CNC Machines

Vacuum Tables

Vacuum Tables

Digital Files

Digital Files

Software

Software

Closeout

Closeout

CNC Resources

Database Downloads

About

Contact Us

Get A Gift Card

How to Surface CNC Projects and Flatten Slabs Before You Carve

CNC machines are brutally honest. If your stock isn’t flat, square, and coplanar with the machine’s motion, your beautiful 3D carve will inherit every warp, cup, and twist lurking in the material.


Pre-carve surfacing solves that problem by shaving the top face until it is truly parallel to the machine’s travel. The process is simple in concept but surprisingly technical in execution, because cutter geometry, stepover, depth of cut, spindle tram, hold-down strategy, dust collection, and feeds and speeds all influence the result.


But when you get these dials right, pockets come out to depth, V-carves have crisp shoulders, inlays fit snugly, resin pours sit dead flat, finishing work is dramatically easier, and you look like the CNC master you were born to be. 
 

Alt image

Spoilboard Surfacing vs. Workpiece Surfacing

There are two kinds of flattening to understand. Spoilboard surfacing trues the machine’s reference plane. That’s the sacrificial board fastened to the bed or T-track table. If the spoilboard is not perfectly coplanar with the gantry’s travel, every job will inherit that error, so the first order of business on a new machine or after any mechanical change is to face the spoilboard.


Workpiece surfacing targets the material you intend to carve, from plywood signs to live-edge slabs. You can flatten the spoilboard today, but you may still need to resurface a slab tomorrow because wood moves, resin pours shrink slightly, and glue-ups rarely dry perfectly level. Treat spoilboard surfacing as an occasional calibration task and workpiece surfacing as a routine step right before carving.
 

Setting your machine up properly for the surfacing

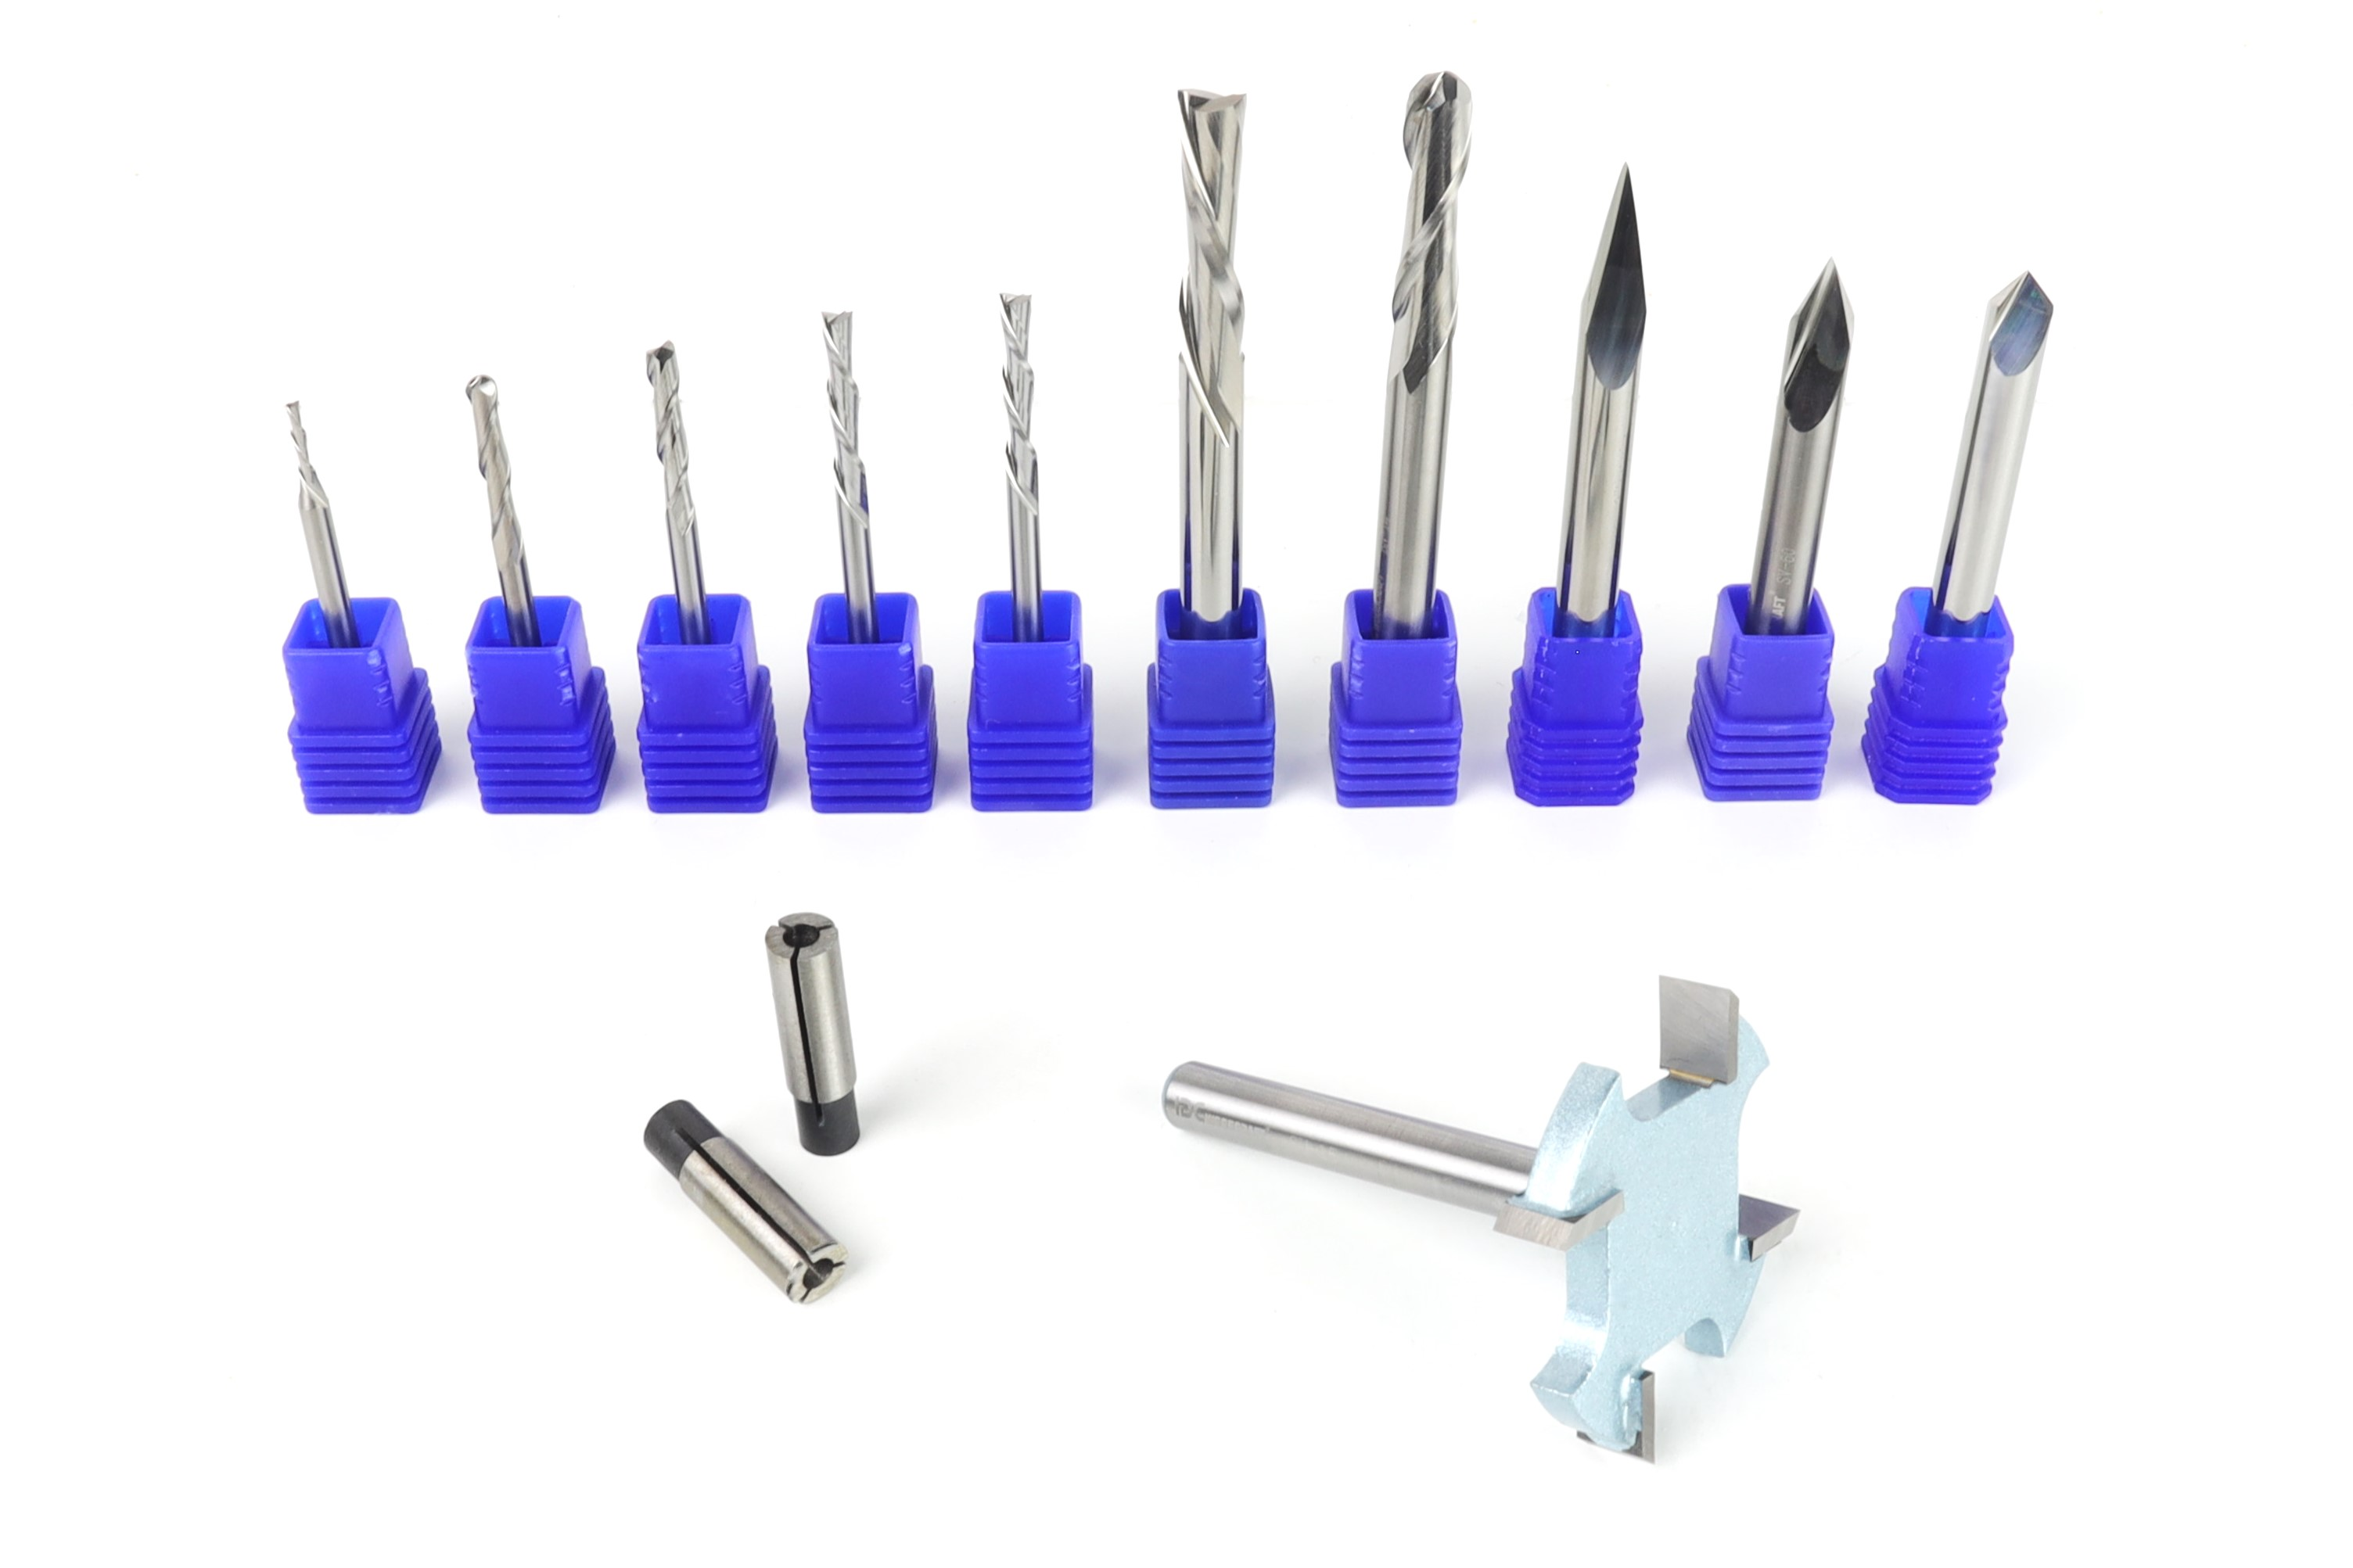
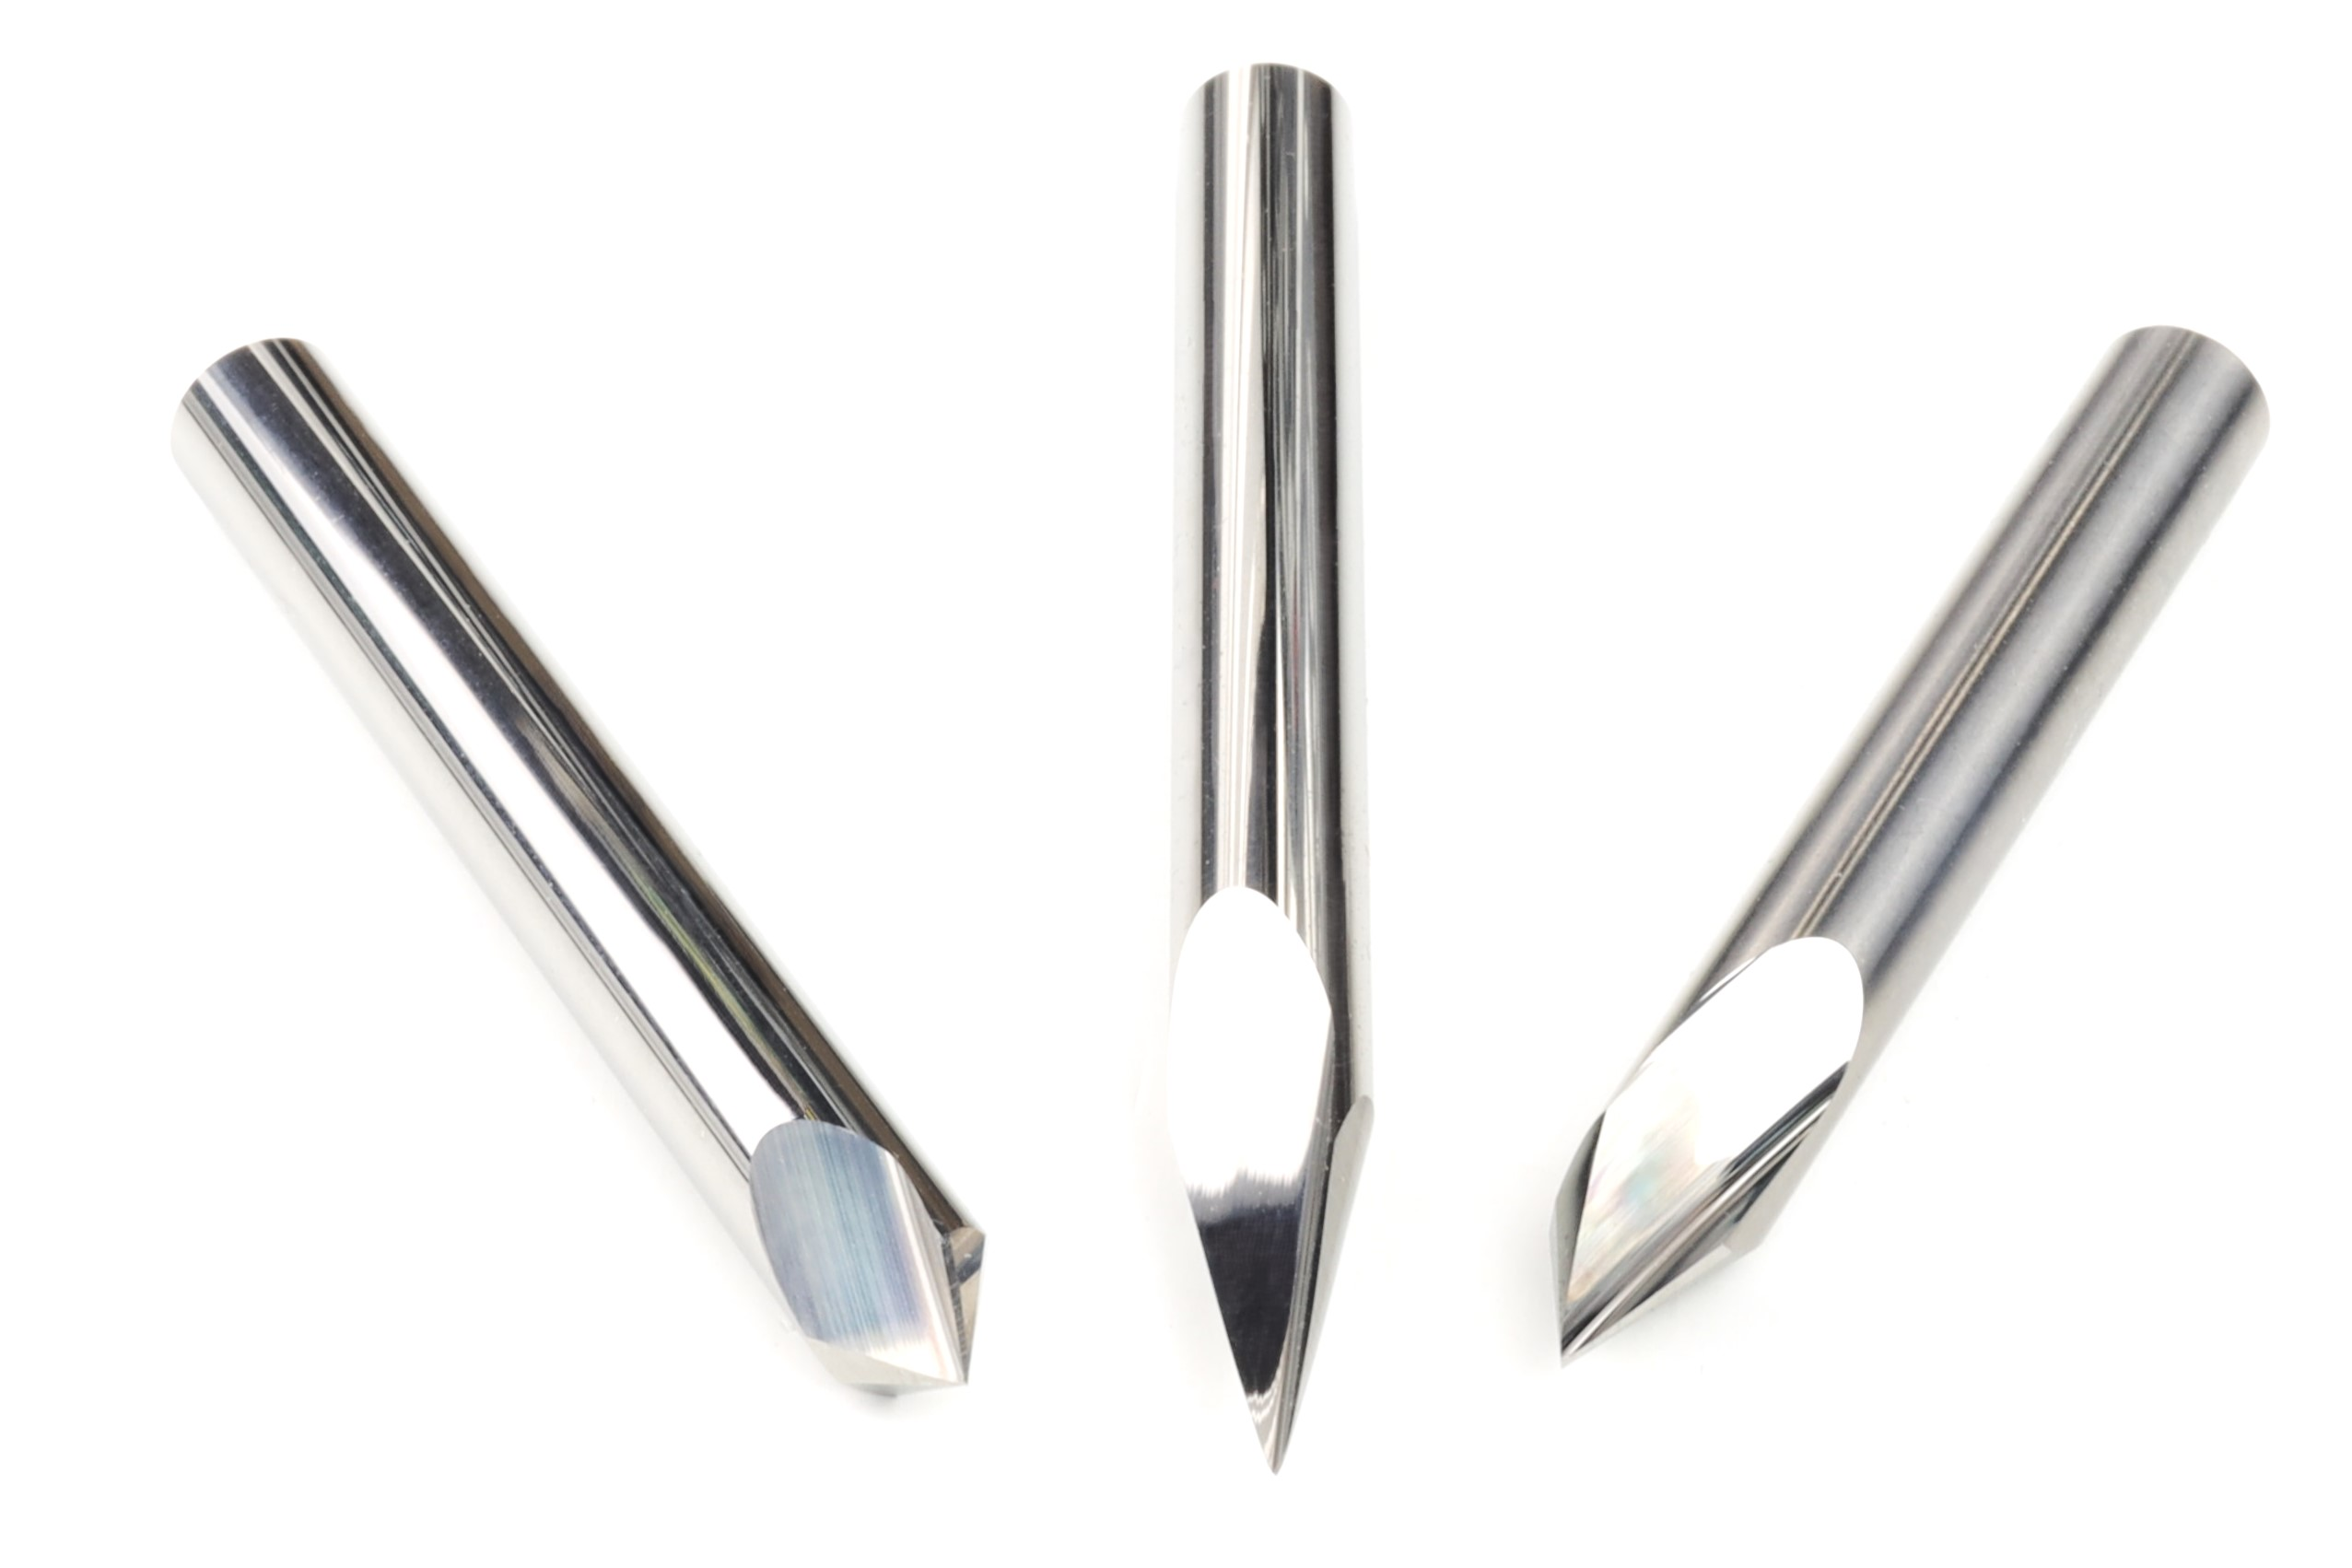
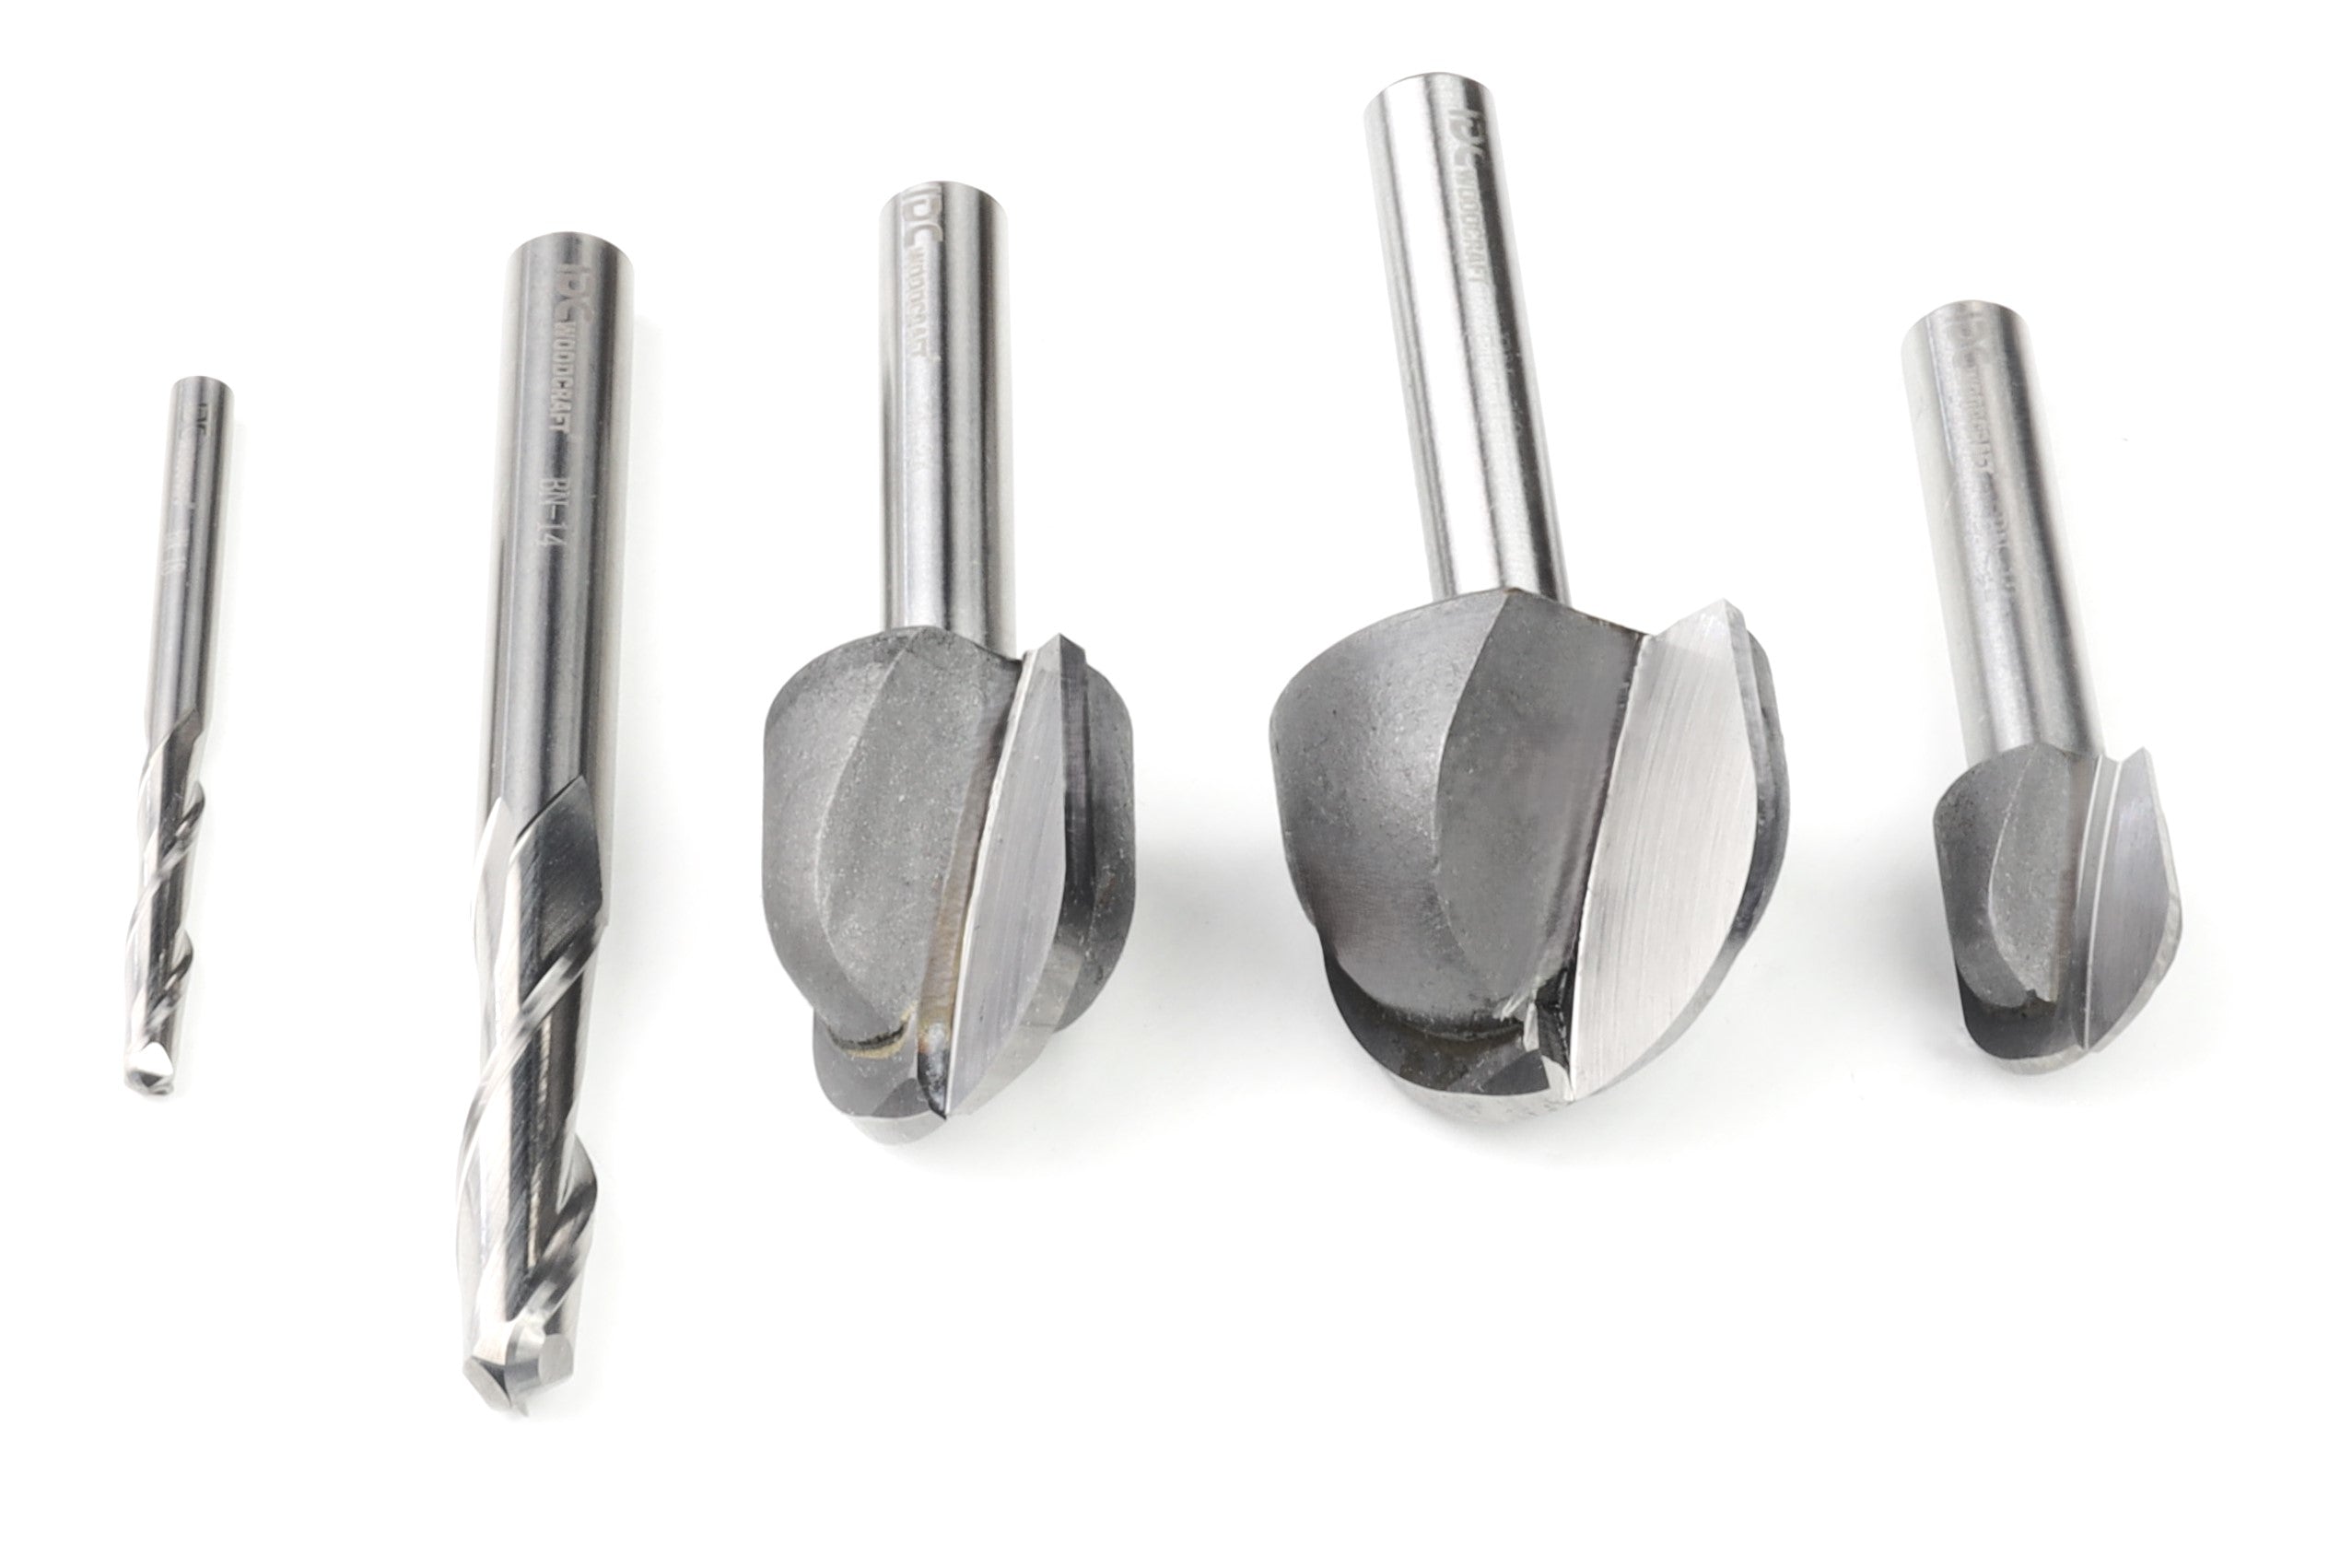
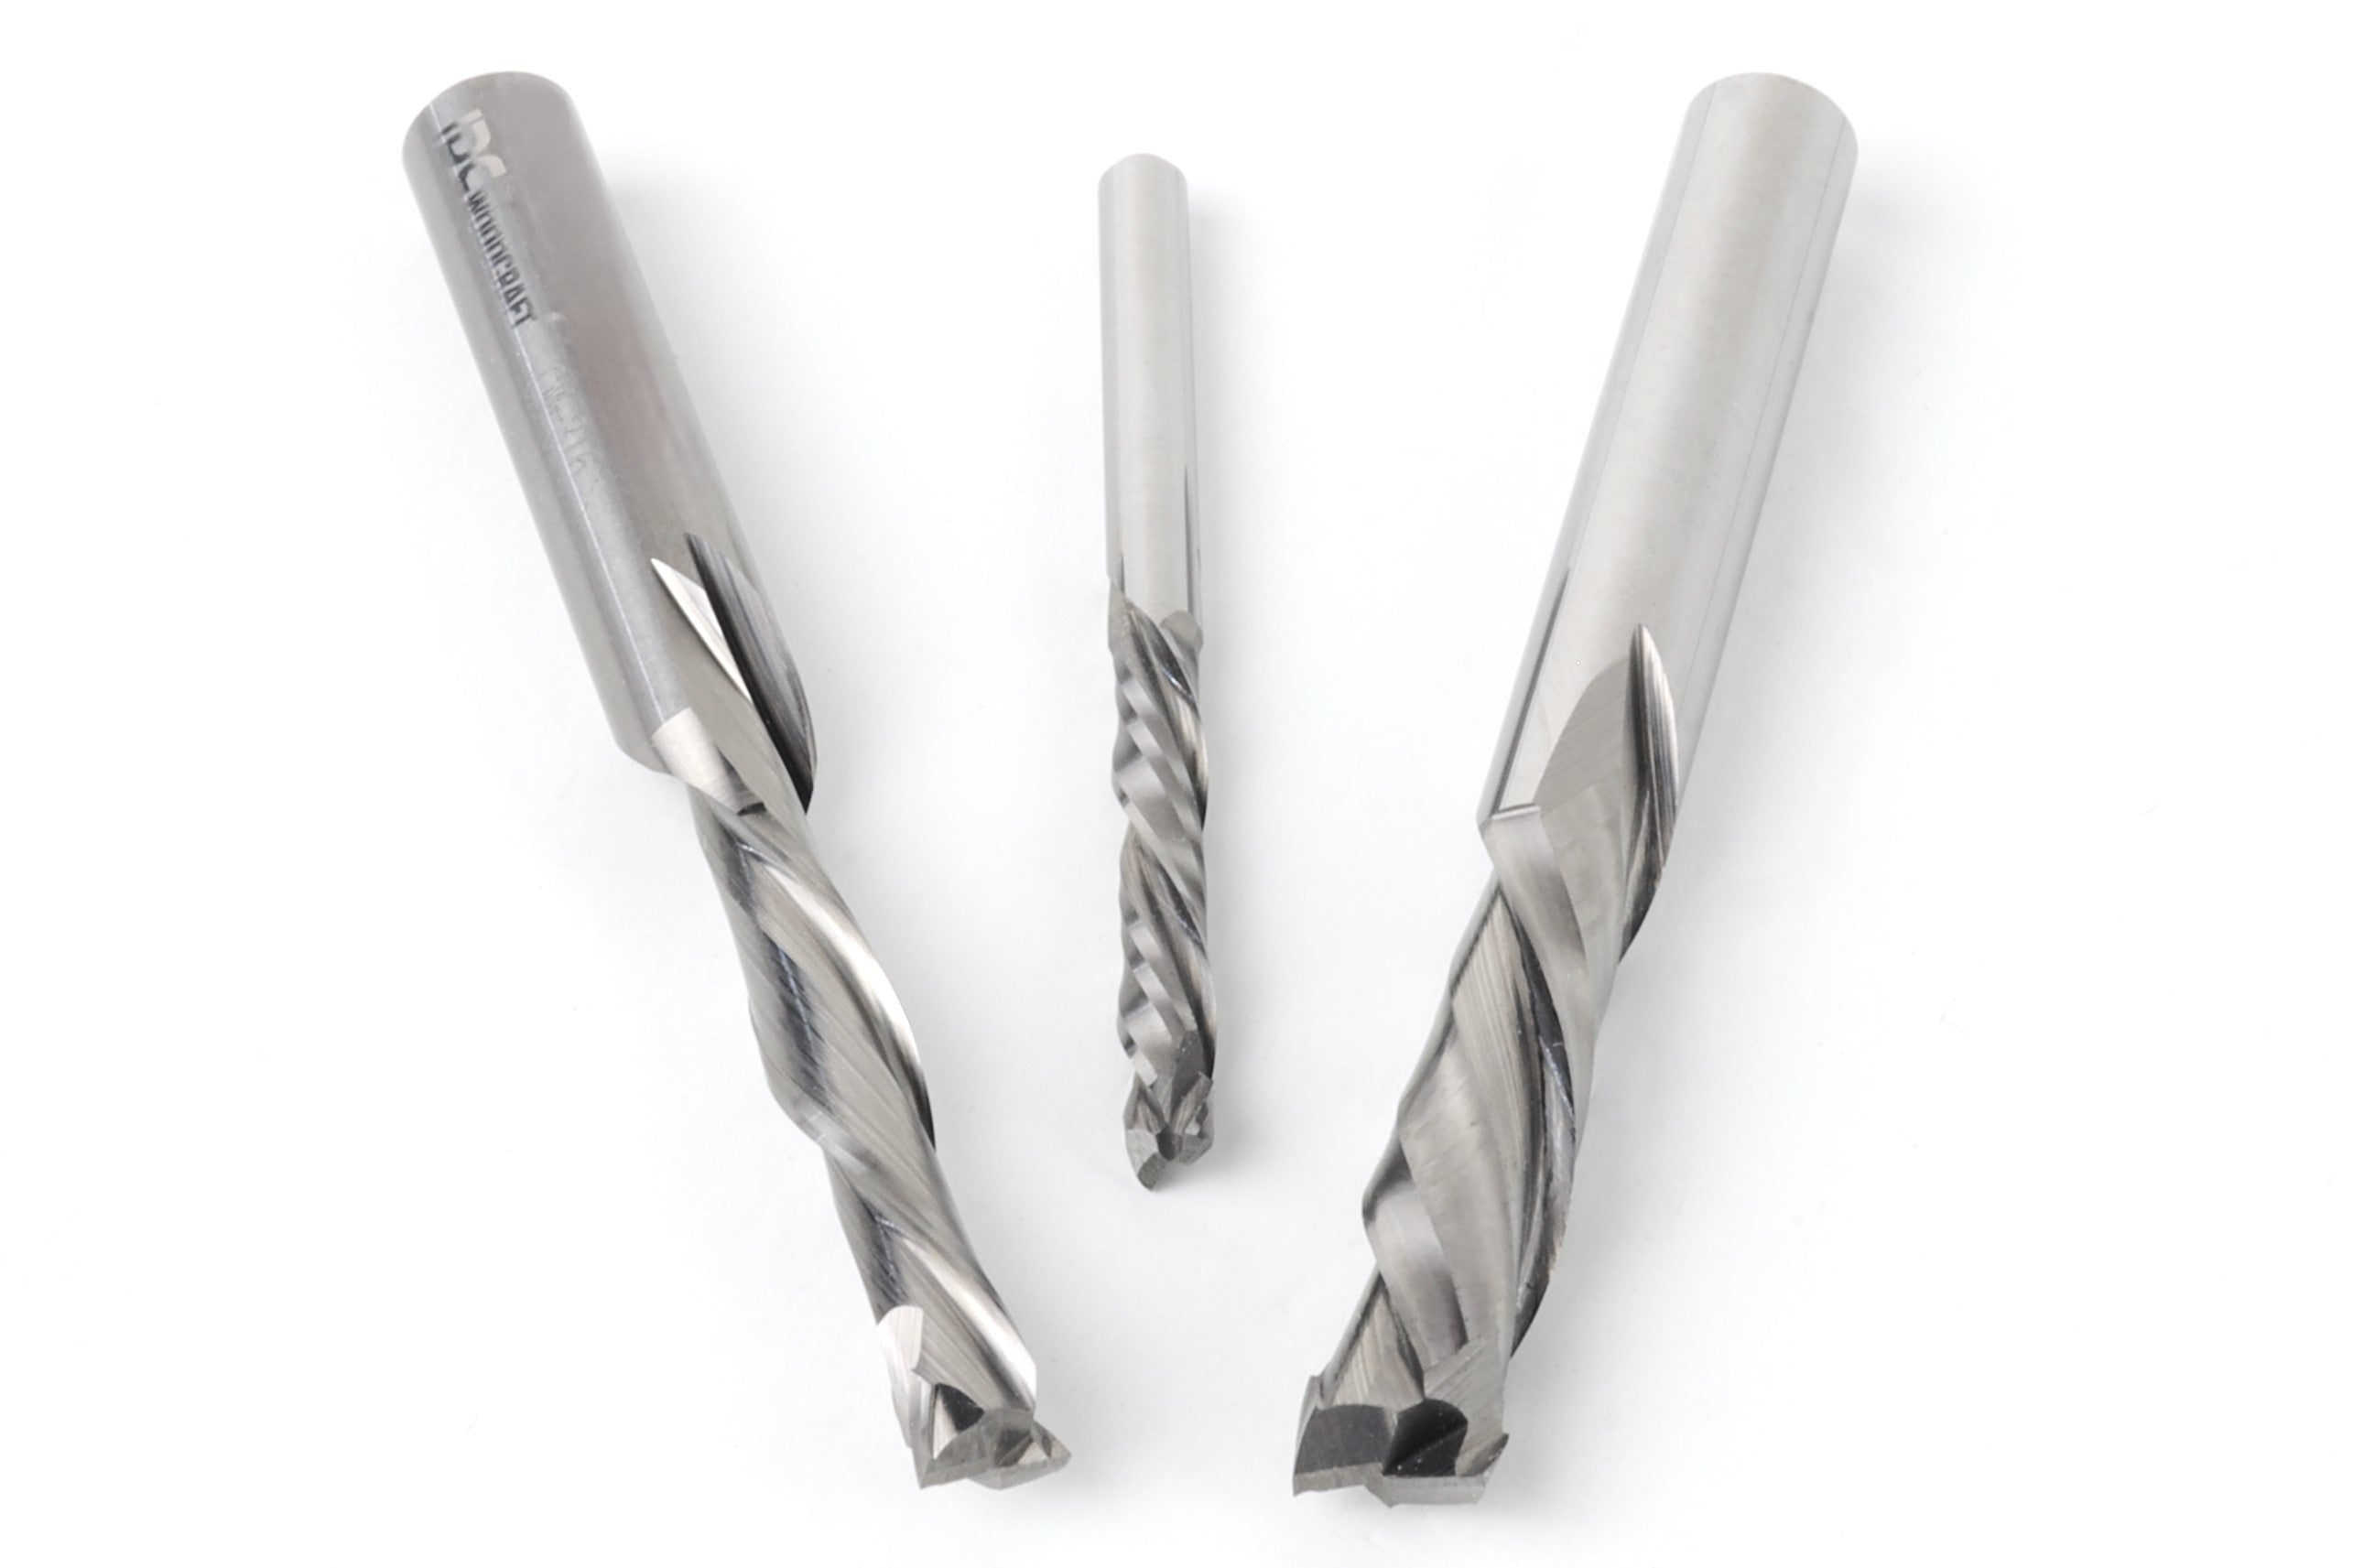
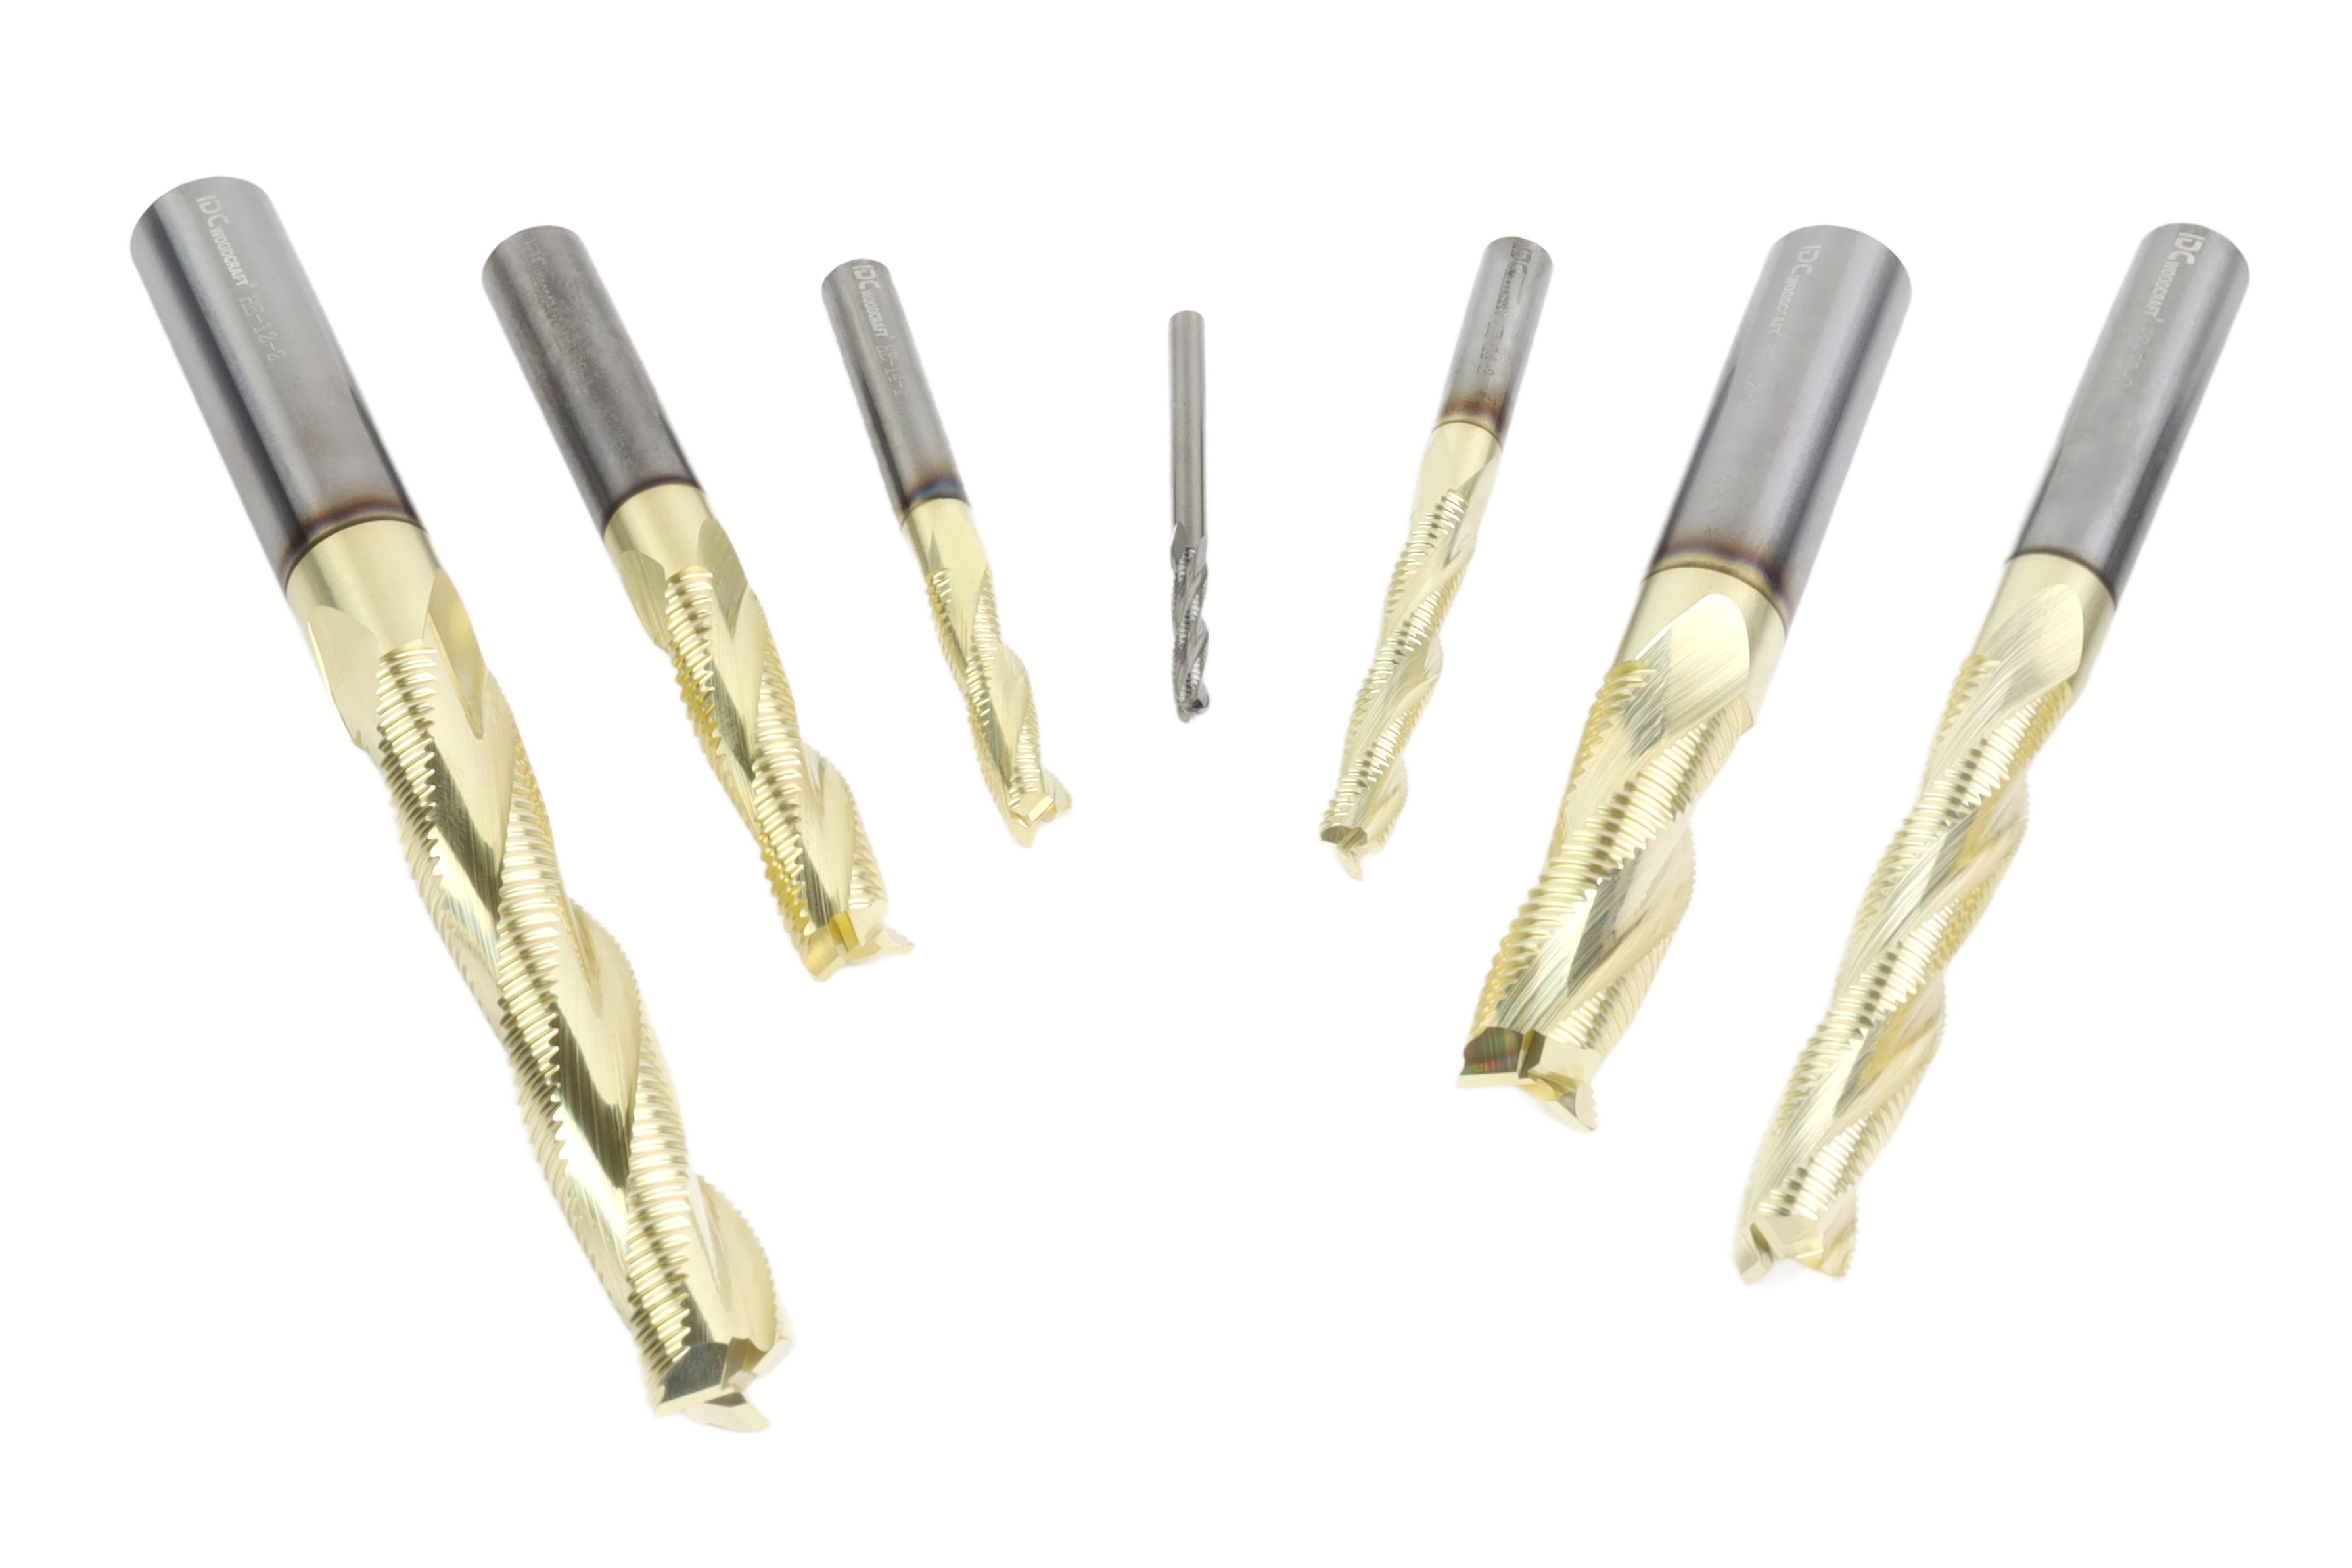
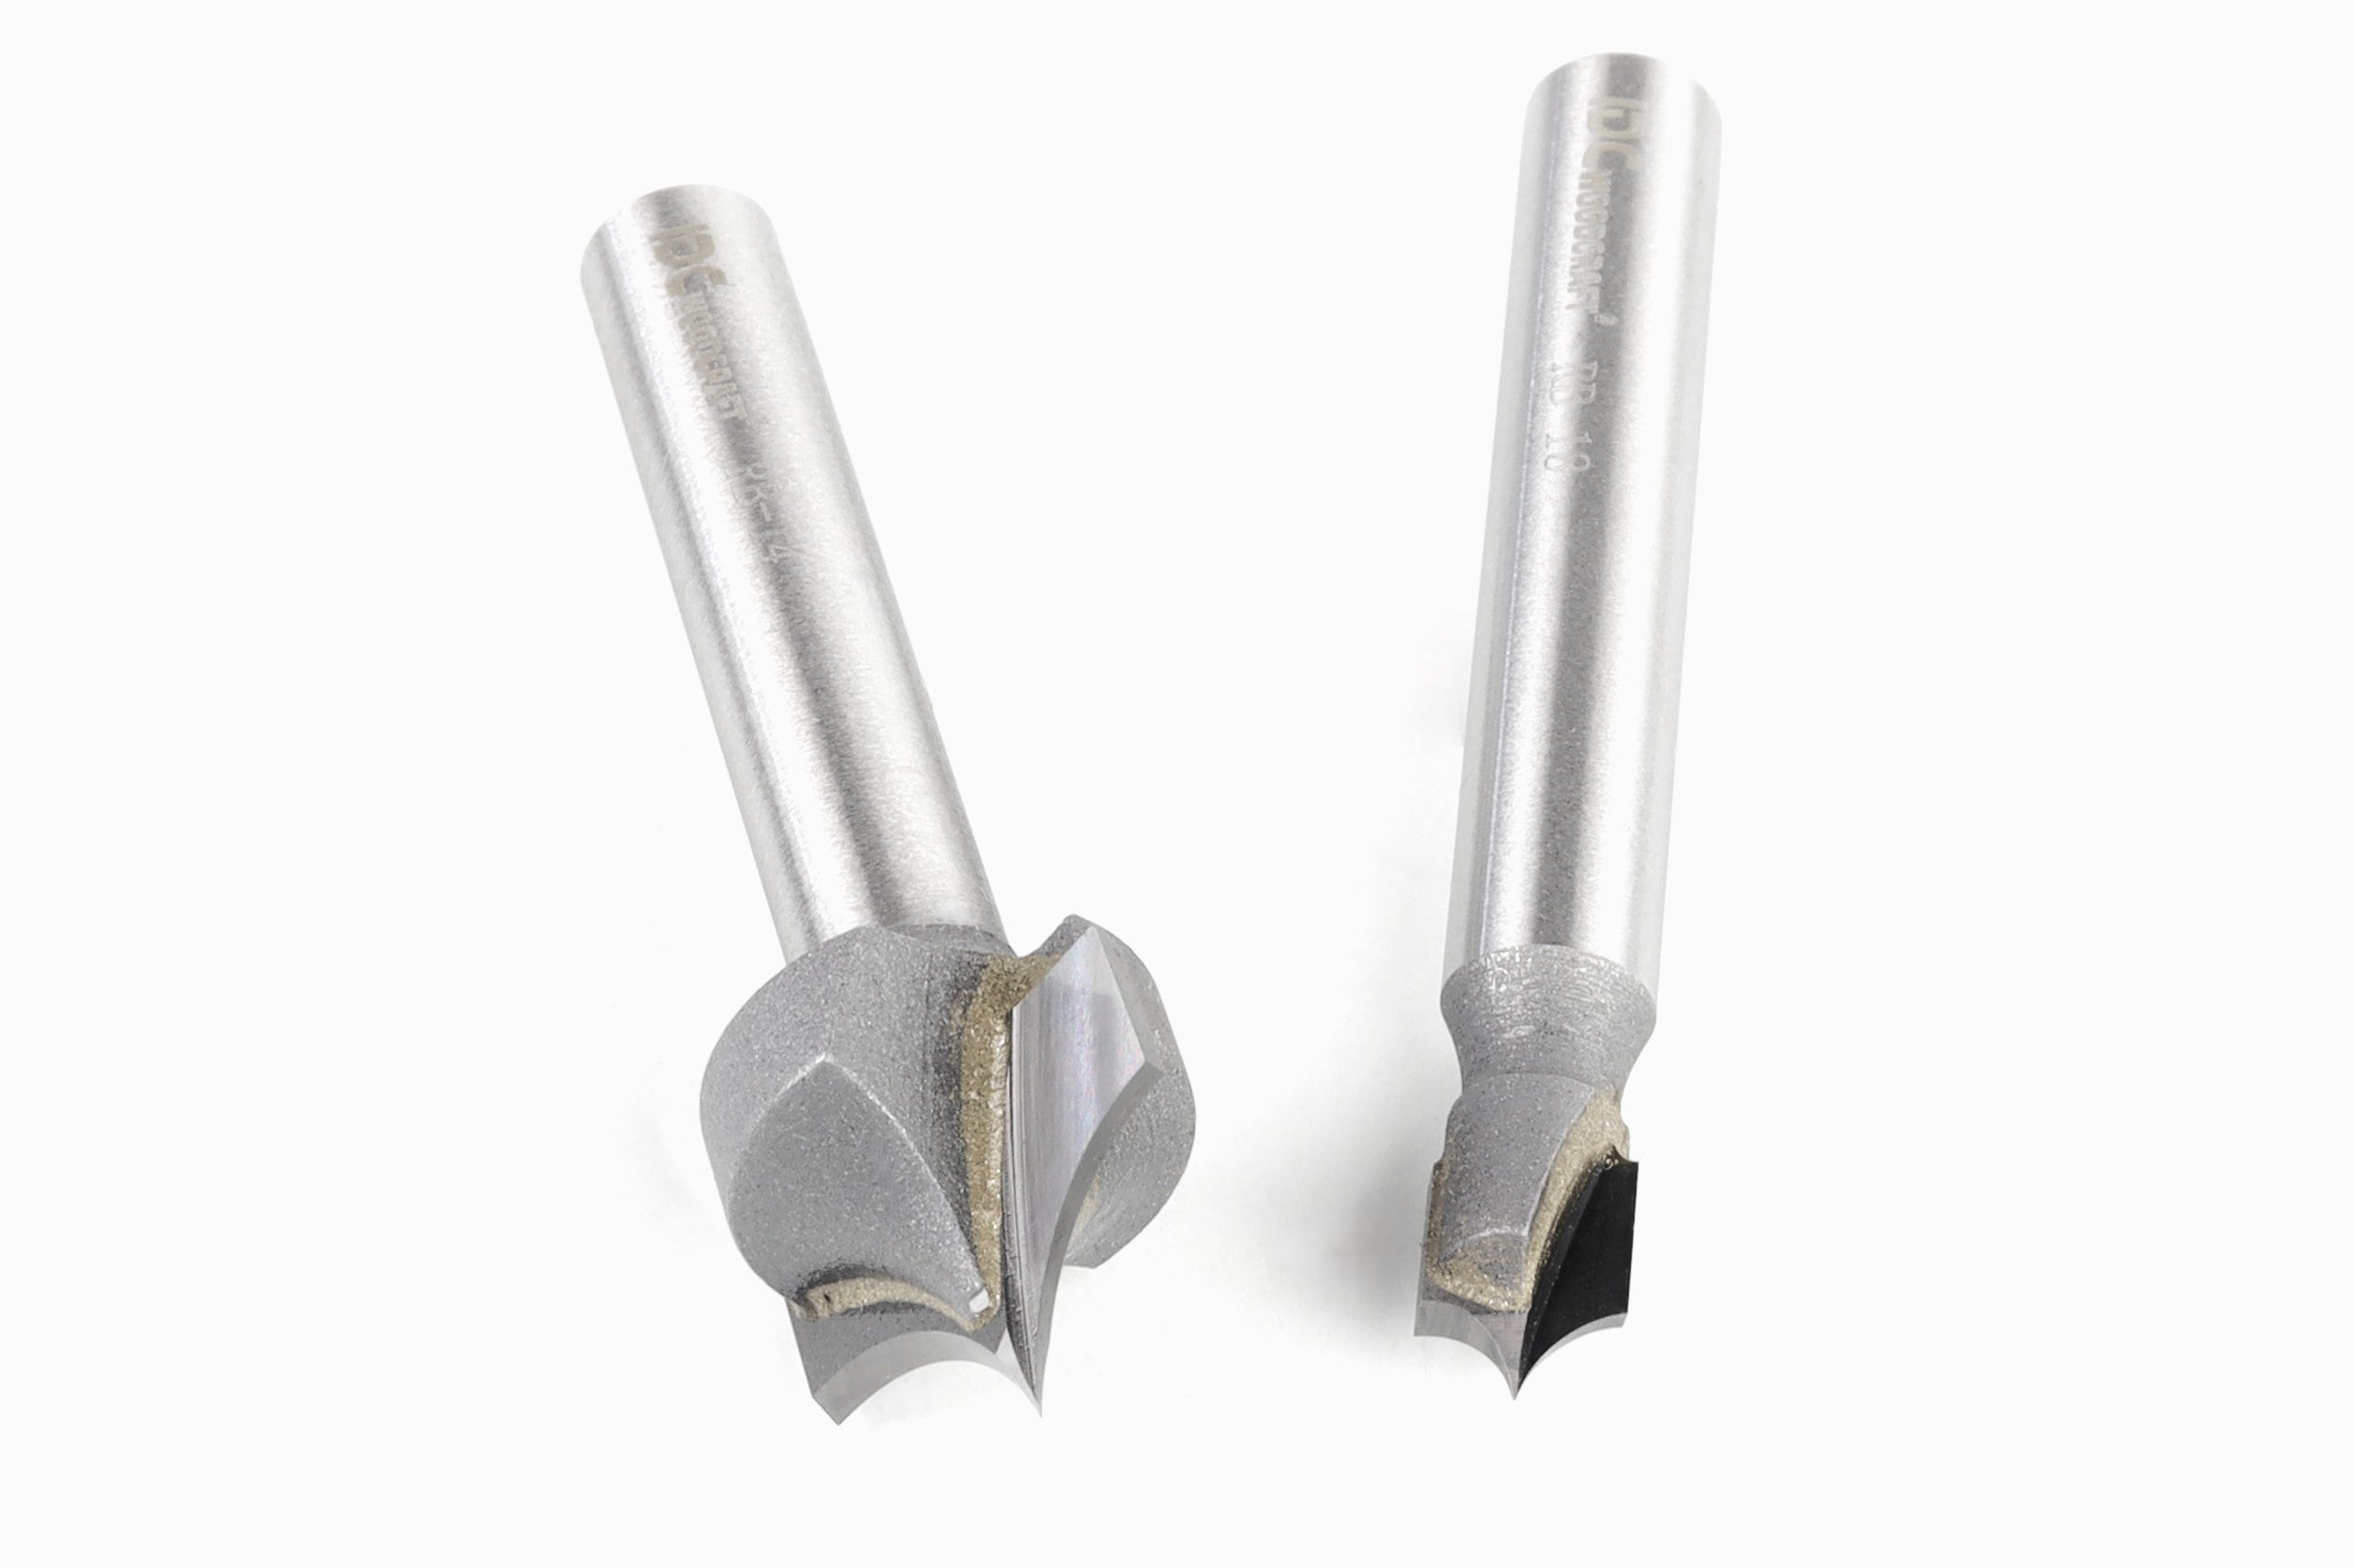
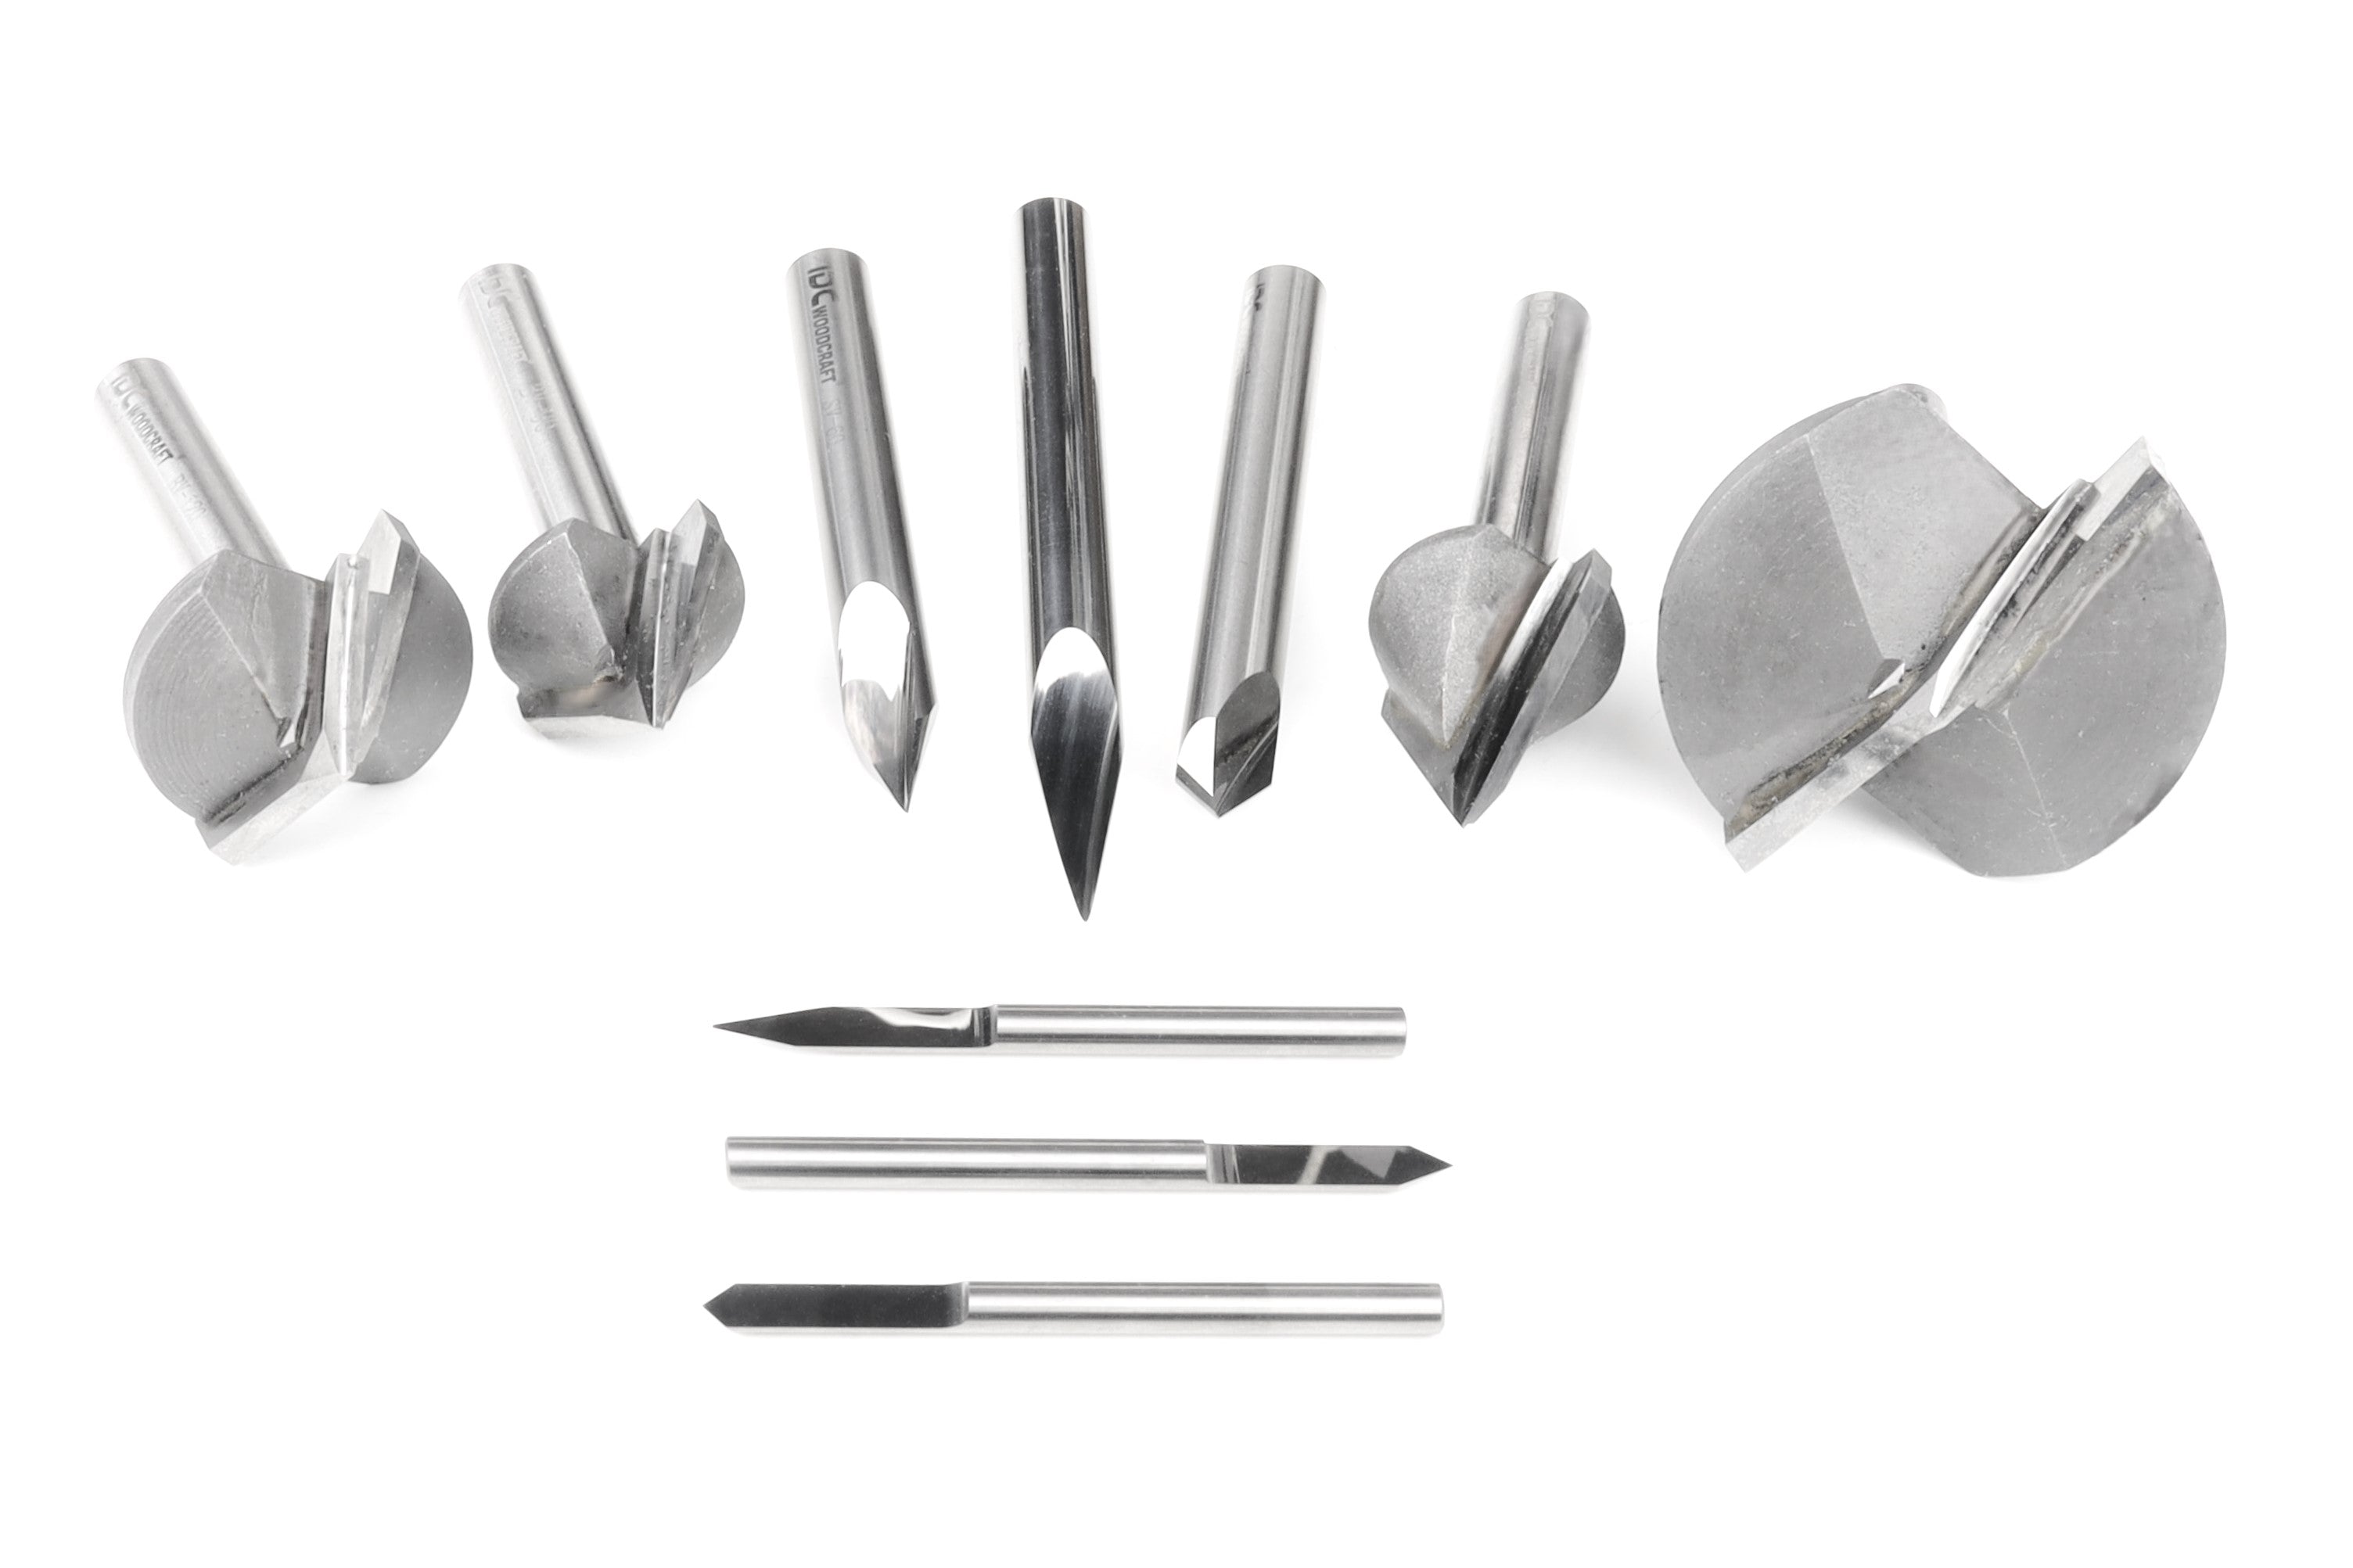
A purpose-built surfacing bit, sometimes called a flycutter or spoilboard cutter, is always the right tool for the job. Common diameters range from 25 to 50 millimeters on hobby and mid-sized machines, and increase in size on industrial equipment. These tools use either fixed carbide inserts or replaceable indexable inserts.


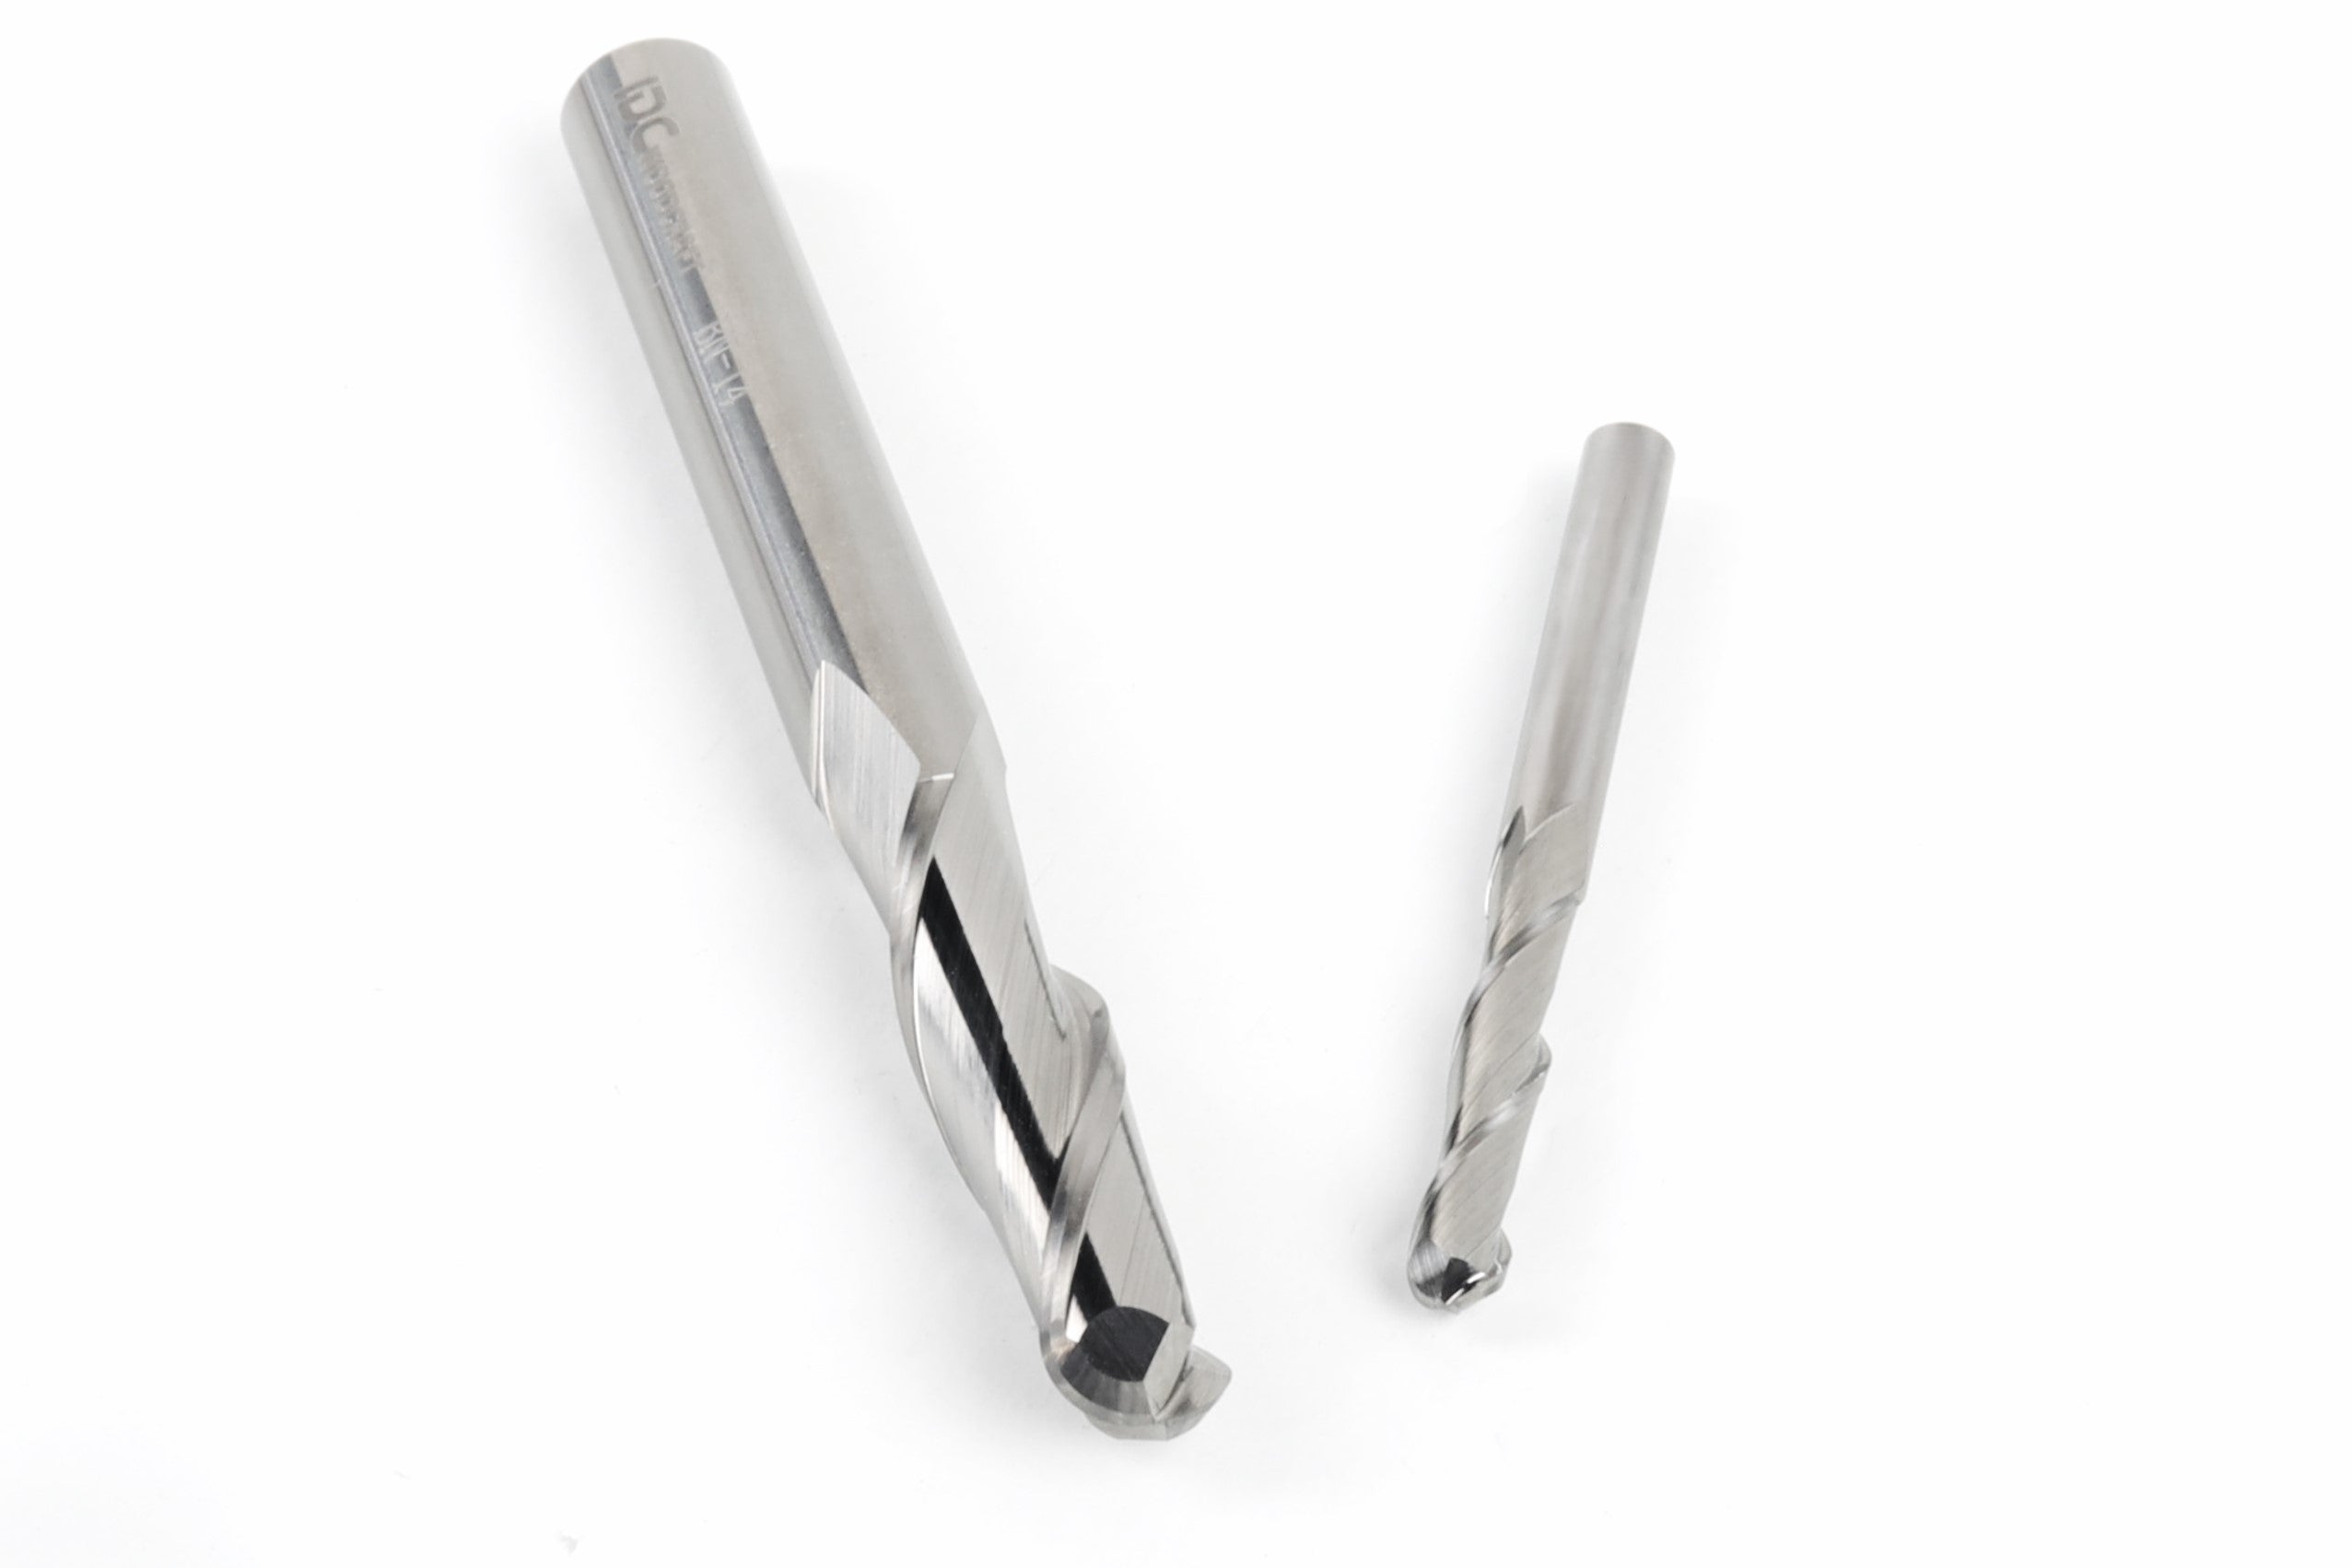
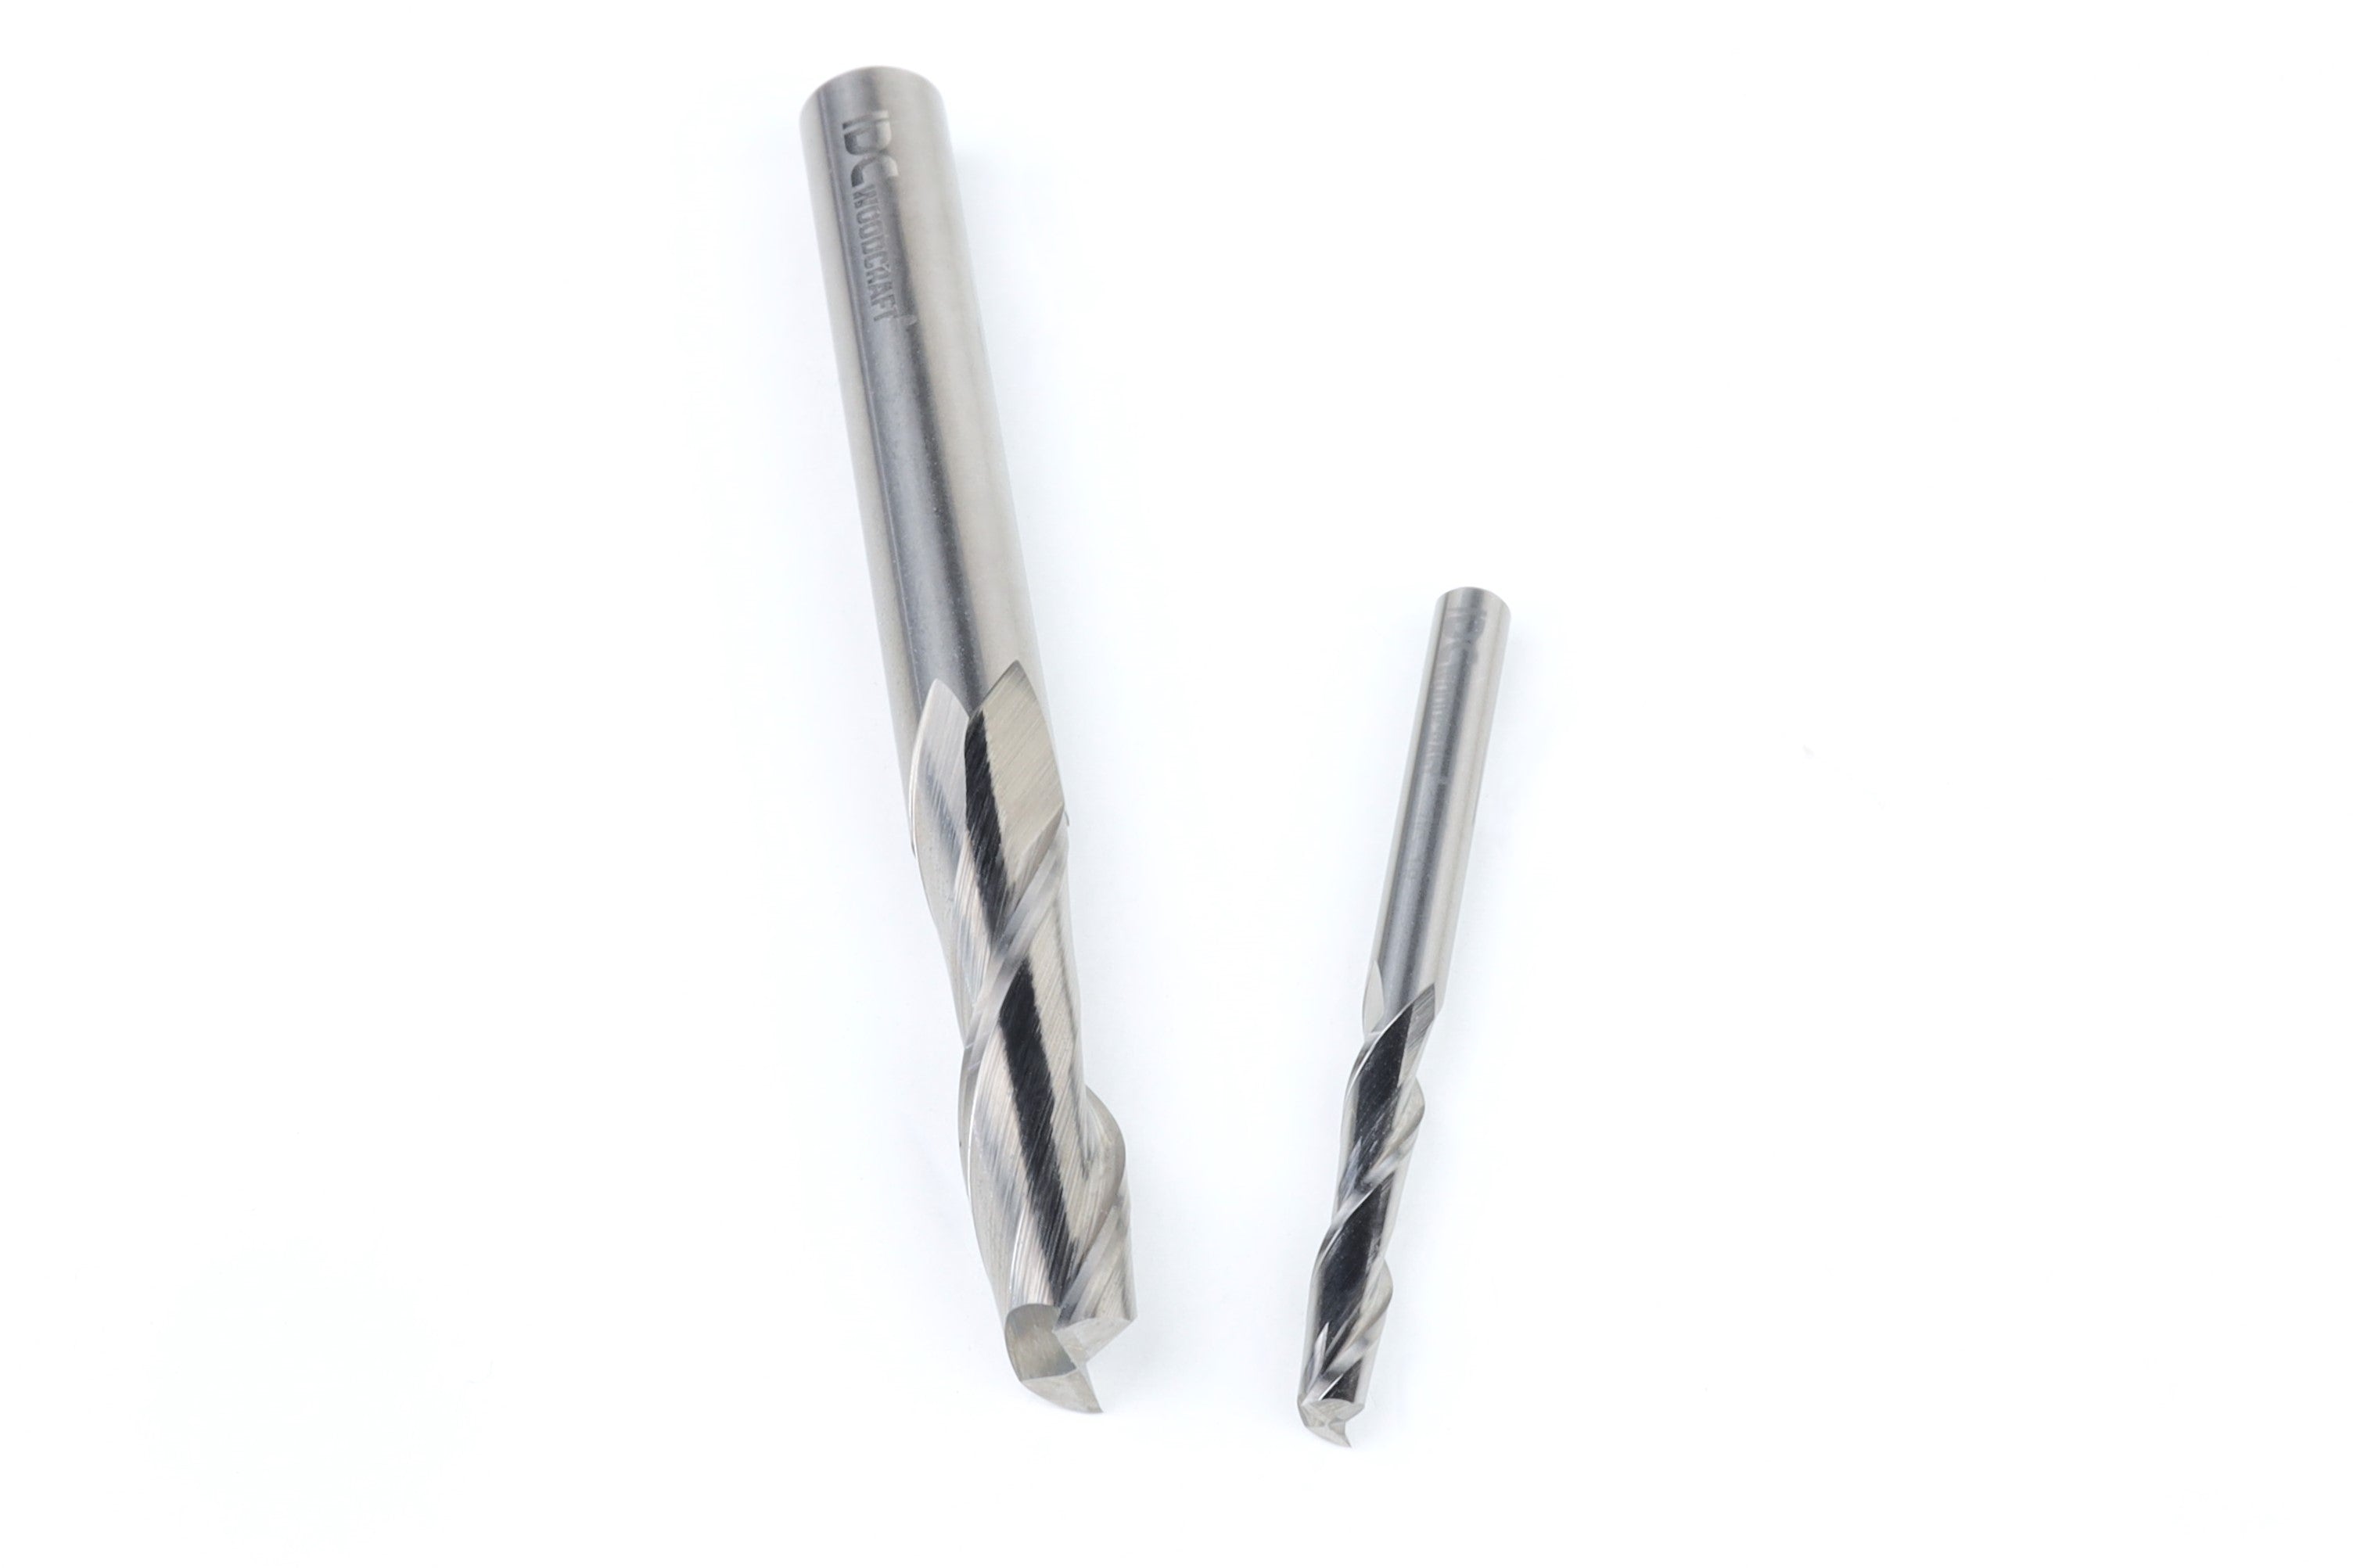
Fixed-tip cutters are inexpensive and effective; indexable versions last longer and let you rotate inserts to a fresh edge without replacing the tool. Straight two-flute end mills can surface in a pinch, but the smaller diameter lengthens the job and encourages visible ridges between passes.


Larger diameters remove material faster and reduce ridging, but they also demand more torque and a more rigid setup. Match the cutter size to the spindle horsepower and the stiffness of your machine. If your router is a compact trim style, a 25- to 35-millimeter surfacing bit is a practical choice. If you run a 2.2-kilowatt water-cooled spindle on a stout gantry, you can push toward 40–50 millimeters safely.
 

Next, work on the tram. Tram refers to the squareness of the spindle to the table in both the X and Y planes. When tram is off, a surfacing bit will leave tiny scallops that catch the light at different angles, and the finish will feel slightly corduroy even if your stepover is dialed in.


You can check tram with a dial indicator on a tramming arm swept across the spoilboard or with the “marker test” on a glass plate. Adjust the mount or shim the spindle bracket until the sweep is consistent end to end. This is an unglamorous step that pays dividends in every carve that follows.


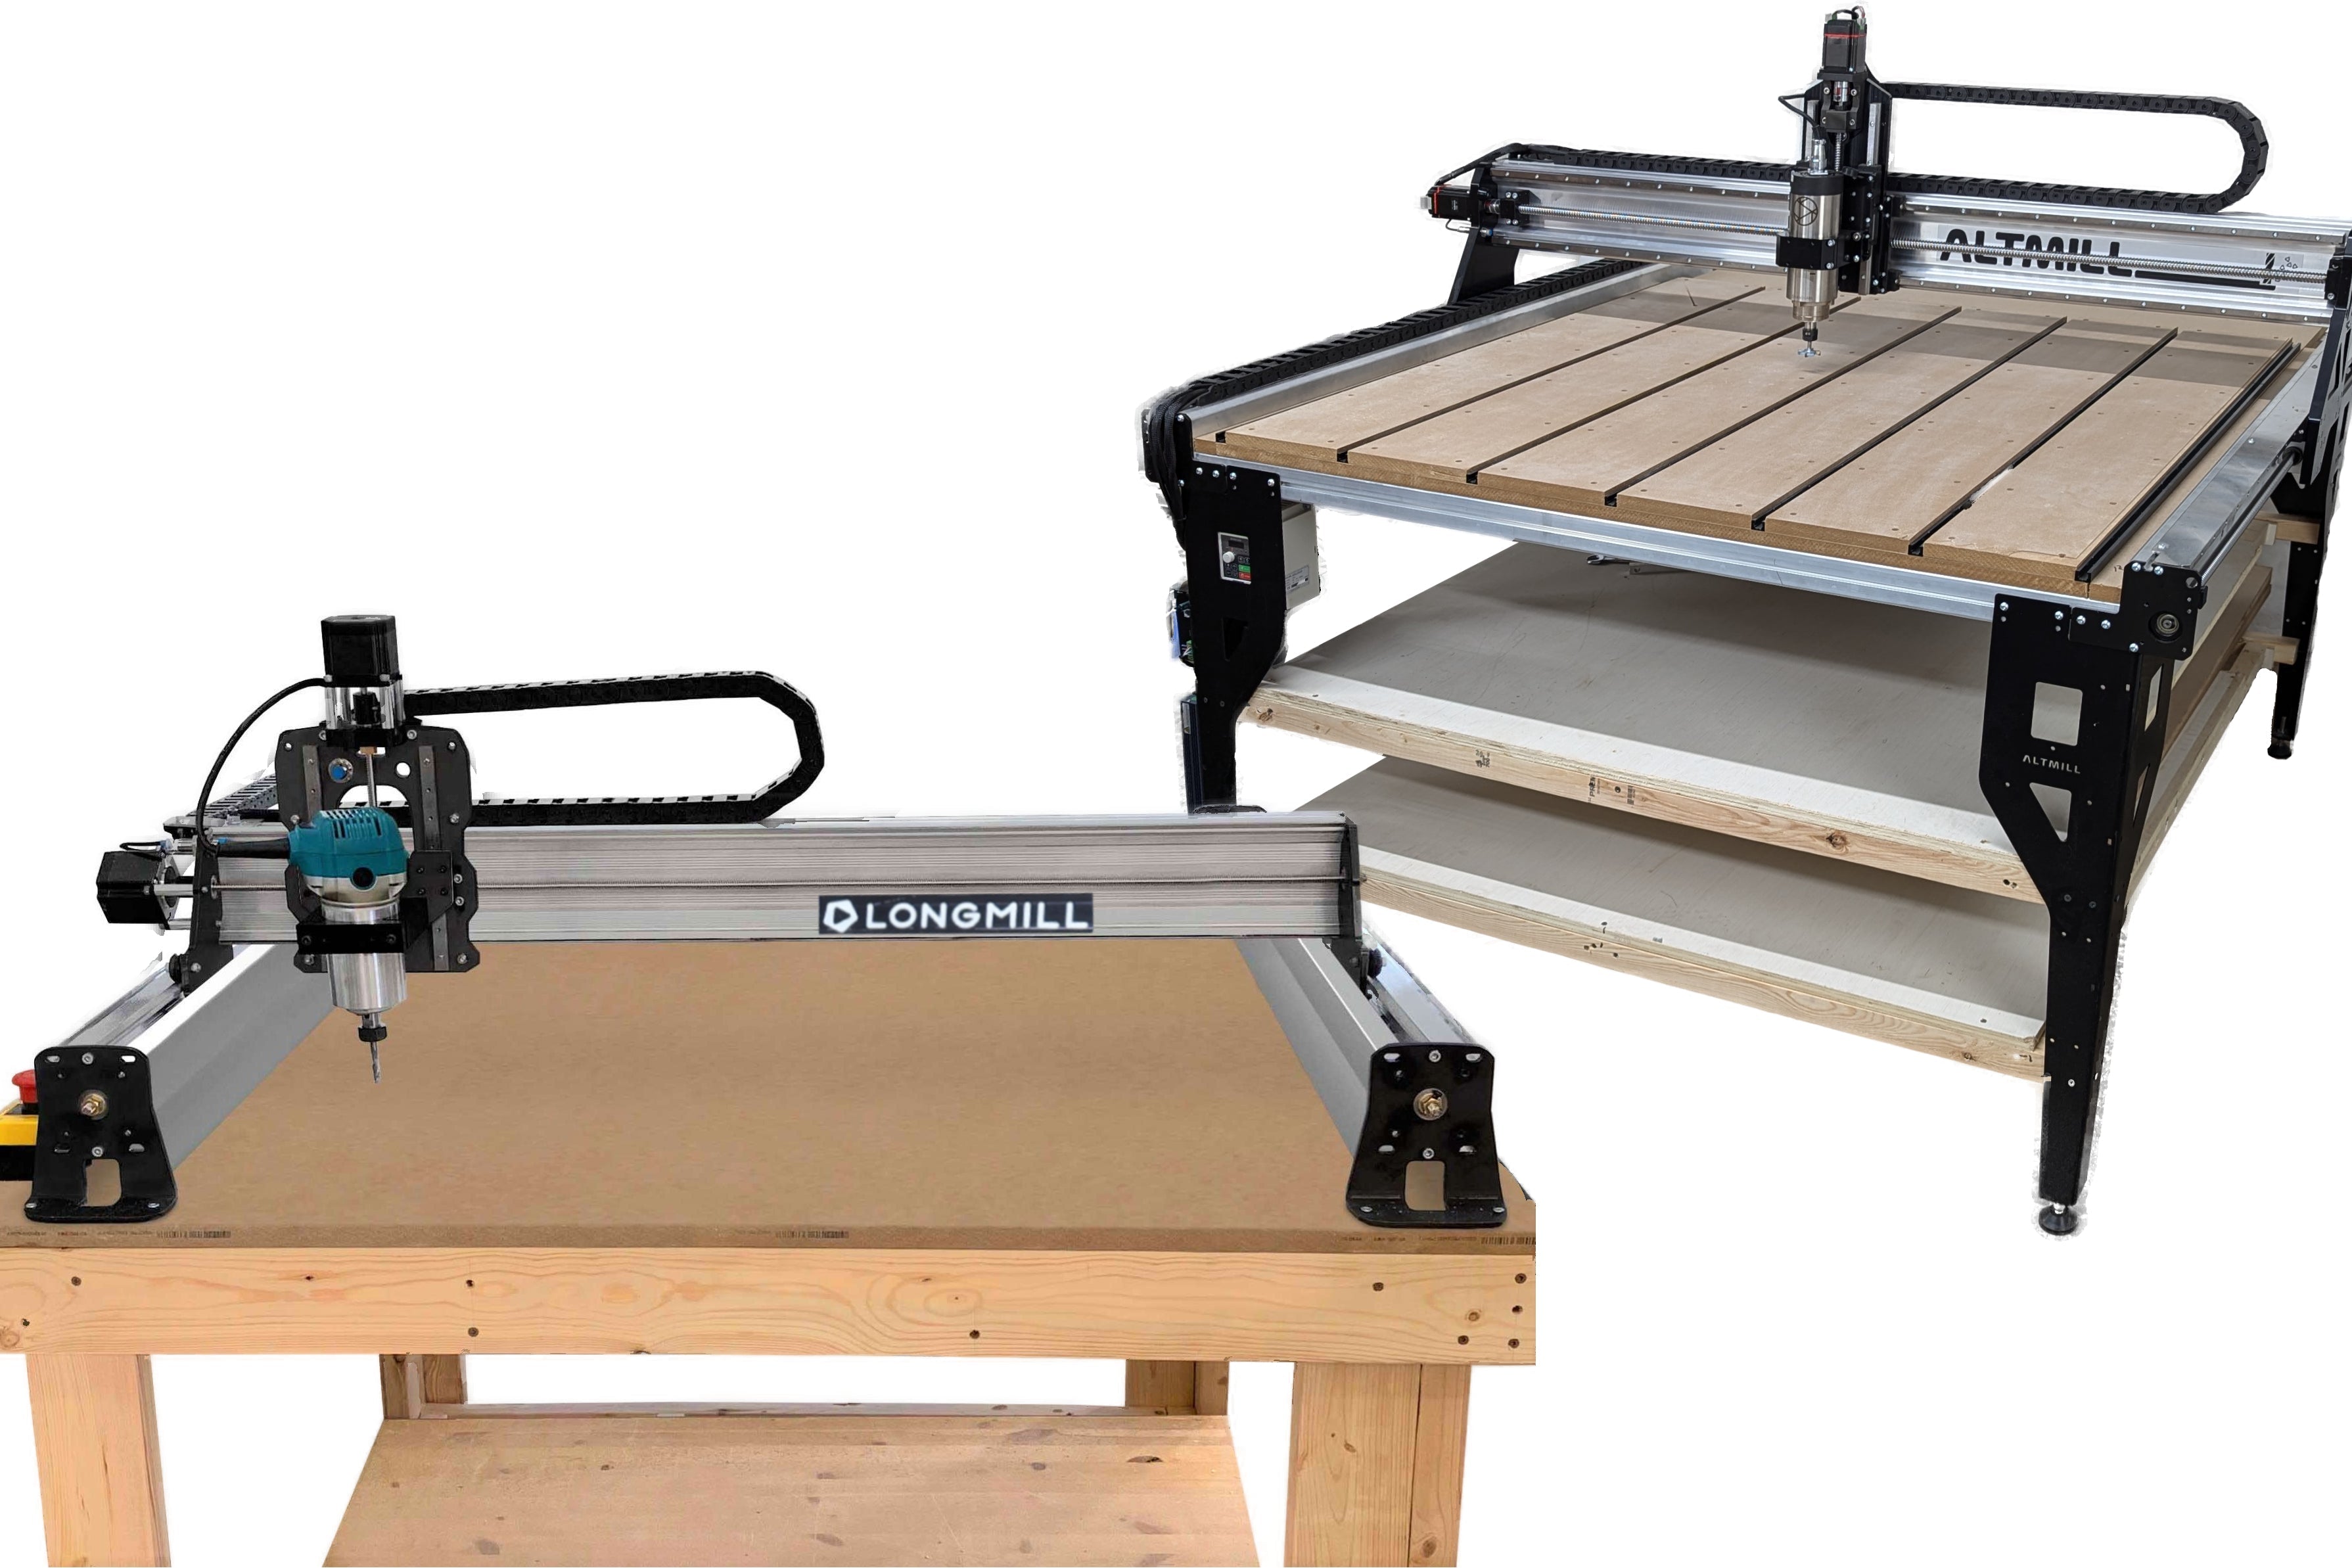
Then lock in workholding that resists lateral and vertical forces. Hold-down during surfacing is as important as hold-down during cutting because the cutter’s broad sweep produces lateral loads. An unsecured slab will creep a millimeter at a time until your last pass reveals a gentle taper you didn’t plan for.


For solid hold-down on flat sheet goods, a vacuum table or spoilboard screws works well. On live-edge slabs or awkward shapes, consider CA glue with painter’s tape, low-profile clamps outside the toolpath, dog-hole clamps with bench dogs, or cam clamps that pull the stock downward as they tighten.


If you use screws, sink them well below your maximum surfacing depth and remember that surfacing passes often extend beyond the stock’s perimeter, which means clamps and hardware must live outside the sweep of the tool.

Program carefully to prevent heartache later

In your CAM software, whether it’s VCarve, Carbide Create, Fusion 360, or similar, select a facing or pocketing strategy that rasters the tool back and forth. A conservative starting stepover for a 30–40 mm surfacing bit is approximately 40 percent of the diameter.


Reducing stepover to 20–30 percent improves finish quality at the cost of time. The depth of cut for surfacing can be shallow because you rarely need to remove more than a millimeter or two per pass. If the stock is significantly cupped or twisted, determine the highest point with a paper-shim technique or with a probing routine, then set the first pass to kiss that high spot.


It’s better to take several quick passes than to plow a deep single pass that risks chatter or bogging the spindle.


Feeds and speeds are a dance between material, cutter diameter, flute count, and spindle power. Start with the cutter manufacturer’s guidance, where available, but understand that wide surfacing bits often prefer moderate spindle RPM and brisk feed rates to maintain a healthy chipload.


On a 30- to 40-mm insert surfacer, mid-range router speeds paired with feed rates that keep chips coming off the cutter—not dust and not powder—produce a cool, consistent finish. If you see burn marks, slow the RPM and raise the feed until chips form. If you hear chatter, reduce depth of cut or adjust stepover. Because the toolpath is mostly straight lines, you can often push feed rates higher than you would in detailed 2D carving.

Mind Climb vs. Conventional Directions to Control Tear-Out

Surfacing runs in long rakes across changing grain. On straight-grained hardwood, direction often matters less, but on knotty boards, reversing grain, or live-edge slabs with bark inclusions, the wrong direction tears fibers and leaves fuzzy bands. Many CAM packages let you enforce climb or conventional on the return passes.


Climb cutting can reduce tear-out but increases the tendency to pull the work. Conventional is gentler on hold-down but can fuzz in difficult grain. If the stock allows, try a cross-hatch strategy with a second light pass at 90 degrees. The intersecting cuts shear down raised fibers without removing much additional thickness.

Use Dust Collection and Air Assist to Keep Chips Out of Your Cut

Good chip control is always important, especially when you're preparing the surface or making a project from a flat slab. The best practice is to vacuum or blow away chips regularly when you're doing sensitive work.

Surfacing generates a mountain of chips quickly. Those chips recut if they linger under the cutter, and recutting dulls edges and mars the finish. A good dust boot clears most of the waste, and a light air blast helps sweep chips out of the cutter’s path.


Resin-heavy slabs or epoxy rivers create fine dust that clings to everything; crank up collection and clean the surface between passes to keep the finish uniform. Eye protection and a respirator are smart whenever you are flattening resin or oily exotics.

The details matter, especially when surfacing

When precision counts, a zero probe is hard to beat. Combined with great software, it's what really makes a great router shine.

For inlays, deep V-carves, or multipart assemblies, perfect flatness is not a luxury; it is the only way to hit press-fit tolerances. A simple Z-probe routine establishes a consistent reference at the corner of your stock. If you are working on a slab with wild variation, consider a mesh bed leveling pass, sometimes called surface mapping, to compensate for remaining micro-variations after surfacing.


Some control software supports a probing grid that nudges Z dynamically as it carves. This does not replace surfacing, but it polishes off the last fractions of a millimeter that can accumulate in large pieces.


A surfacing pass often extends slightly beyond the stock, creating a crisp reveal line around the perimeter. That line is useful for layout and inspection, but if you don’t want to see it, plan a shallow perimeter trim with a compression bit or run a hand plane along the edge after you pull the piece off the table.


On live-edge work, protect bark and soft sapwood by stopping the surfacing toolpath a few millimeters shy of the edge and then blending by hand with a card scraper. For tabletops, consider surfacing both faces with light passes to keep internal stresses balanced, because removing a lot of material on one side can induce a new bow.


When a board is both twisted and cupped, surfacing alone can eat more thickness than you want to sacrifice. The smarter workflow is to shim the low corners until the board stops rocking, attach it to a carrier at those shimmed points, and then make a reference pass to create a flat datum.


Once you have a flat datum on one side, flip the work and repeat the process on the opposite face until you reach the thickness you need. For very large slabs that exceed your machine’s Z clearance, a router sled is still the right tool. You can get the slab within a millimeter or two with the sled, then bring it to the CNC for final truing and sanding.

Blend the Surface and Prep for Finishing

A well-trammed machine and a sensible stepover leave a surface that needs minimal sanding. If you can catch ridges with a fingernail, the stepover was aggressive or the tram is off. Correct those before you reach for abrasives.


For hardwoods, begin at a grit just coarse enough to erase witness lines and then move through your usual sequence. For resin, use fresh paper and avoid heat buildup. A cabinet scraper is magic on straight-grained hardwood surfaces fresh off the CNC because it slices peaks without loading or fuzzing. After sanding, raise the grain with a damp cloth if the piece will receive a water-based finish, let it dry, and scuff back to smooth.
 

Safety and Machine Care 

Surfacing throws chips and exerts continuous lateral loads, so give the spindle bearings and collet a break by keeping runs efficient and avoiding needless dwell. Inspect inserts or cutting edges for micro-chipping and rotate or replace as needed. Clean collets periodically to maintain concentricity. Avoid surfacing directly into metal fasteners by validating your max depth against screw locations and clamp hardware. Keep the dust boot bristles trimmed so they don’t snag on clamps, because a sudden hang-up can deflect the gantry and leave a gouge.


Finally, remember that most noise and vibration problems during surfacing trace to dull edges, an unbalanced tool, a loose collet, or an overly deep cut; solve those and the machine will hum.


Surface prep is the quiet hero of clean CNC work. It protects your cutters, shortens carve time, reduces sanding, improves glue joint quality, and makes finishes lay down like glass. It also adds predictability to every downstream operation because precise Z matters more than most beginners realize.


When a pocket is a few tenths shallow, an inlay fails. When a pocket is a few tenths deep, a V-carve loses its crisp knife-edge. A machine that surfaces cleanly simply makes better parts, and it makes them with fewer surprises.