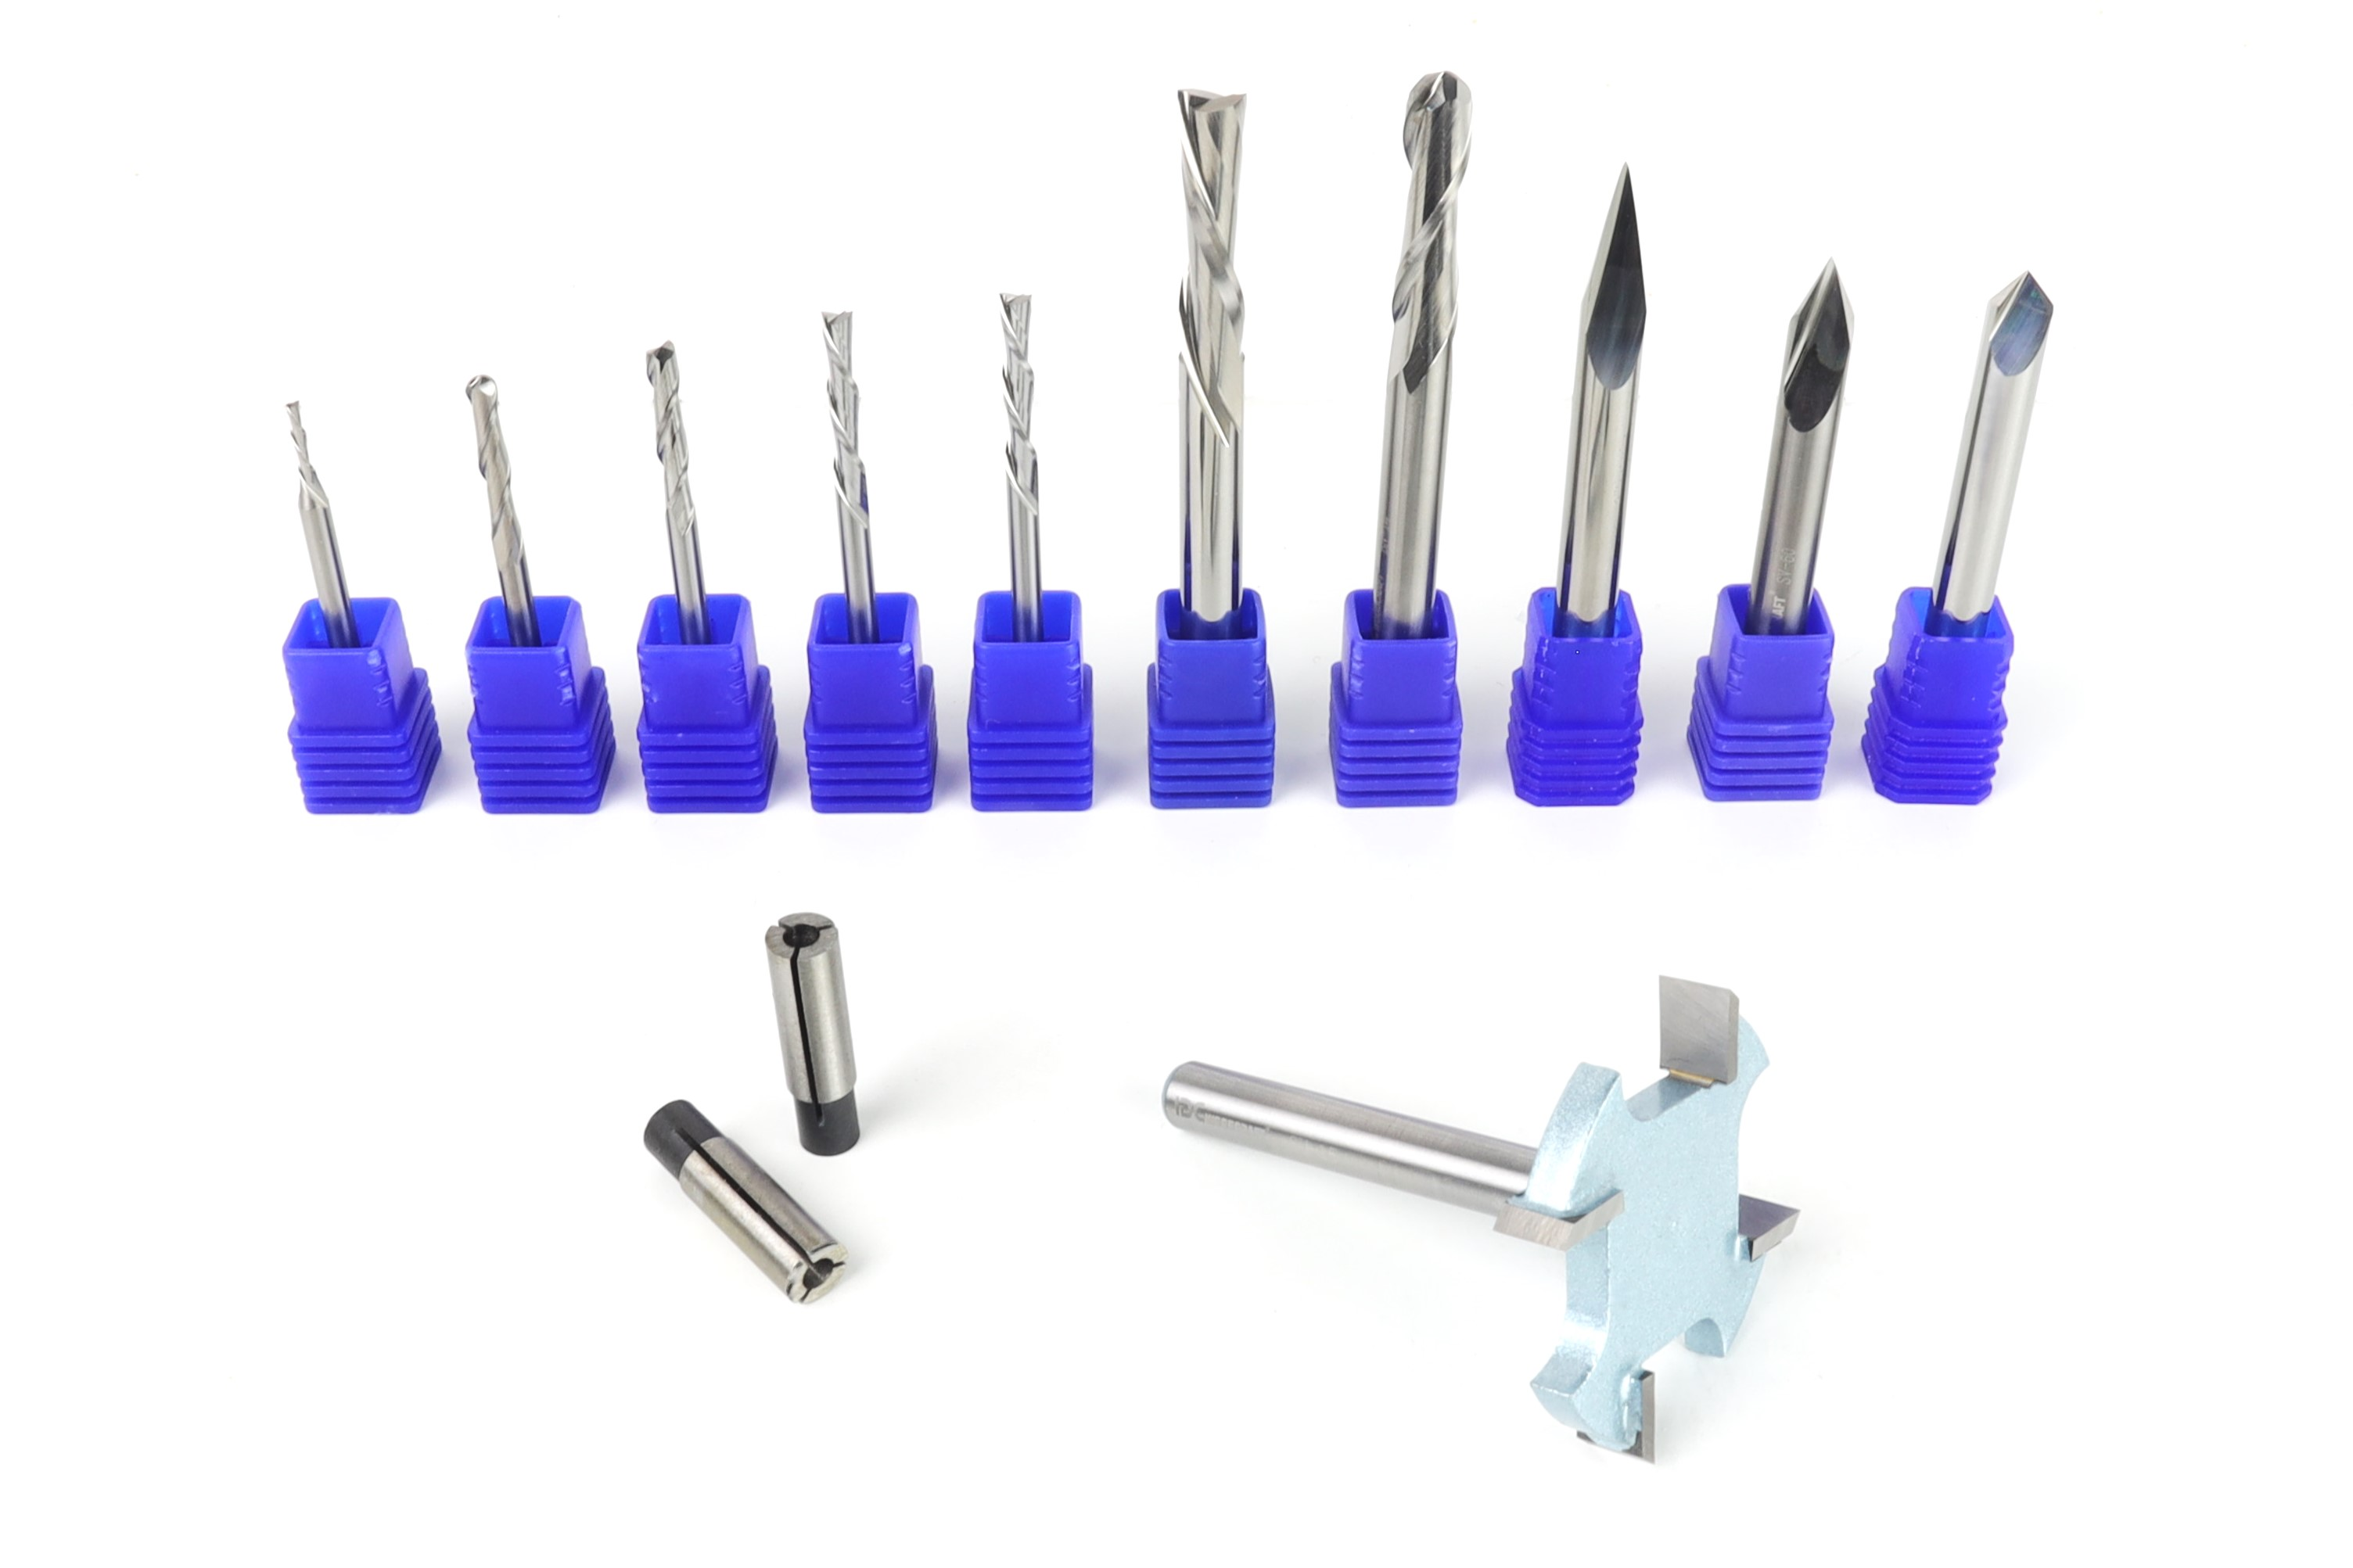
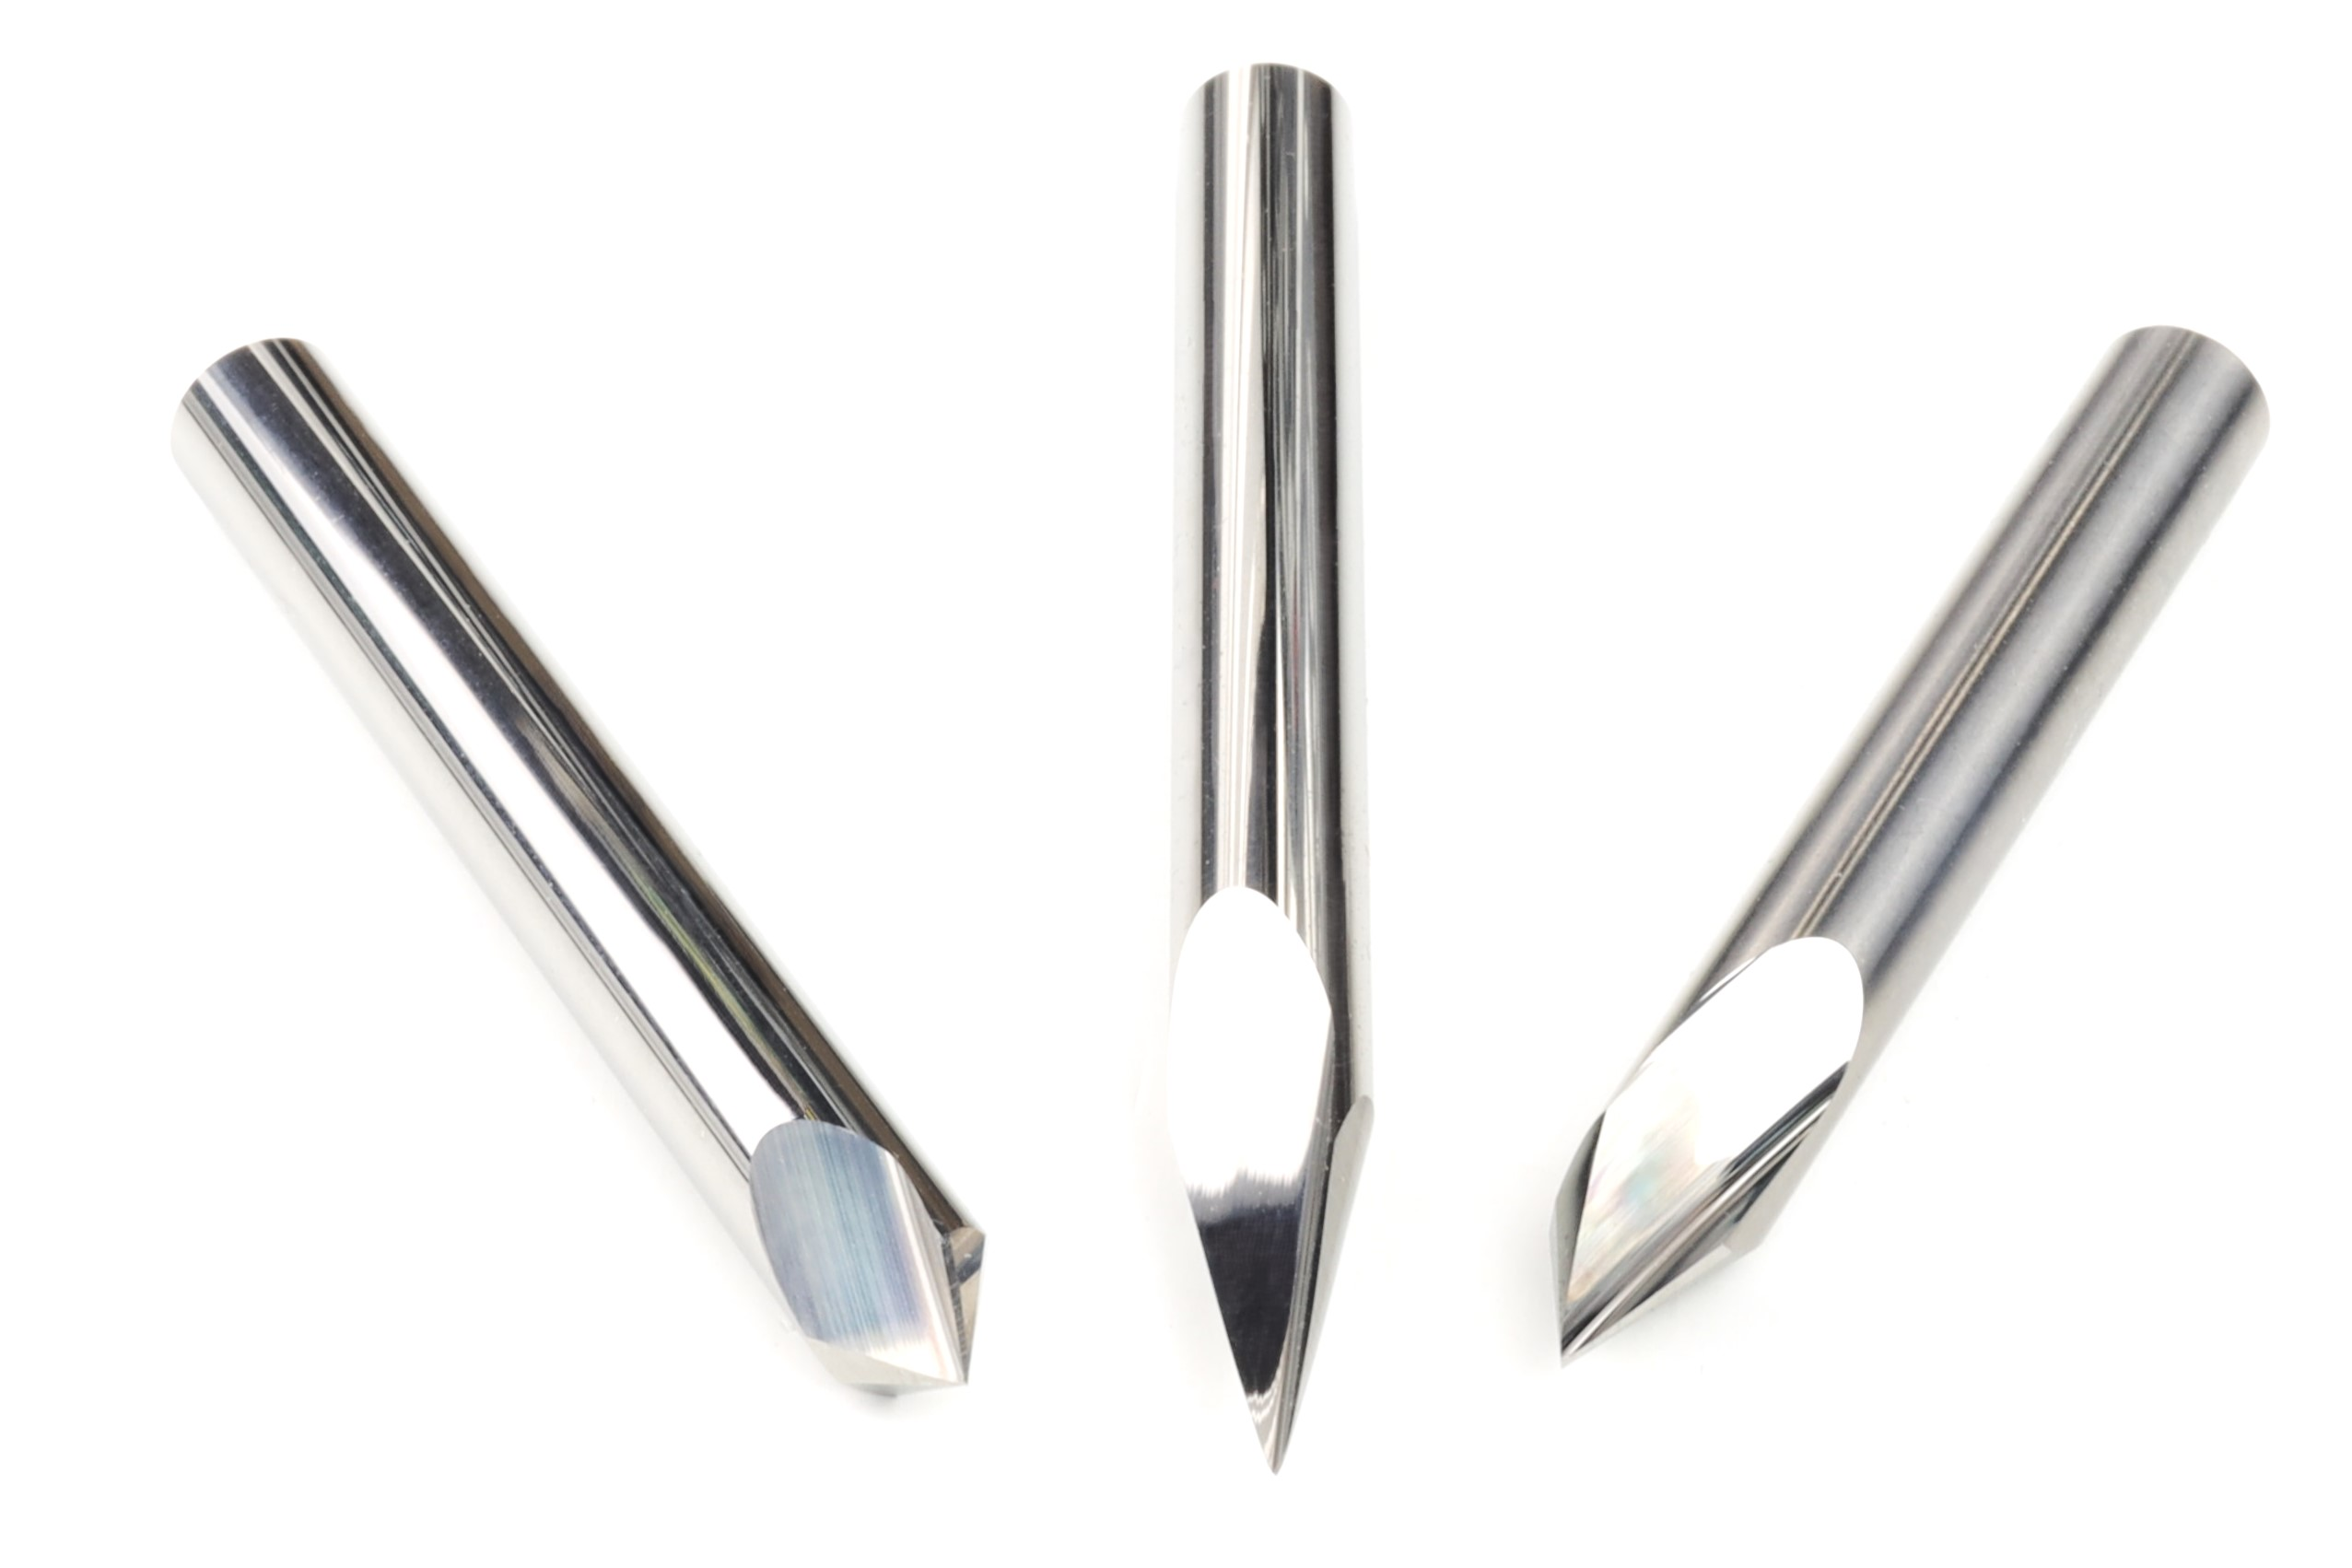
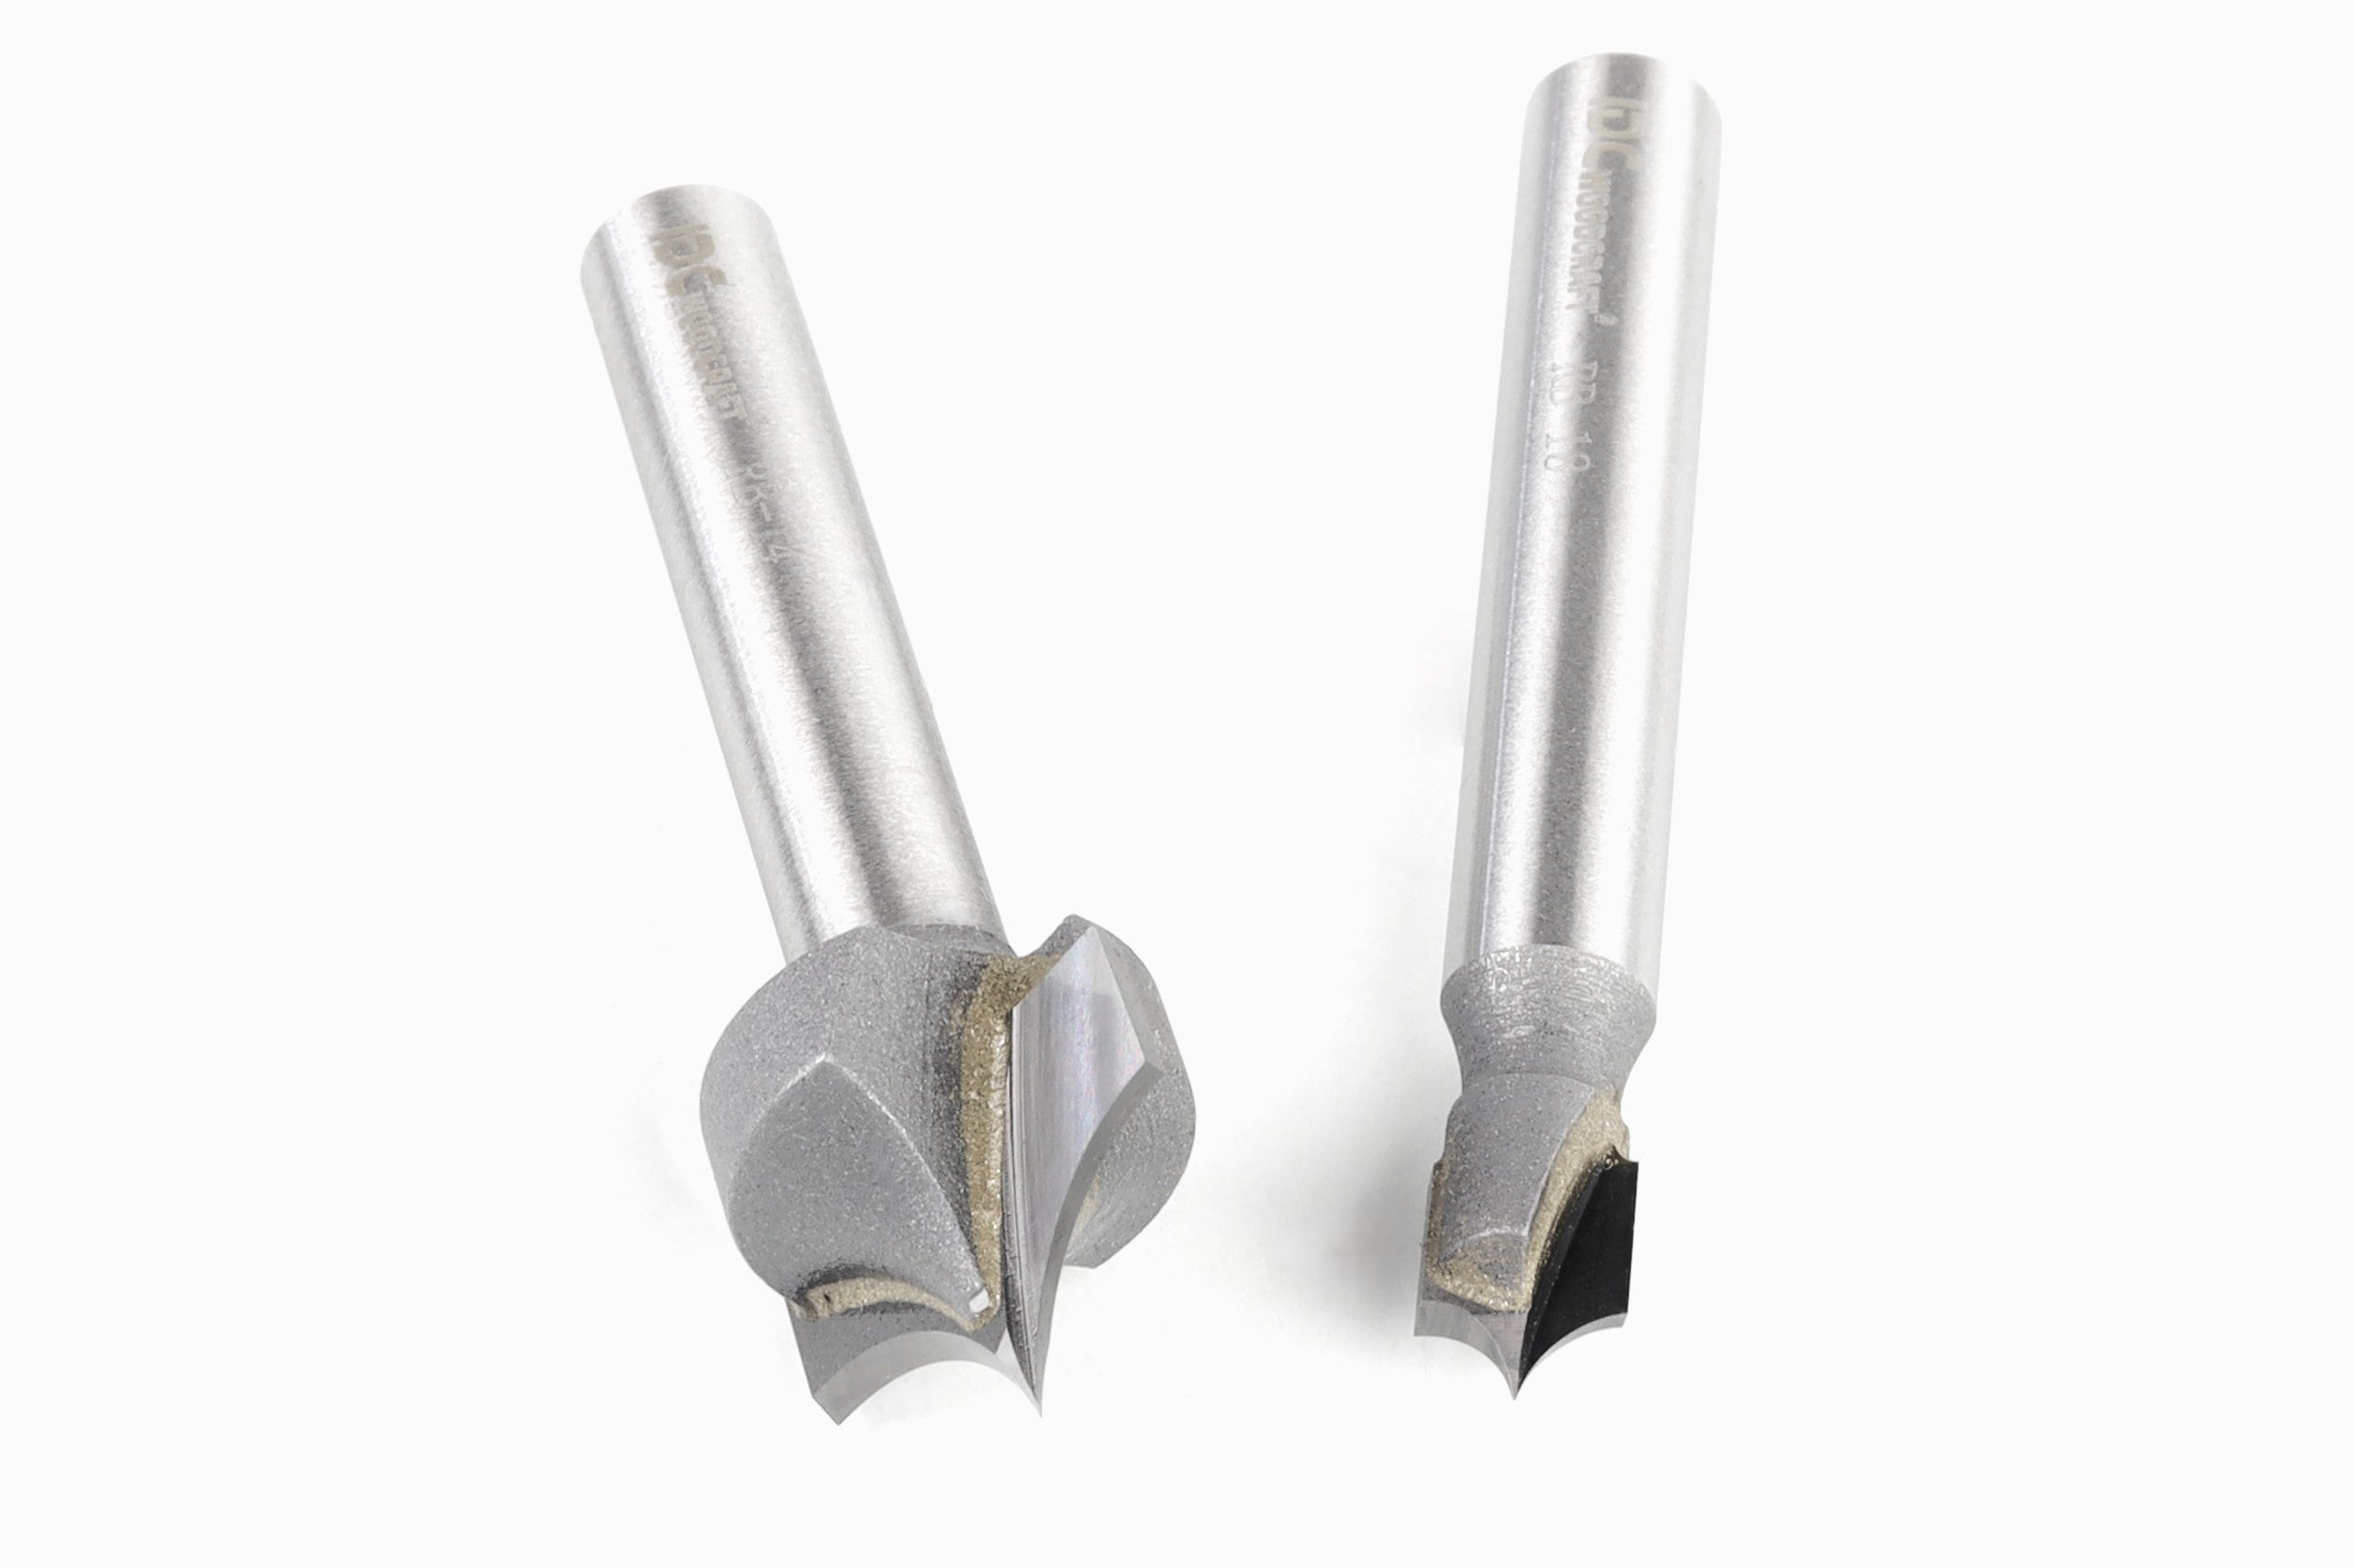
Inlays love confident shapes. If you’re pulling your first test, pick a motif with crisp transitions, clean on-curves, and no feather-thin terminals. Circular arcs and beveled serifs show off what V-carving does best: unbroken lines that meet at clear intersections. If you must include wispy details, give them a bit more stroke weight than your 2D designer’s eye prefers. The wood will thank you. As your results become consistent, you can dial those strokes back down, and the geometry will carry you.
Contrast matters as much as precision. Walnut filled with hard maple looks great because your eye reads the seam as a design element, not a defect. Mahogany on cherry, by comparison, can be so subtle that it hides your craftsmanship from anyone standing farther than arm’s length. If this is a gift, err on the side of visible.
If you’ve never tried a V-carve inlay, the most productive way to learn is to do a scale rehearsal. Mill two coasters from offcuts and cut the same simple emblem at coaster scale. That miniature dress rehearsal teaches you everything that matters—the way your bit behaves, how your clamping feels, whether your start and flat depths are generous or stingy—without committing a $60 board. After a single rehearsal, the mystery evaporates, and you’ll approach the full-size panel with the calm of someone who knows how the triangles will meet.
There’s no hidden trick in creating the perfect inlay. It’s simply a tiny handful of deliberate decisions anyone can repeat. Keep the geometry consistent, protect the edges, let the walls seat the fit, and don’t rush the trim. If you internalize those moves, the perfect inlay is no longer a miracle: It’s your shop’s new default.
Be sure to check out IDC Woodcraft’s free beginner’s CNC kickstarter guide. For those who want to try their hand at the feather inlay project in the IDC Woodcraft video above, click here for the instructions and g-code files.
IDC Woodcraft is also mobile! Check out our free apps on iPhone or Android.