Free Shipping for CNC Bit orders over $120

Shop

Shop By Project

Shop By Type

Sets

Sets

Inlay

Inlay

3D Carving

3D Carving

Acrylic

Acrylic

Engraving

Engraving

Bowl And Tray

Bowl And Tray

Digital Files

Digital Files

Sets

Sets

Ball Nose

Ball Nose

Compression

Compression

Downcut

Downcut

Drills

Drills

Engraving

Engraving

Extended Cut

Extended Cut

Roughing

Roughing

Rounding

Rounding

Slotting

Slotting

Straight Cut

Straight Cut

Surfacing

Surfacing

Upcut

Upcut

V Grooving

V Grooving

Jenny Bits

Jenny Bits

Collets

Collets

Accessories

Accessories

CNC Machines

CNC Machines

Vacuum Tables

Vacuum Tables

Digital Files

Digital Files

Software

Software

Closeout

Closeout

CNC Resources

Database Downloads

About

Contact Us

Get A Gift Card

The Science of Downbits and When to Use Them

You've carefully planned out your project, both in your head and in your vector software. You put a sharp bit into your machine, carefully ensuring the tool and material are perfectly placed, and tell your CNC router to get to work. The hum of the machine fills the air, and you see the sawdust start to pile.


But then you notice something: There are a ton of little burrs, or tear-outs, along the edges of almost every cut. And some of the cuts may even be uneven, especially when it comes to those long contours and curved lines in text or graphics on projects.


So you spend a few minutes getting a stack of sandpaper ready for the long job of smoothing out all those surfaces.


If you're doing just one or two pieces as a labor of love, that might not be a problem. After all, a few minutes of proper sanding on each piece can make it feel more personal to you. Maybe you like feeling all the grooves disappear in an otherwise well-cut piece of woodworking as you sand them away.


But if you're a CNC entrepreneur, and this is your business, then time is money. And needing to spend extra time on every piece means that you're losing money, or at least not making what you should.


The good news is there's probably nothing wrong with your bit. The bad news is you're probably sometimes using the wrong bit. But with an easy equipment swap and a few changes to your process, you can essentially eliminate this drain on your time so that you can focus on more productive things.
 

The science behind your router bits

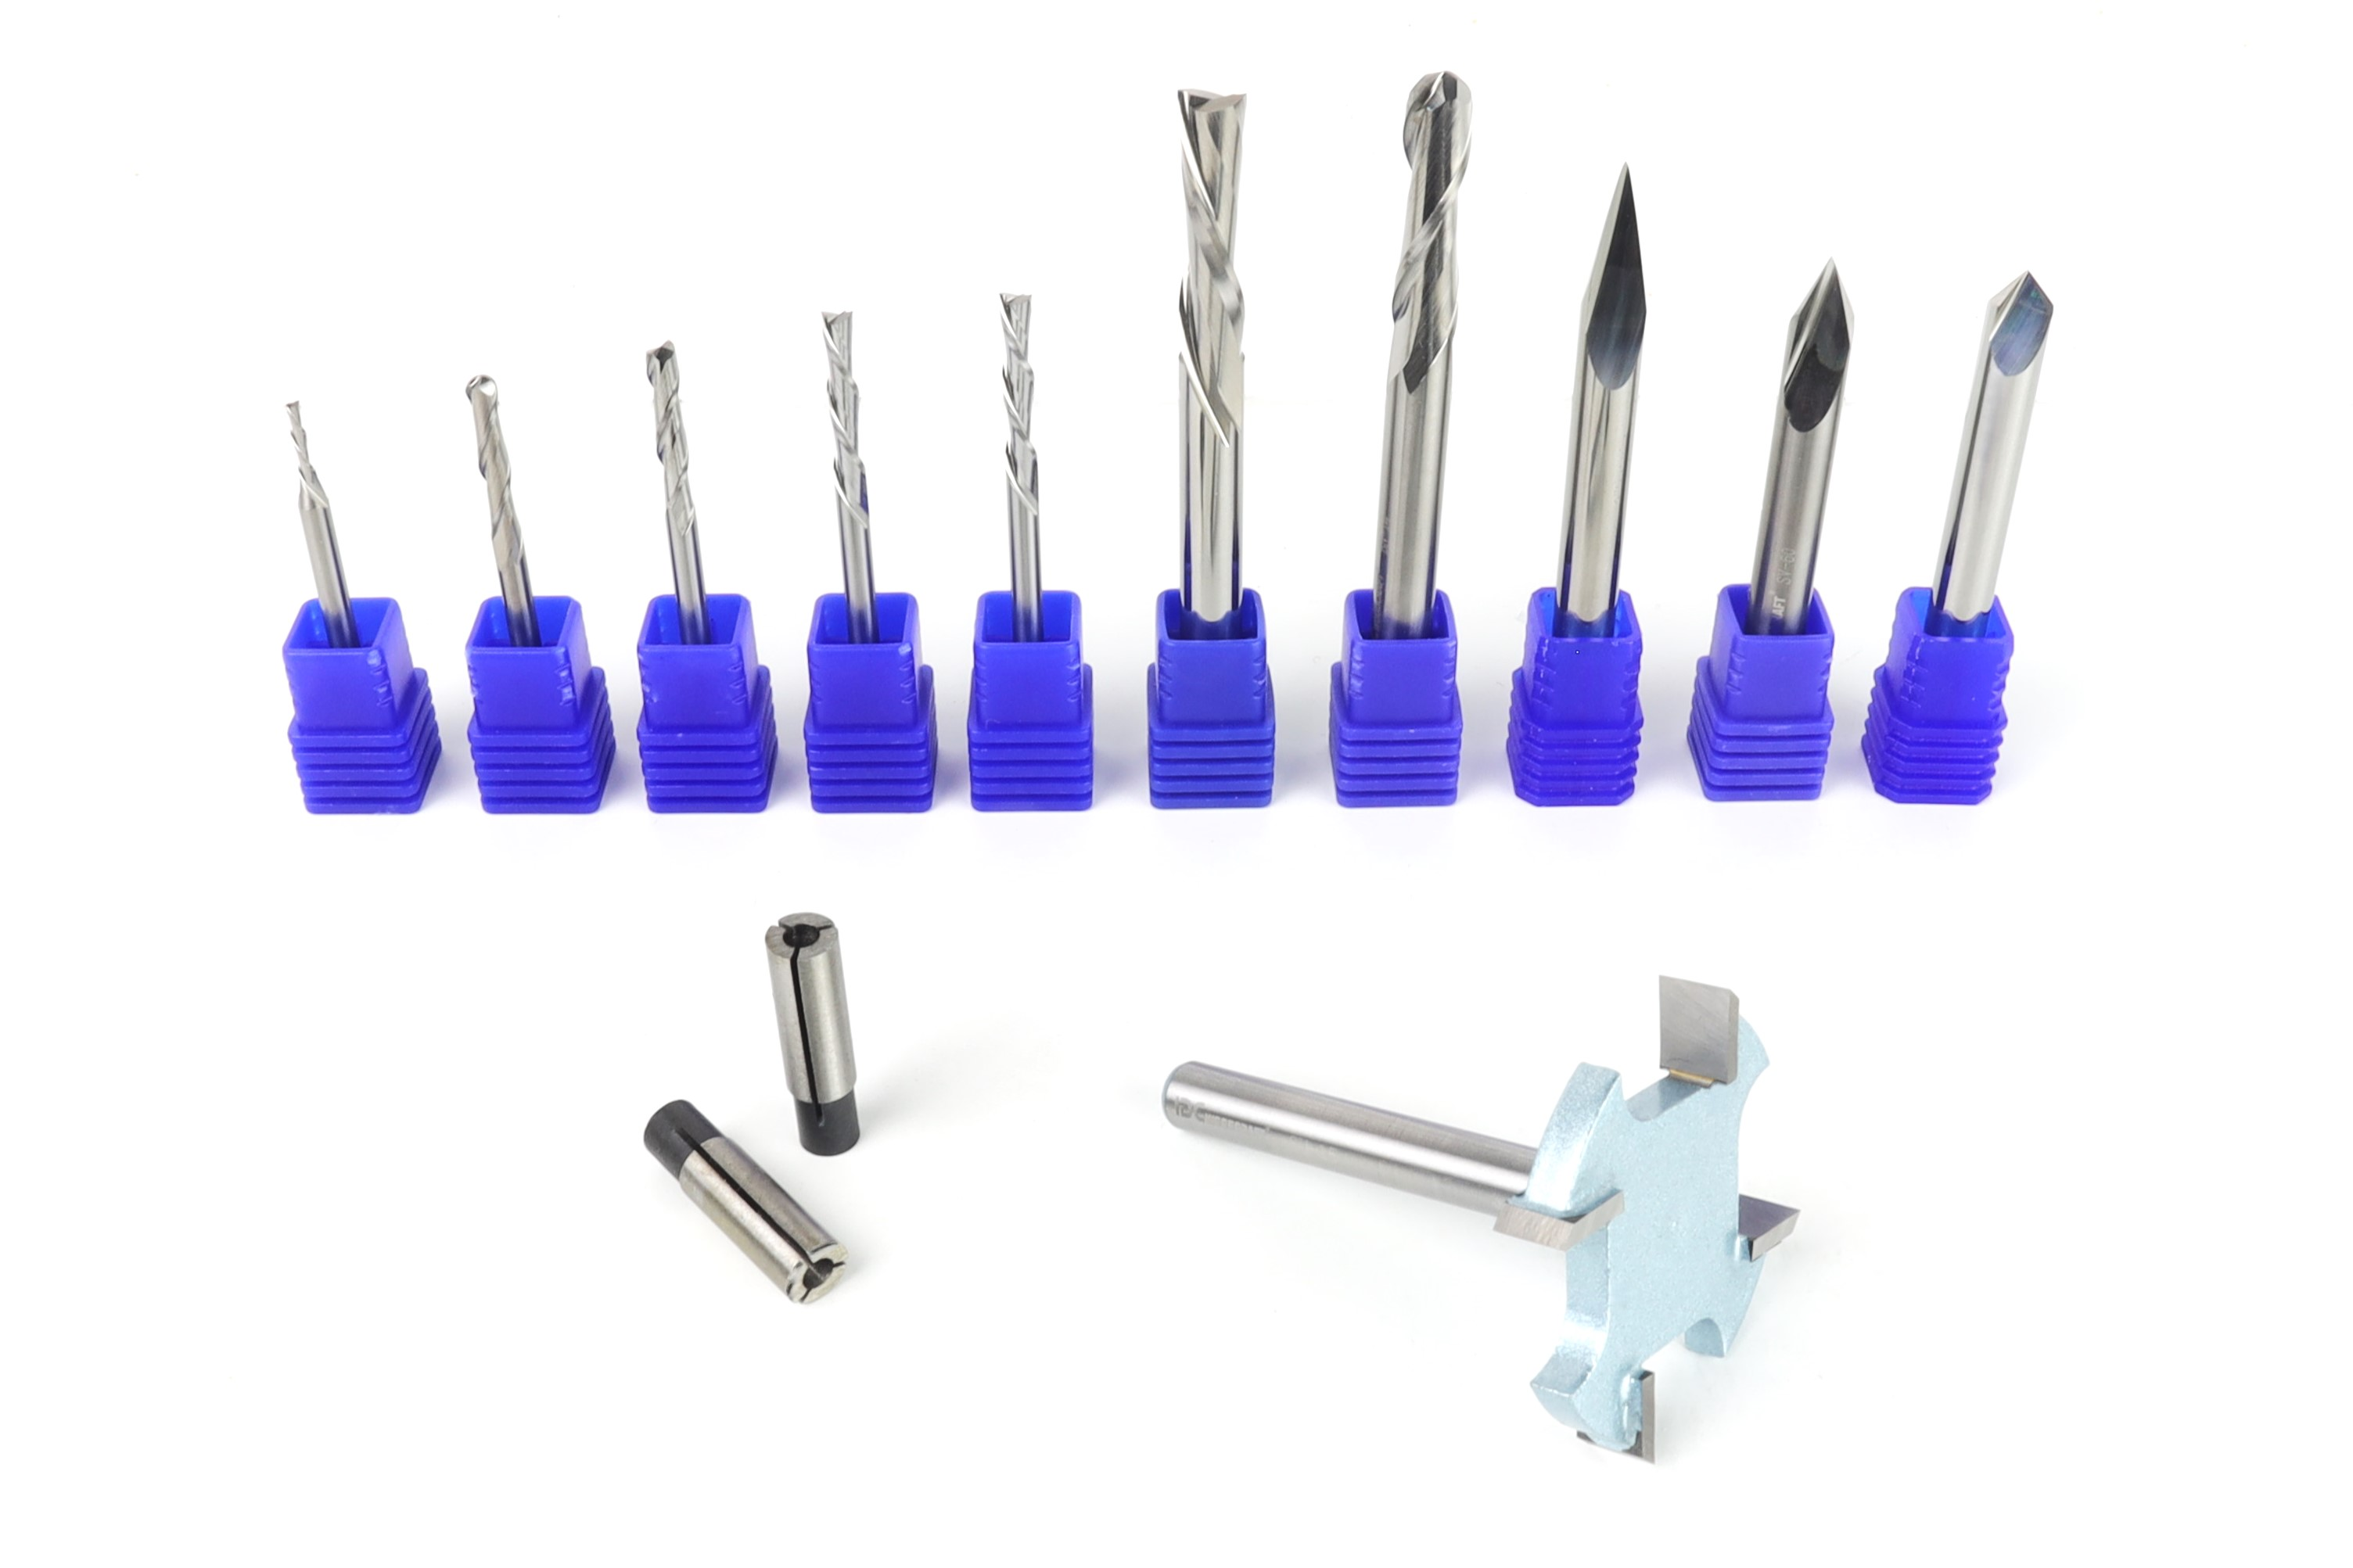
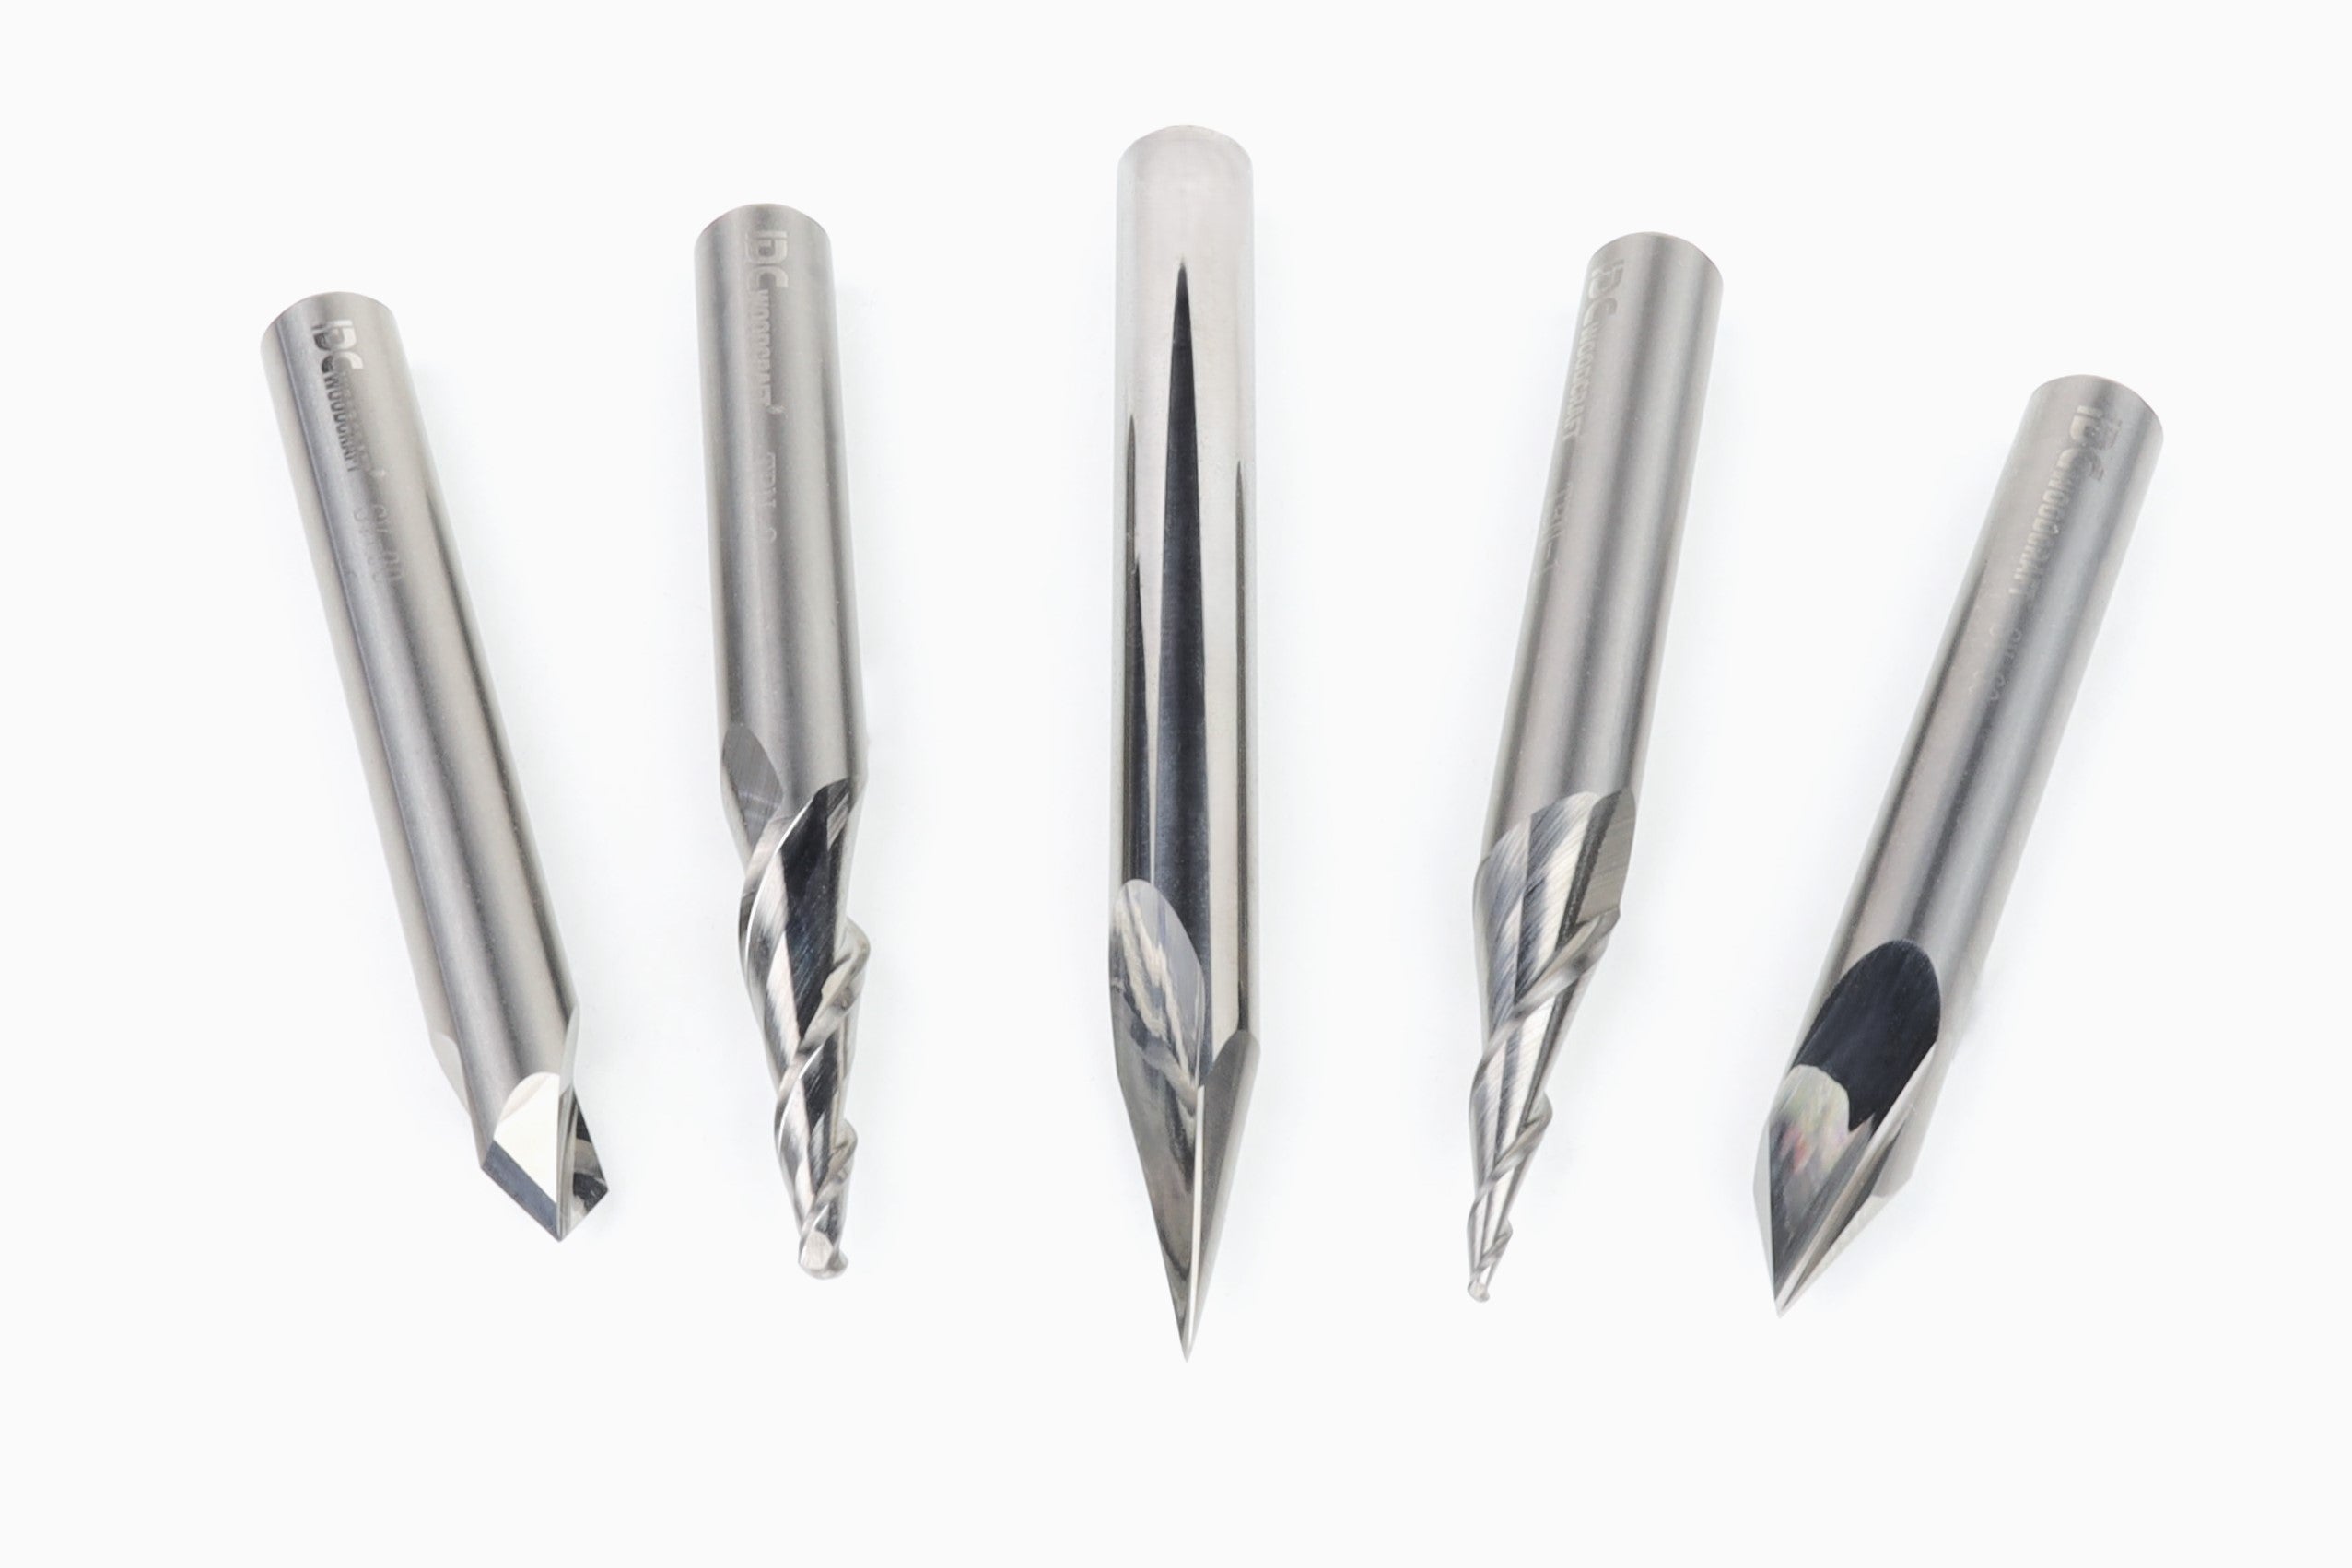
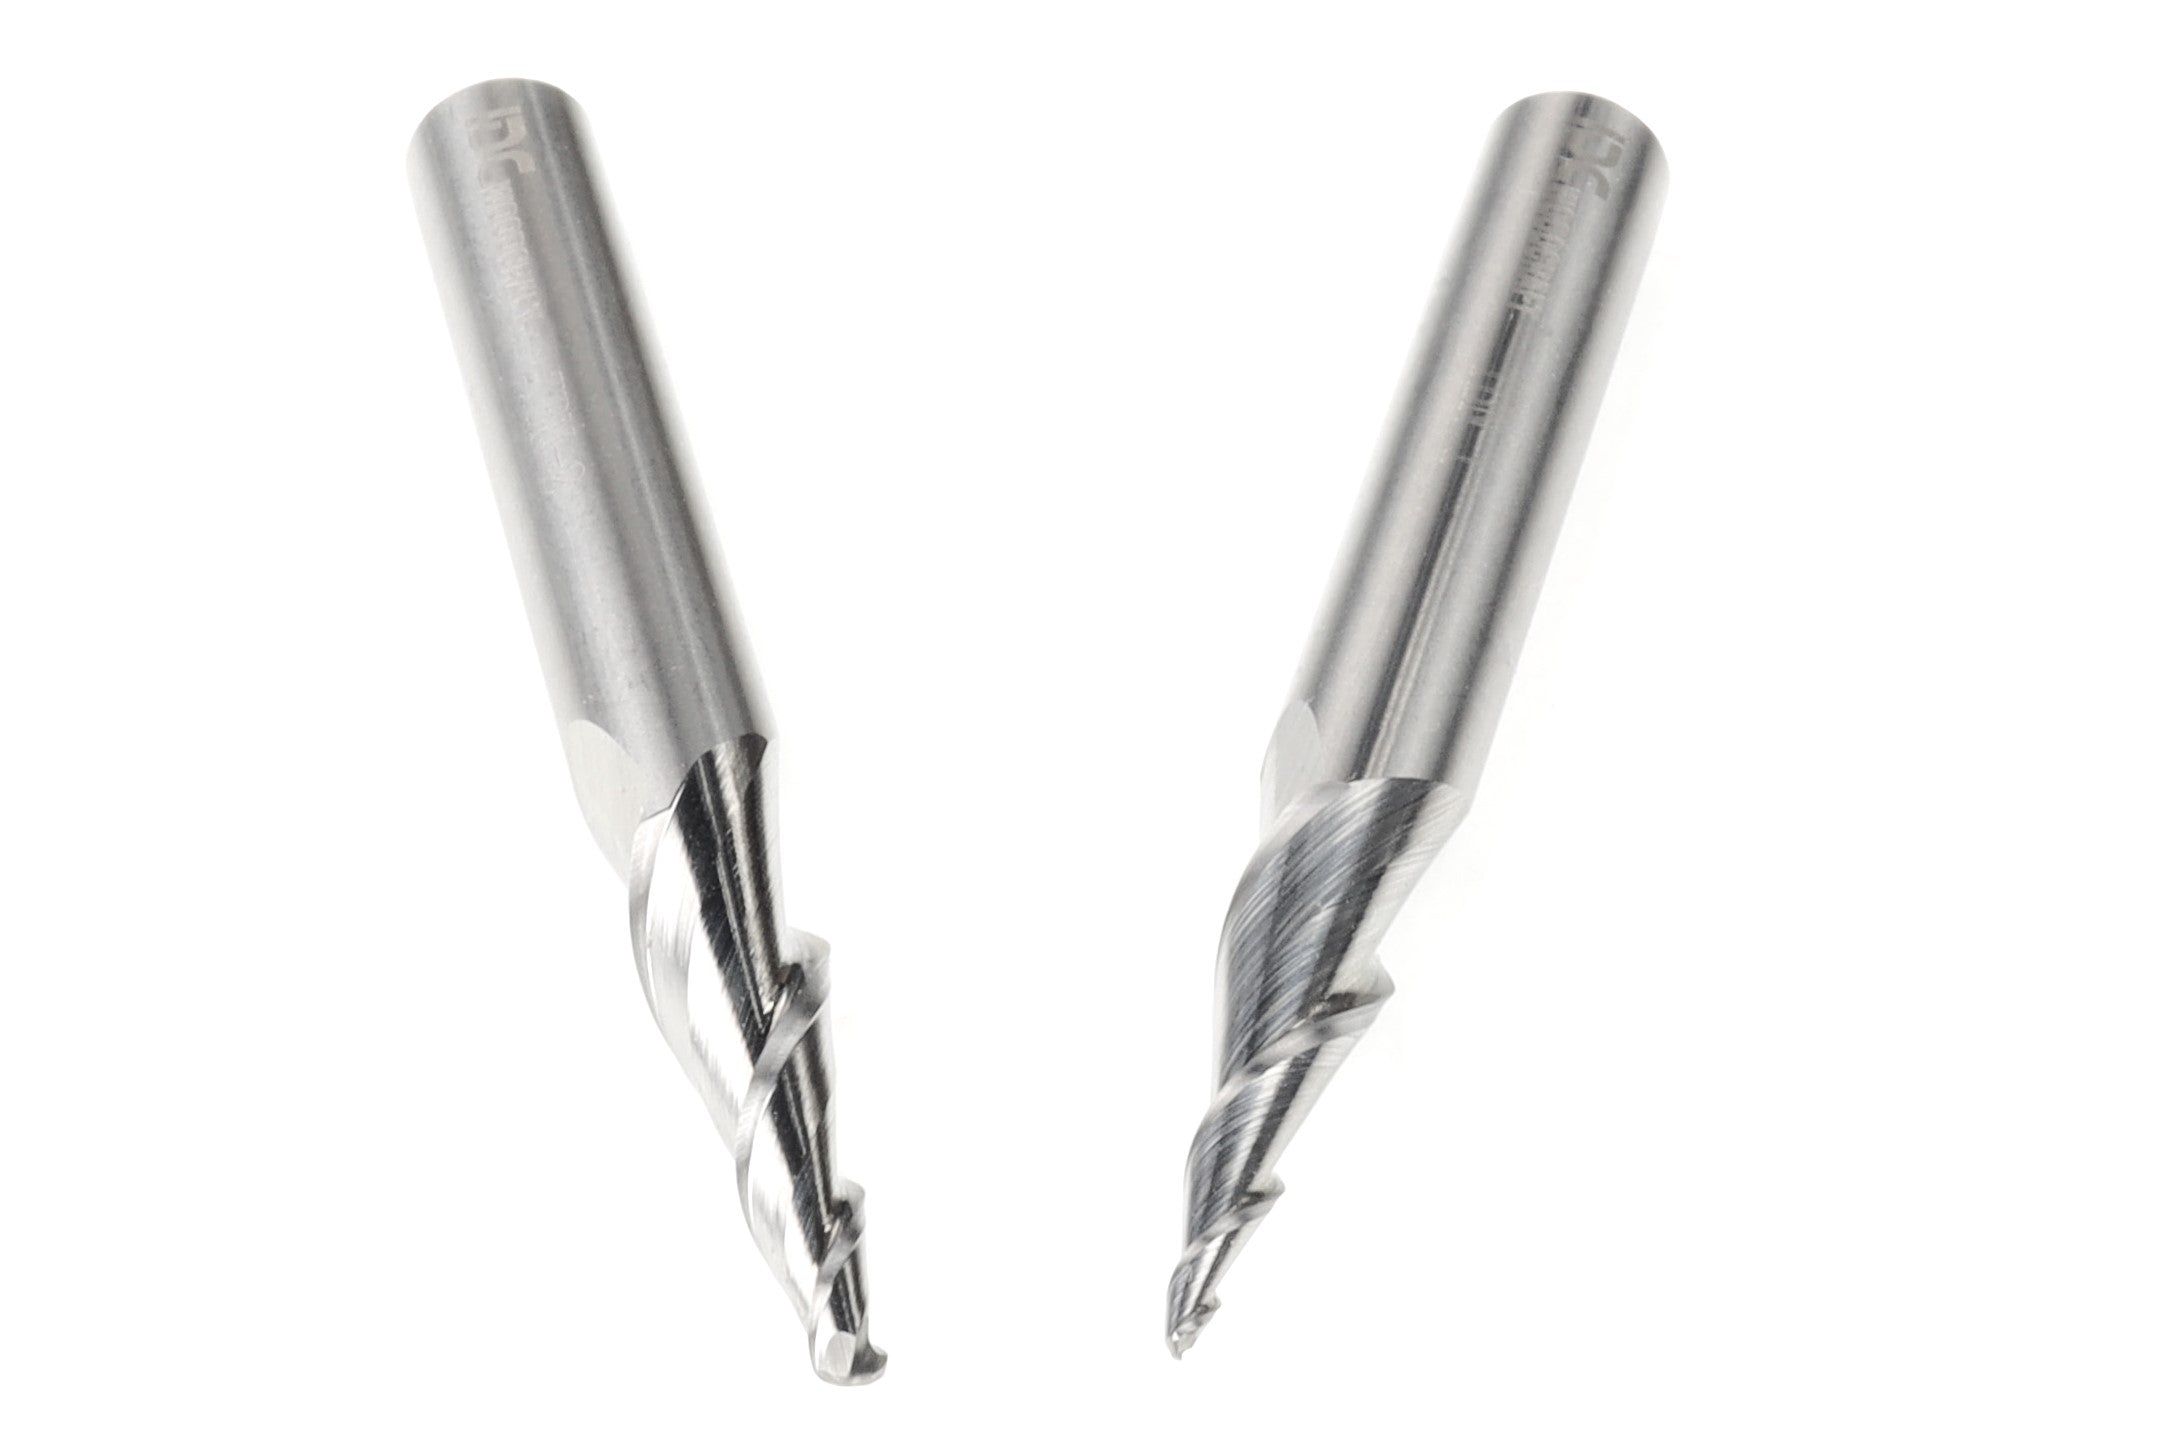
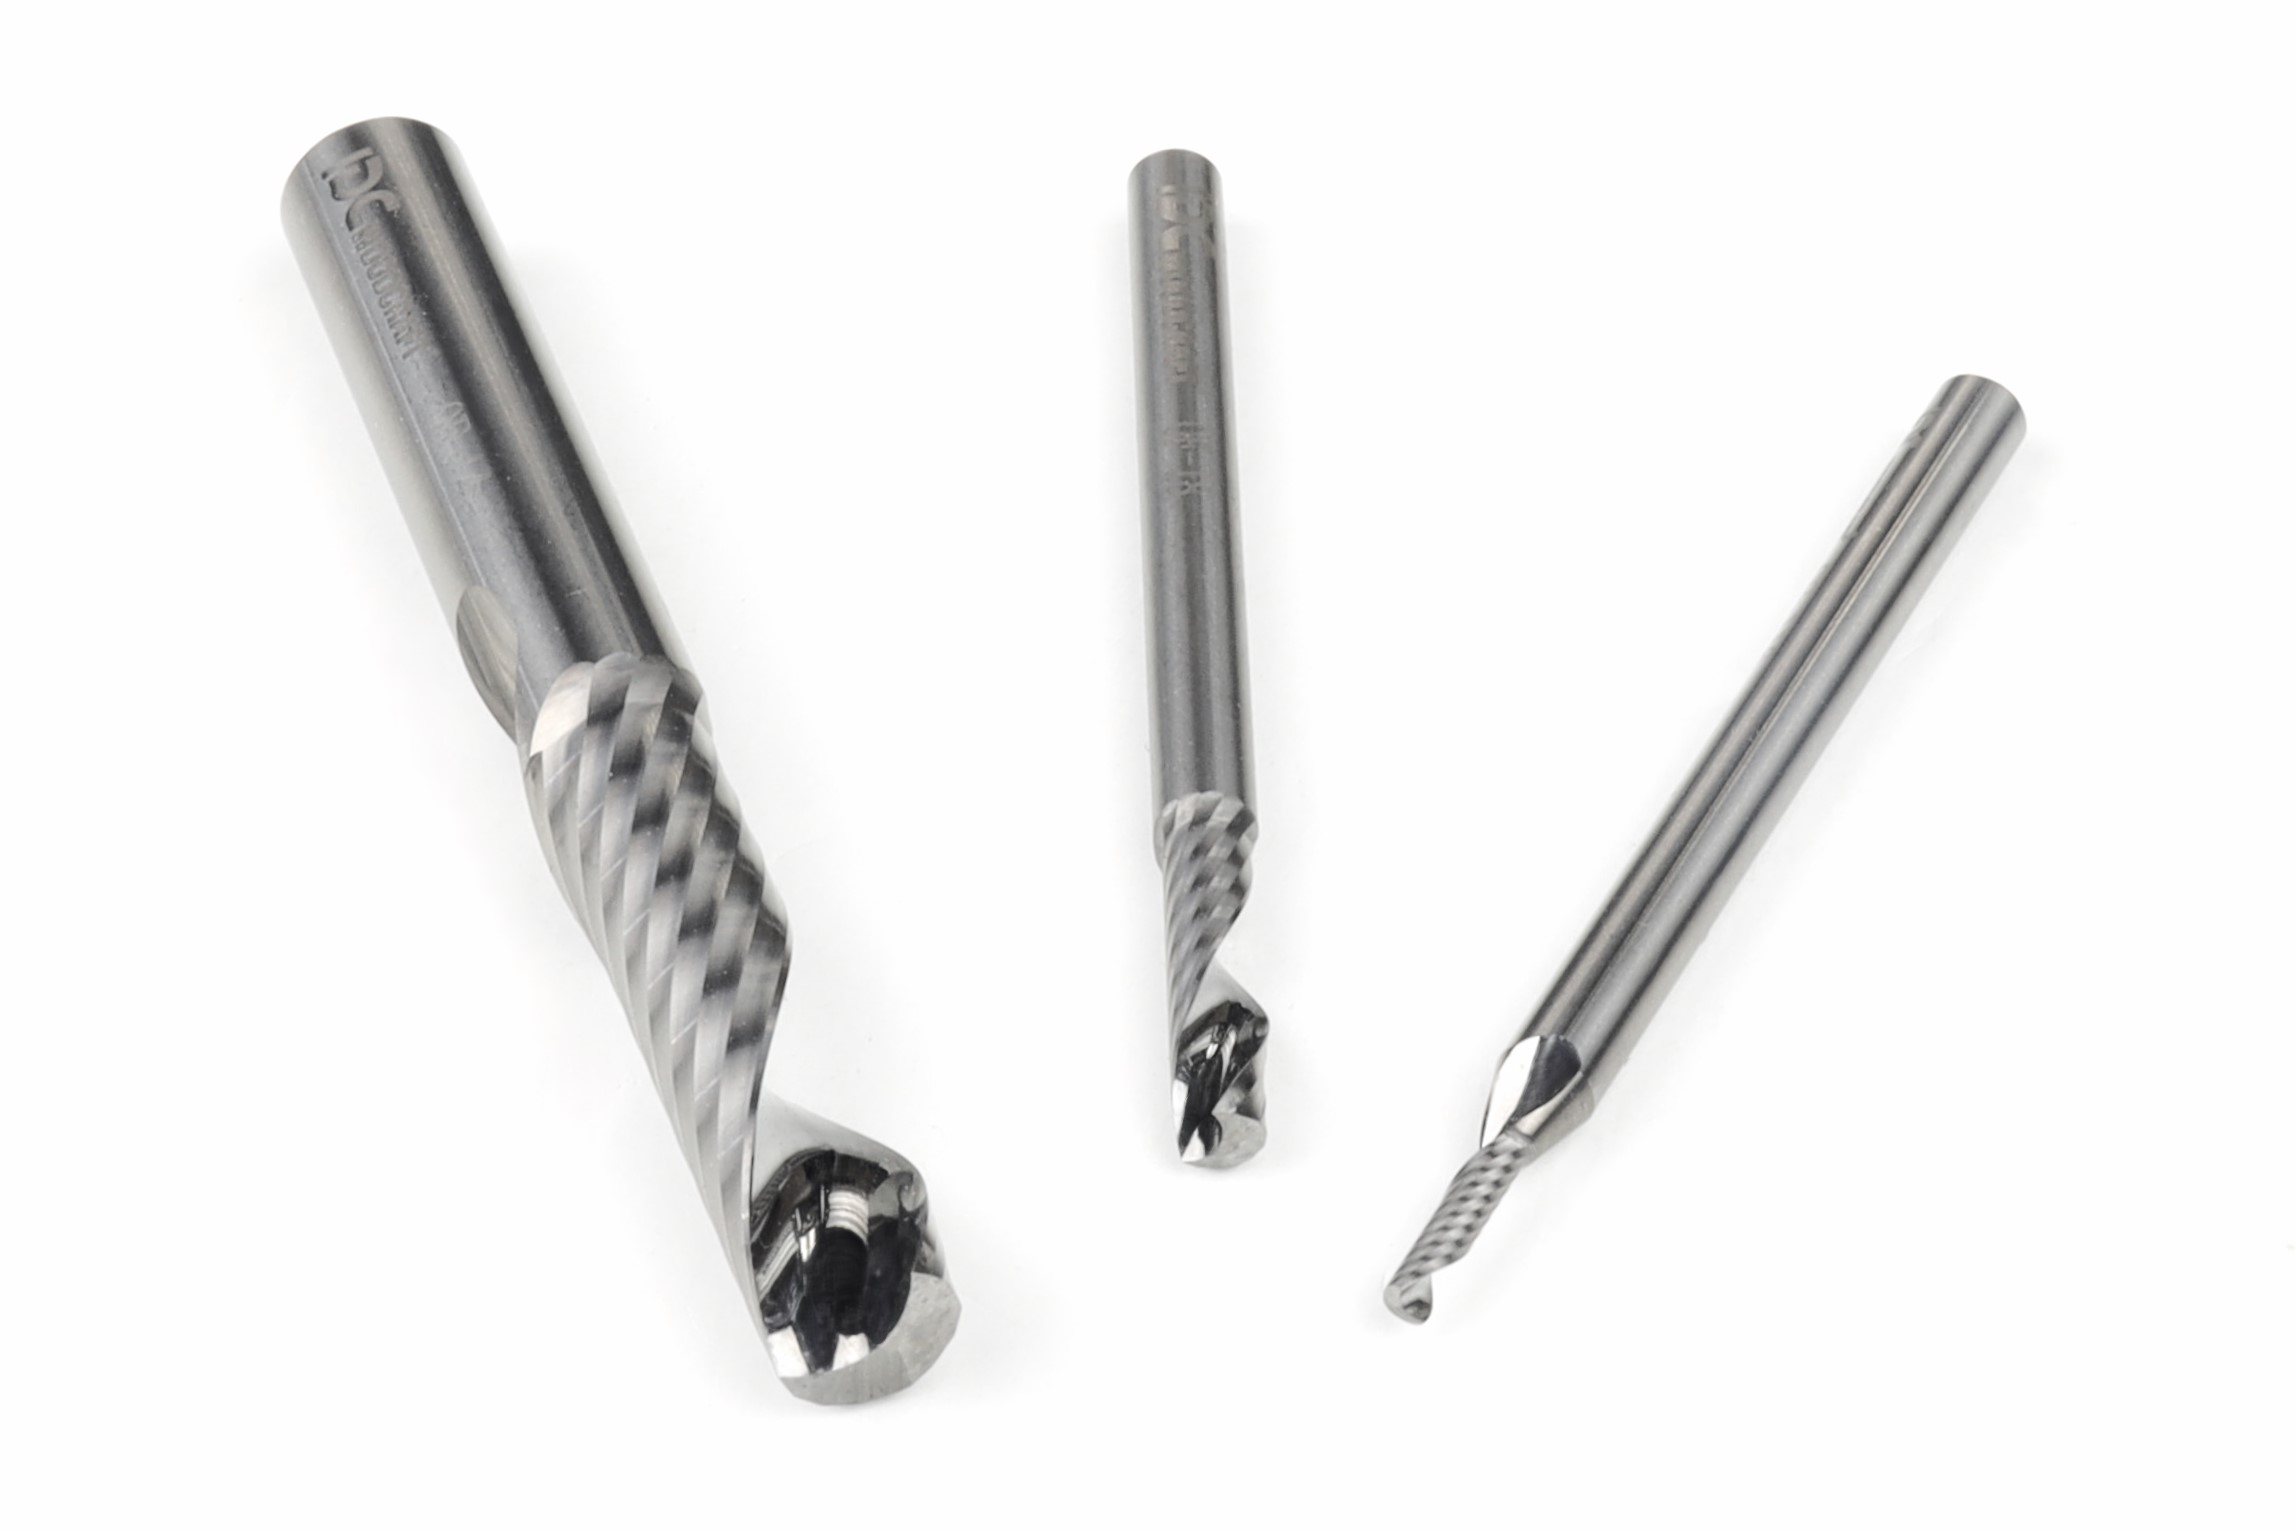
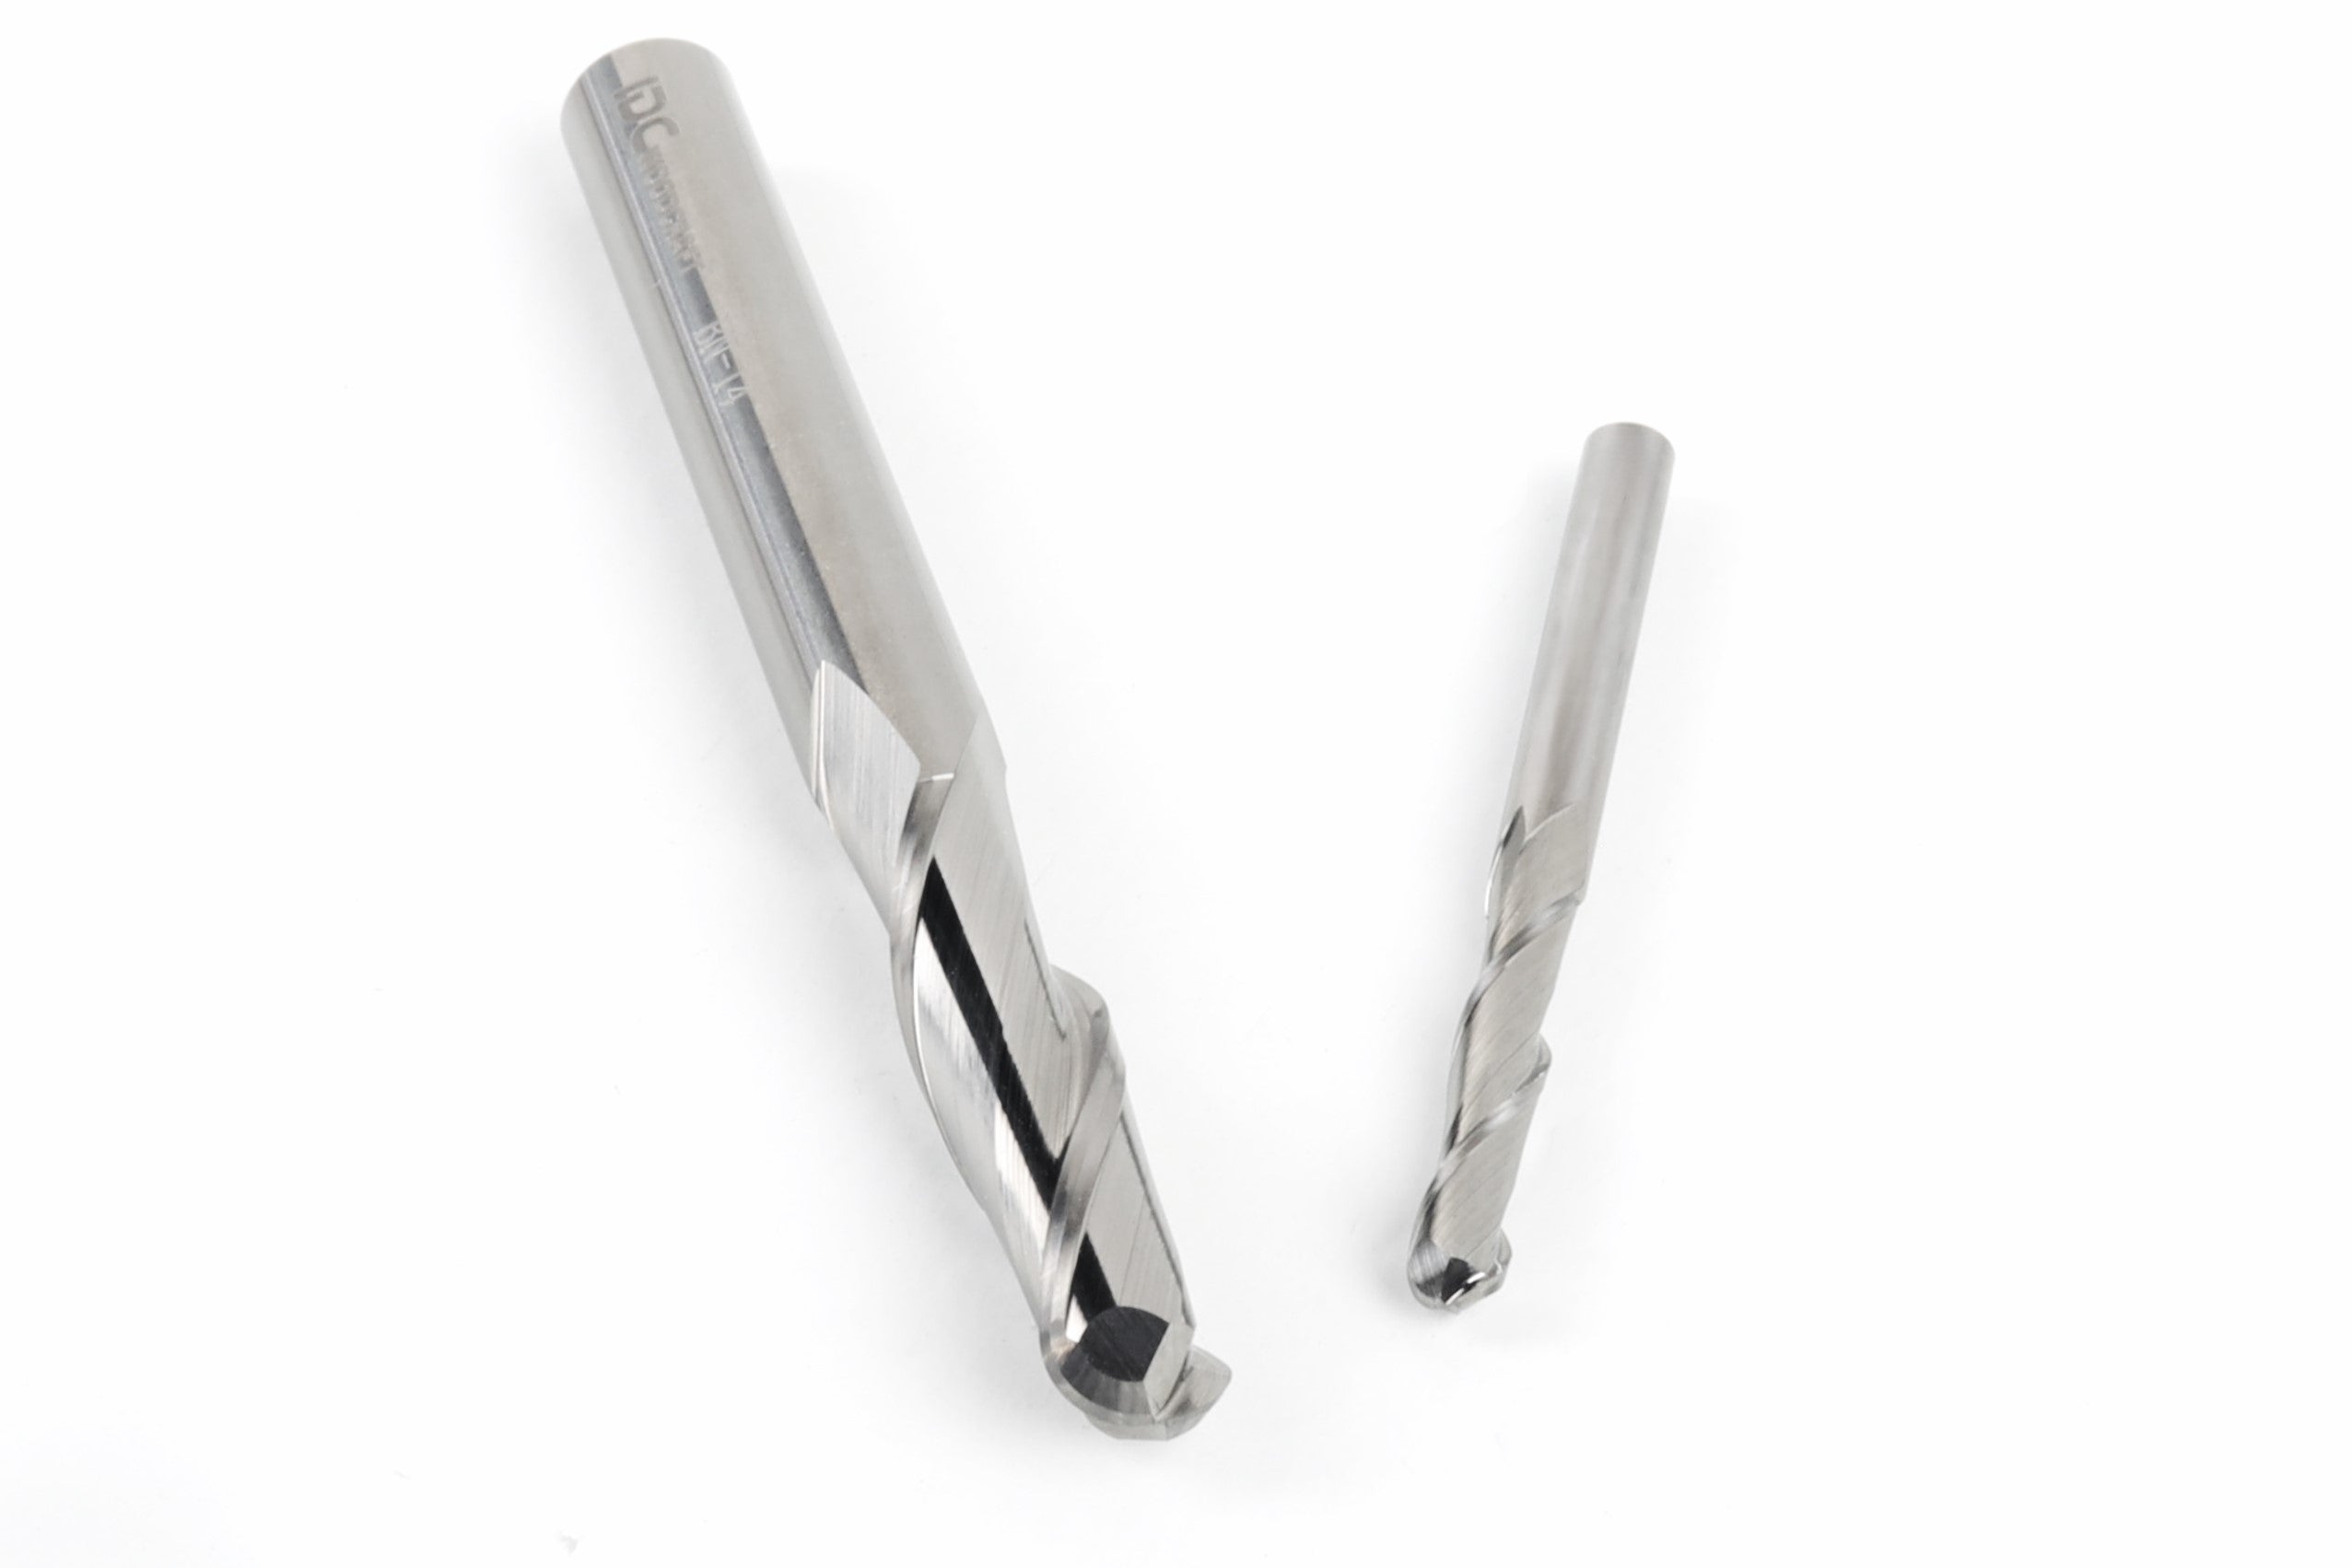
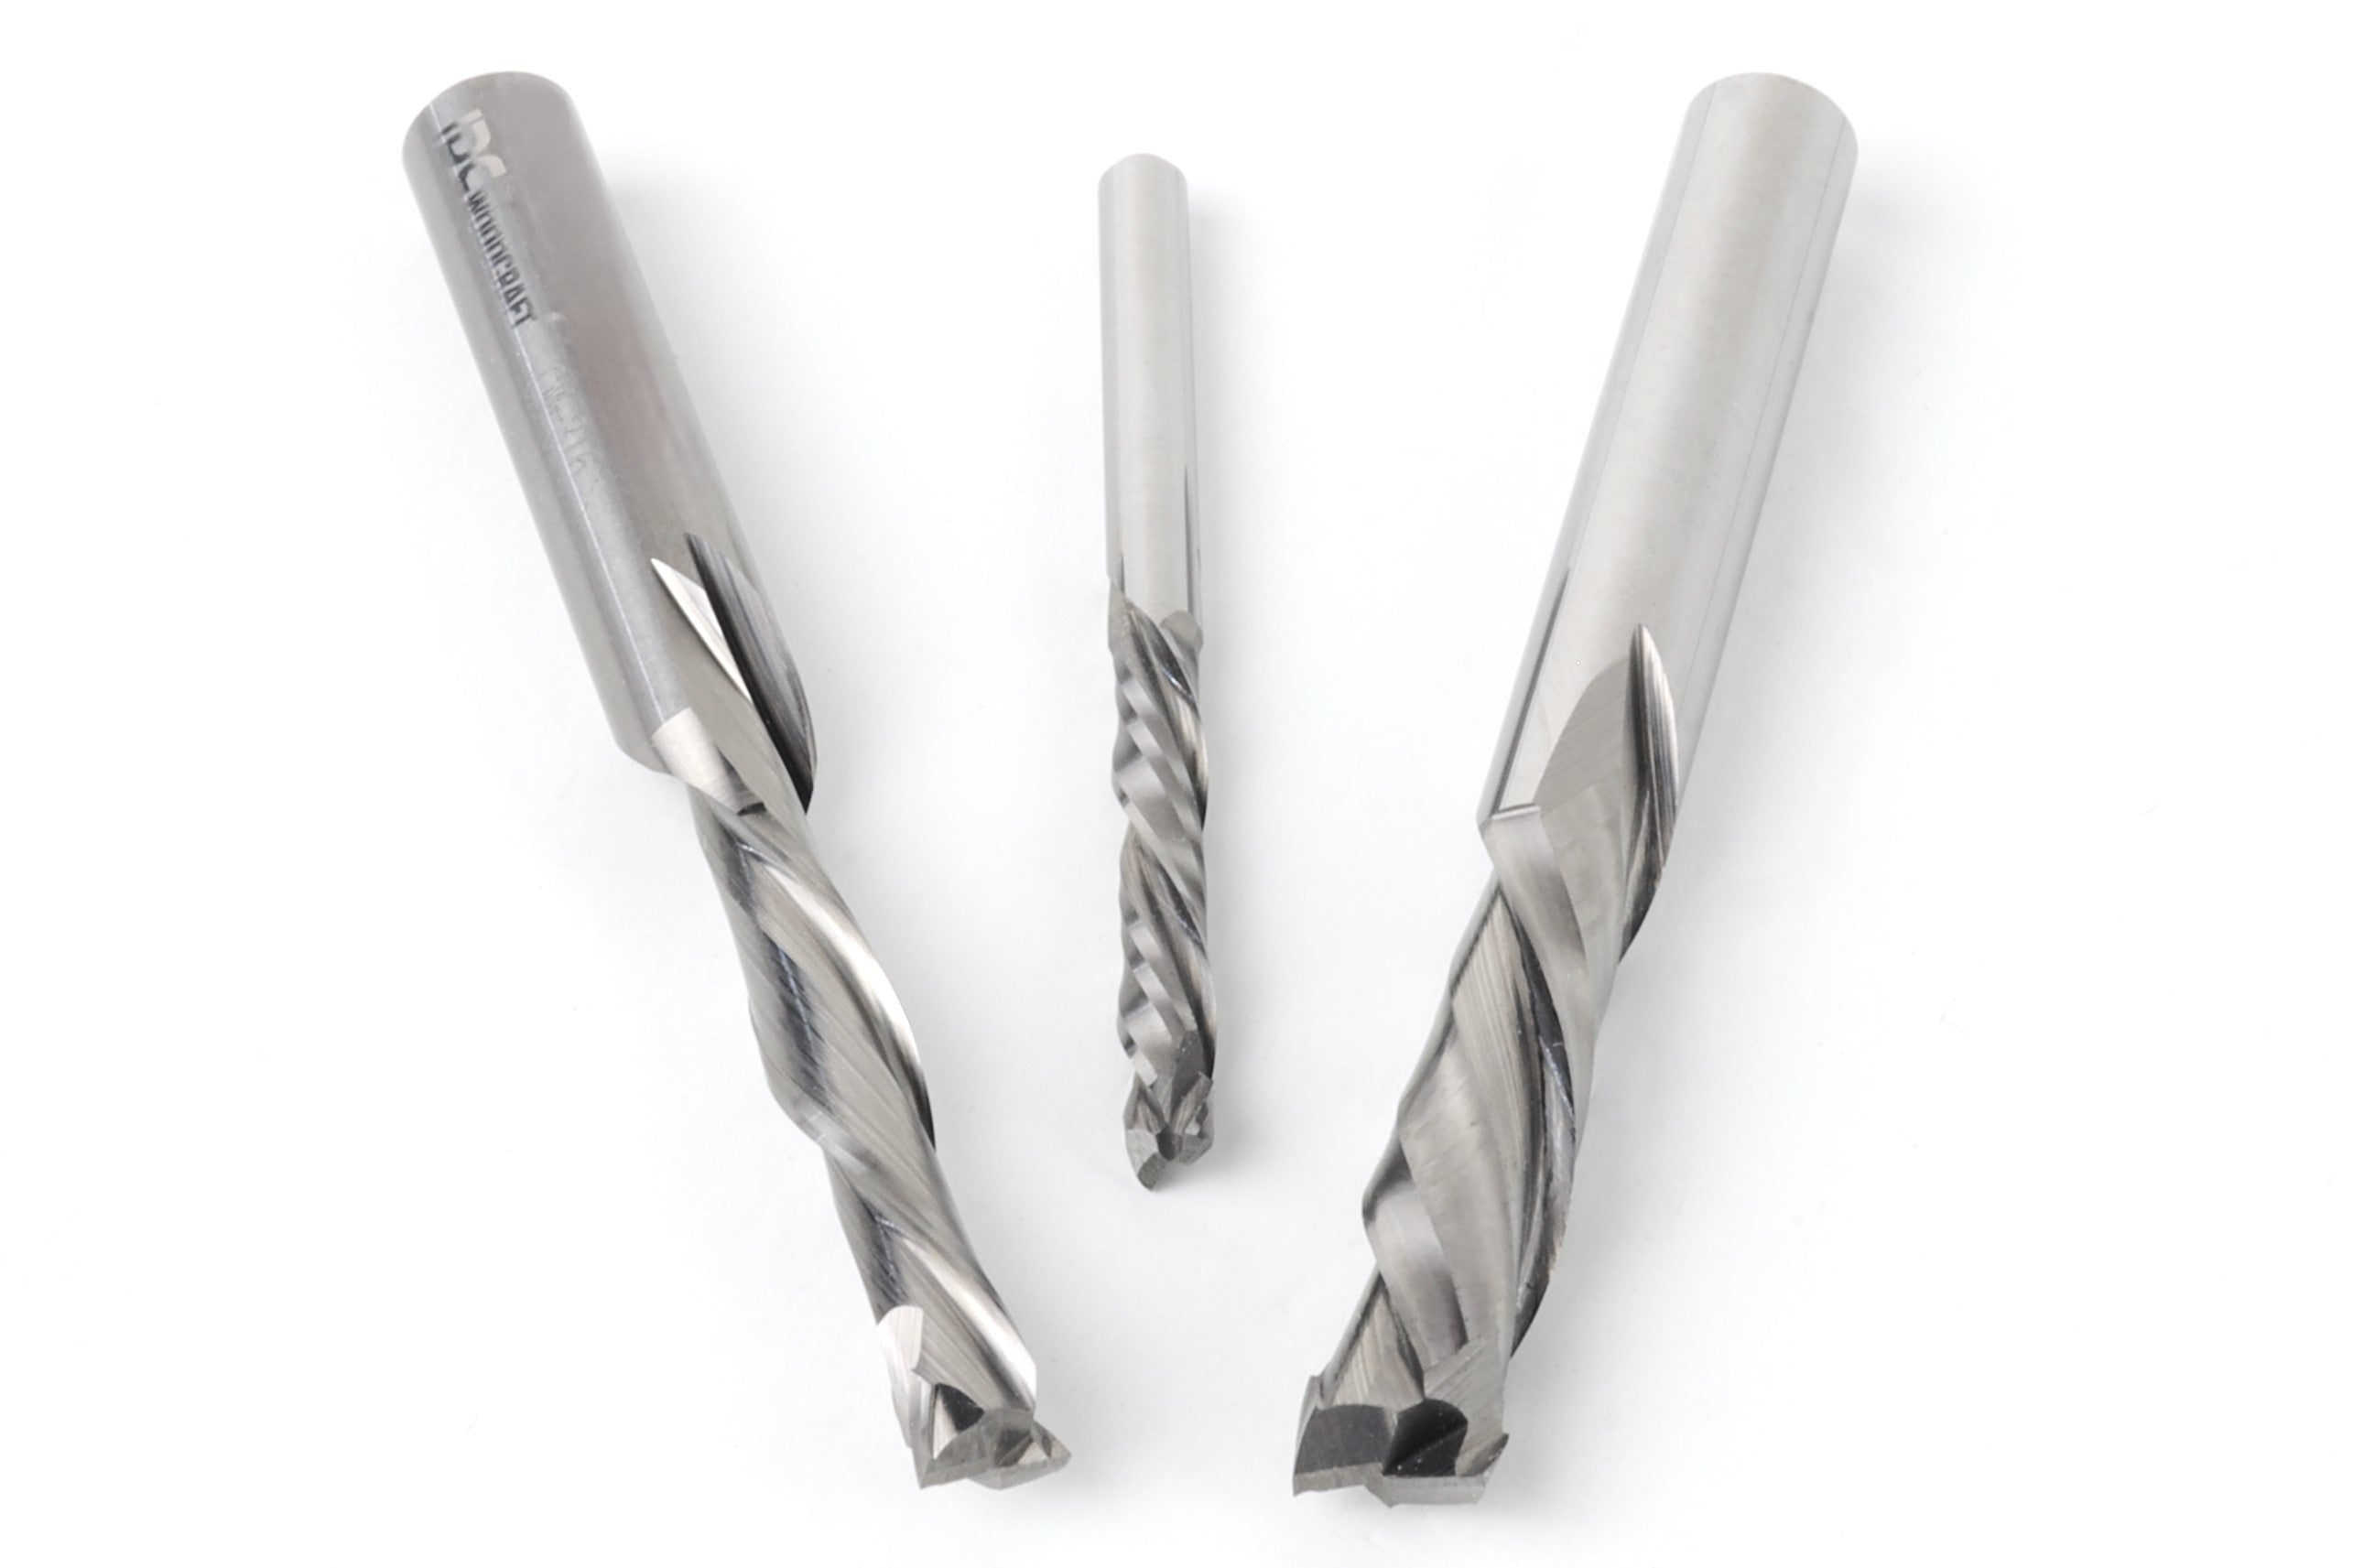
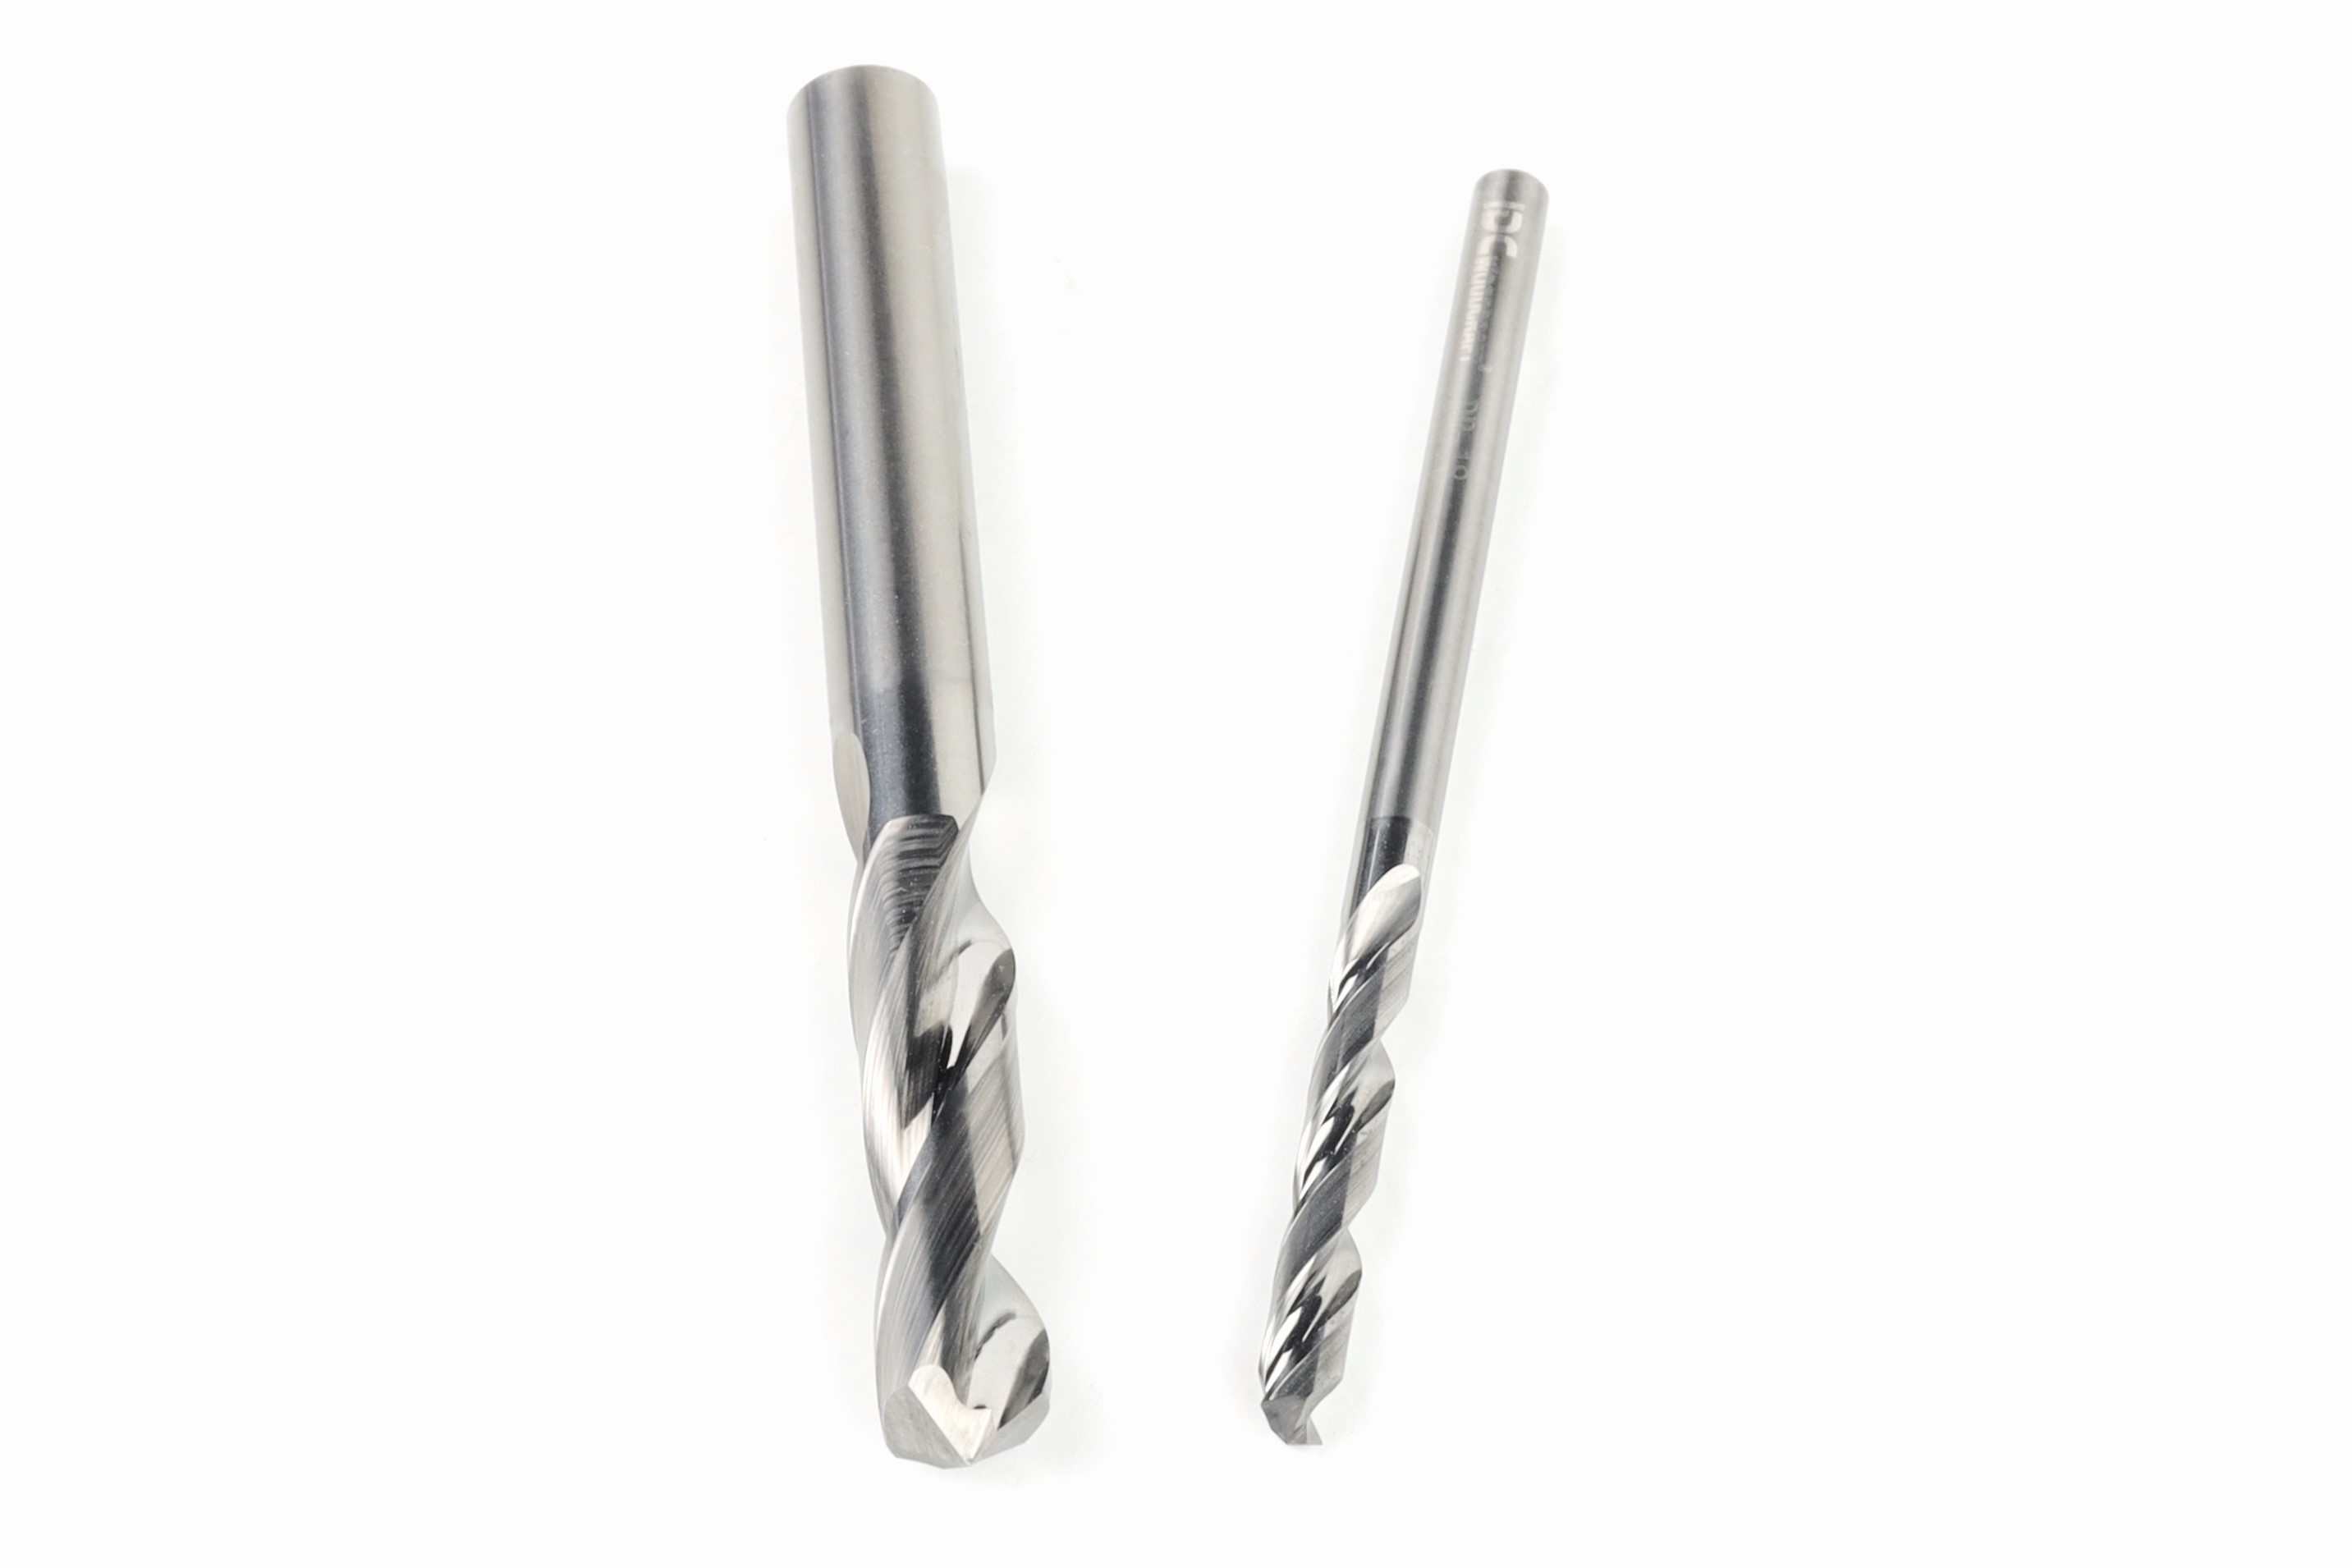
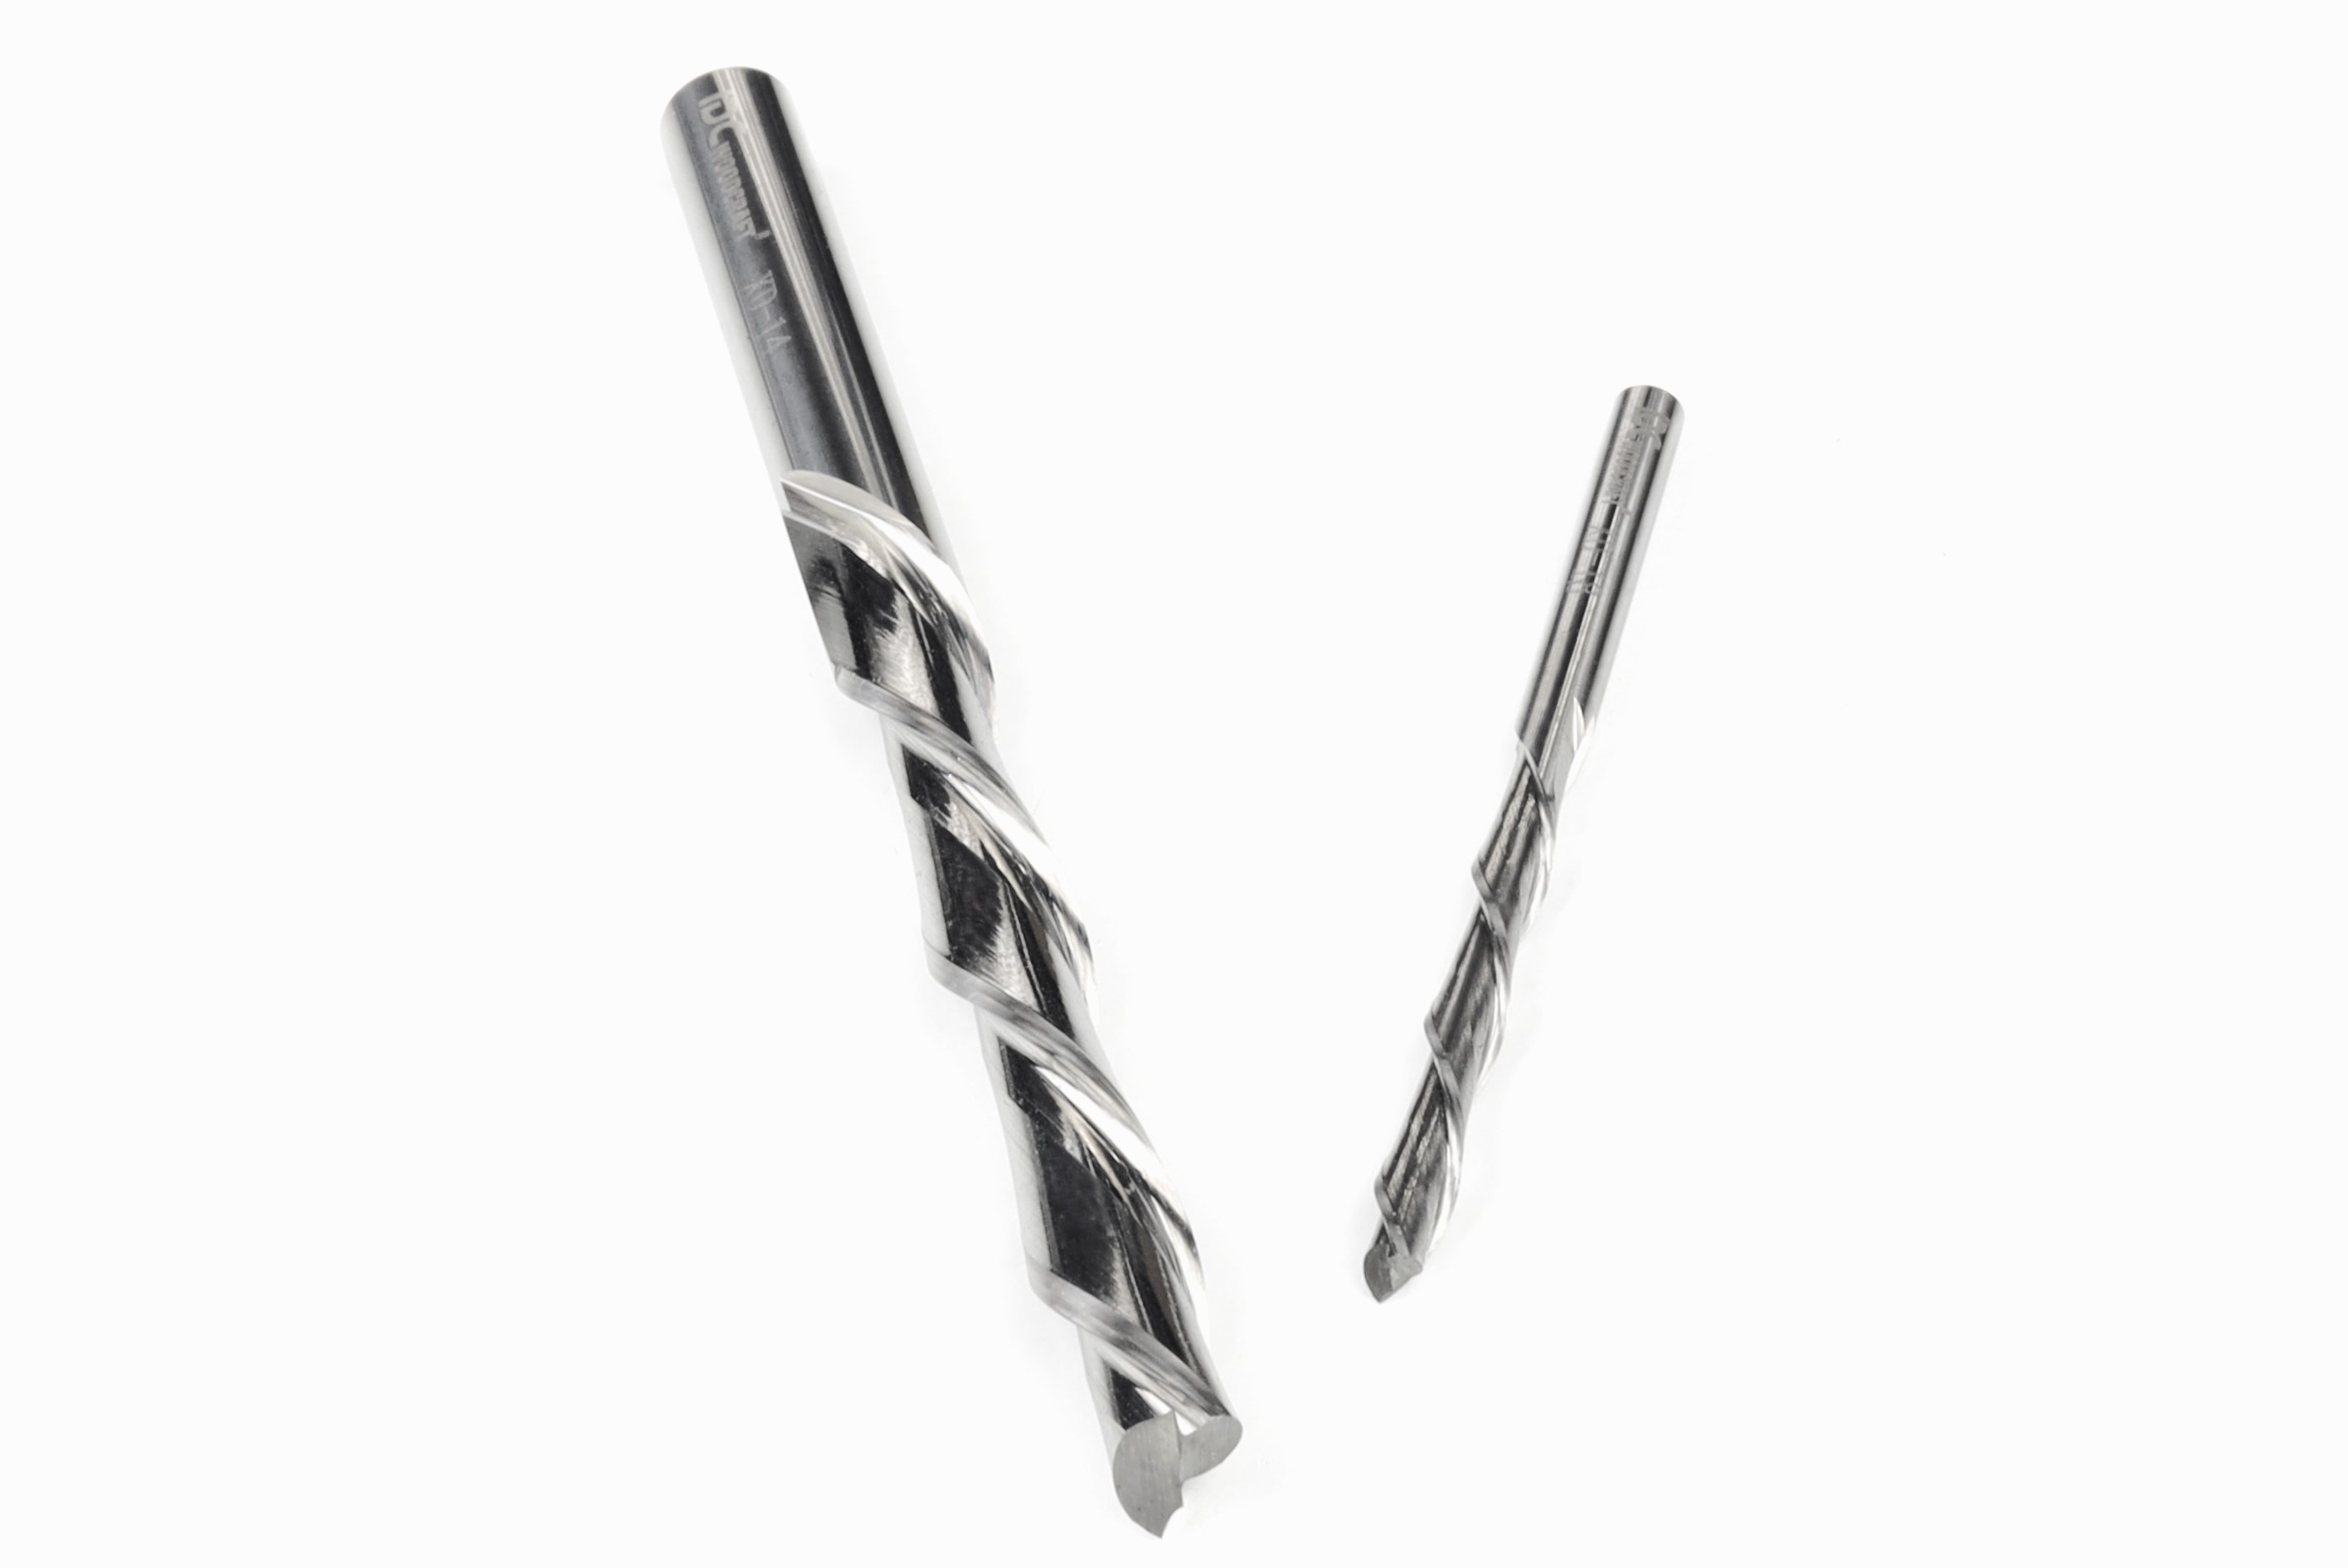
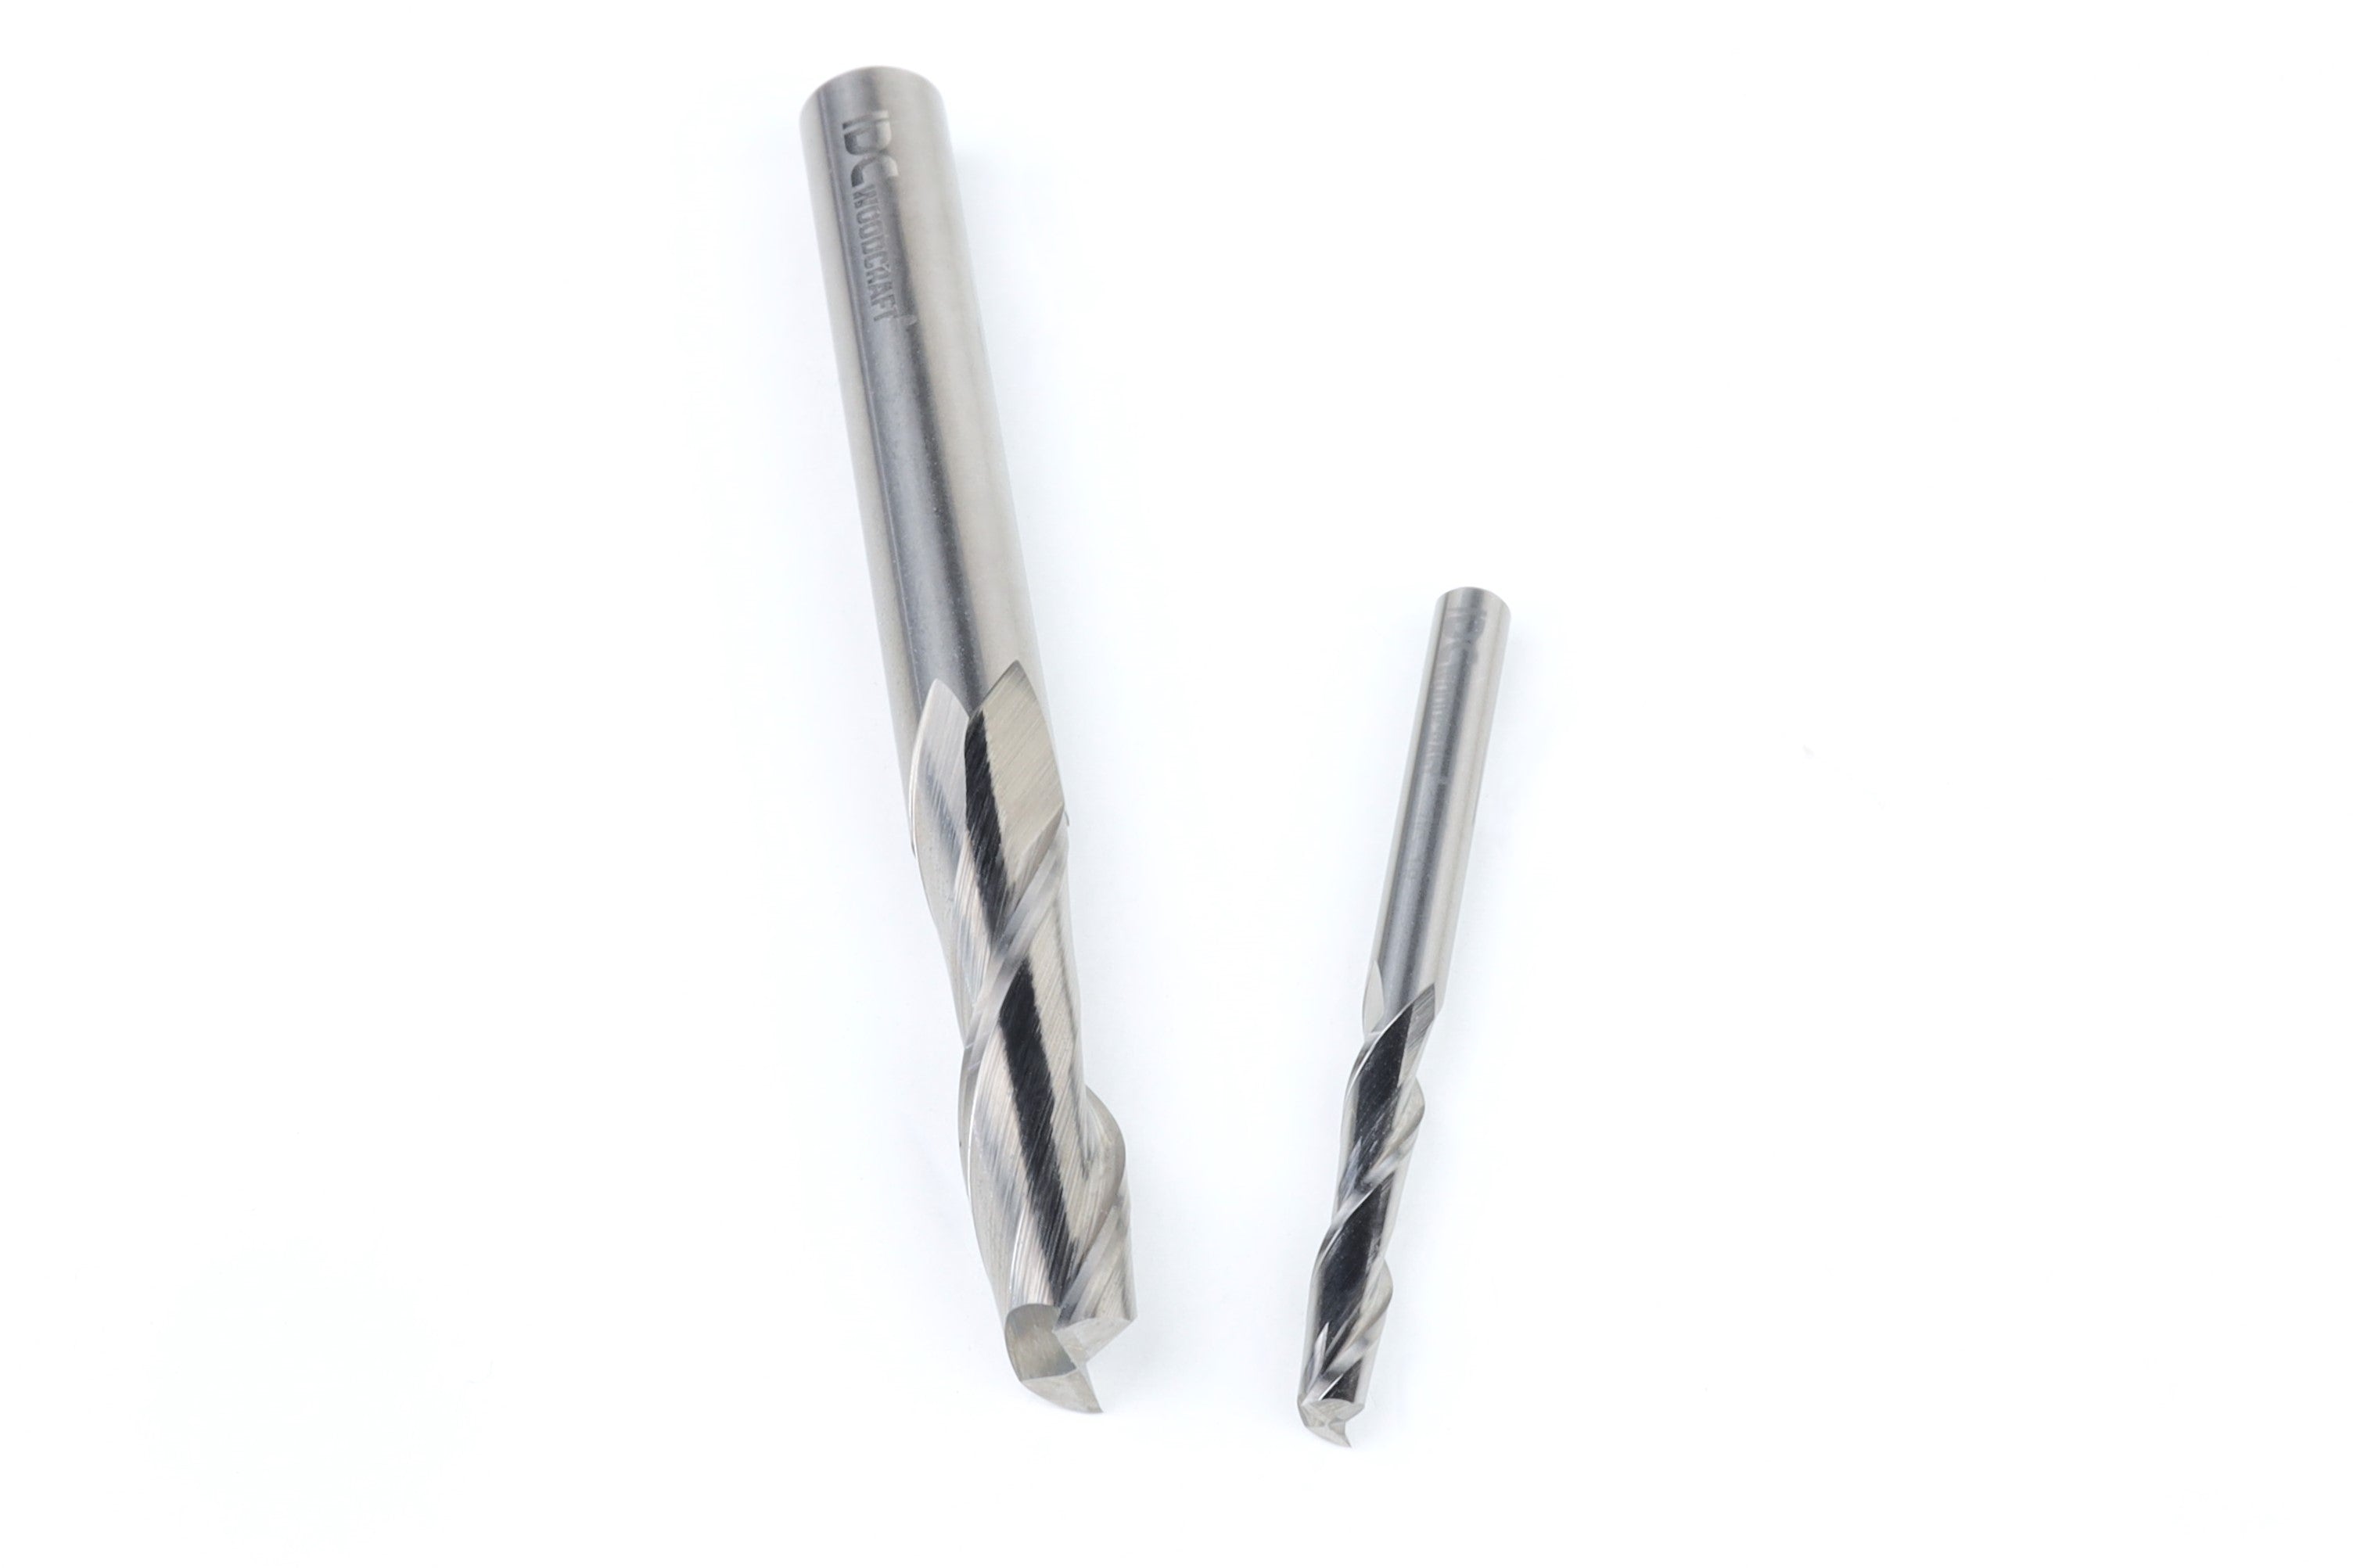
Most CNC router bits that you'll use are a "side-cutting end mill," which is just a fancy way of saying that it is a spinning piece of metal that cuts using the sides of the bit. There are two major types: up cut bits and down cut bits.


No one would actually refer to them as such, but some spiral drill bits are up cut bits. You've probably used an up cut bit to drill a hole in the wall to pass a phone or TV cable. It's called an up cut bit because it's channeling all the material it cuts up and away from the hole or groove.


A down cut bit, on the other hand, does the opposite. It pushes the material it cuts down into the groove. That's less efficient, since it sometimes has to grind through the material that doesn't make it out. But the down cut bit has one huge advantage: It makes many fewer burrs. It also provides a more uniform cut (but not a perfect one, more on that later).


Up cut bits are ripping the wood out of the material, and that leaves little shreds of wood where it's torn instead of cut. And sometimes the wood fibers pull too many of their friends out with them, making the cut deeper or wider than it should be. But down cut bits are pushing the cut wood up against the remaining material as they cut, and so they get cleaner cuts.


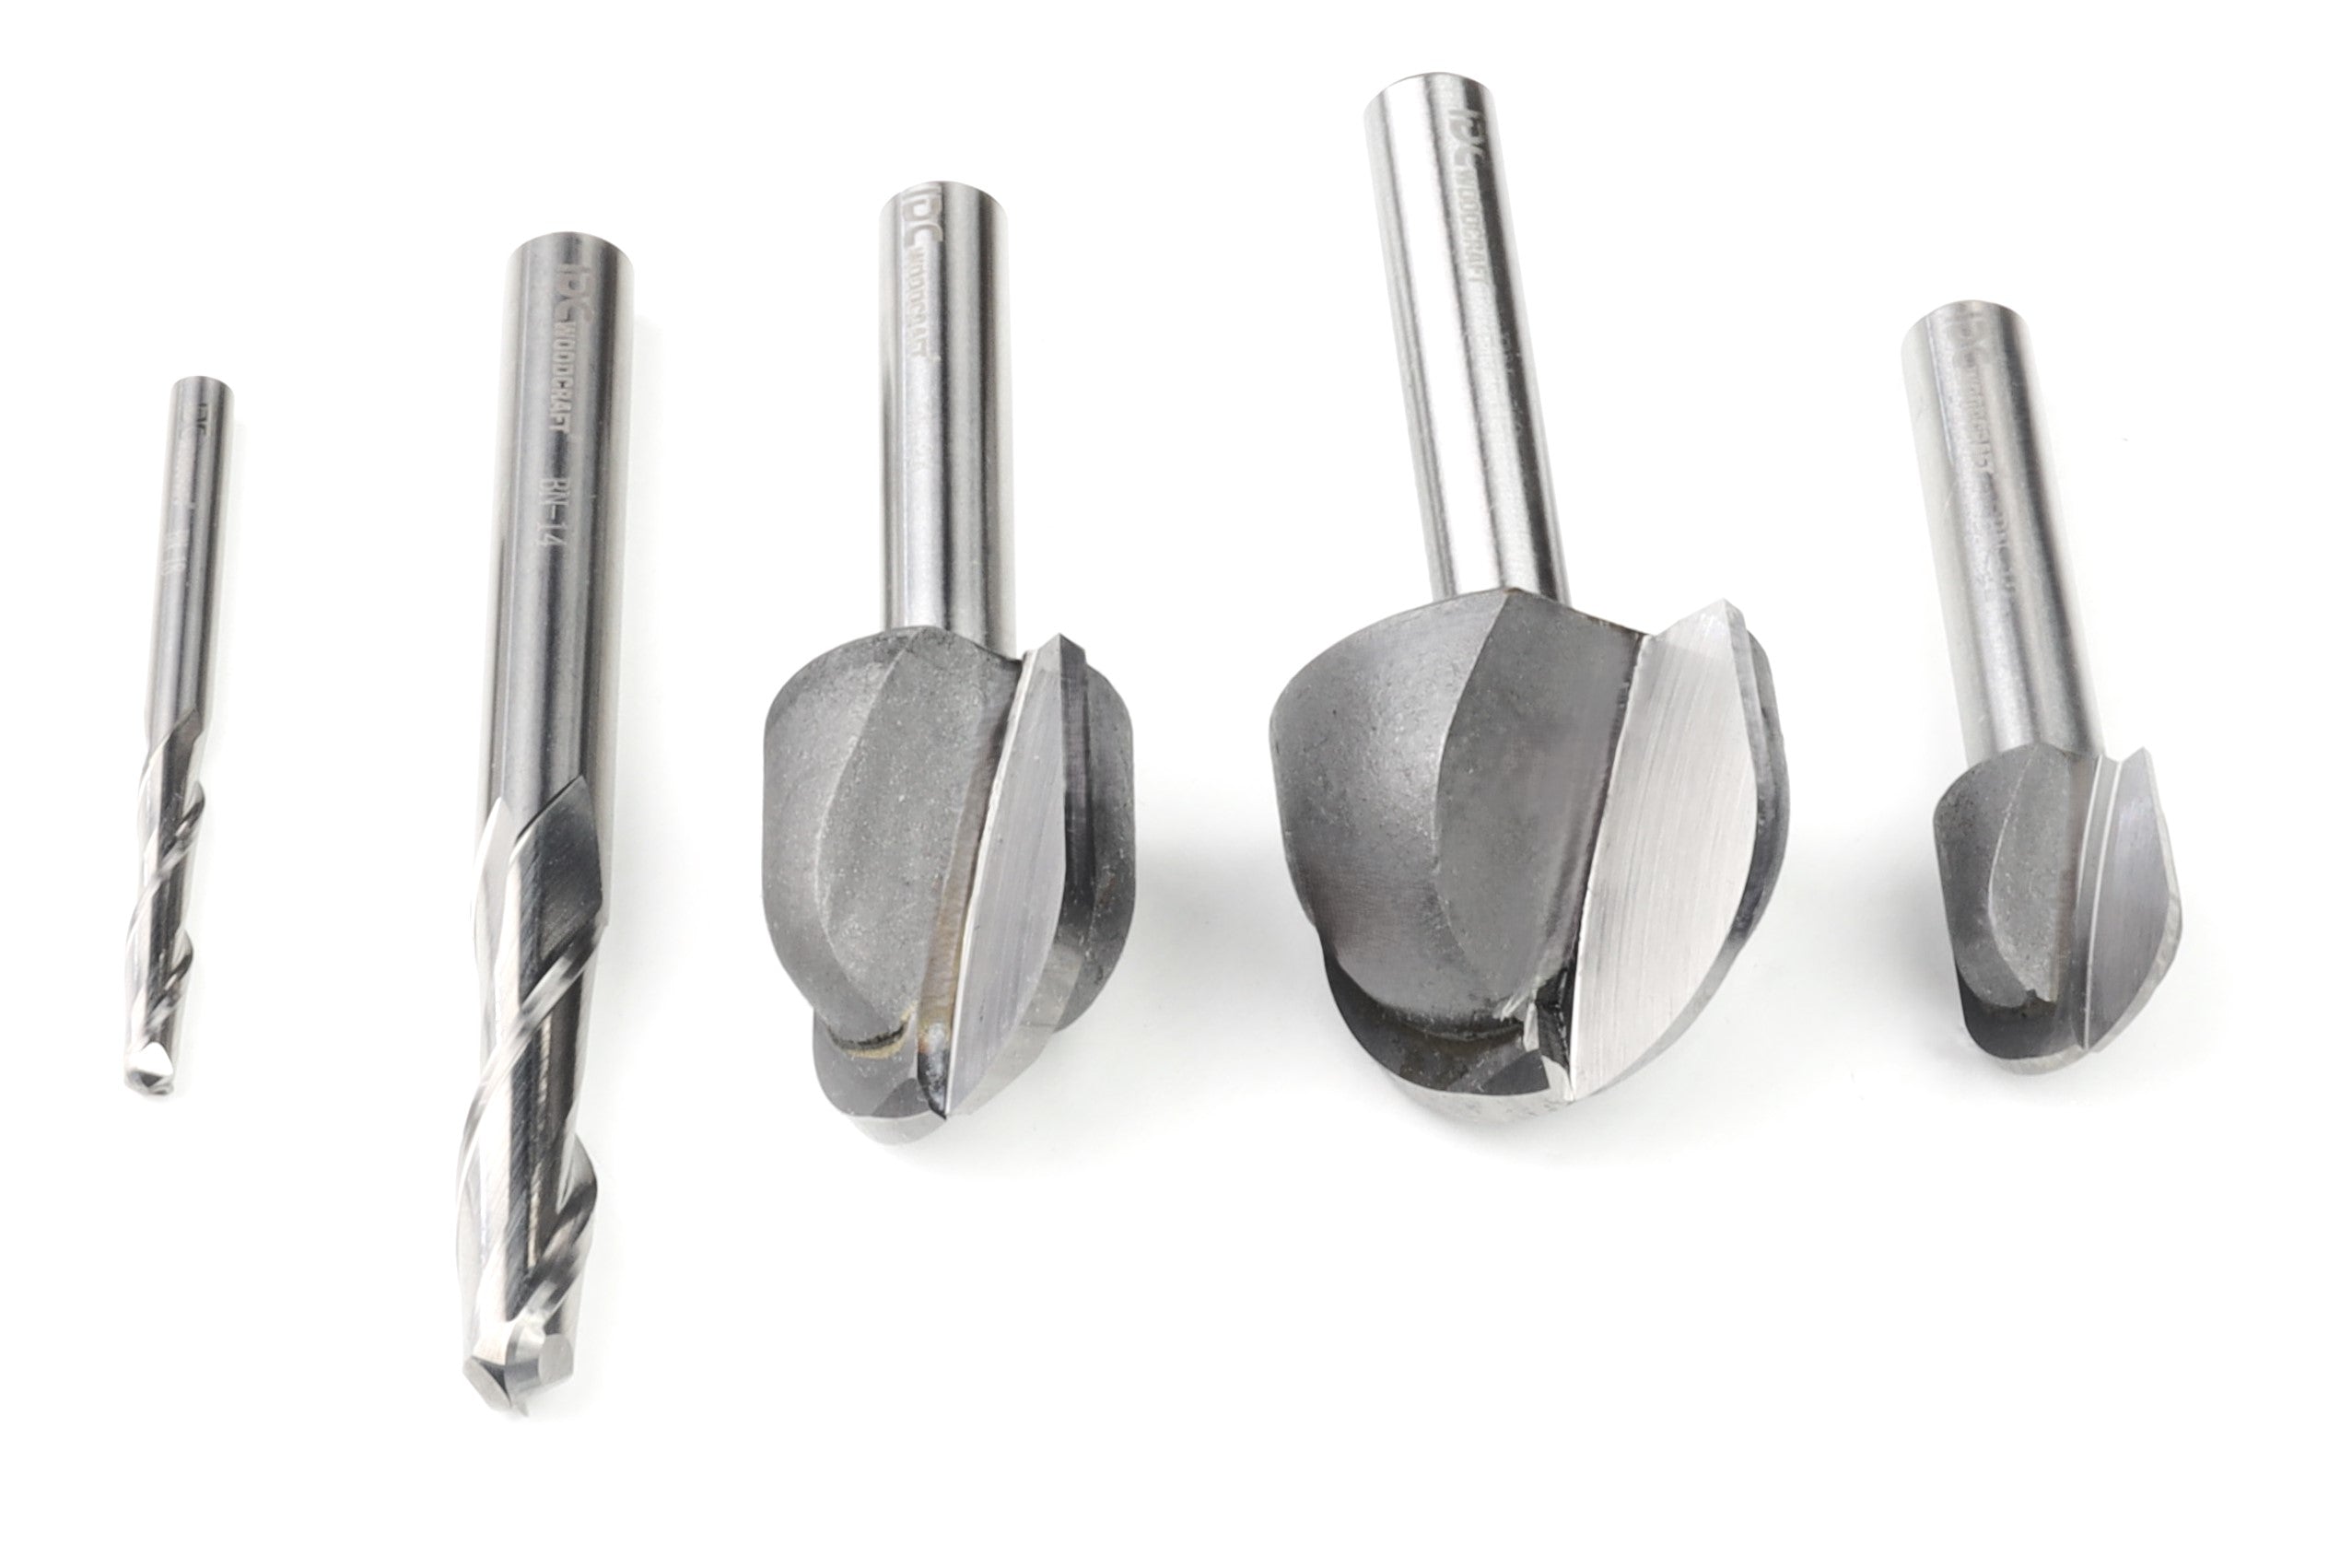
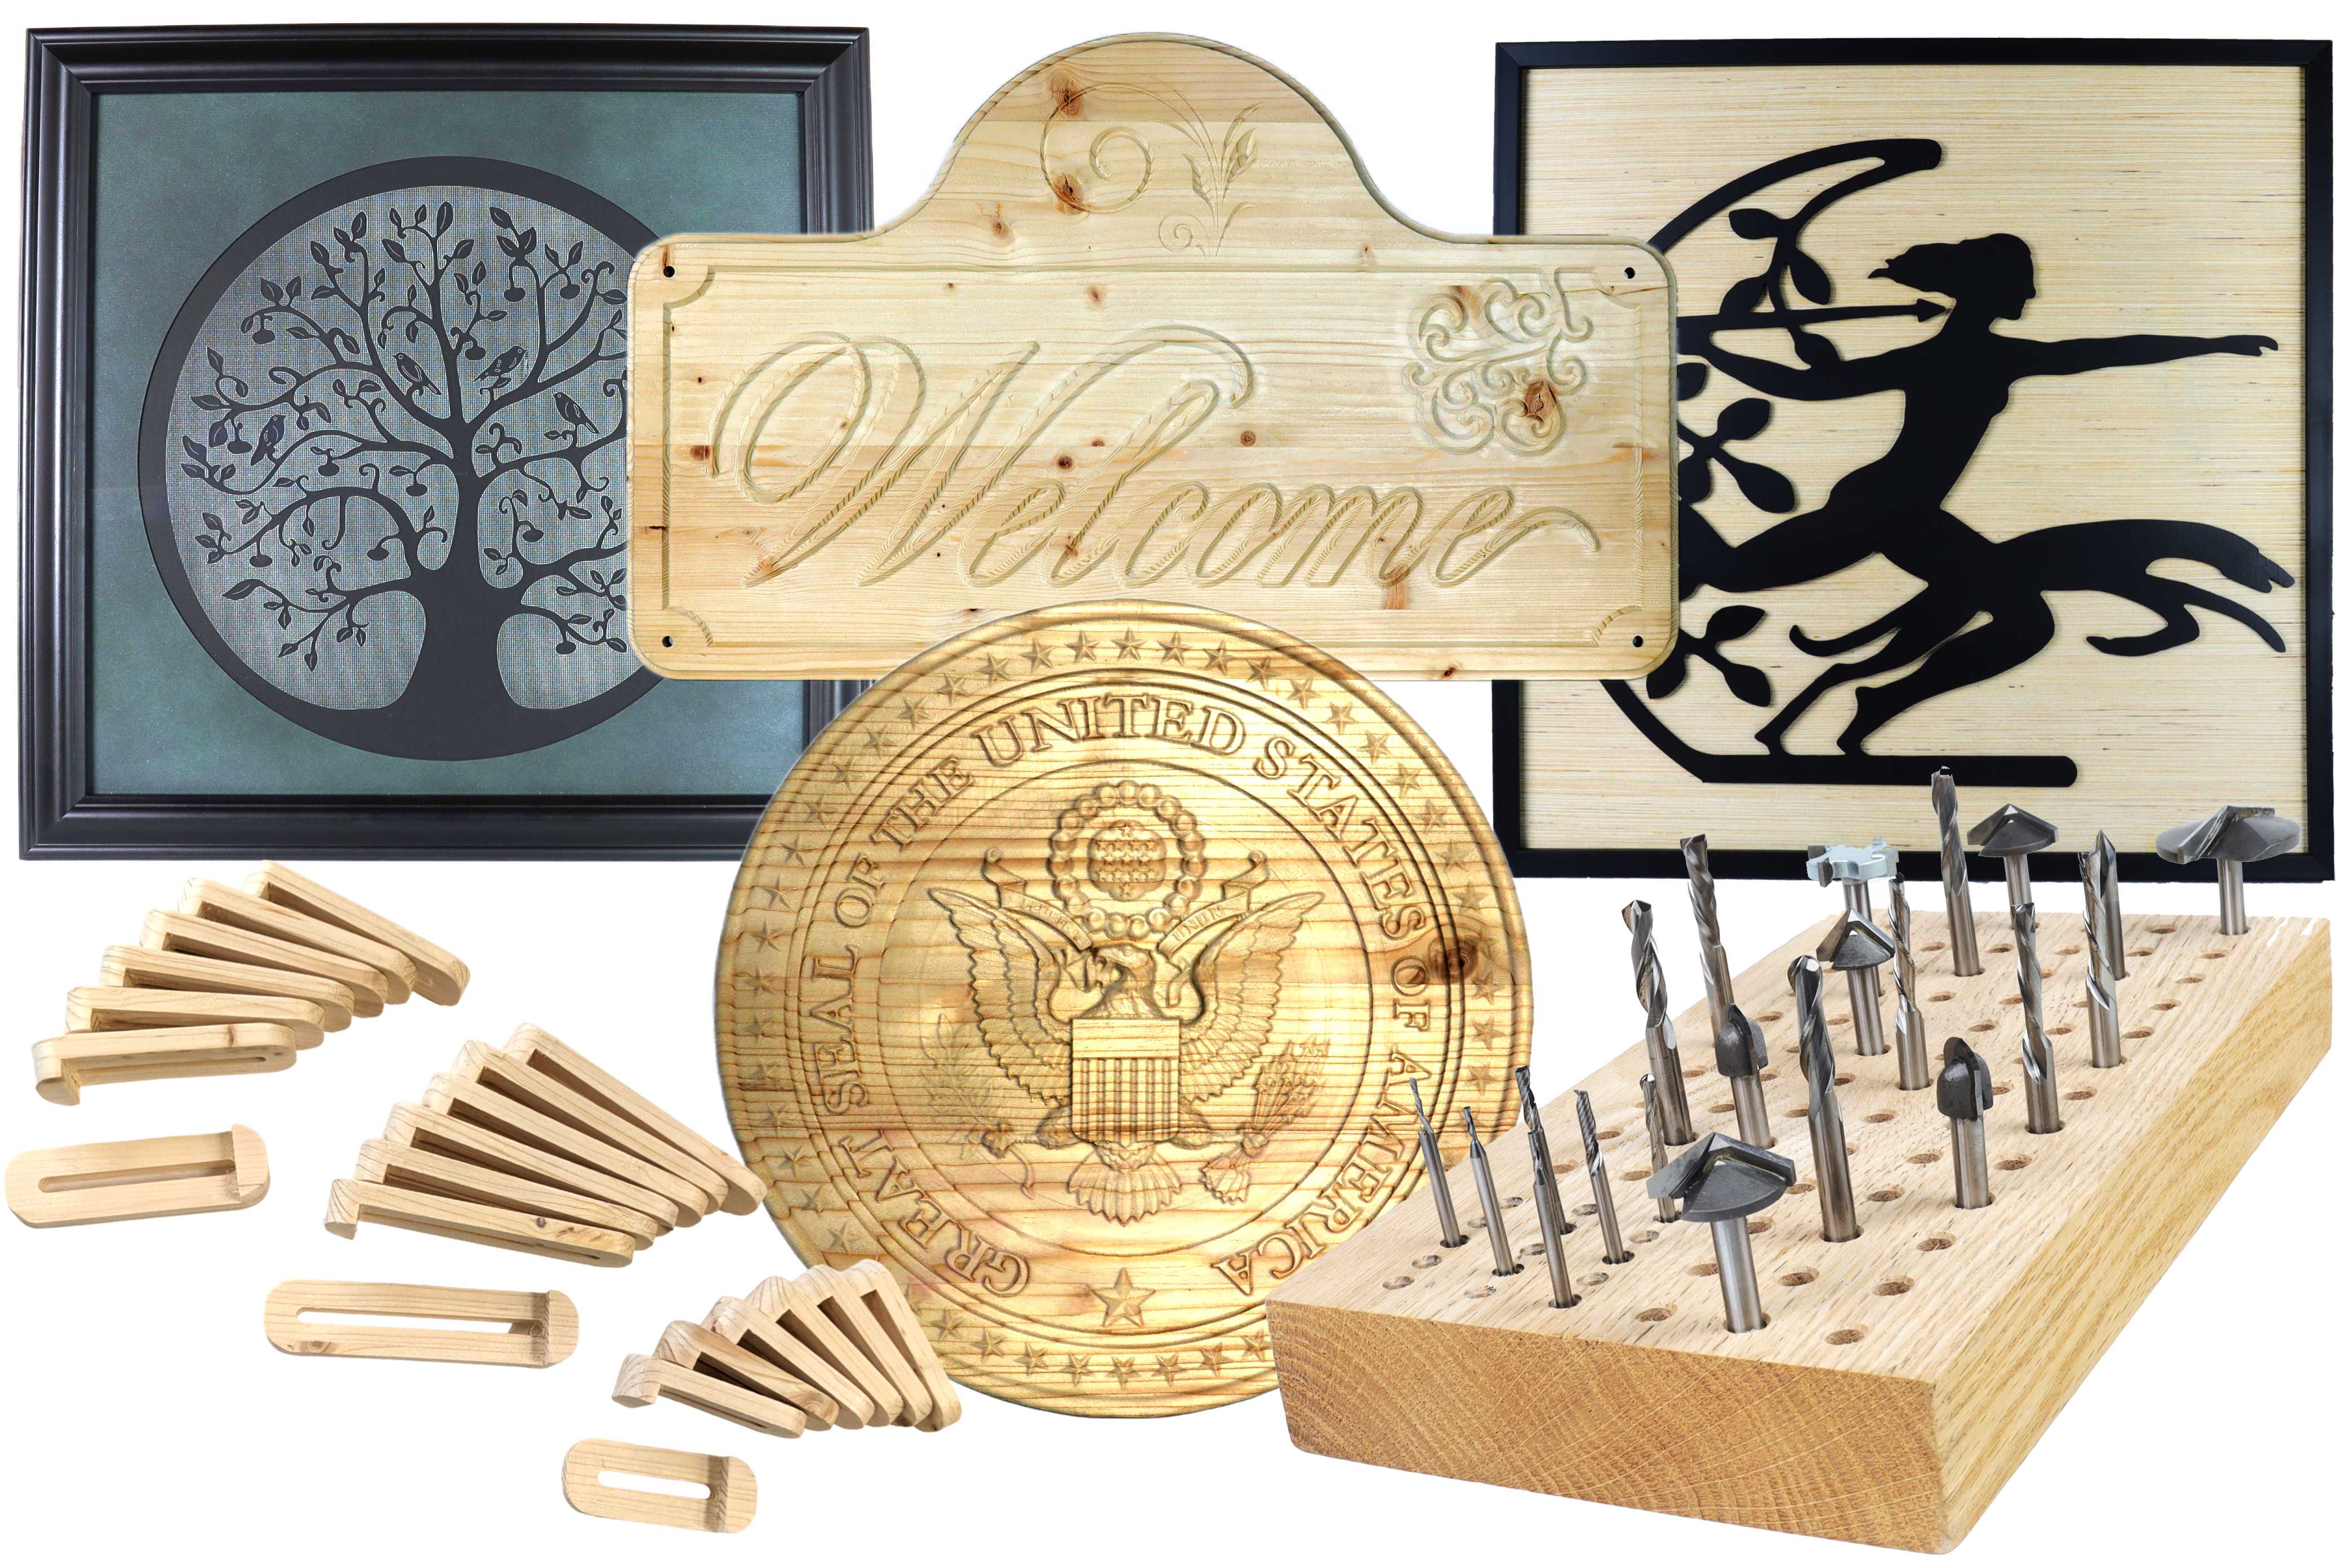
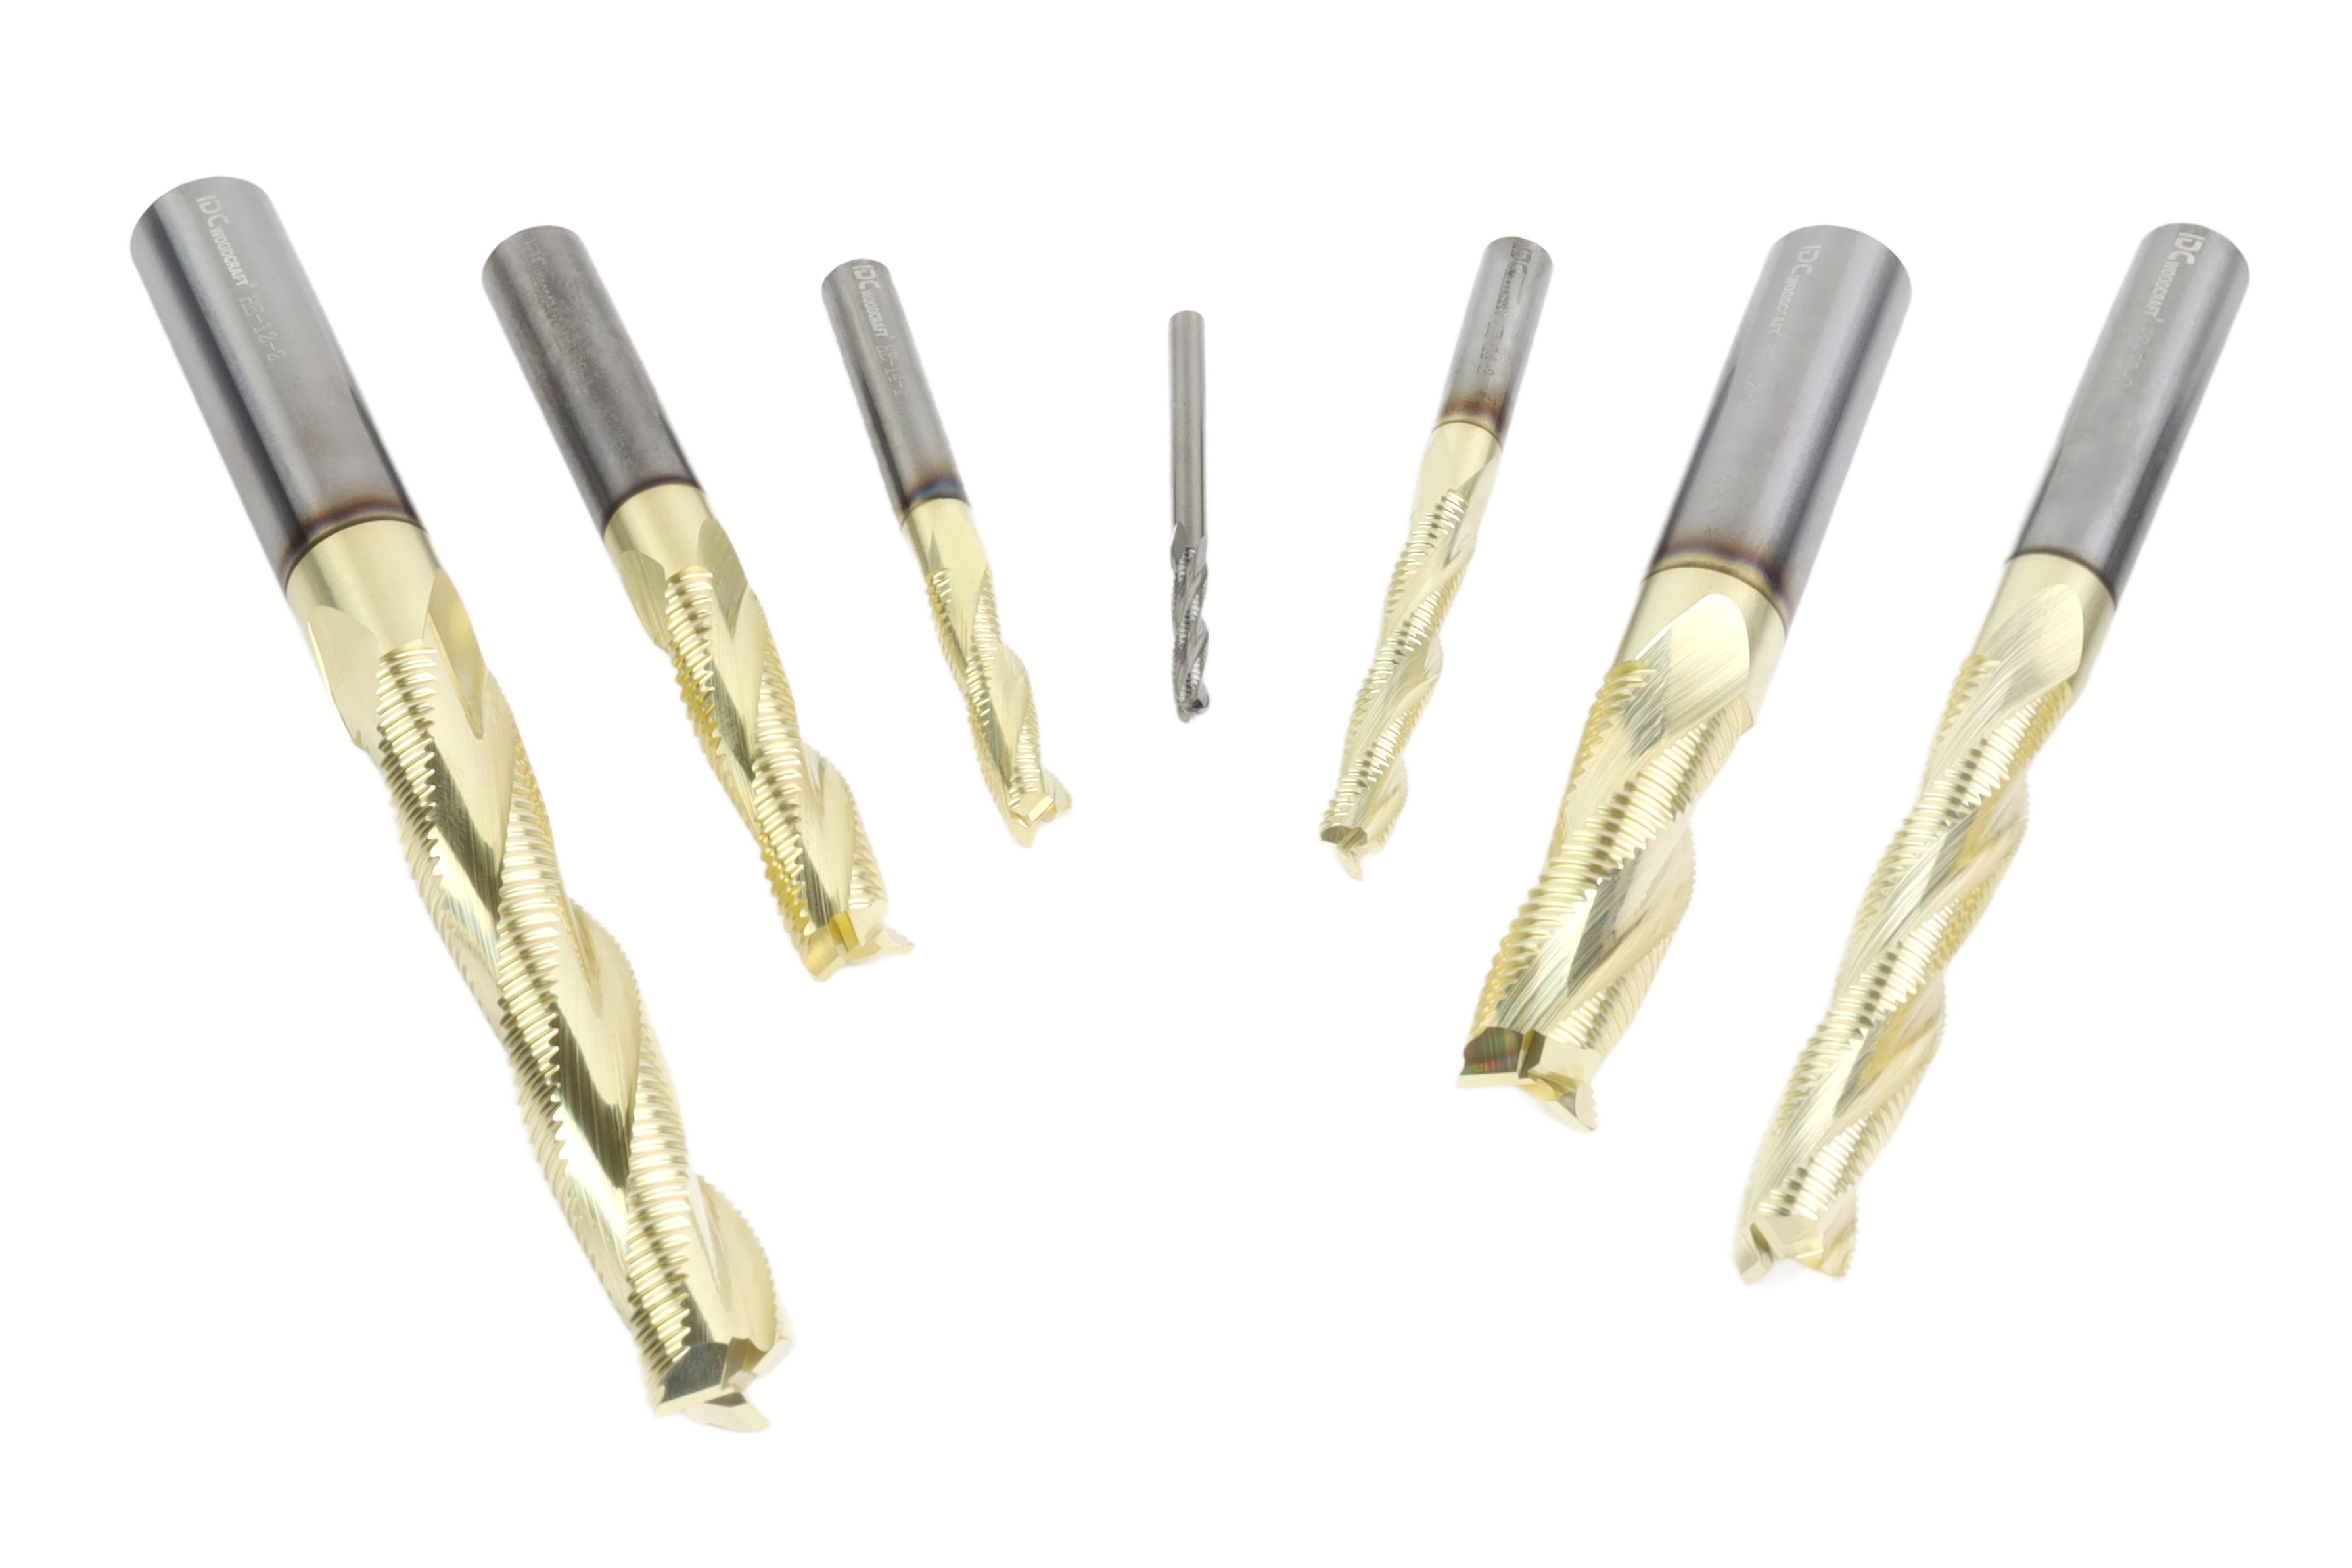
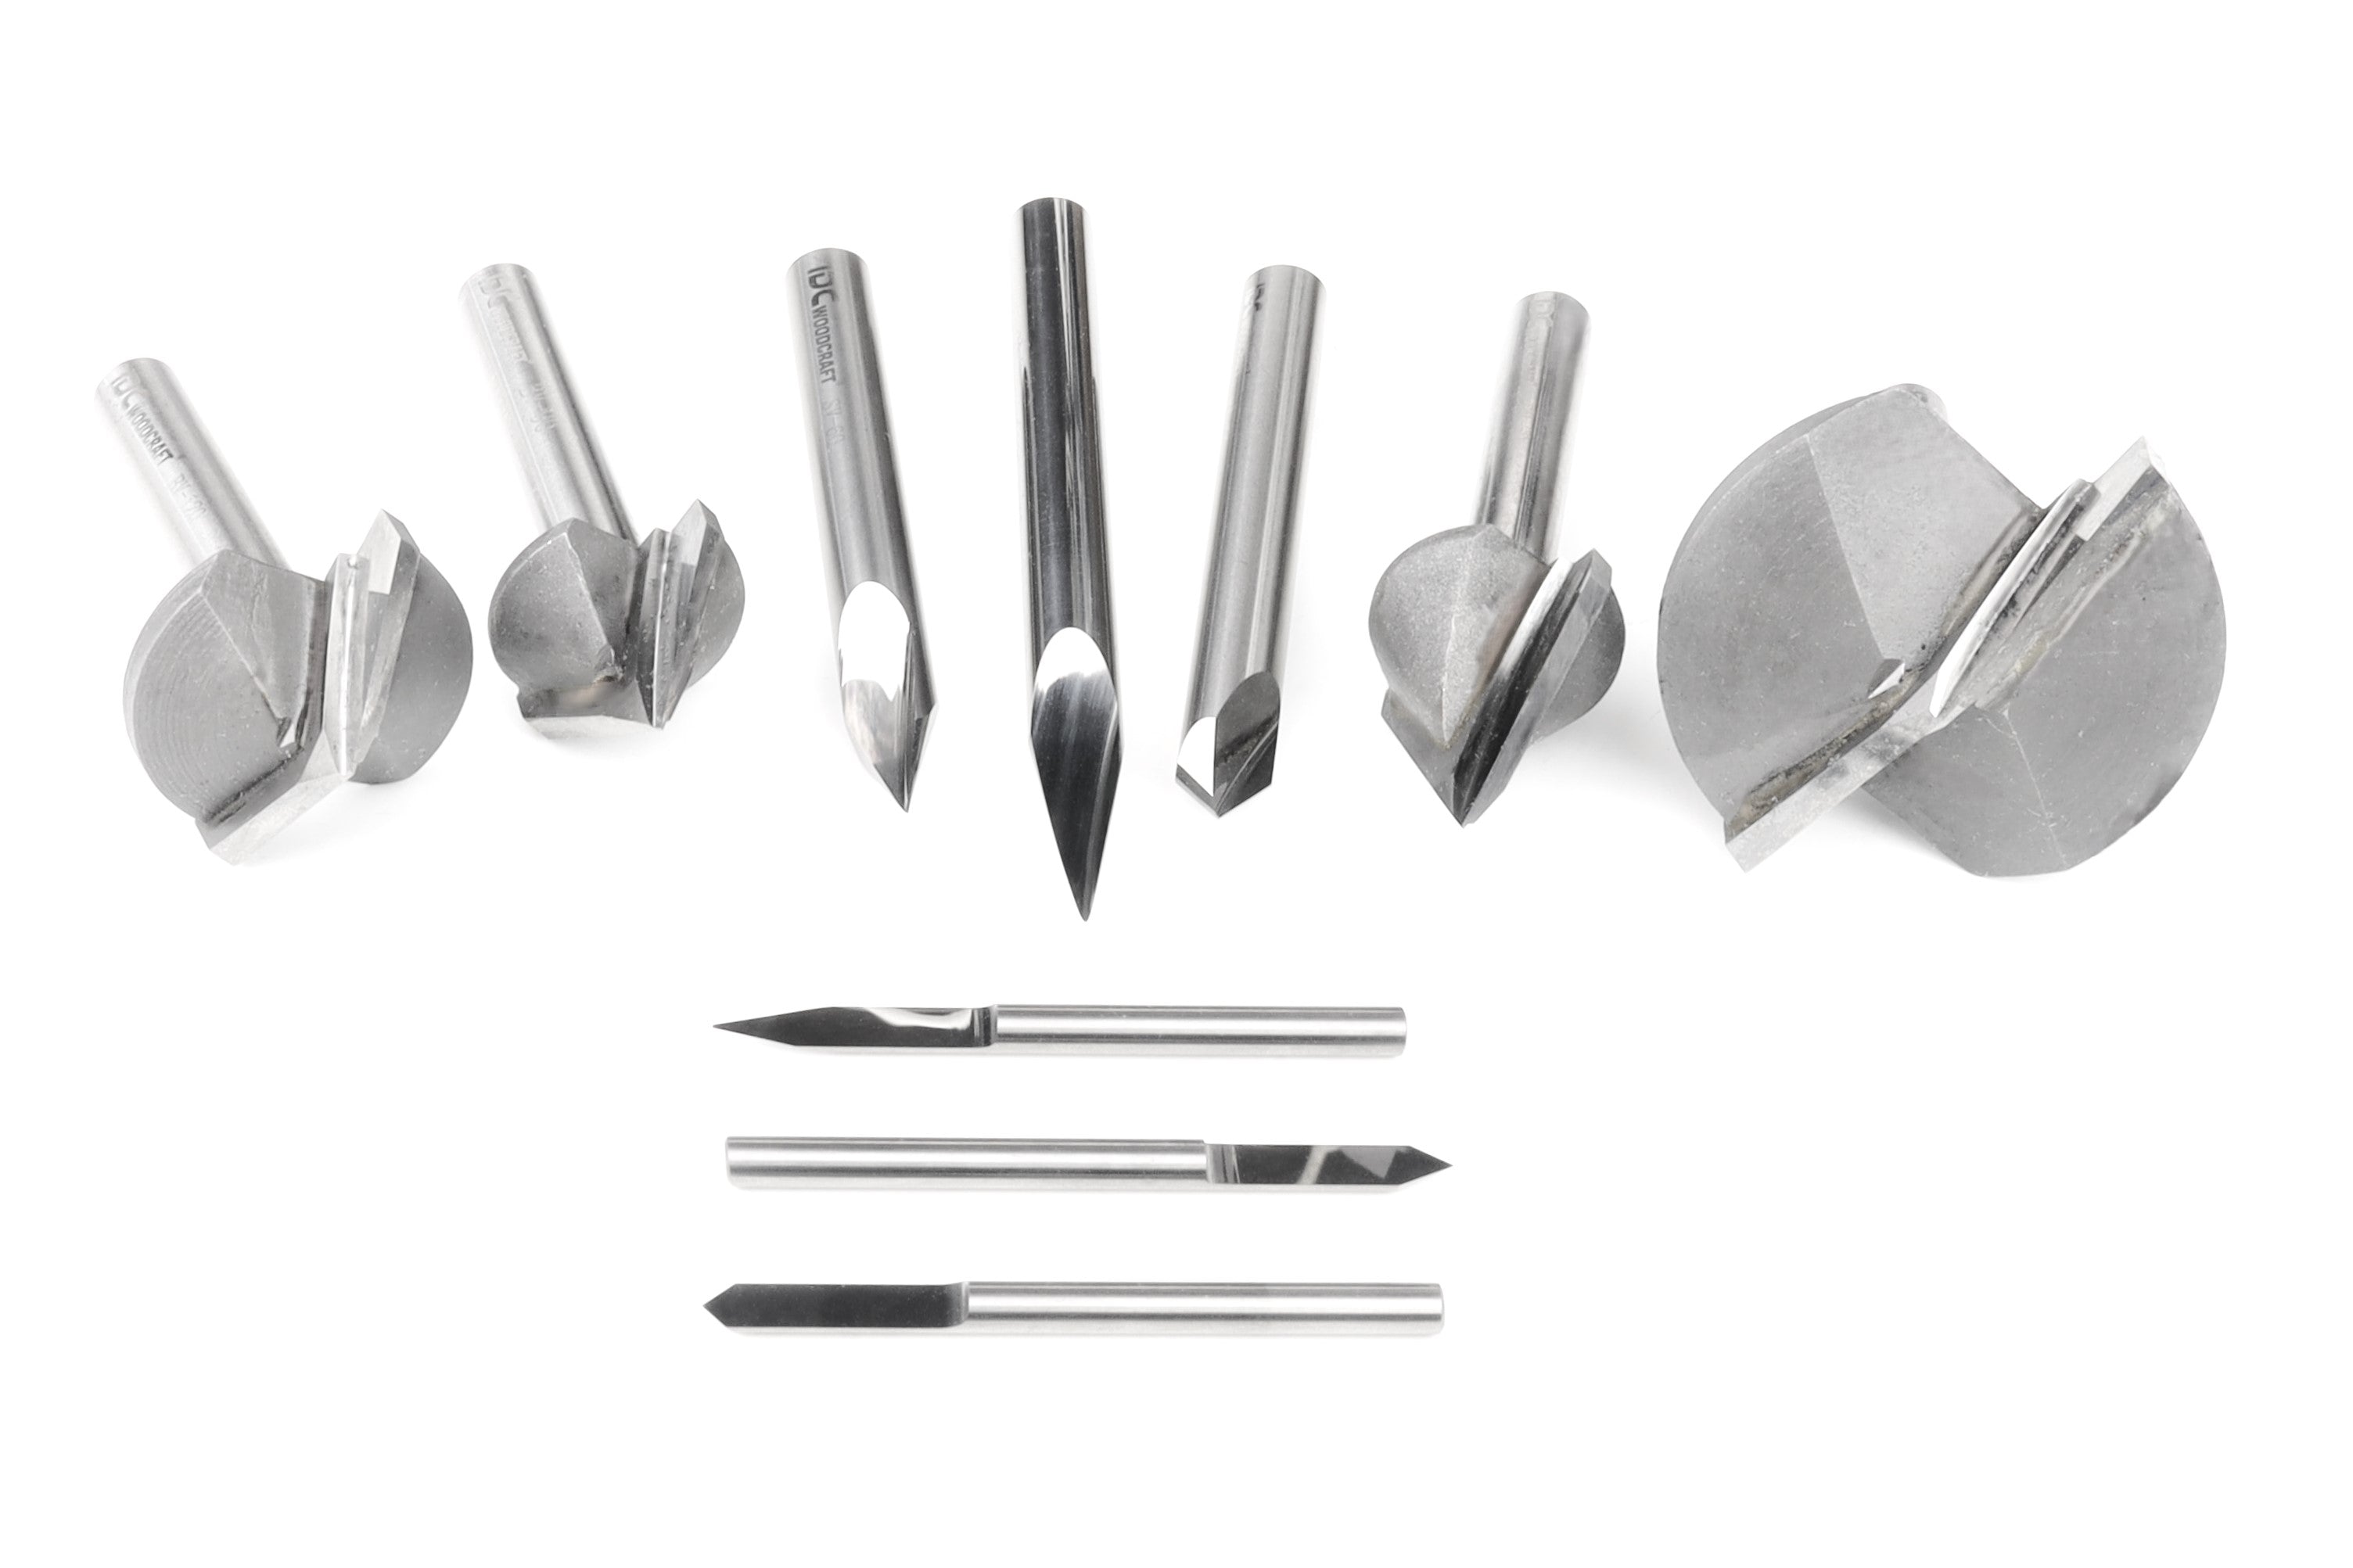
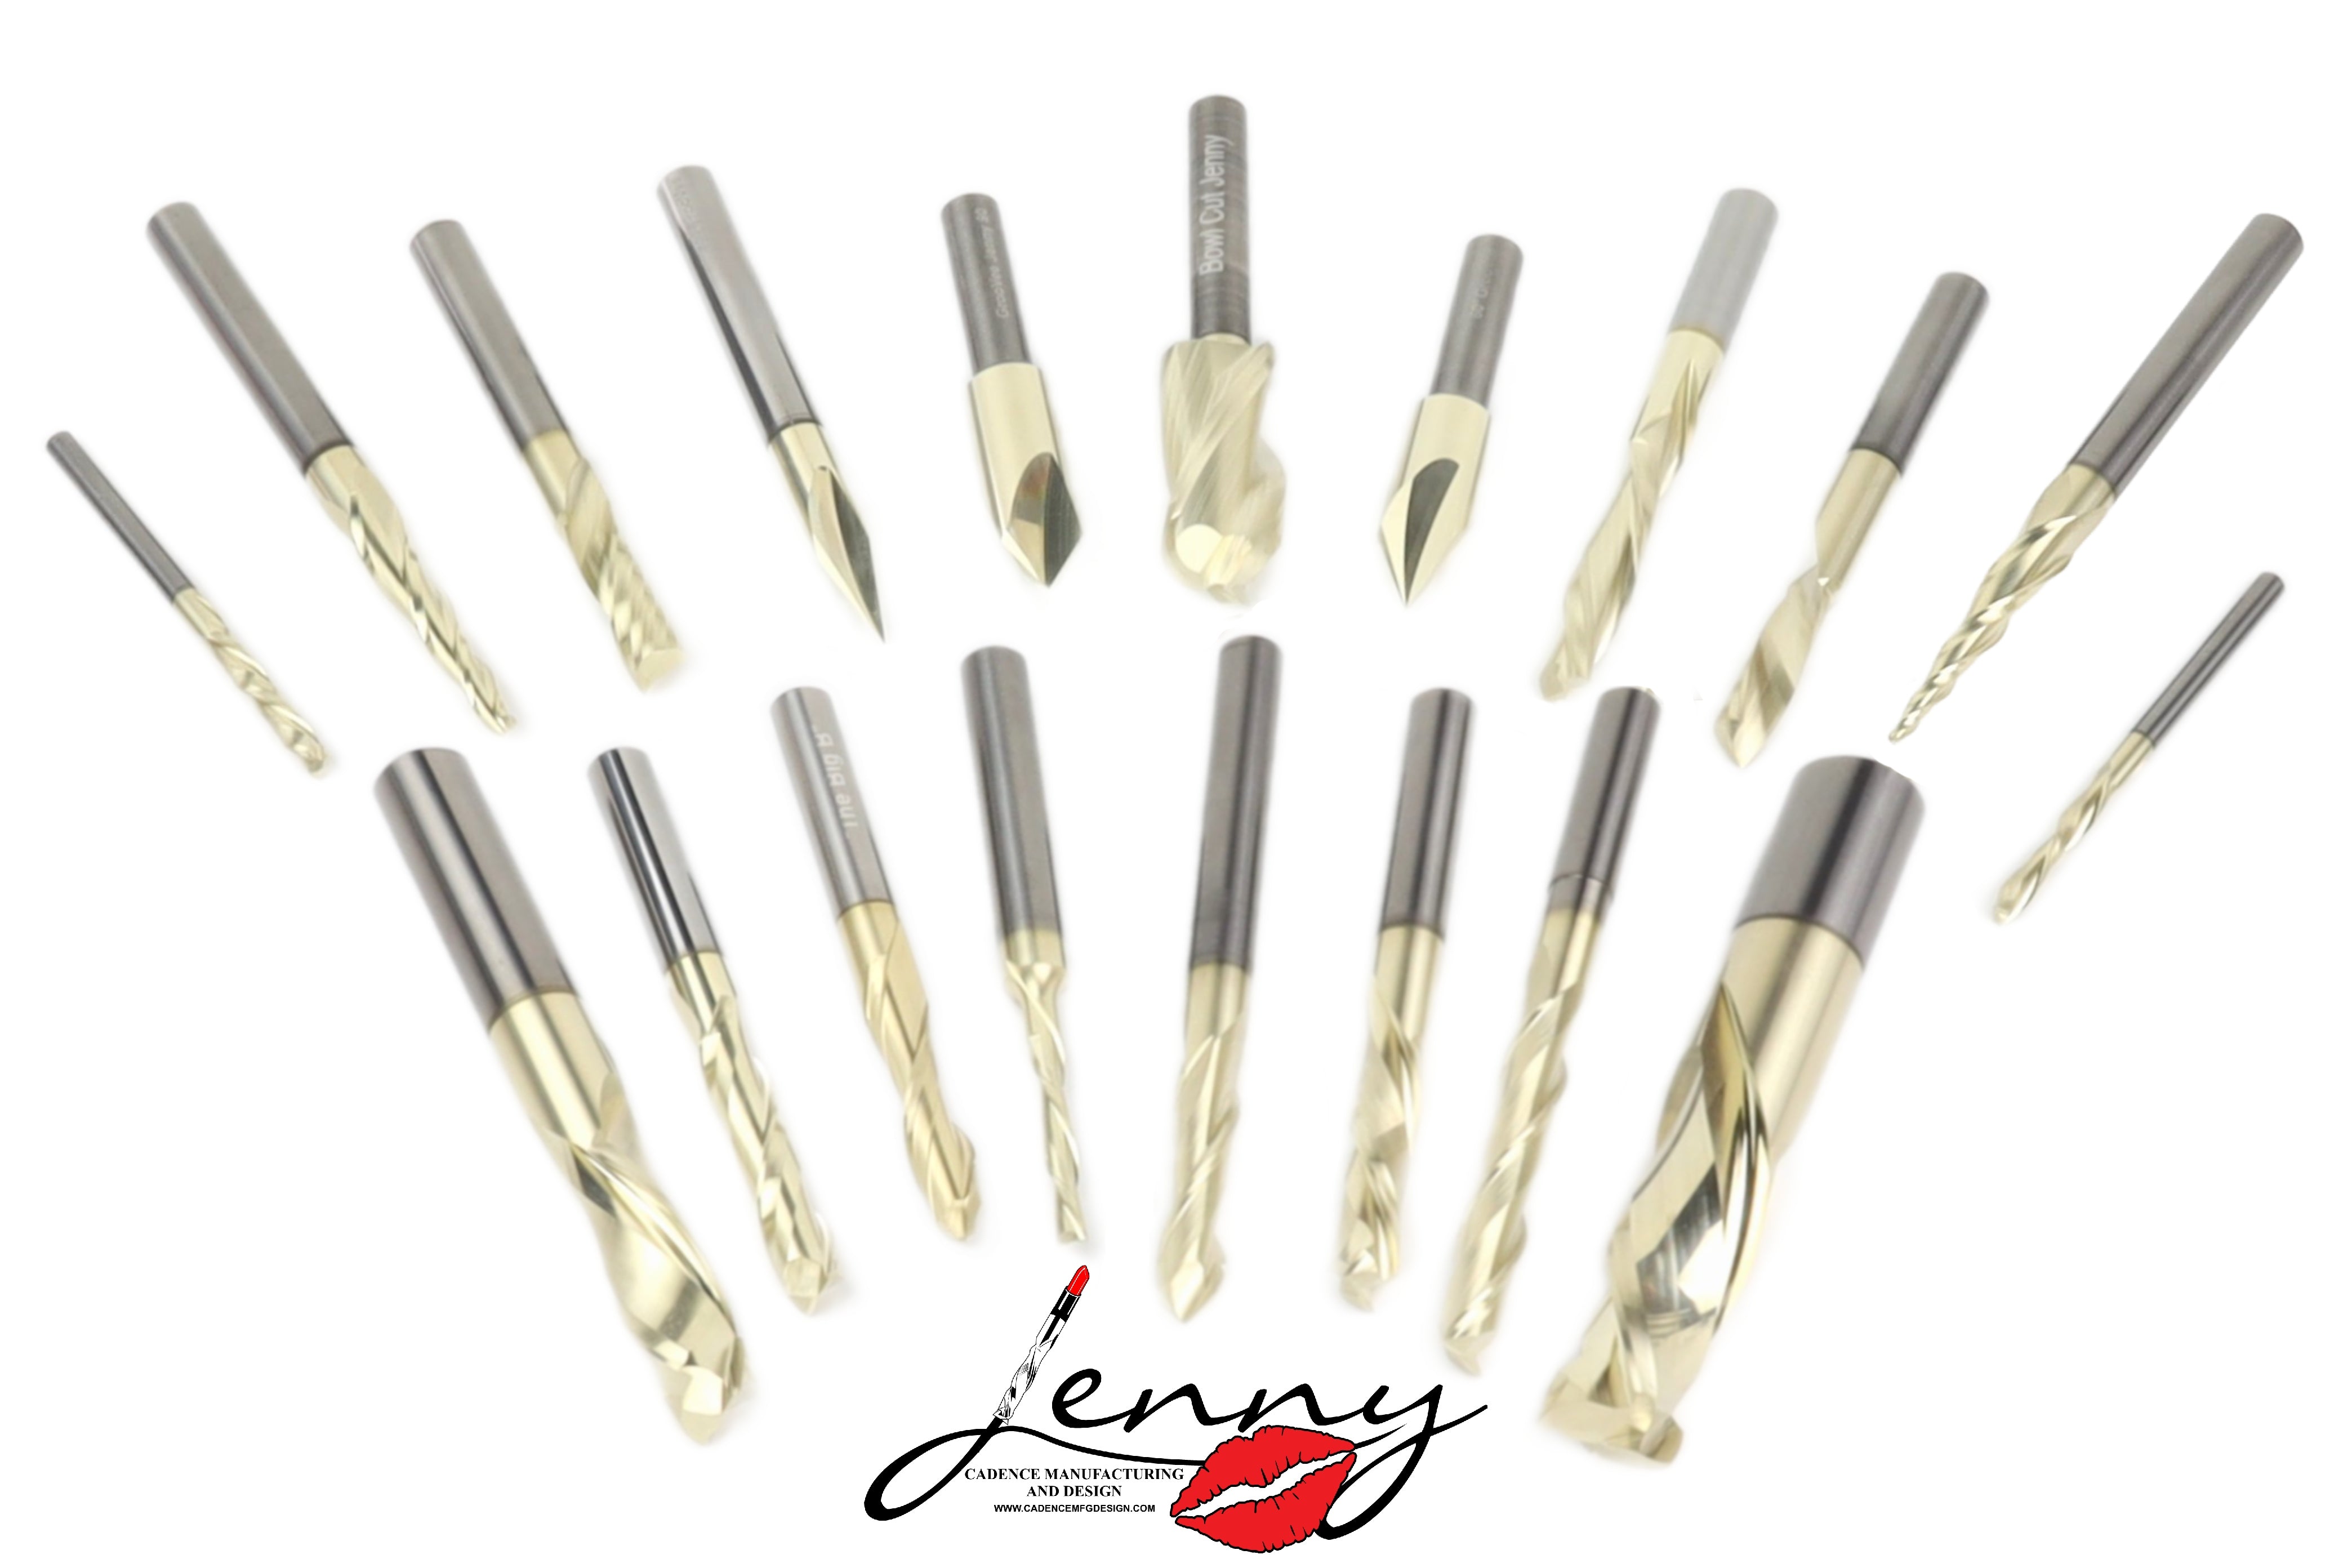
Check Out: IDC Woodcraft’s Complete CNC Router Bit Set


That cleaner cut means a lot less sanding for you. But understanding how these bits work is important. You can't just swap out the bits and get to work because there's some engineering knowledge that goes into adjusting for their different forces.


By the way, if you ever lose track of which bits in your set are which, you can look at a bit and twirl it slowly to figure it out. An up cut bit has a cutting edge on the bottom of the bit and it's flutes have an up direction, the same direction as a typical screw. Down bits have the opposite flute direction and no cutting edge on the bottom of the bit.

How do up and down cut bits affect your CNC router projects?

Up cut bits are pulling themselves into the material. On most CNC routers, that will literally cause them to pull a little bit down into the material. That gives a little messier cut. It also gives a deeper cut. 


The down cut bit, since it's constantly making a little cushion under itself as it goes, is pushing itself up instead, out of the material just a little. That gives the cleaner cut, sure, and also a more shallow one.


Depending on the exact bits and project, the difference can be stark. In our video on up and down cut bits, we cut slots into a board using the exact same settings and software, simply by swapping out the bits.


The up cut bit pulled itself down, the down cut bit pushed itself up, and the final cuts were 0.285 inches deep versus 0.24. To a layperson, that may not seem like much. But you probably know that your customers don't want their products to have grooves that are 20 percent too deep or too shallow.


Your CNC machine's precision is a major part of its value, after all.

Both bits will also have another issue that you might have noticed: Each of them can create uneven steps if you have them hollow out an area thicker than the bit.


On the up bits, they have a lot of wood to grab onto on their first pass, and so they dig themselves deeper. But on their second pass, there is an open side, and so they don't pull as deep, and they leave a little step since they're higher on the second pass.


Down cut bits have the opposite. Since they're riding along on top of all those wood chips and dust on the first pass, they'll ride higher on the first pass and then sink a little deeper on a second or third pass.


Either way, that leaves you with an uneven bottom to your project.

How to fix uneven cuts due to up and down bit issues

You could reach for the sandpaper, but the easier fix is to go into your vector software and tell it to add a last pass to your projects that's relatively thin, maybe as low as 0.007. On that last pass, the router will be dealing with a lot less material and woodchips, and so it will be able to fix those steps resulting from the up and down bits.And then use the bit, whether up or down, to get the best finish.


There are some other ways to reduce this that you'll sometimes see recommended, like making the stepovers smaller so there's less material in the way or making them larger so that the second or third pass is more similar to the first. But these won't actually fix the issue. On the first pass, the drill bit is pushing against or pulling on the wood from literally 180 degrees, so the push and pull forces are maximized on that pass. A big stepover of even 90 percent won't be enough, and a small stepover will still leave a thin trace of the first line. So it's better to just tell the software to do that last pass to perfect everything.


When you do these two things, matching the bit to the job and telling the CNC router to do a "last pass" with the bit, you likely won't need to do a major pass with the sandpaper.


That saves you time and saves you money. It also makes sure your friends and family, and even your customers, get consistently high-quality wood products.

Be sure to check out IDC Woodcraft’s free beginner’s CNC kickstarter guide. For those who want to try their hand at the feather inlay project in the IDC Woodcraft video above, click here for the instructions and g-code files.


IDC Woodcraft is also mobile! Check out our free apps on iPhone or Android.