Free Shipping for CNC Bit orders over $160

Shop

Shop By Project

Shop By Type

Starter Sets

Starter Sets

Inlay

Inlay

3D Carving

3D Carving

Acrylic

Acrylic

Engraving

Engraving

Bowl And Tray

Bowl And Tray

Digital Files

Digital Files

Slotting

Slotting

Rounding

Rounding

V Grooving

V Grooving

Surfacing

Surfacing

Starter Sets

Starter Sets

Bit Bundles

Bit Bundles

Ball Nose

Ball Nose

Compression

Compression

Downcut

Downcut

Drills

Drills

Engraving

Engraving

Extended Cut

Extended Cut

Roughing

Roughing

Rounding

Rounding

Slotting

Slotting

Straight Cut

Straight Cut

Surfacing

Surfacing

Upcut

Upcut

V Grooving

V Grooving

Jenny Bits

Jenny Bits

Collets

Collets

Accessories

Accessories

CNC Machines

CNC Machines

Vacuum Tables

Vacuum Tables

Spindles

Spindles

Software

Software

Digital Files

Digital Files

Merch

Merch

Closeout

Closeout

CNC Resources

Database Downloads

About

Contact Us

Get A Gift Card

Shop

Shop By Project

Shop By Type

Starter Sets

Starter Sets

Inlay

Inlay

3D Carving

3D Carving

Acrylic

Acrylic

Engraving

Engraving

Bowl And Tray

Bowl And Tray

Digital Files

Digital Files

Slotting

Slotting

Rounding

Rounding

V Grooving

V Grooving

Surfacing

Surfacing

Starter Sets

Starter Sets

Bit Bundles

Bit Bundles

Ball Nose

Ball Nose

Compression

Compression

Downcut

Downcut

Drills

Drills

Engraving

Engraving

Extended Cut

Extended Cut

Roughing

Roughing

Rounding

Rounding

Slotting

Slotting

Straight Cut

Straight Cut

Surfacing

Surfacing

Upcut

Upcut

V Grooving

V Grooving

Jenny Bits

Jenny Bits

Collets

Collets

Accessories

Accessories

CNC Machines

CNC Machines

Vacuum Tables

Vacuum Tables

Spindles

Spindles

Software

Software

Digital Files

Digital Files

Merch

Merch

Closeout

Closeout

CNC Resources

Database Downloads

About

Contact Us

Get A Gift Card

What Software Do You Need to Run a CNC Router?

The Short Answer: To run a CNC router, you usually need three kinds of software: design software to create or edit a project, CAM software to turn that design into cutting instructions, and control software to send those instructions to the machine. Some CNC software packages handle design and CAM together, while your CNC router machine may use a separate program or controller for machine control. The right choice depends on what you want to make, how large your projects are, and how much time you want to spend learning new tools.


CNC router cannot cut directly from a picture, drawing, or STL file. It needs a G-code file, which tells the machine where to move, how deep to cut, which bit to use, and how fast to move. This guide explains each piece of the software process, what beginners actually need to get started, and how options like VCarve DesktopVCarve ProAspire, and gControl fit into a complete CNC setup.

The Three Types of CNC Router Software

“CNC router software” can mean several different things. That is why software shopping gets confusing fast. Most CNC projects follow the same path:

  1. Create or open a design.
  2. Choose the cutting tools and settings.
  3. Generate G-code.
  4. Load the G-code into your CNC machine and run the job.

Each step may happen in one software package or across multiple programs.


Software type What it does Example task
CAD software Creates or edits the project design Drawing a sign, tracing a logo, or setting the size of a shelf part
CAM software Creates toolpaths and generates G-code Choosing a V-bit, setting cut depth, and creating a pocket toolpath
Control software Sends G-code to the CNC controller and operates the machine Homing the machine, setting zero, jogging the router, and starting the cut

CAD Software: Creating the Project

CAD software gives you the tools to draw or edit a CNC project before you cut it. CAD stands for computer-aided design. It is the stage where you create or edit the shapes, lines, text, and artwork your CNC router will cut. Whether you are drawing a sign from scratch, tracing a logo, or sizing a furniture part, CAD software gives you the project layout before any cutting instructions are created. 


Some CNC users design everything from scratch. Others download a ready-made file, such as an SVG, DXF, or STL file, and make small changes before machining it. An STL file is commonly used for 3D carving because it contains the shape of a 3D model. A flat sign, plaque, or furniture part is more likely to begin as a 2D vector file.


For many CNC woodworking projects, you do not need separate CAD software. VCarve Desktop and VCarve Pro combine CAD and CAM tools in one user interface, so you can draw your project, set up toolpaths, and create the G-code file without moving between several programs. This is one reason VCarve is popular with hobbyists and small-shop users.


What to Look For in CAD Software

Beginner-friendly layout tools should make it easy to:

  • Set the material size before you begin.
  • Add and edit text for signs and labels.
  • Draw basic shapes, lines, and curves.
  • Import SVG, DXF, and image files.
  • Resize and position artwork accurately.
  • Preview the design before creating toolpaths.

The goal is not to learn every advanced feature on day one. Start with simple projects that use basic shapes, text, pockets, and profile cuts. Once you understand how the design relates to the finished workpiece, start taking on more complex projects to build your skills and experience.

CAM Software: Turning Design into G-Code

CAM software is where a design becomes a cutting job. CAM stands for computer-aided manufacturing. CAM software takes your design and turns it into a cutting plan for the CNC router. That plan includes bit selection, feed rate, spindle speed, cutting depth, tabs, ramps, toolpath order, and other settings needed to generate G-code.


For example, a sign may need a V-carve toolpath for lettering, a pocket toolpath to remove background material, and a profile toolpath to cut the finished sign free from the board. The CAM package uses your selected bit, material thickness, feed rate, spindle RPM, and cut depth to generate the toolpath.


The final result is a G-code file or gcode file. G-code is the language your CNC controller reads. It contains commands for machine movement, cutting depth, feed rate, and sometimes spindle control or a tool change.
 

Toolpath Settings That Affect Cut Quality

The software does not know your material or tooling unless you tell it. Before generating G-code, check these settings:

  • Material setup: Enter the correct length, width, thickness, and zero position.
  • Bit selection: Match the tool in the software to the bit installed in your router.
  • Toolpath type: Choose the right cut strategy, such as pocketing, profiling, drilling, V-carving, or 3D finishing.
  • Cut depth: Confirm the final depth and depth per pass.
  • Feeds and speeds: Set a feed rate and spindle speed that match the material and bit.
  • Simulation feature: Preview the project to catch mistakes before wood starts coming off the board.

A simulation feature is one of the most useful CAM tools for beginners and experienced users alike. It will not replace a careful setup, but it can reveal an incorrect toolpath, missing pocket, wrong cut depth, or reversed design before you waste material.

IDC Woodcraft’s free bit library database can help users load router-bit data into compatible software, including Vectric and Fusion. Its chipload calculator can also help you check the relationship between RPM, feed rate, flute count, and chipload before you cut. Those settings affect cut quality, heat, and tool life.

Control Software: Running the Machine

Control software is the final link between your G-code and the CNC router. Control software is the program you use at the machine to communicate with its motion controller. The controller uses the G-code instructions to tell the motors how to move along the X,Y, and Z axes, allowing the router to follow the toolpaths you created. In simple terms, CAD creates the project, CAM plans the cut, and control software runs the CNC router. 

Before every project, control software is normally used to:

  • Home the CNC machine if the machine has homing switches.
  • Jog the router into position.
  • Set the X, Y, and Z zero points.
  • Load the G-code file.
  • Start, pause, or stop the job.
  • Return the router to a safe position when the cut is complete.

The control software must work with your machine’s controller. A program made for one controller may not work with another, so check compatibility before buying a software package or changing your CNC setup.

Some users run control software from a laptop beside the router. Others prefer a dedicated controller that stays with the machine. IDC Woodcraft carries the gControl CNC touchscreen controller, a Windows-based unit built for GRBL CNC routers, mills, and other compatible machines. It comes preloaded with gSender control software and can also run design and CAM programs such as VCarve, Carveco, Fusion 360, and LightBurn from the same workstation.

Do You Need Seperate CAD, CAM, and Control Programs?

You don't always need seperate systems for each step; the answer depends on the software options that you choose. 

Setup type Best for What you need
All-in-one CAD/CAM plus separate control software Most woodworking CNC users One program for design and toolpaths, plus the machine’s control software
Separate CAD and CAM programs Users with an existing design workflow CAD software, CAM software, and control software
Advanced CAD/CAM platform Complex projects, mixed materials, and machining work A deeper software package such as Fusion, plus compatible control software
Free or open-source tools Experimenting on a tight budget Free CAD, free CAM software, and compatible machine control software

A free version or open-source program can be a good way to learn the workflow, but it may add more steps or require more setup than a beginner expects. Free CAM software can work well for basic jobs, but tool libraries, post processors, project limits, support, and the learning curve vary widely.


For many CNC woodworkers, a combined CAD/CAM program is easier because the design, toolpaths, and simulation stay in one place. You do not need the best CNC software in every category. You need the right software for your machine, projects, and current skill level.

Which Vetric Program Should You Choose?

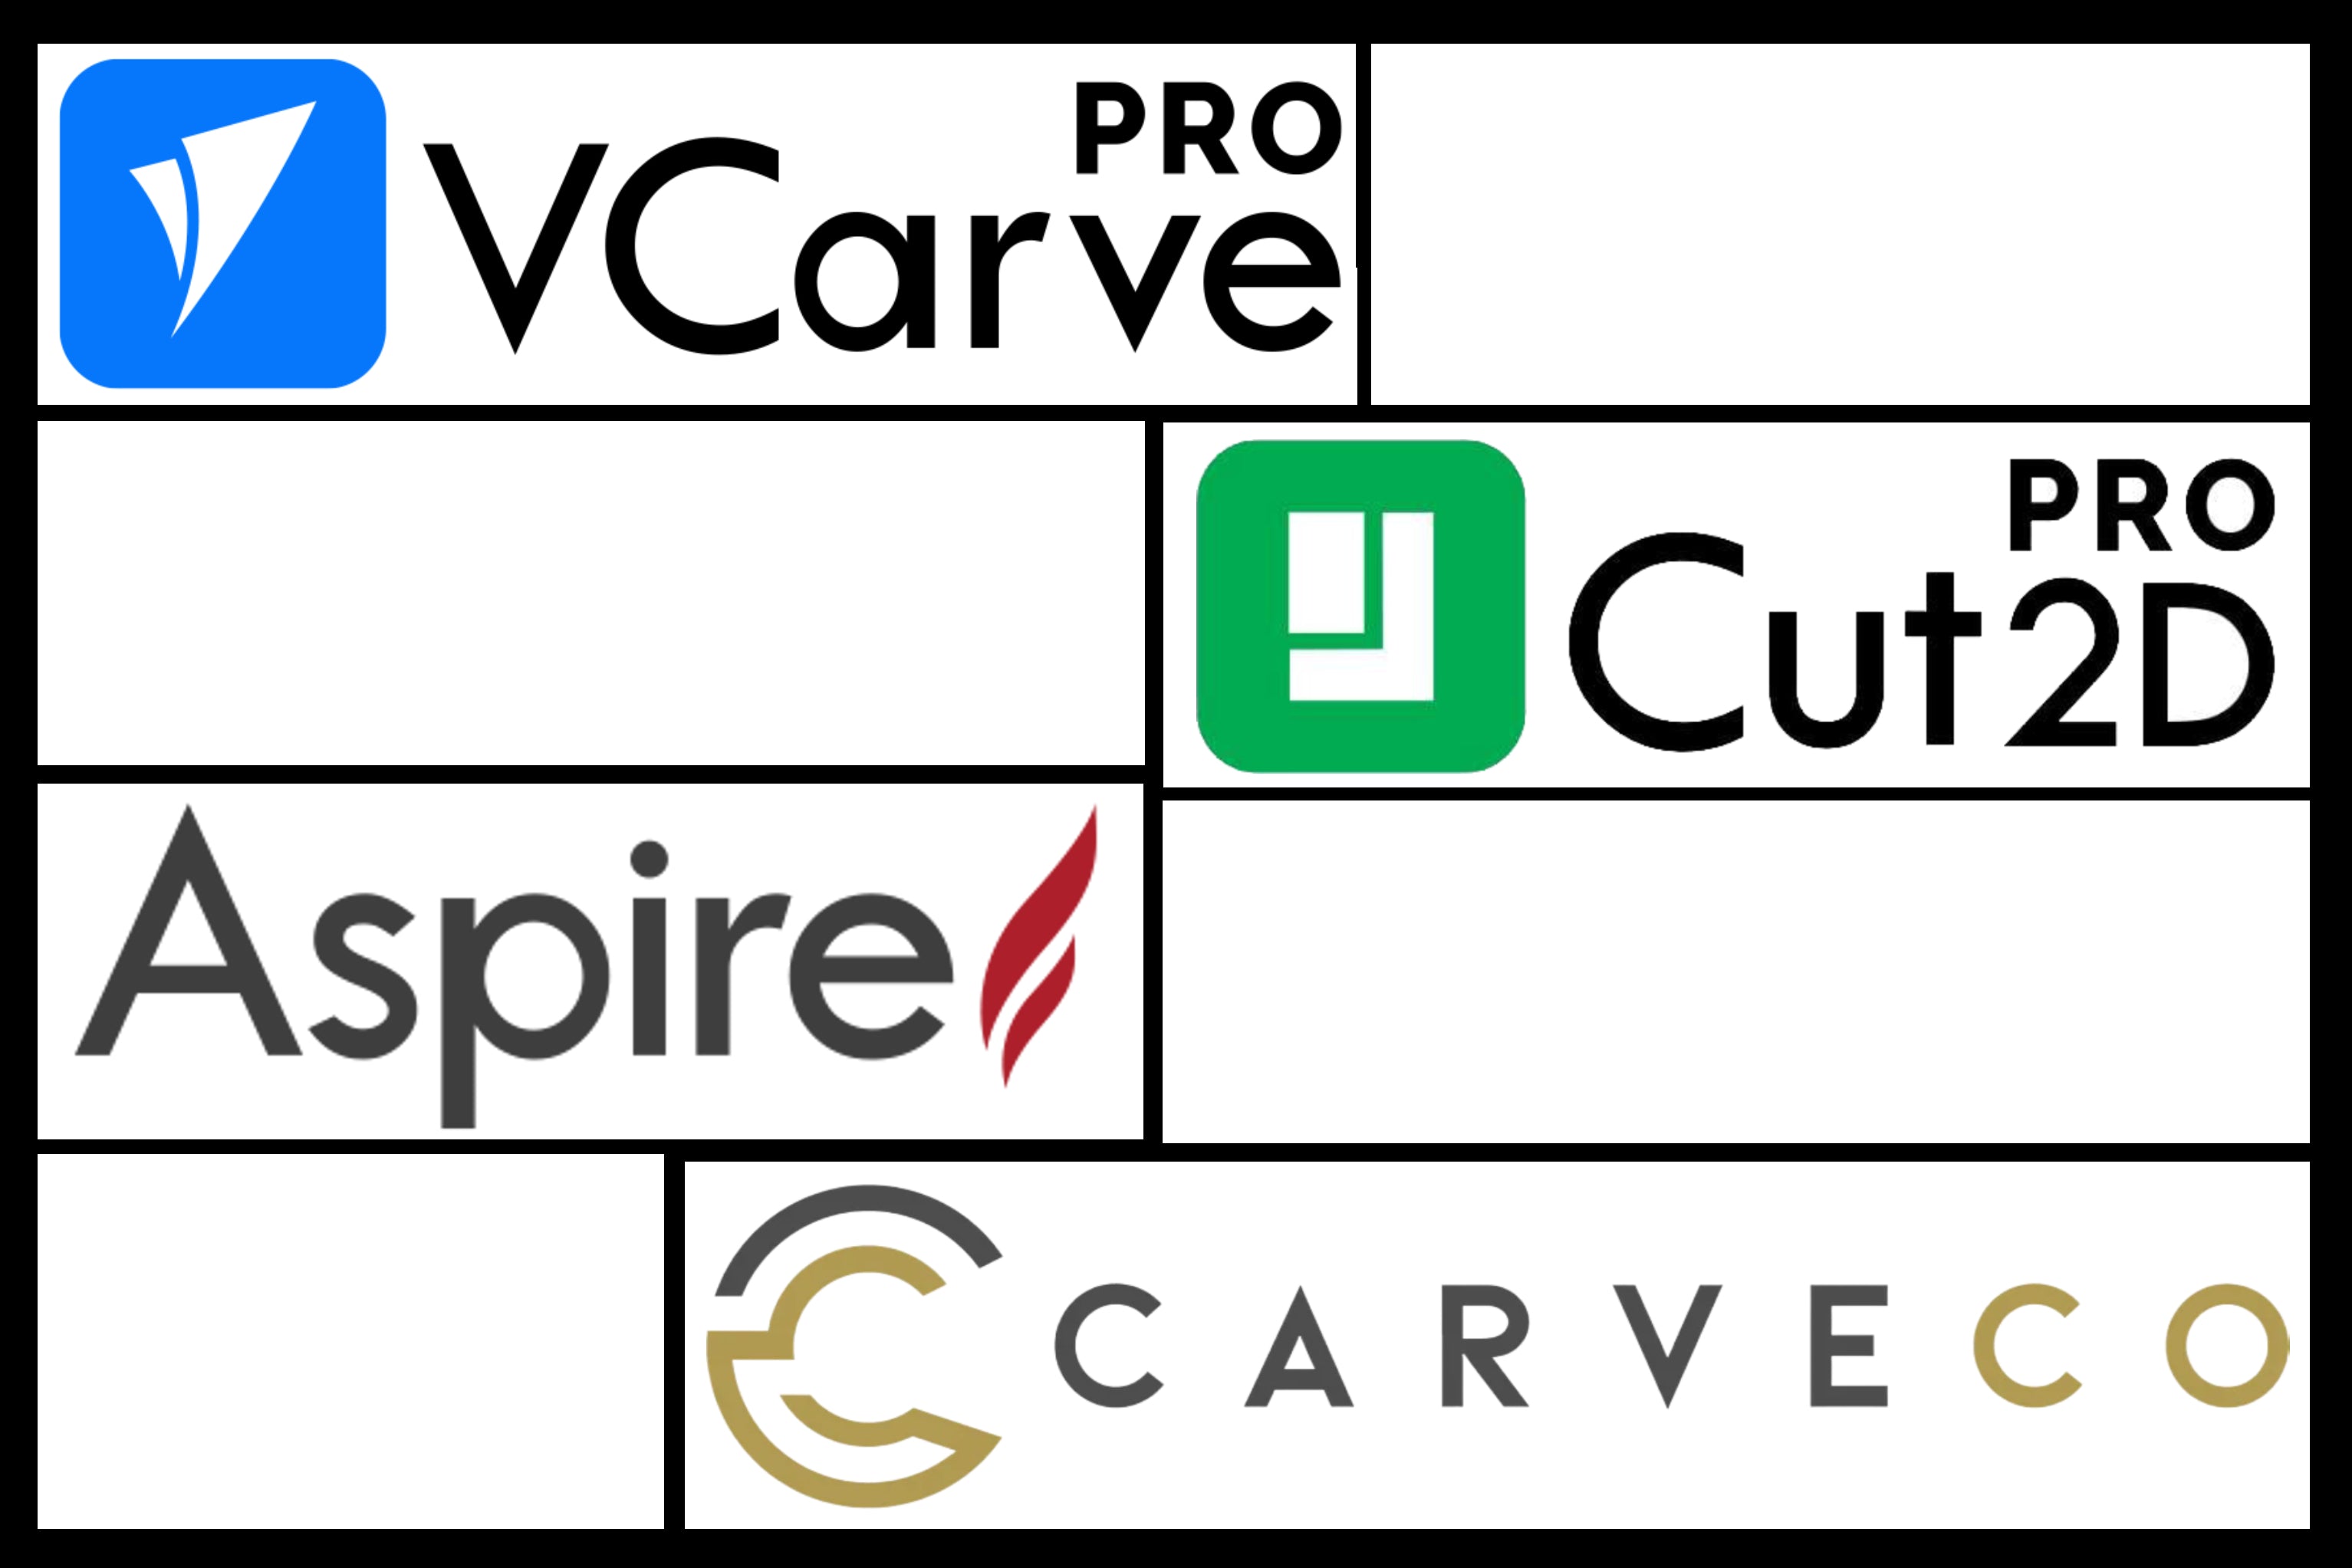
Vectric software is built around CNC routing and is a practical fit for woodworking, sign making, inlays, furniture parts, and many common CNC projects. IDC Woodcraft offers VCarve Desktop, VCarve Pro, and Vectric Aspire, each aimed at a different level of work.

VCarve Desktop

VCarve Desktop is a strong starting point for hobbyists and smaller CNC routers. It combines CAD software and CAM software in one program and supports job sizes up to 24 by 24 inches. It is a good fit for signs, trays, basic furniture parts, inlays, and other projects made on a desktop or benchtop machine.

VCarve Pro

VCarve Pro is designed for users who need more workspace and more room to grow. It includes CAD/CAM tools and toolpath control for woodworking, sign making, and 3D carving work. It makes sense for larger machines, a small shop, or users who have outgrown the Desktop work-area limit.

Vetric Aspire

Vectric Aspire adds advanced features for users who want to create and machine their own 3D components and relief models. It builds on VCarve Pro’s 2D and 2.5D capabilities, including two-sided and rotary projects, while adding 3D modeling tools and G-code output. It is the better fit for detailed 3D carving, custom relief work, and complex projects where you want to build the model instead of only importing an STL file.

Alt image

How to Choose the Right Software

Start with the projects you actually plan to make. A beginner making signs and trays does not need the same software package as someone running a CNC mill, carving 3D reliefs, or producing cabinet parts every day.

Ask these questions before choosing:

  • What size is your CNC router work area?
  • Will you mostly make 2D signs, pockets, profiles, and V-carves, or do you want 3D carving?
  • Does your CNC controller require a certain control software or post-processor?
  • Do you need to run the software from a dedicated machine-side computer?
  • Are you comfortable learning separate CAD and CAM programs, or would one combined user interface be easier?
  • Will you need advanced features such as two-sided machining, rotary work, nesting, or tool changes?
  • Do you have a reliable internet connection if the software uses cloud features, updates, or online licensing?

It is normal for the learning curve to feel steep at first. Keep the first few CNC projects simple, run a simulation before cutting, and use scrap material for your first test. Learn the complete path from drawing to G-code to machine control before adding more advanced tools.

Build Your CNC Workflow with IDC Woodcraft

Software is the part of CNC routing that turns an idea into instructions your router can follow. Once you understand the difference between CAD, CAM, and control software, choosing a setup becomes much less confusing. You can start with basic design and toolpath work, then add advanced features when your projects call for them.

IDC Woodcraft supports that process with CNC tooling, machines, software, feeds-and-speeds resources, and beginner education. For woodworkers who want a combined design-and-CAM program built around CNC routing, explore IDC Woodcraft’s software collection,to find the design, toolpath, and machine-control tools that fit your workflow. 

CNC Router Bit Feeds & Speeds and Bit SetsIf you are new to CNC routers and drowning in jargon, we are here to keep it simple and help you start your journey off right. At its core, a CNC router does one thing: it moves a spinning bit through material along a path a computer gives it. Everything else exists to make that movement accurate and repeatable.

The trouble is that finding your first machine buries that simple idea under a pile of unfamiliar terms before you can even cut a single sign. This guide walks through what the parts actually do, what a CNC router can and cannot cut, how a project travels from idea to finished piece, and what to look at before you spend money on a machine.