Free Shipping for CNC Bit orders over $160

Shop

Shop By Project

Shop By Type

Bit Sets

Bit Sets

Inlay

Inlay

3D Carving

3D Carving

Acrylic

Acrylic

Engraving

Engraving

Bowl And Tray

Bowl And Tray

Digital Files

Digital Files

Bit Sets

Bit Sets

Ball Nose

Ball Nose

Compression

Compression

Downcut

Downcut

Drills

Drills

Engraving

Engraving

Extended Cut

Extended Cut

Roughing

Roughing

Rounding

Rounding

Slotting

Slotting

Straight Cut

Straight Cut

Surfacing

Surfacing

Upcut

Upcut

V Grooving

V Grooving

Jenny Bits

Jenny Bits

Collets

Collets

Accessories

Accessories

CNC Machines

CNC Machines

Vacuum Tables

Vacuum Tables

Spindles

Spindles

Software

Software

Digital Files

Digital Files

Merch

Merch

Closeout

Closeout

CNC Resources

Database Downloads

About

Contact Us

Get A Gift Card

Shop

Shop By Project

Shop By Type

Bit Sets

Bit Sets

Inlay

Inlay

3D Carving

3D Carving

Acrylic

Acrylic

Engraving

Engraving

Bowl And Tray

Bowl And Tray

Digital Files

Digital Files

Bit Sets

Bit Sets

Ball Nose

Ball Nose

Compression

Compression

Downcut

Downcut

Drills

Drills

Engraving

Engraving

Extended Cut

Extended Cut

Roughing

Roughing

Rounding

Rounding

Slotting

Slotting

Straight Cut

Straight Cut

Surfacing

Surfacing

Upcut

Upcut

V Grooving

V Grooving

Jenny Bits

Jenny Bits

Collets

Collets

Accessories

Accessories

CNC Machines

CNC Machines

Vacuum Tables

Vacuum Tables

Spindles

Spindles

Software

Software

Digital Files

Digital Files

Merch

Merch

Closeout

Closeout

CNC Resources

Database Downloads

About

Contact Us

Get A Gift Card

How to Make a CNC Cutting Board (Step by Step)

A cutting board is a great first project on a CNC router. It sells well at markets and online, forgives the small mistakes that would ruin a detailed sign, and you end up with something you can use or give as a present. This guide walks through the whole process, one step at a time, and explains each term as it comes up. No prior experience needed.

Step 1: Pick a Food-Safe Wood
 

The first step is choosing the right wood. Because a cutting board regularly touches food, you need to find a wood type that is food-safe. Use a closed-grain hardwood, which has tight pores that resist bacteria and knife marks. Maple is the classic choice, but walnut and cherry both work well and add color. For your first, buy a single wide board around ¾ - 1.5 inches thick, so you skip gluing smaller pieces into a panel.

Avoid anything that is not meant for food. Softwoods like pine dent easily and soak up liquids. MDF and plywood are fine for a spoilboard, the sacrificial surface your work sits on, but not for a cutting surface. A closed-grain hardwood board will hold up in a home or commercial kitchen. 


Pick a Style
 

Two styles are most popular for traditional cutting boards. An edge-grain board shows the long grain on top and is the simpler build. An end-grain cutting board stands the fibers on end in a checkerboard, which is easier on knives but needs more glue-up. Decide the style before you buy the wood, because it determines how much you need. An edge-grain board can come from a single wide board, while an end-grain board starts as an edge-grain panel that you cut into strips and glue back together, which takes more stock. 

Step 2: Plan a Size That Fits Your Machine
 

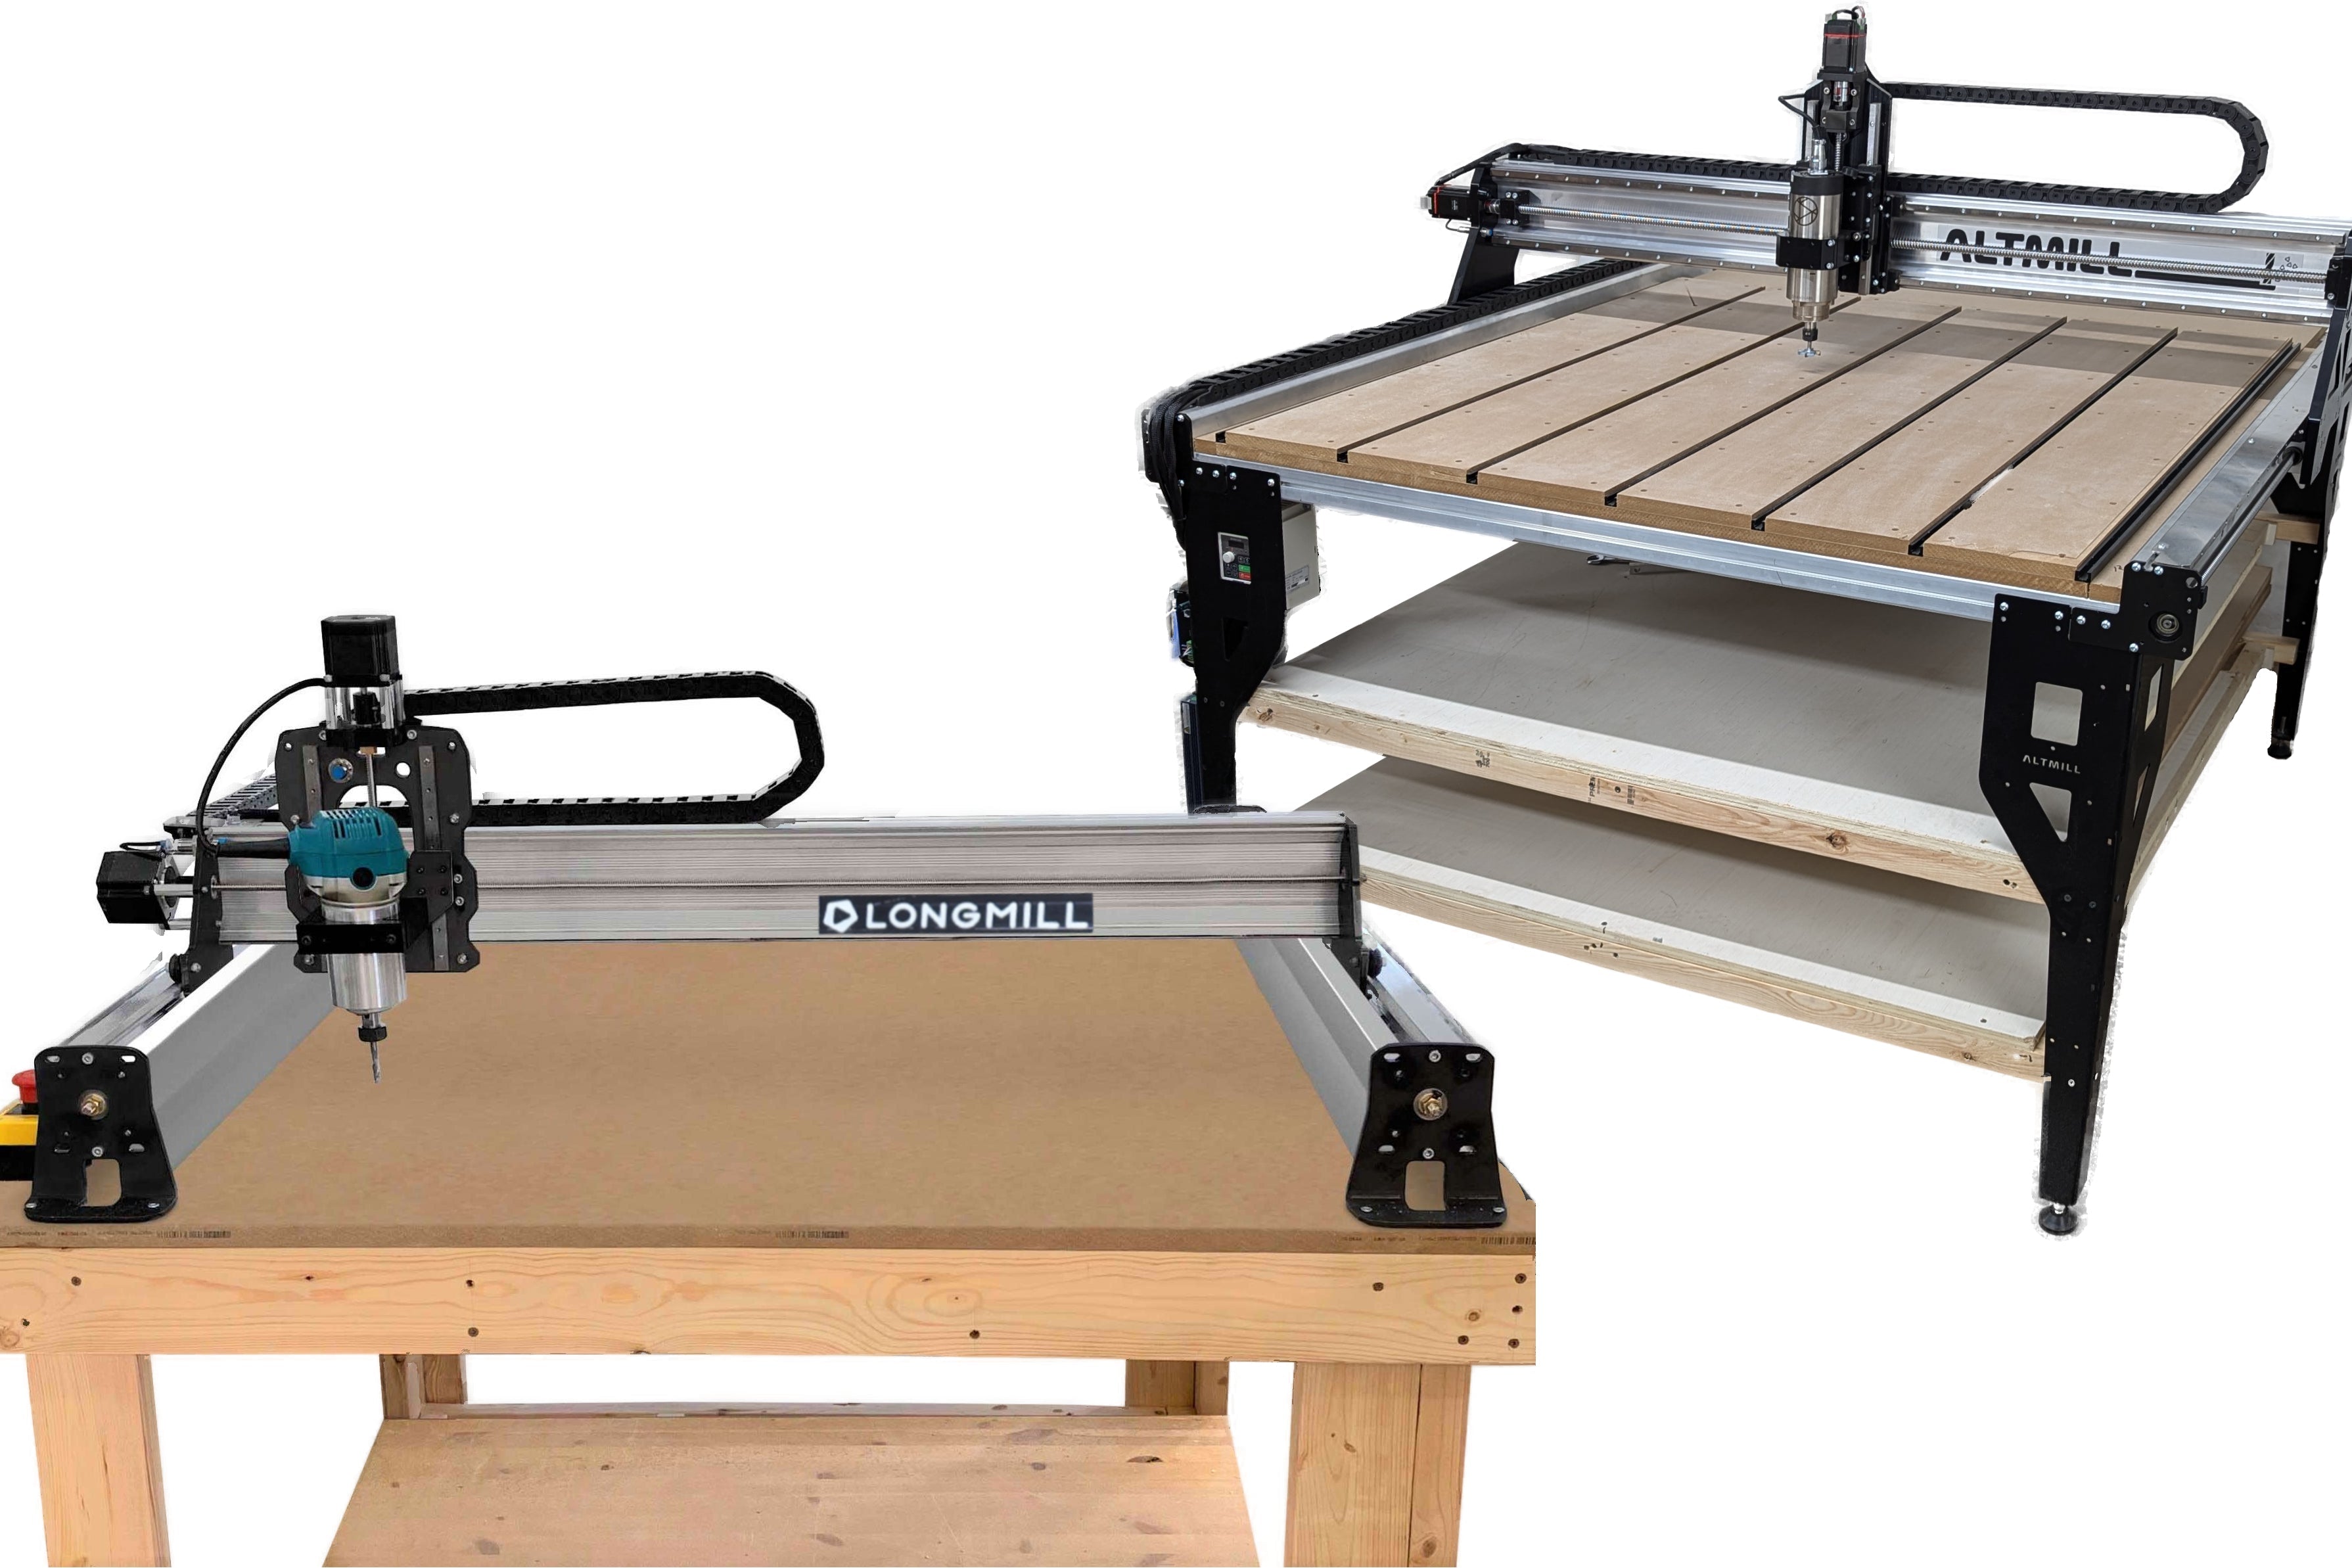
Measure your machine's cutting area before you design anything, because the board has to fit inside it. Many hobby CNCs top out around either 12 by 12 inches or 12 by 18 inches, so check the size of yours in the manual or the control software before starting work.

Try to pick a size that fits your board with room to spare. A good first board is about 10 by 14 inches, which looks like a full board and still leaves clamping room around the edges. You can try different sizes later, though larger cutting boards need a bigger machine. 


Step 3: Design the Board
 

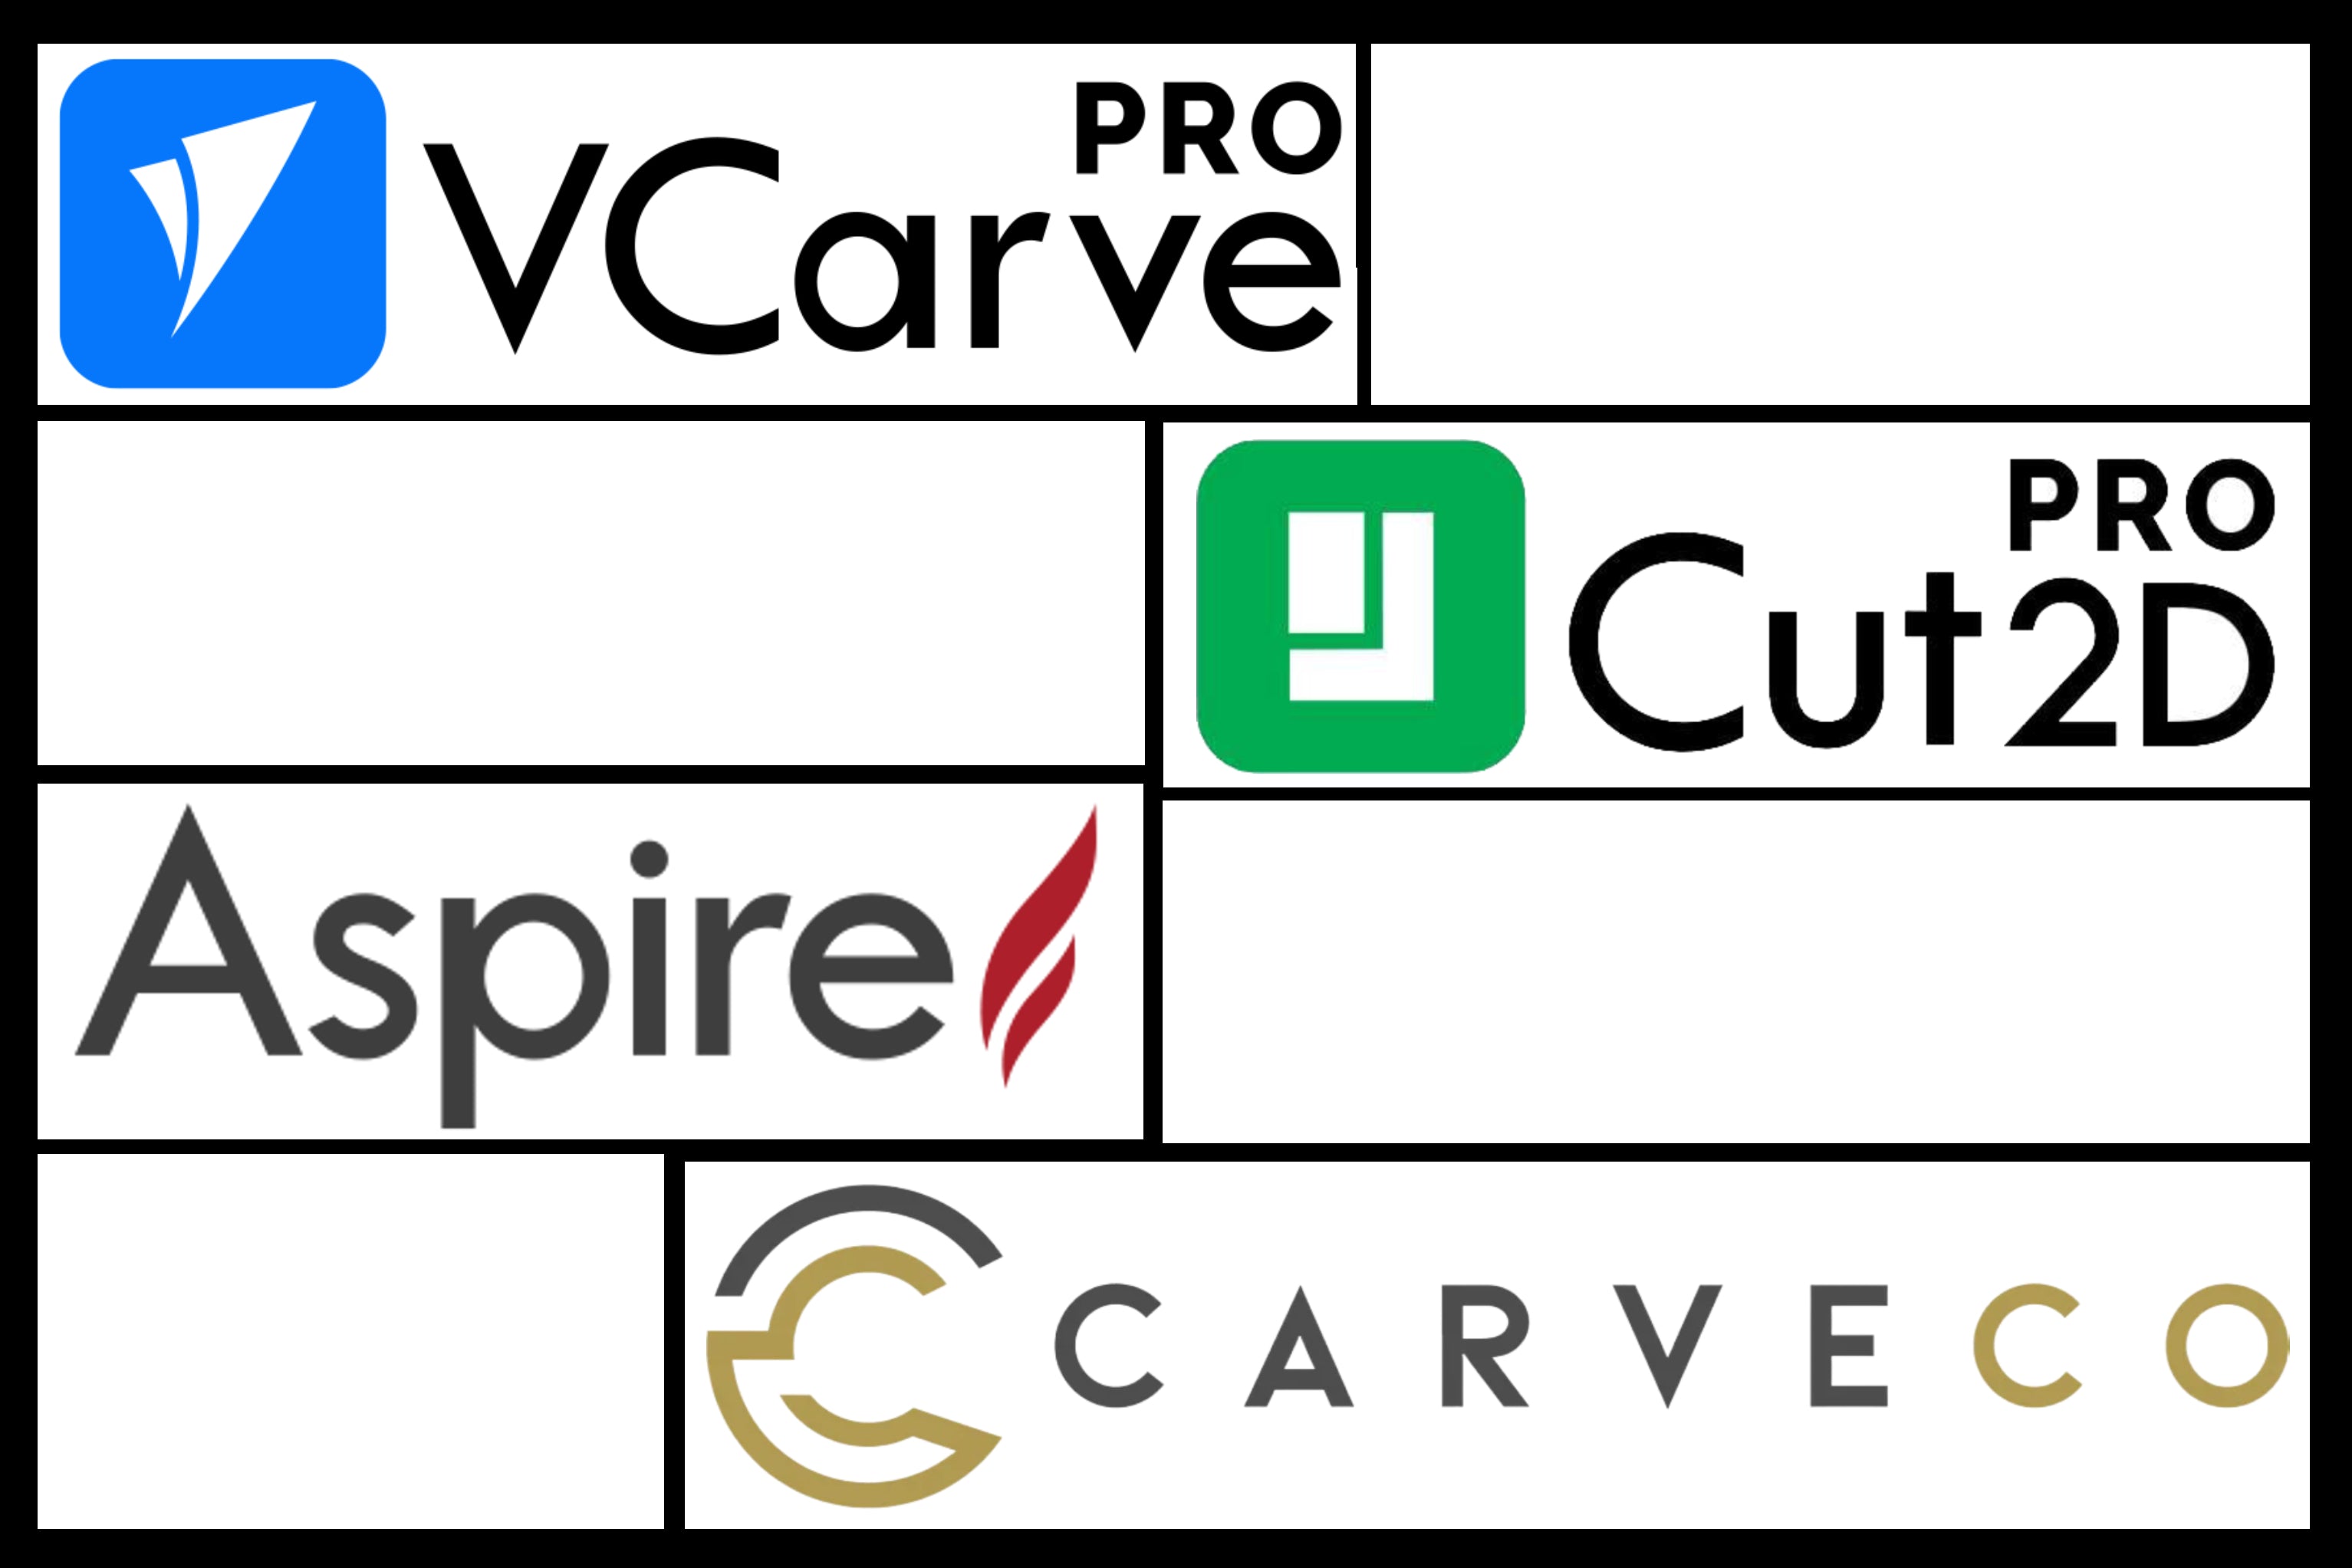
Board design happens in CAM software, the program that turns your drawing into instructions the machine follows. Vectric VCarve, sometimes called VCarve Pro, is a common pick and does the whole job. Open a new file, set it to your board size, and draw a rectangle with rounded corners.


From there, you can add any designs or features you want included in your board. Add a juice groove if you want one. That is the shallow channel around the top that catches juice and crumbs so they do not run onto the counter. Draw it as a smaller rounded rectangle set about half an inch in from the edge. 


Mark where a name or design will go. For a two-tone accent, a wood inlay (also called a v-carve inlay or v-bit inlay) sets contrasting wood into a matching pocket. If this is your first project, start with a plain board and save the inlay for later. 
 

Step 4: Choose Your Bits
 

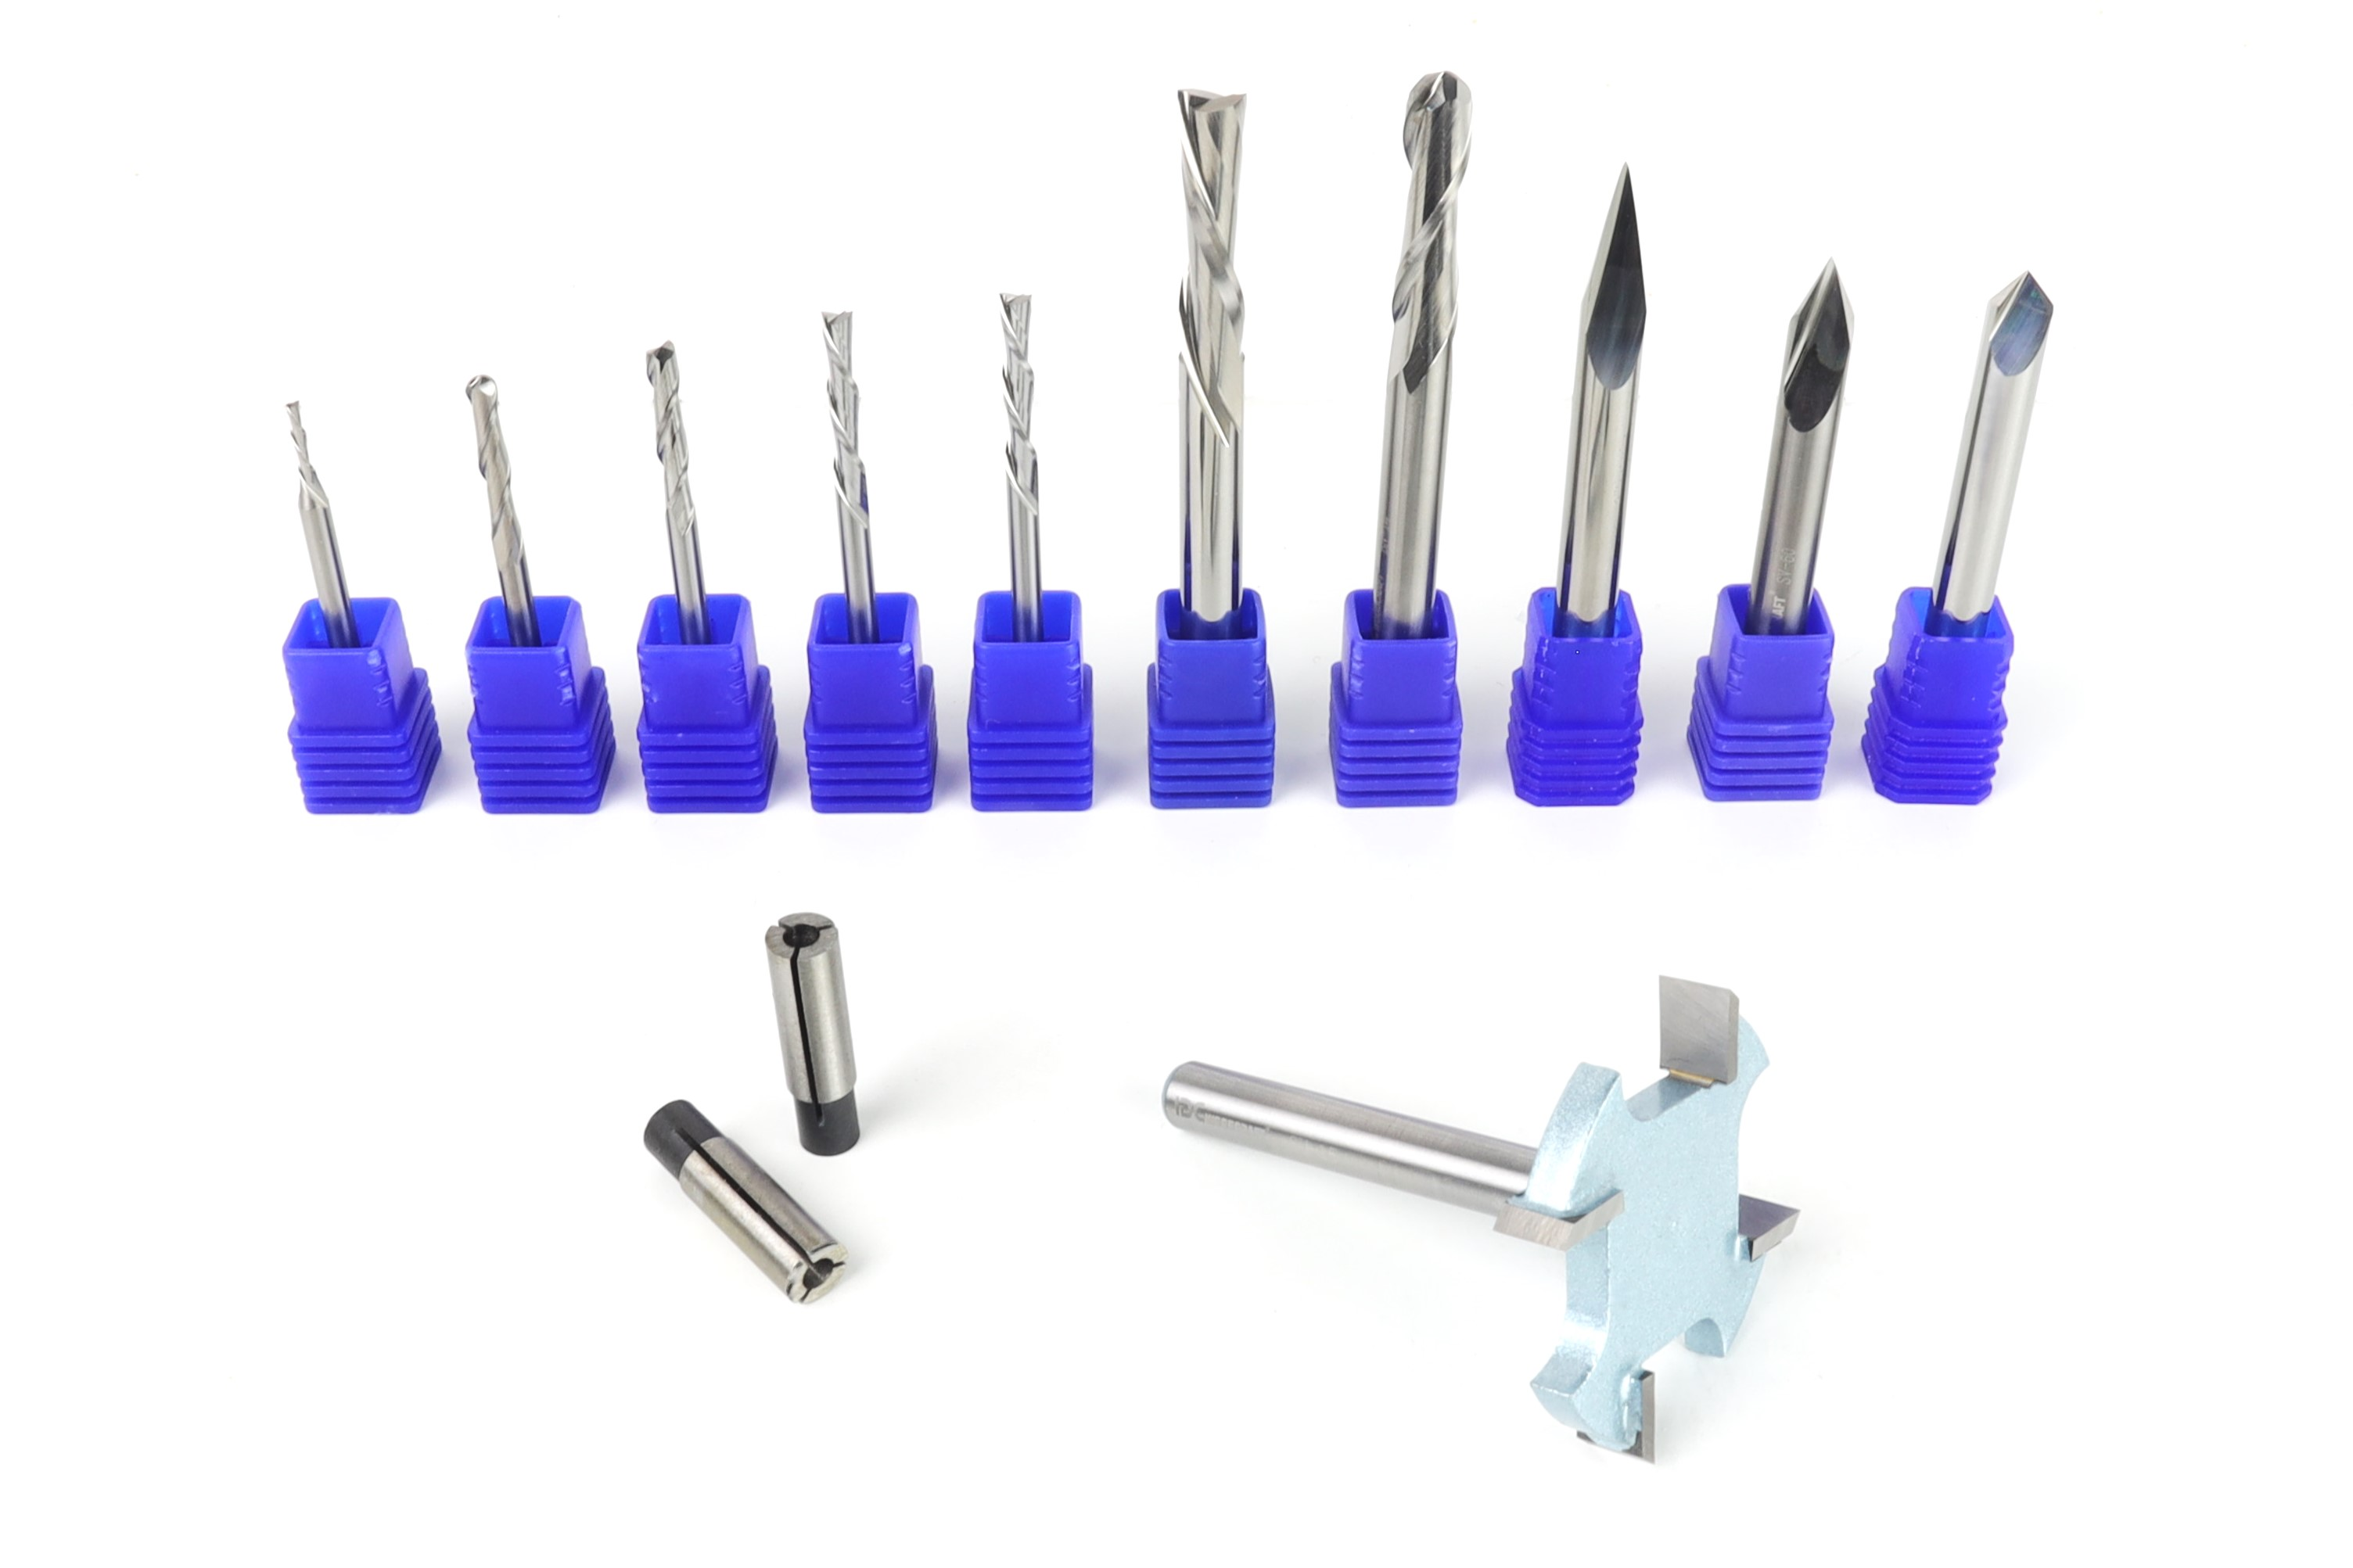
Match your CNC bits to each job on the board, since no single bit does everything. Here is what each part of the board needs.

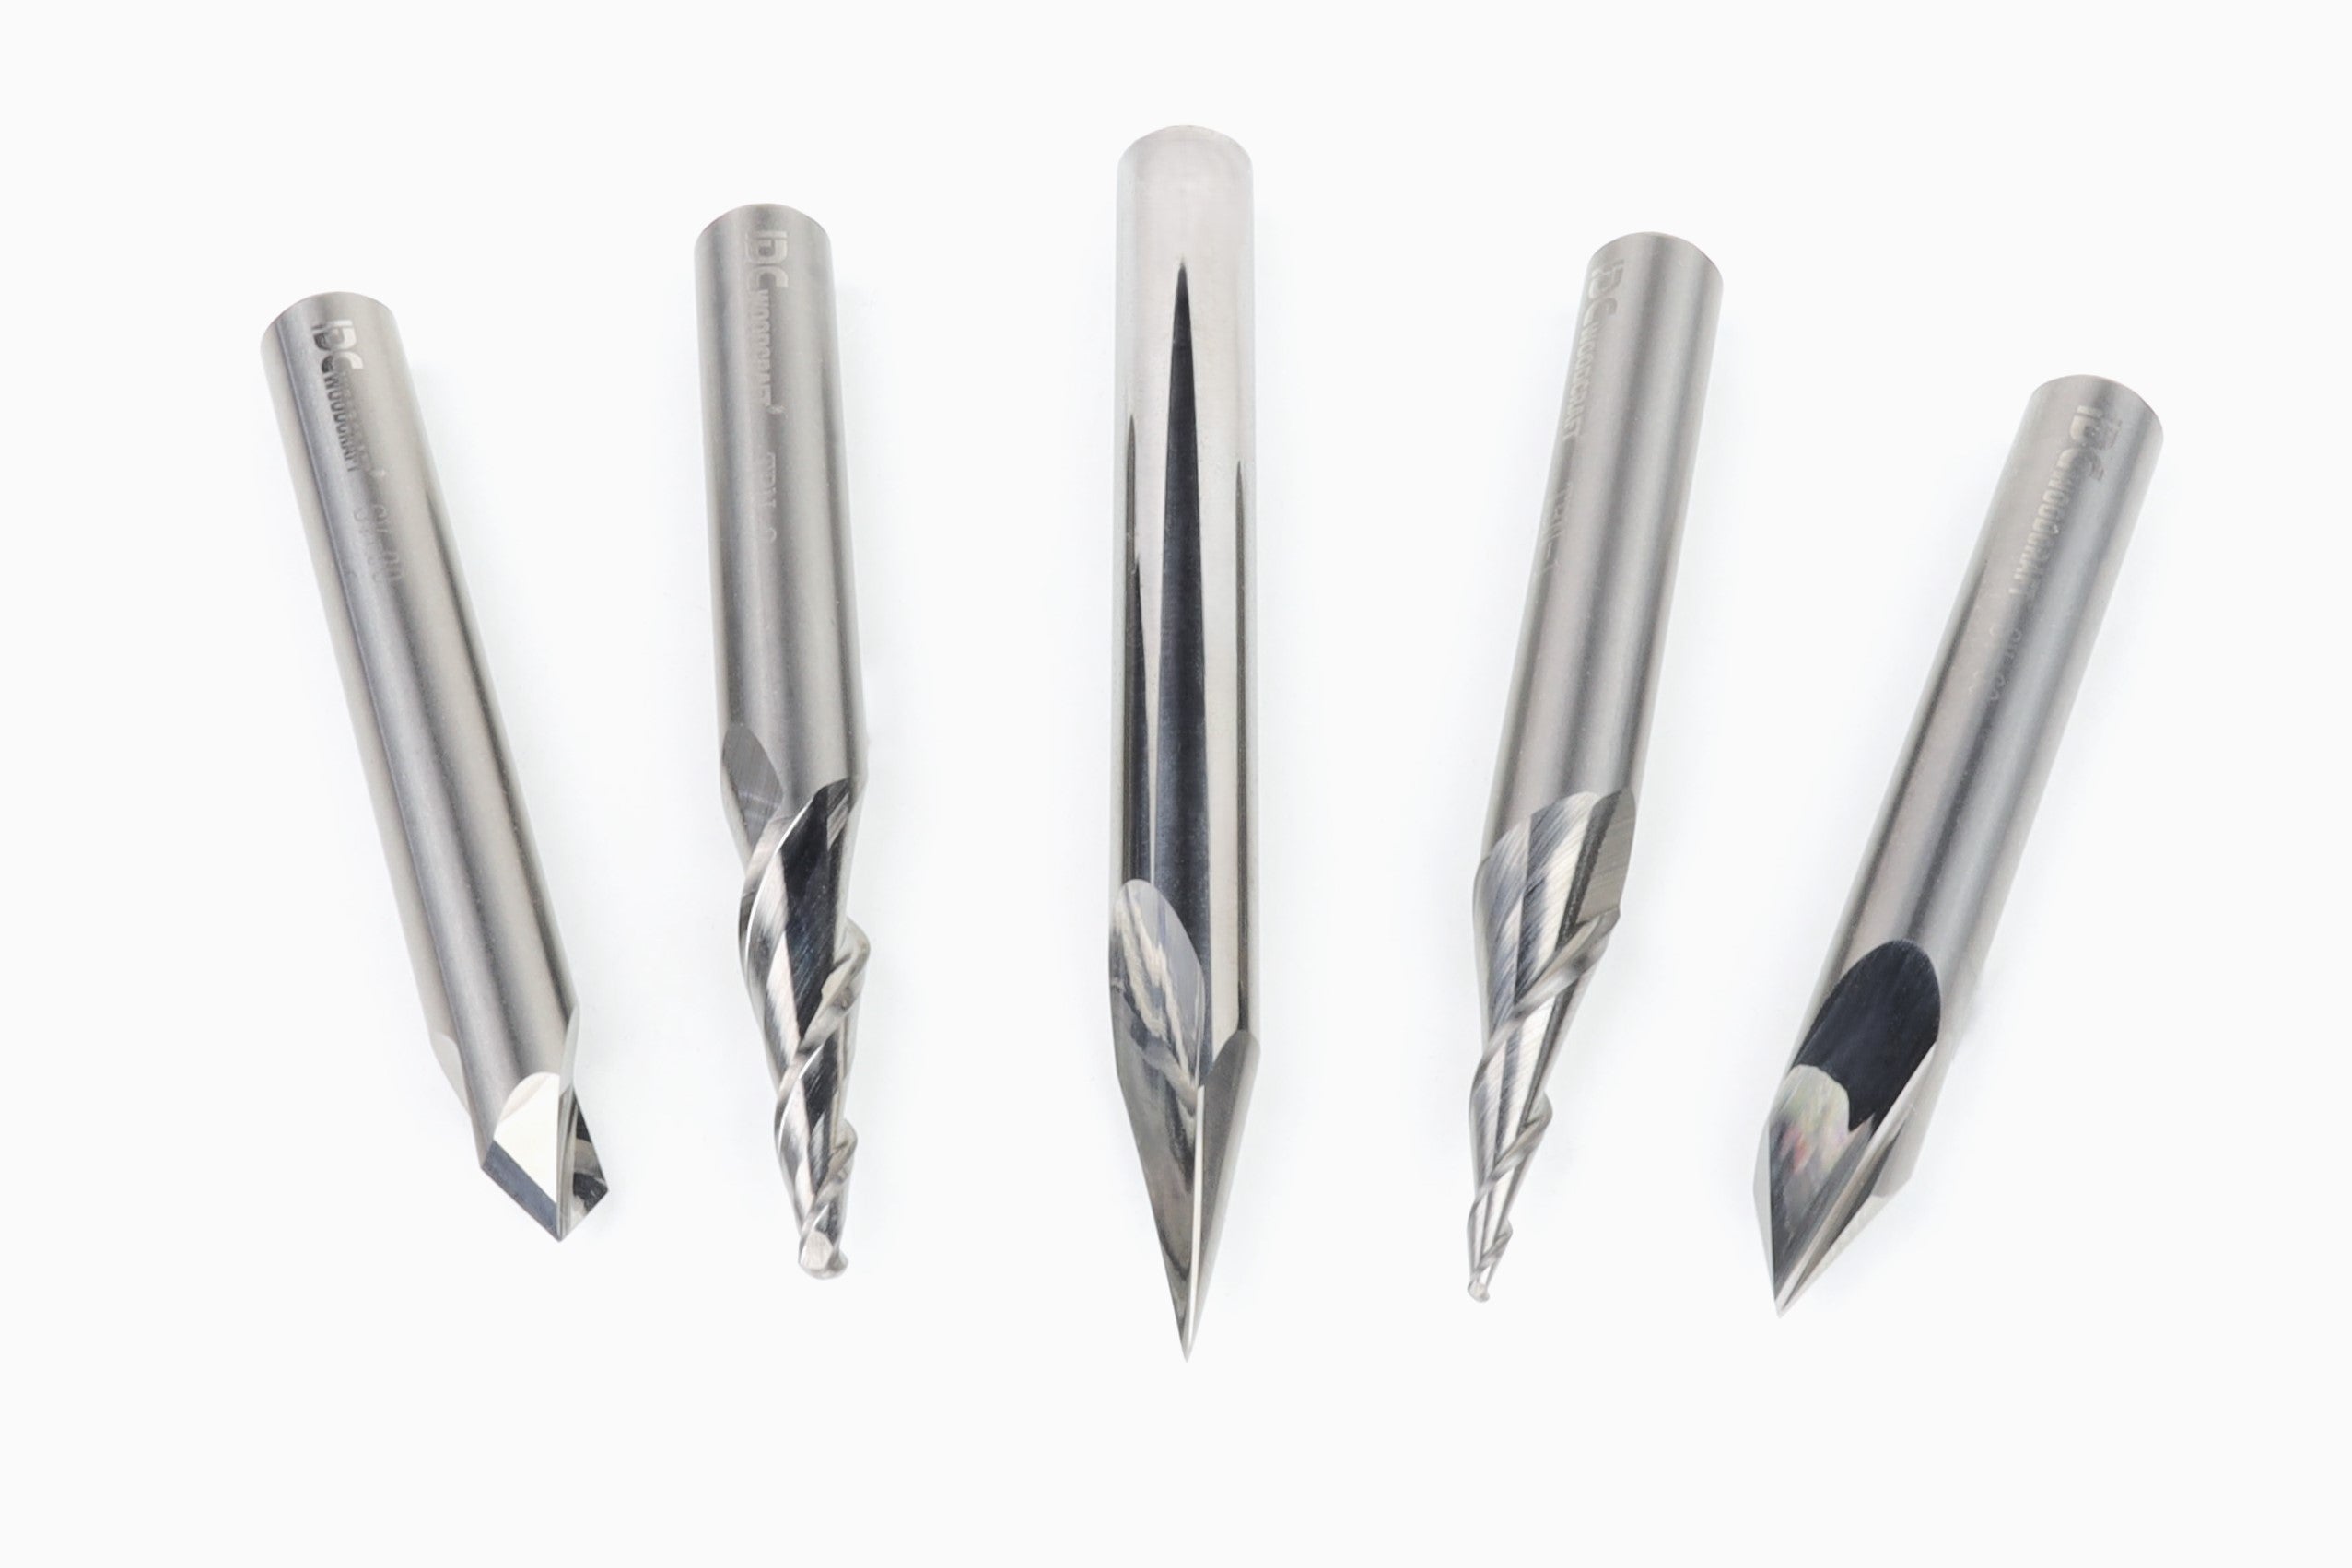
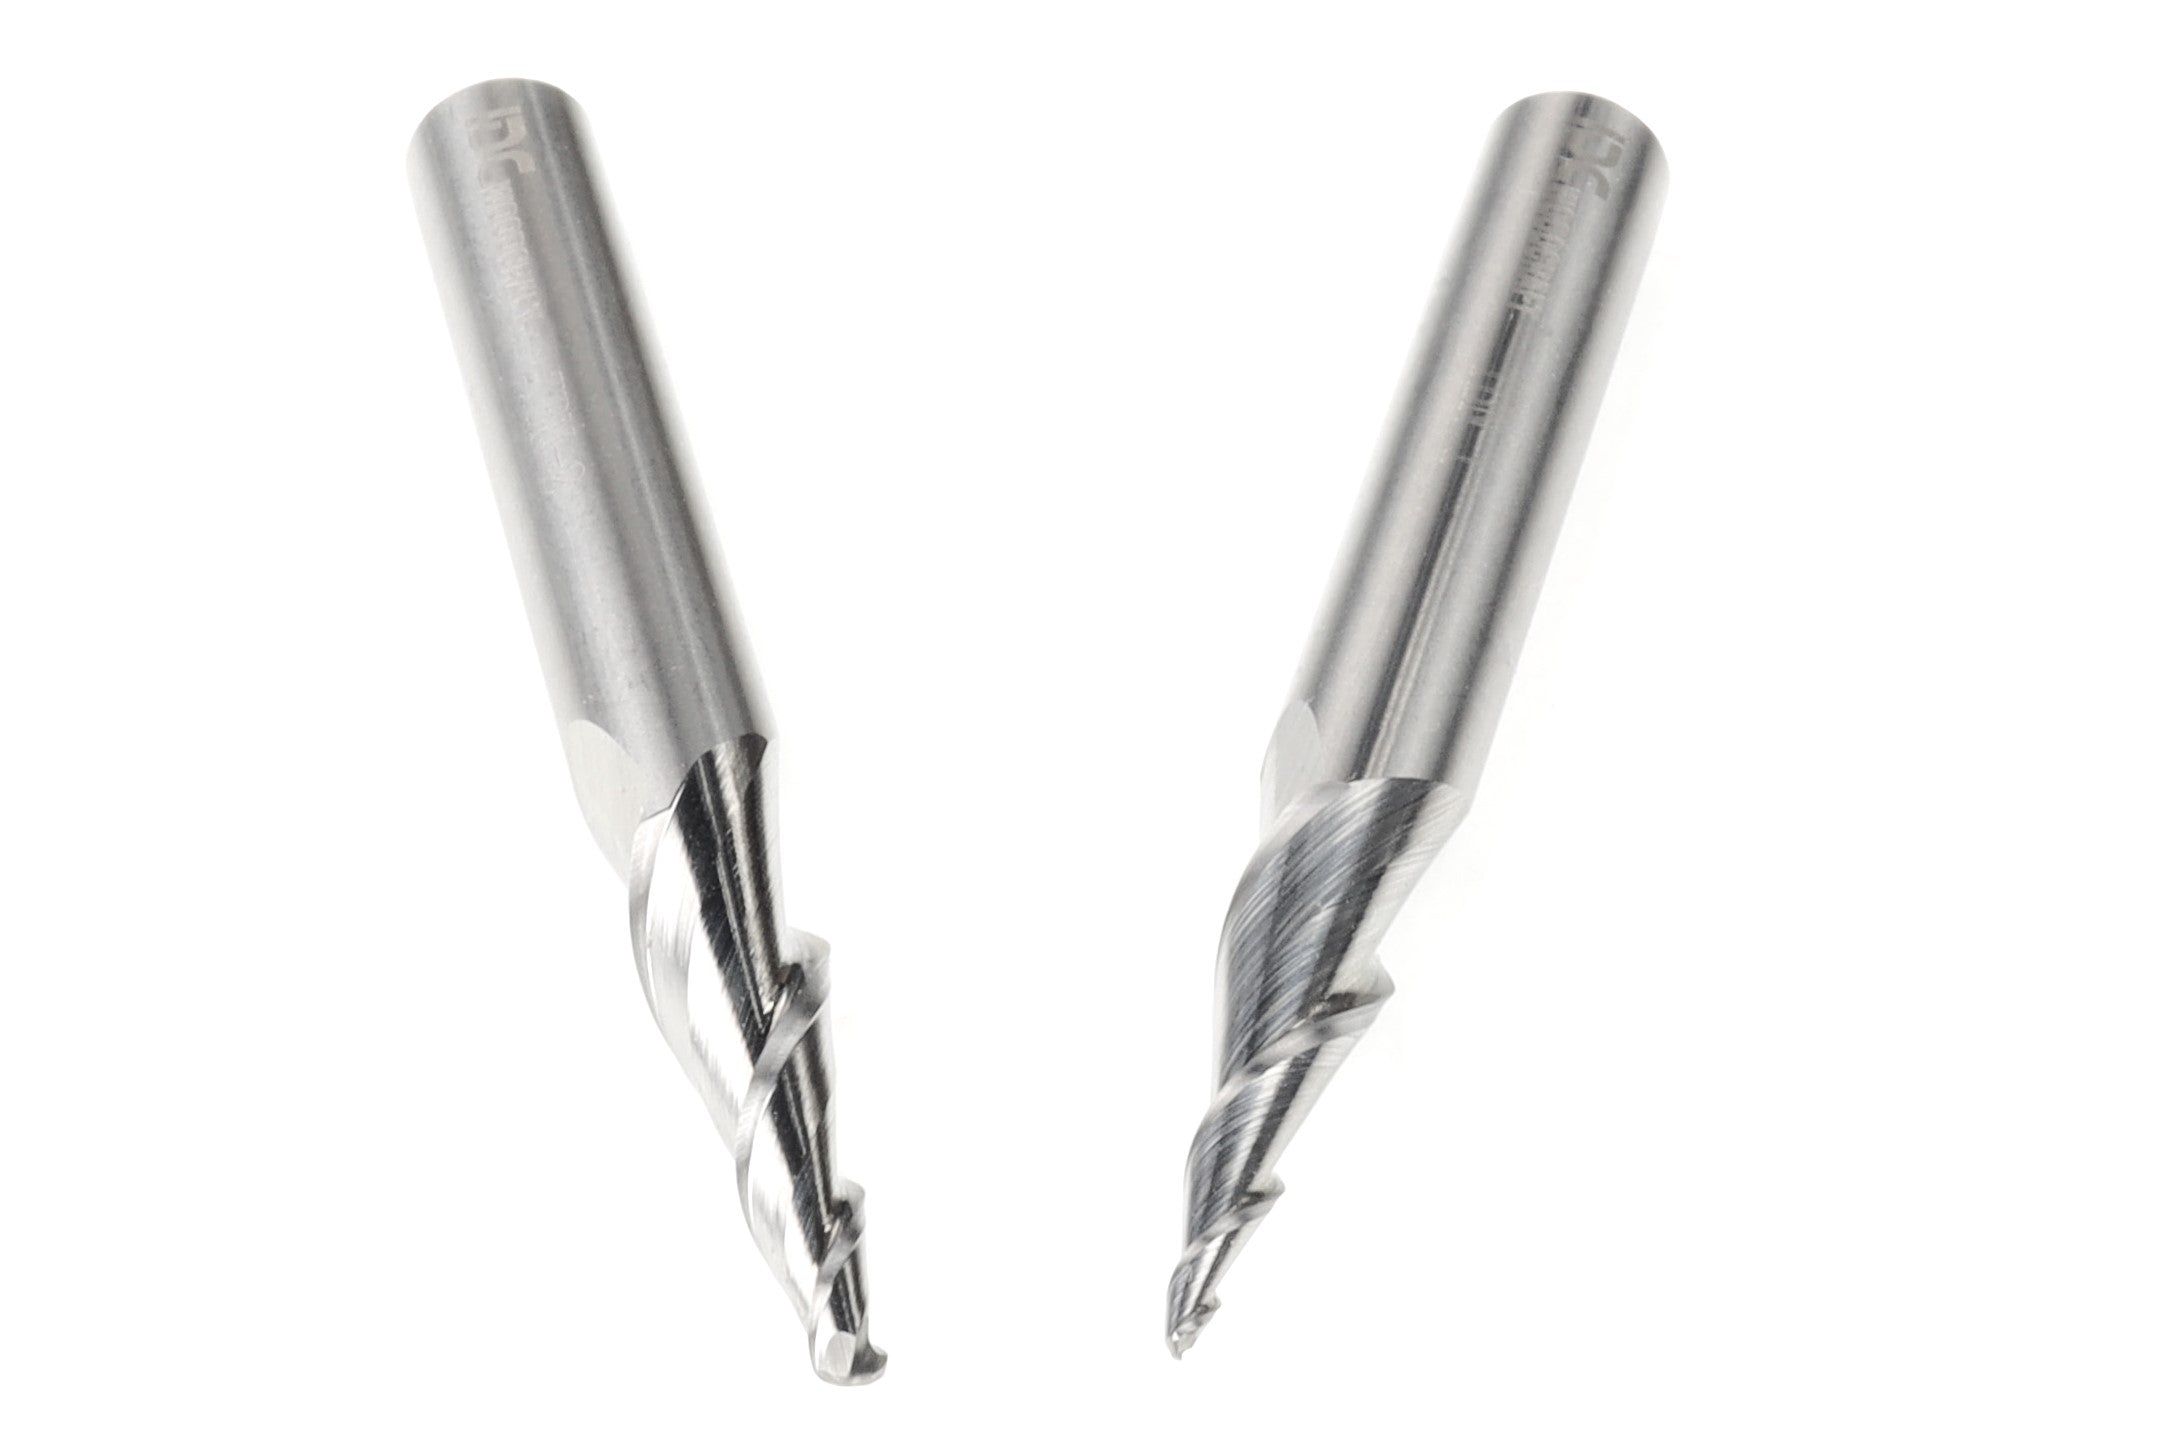
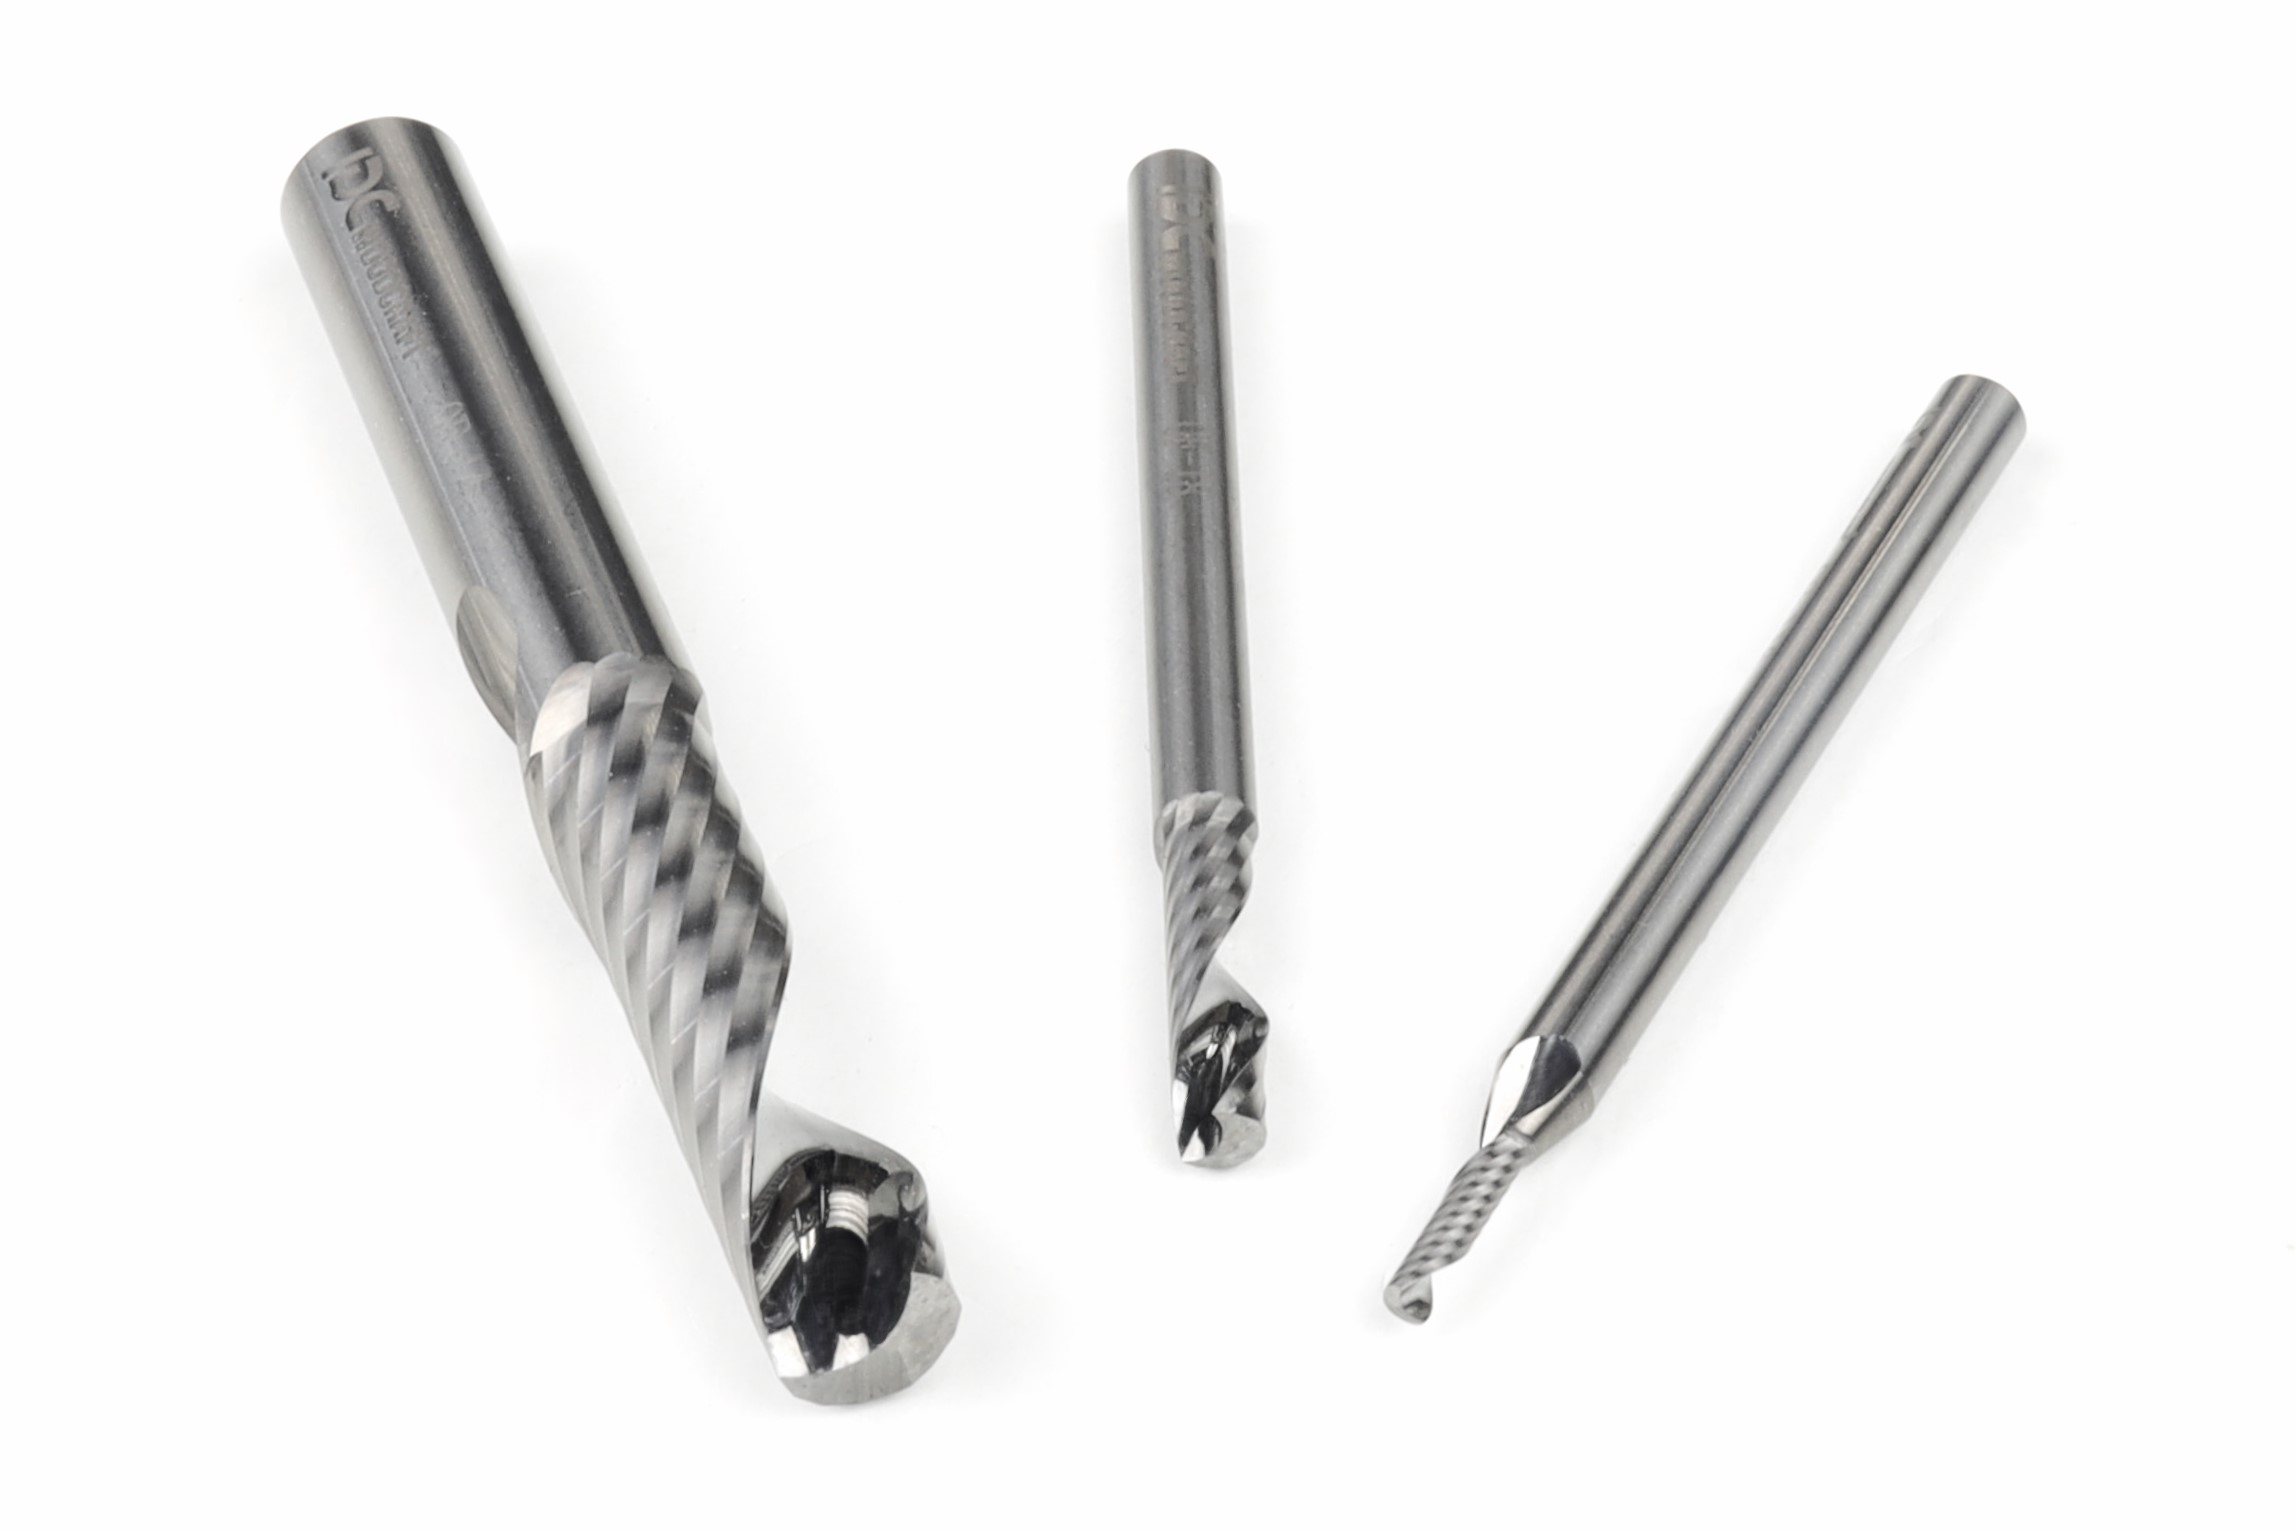
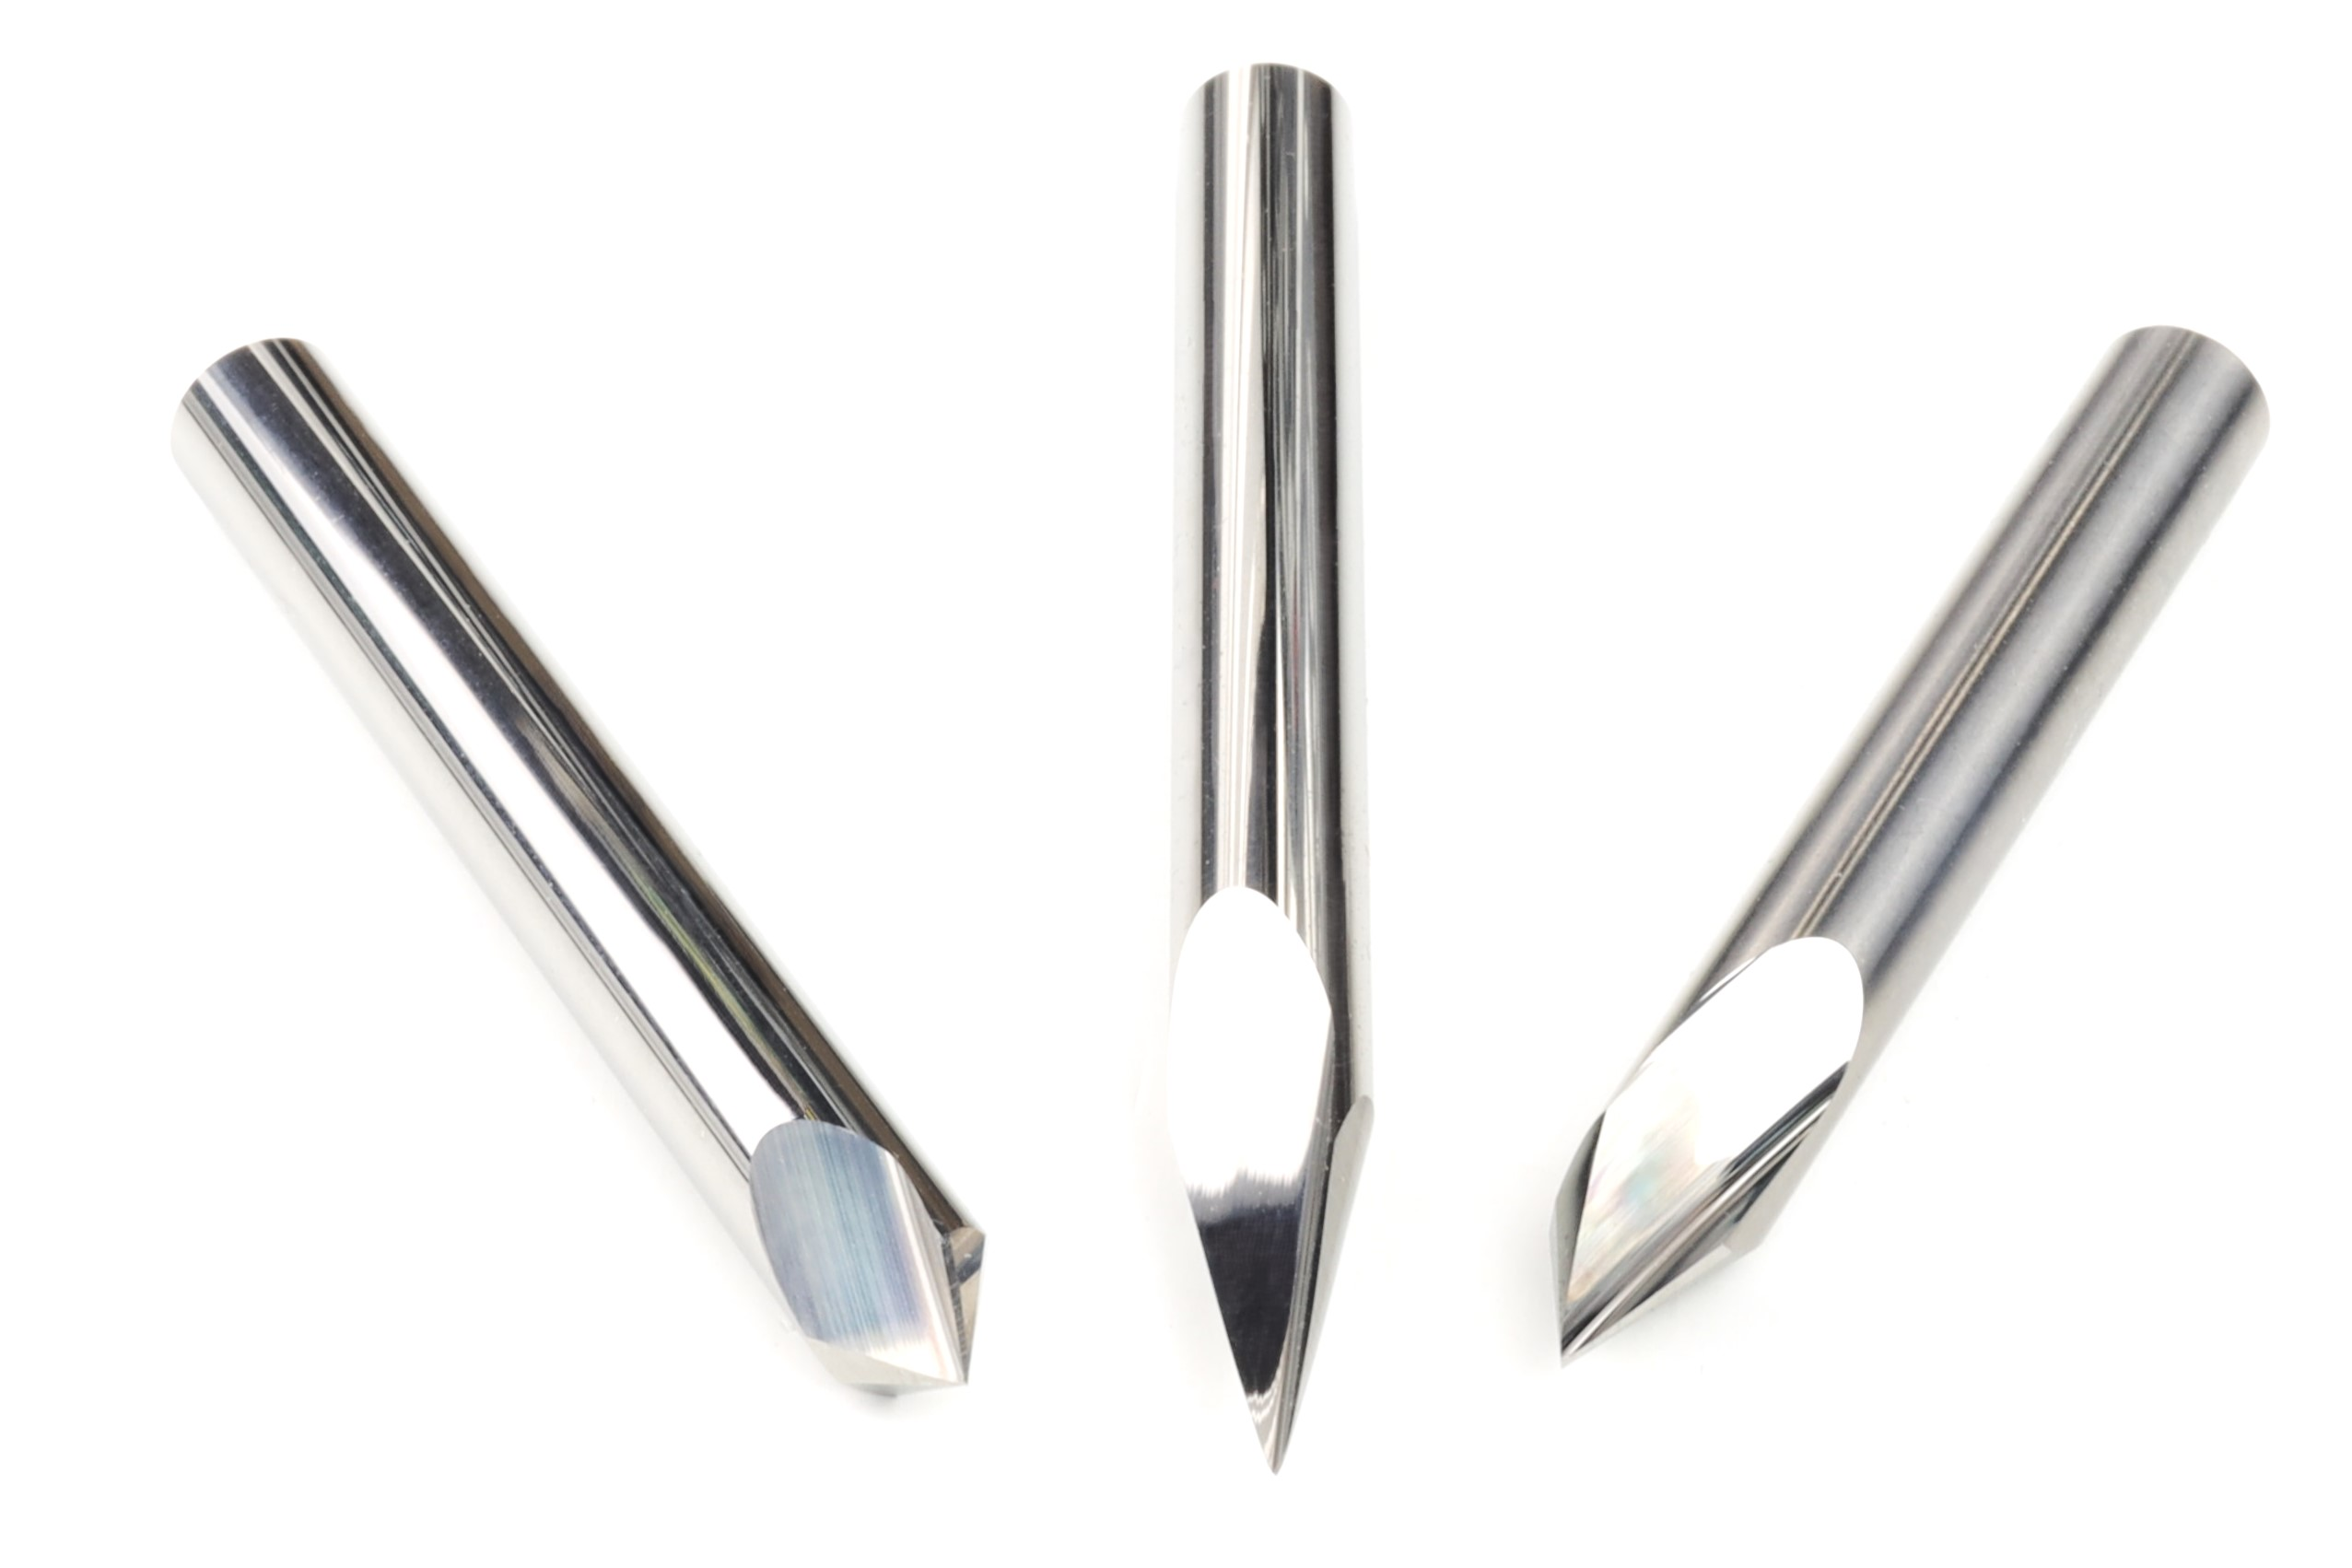
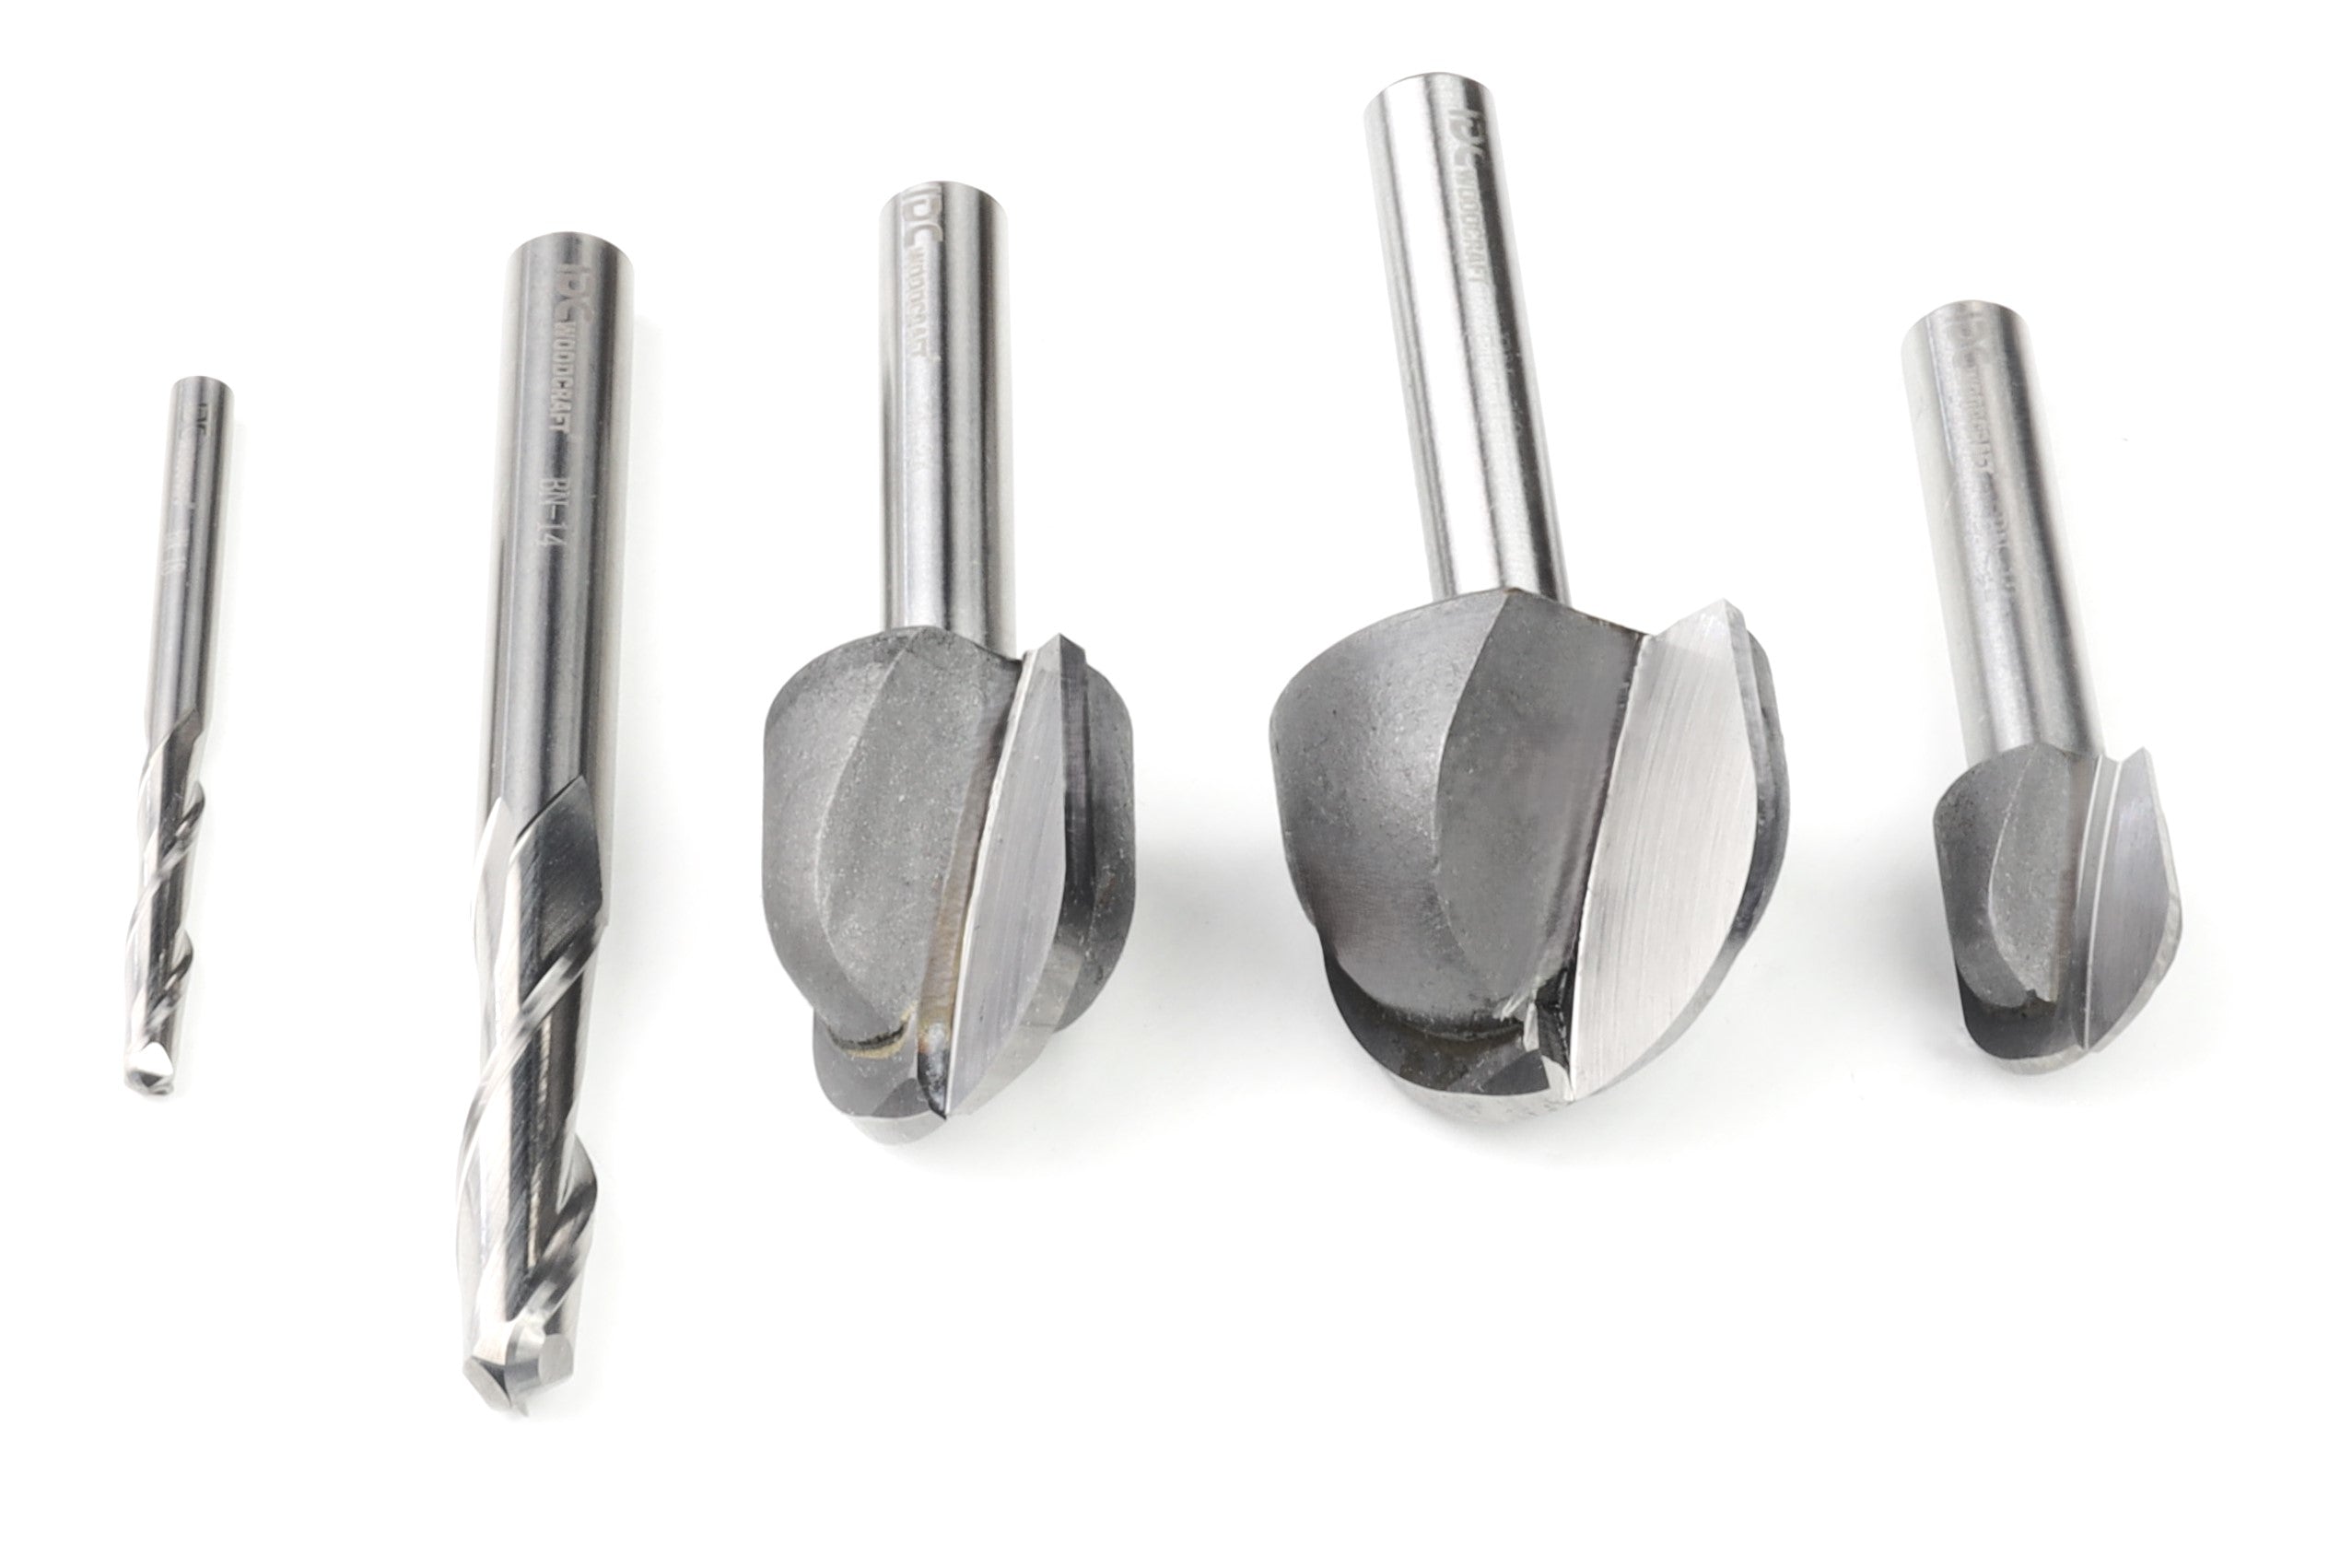
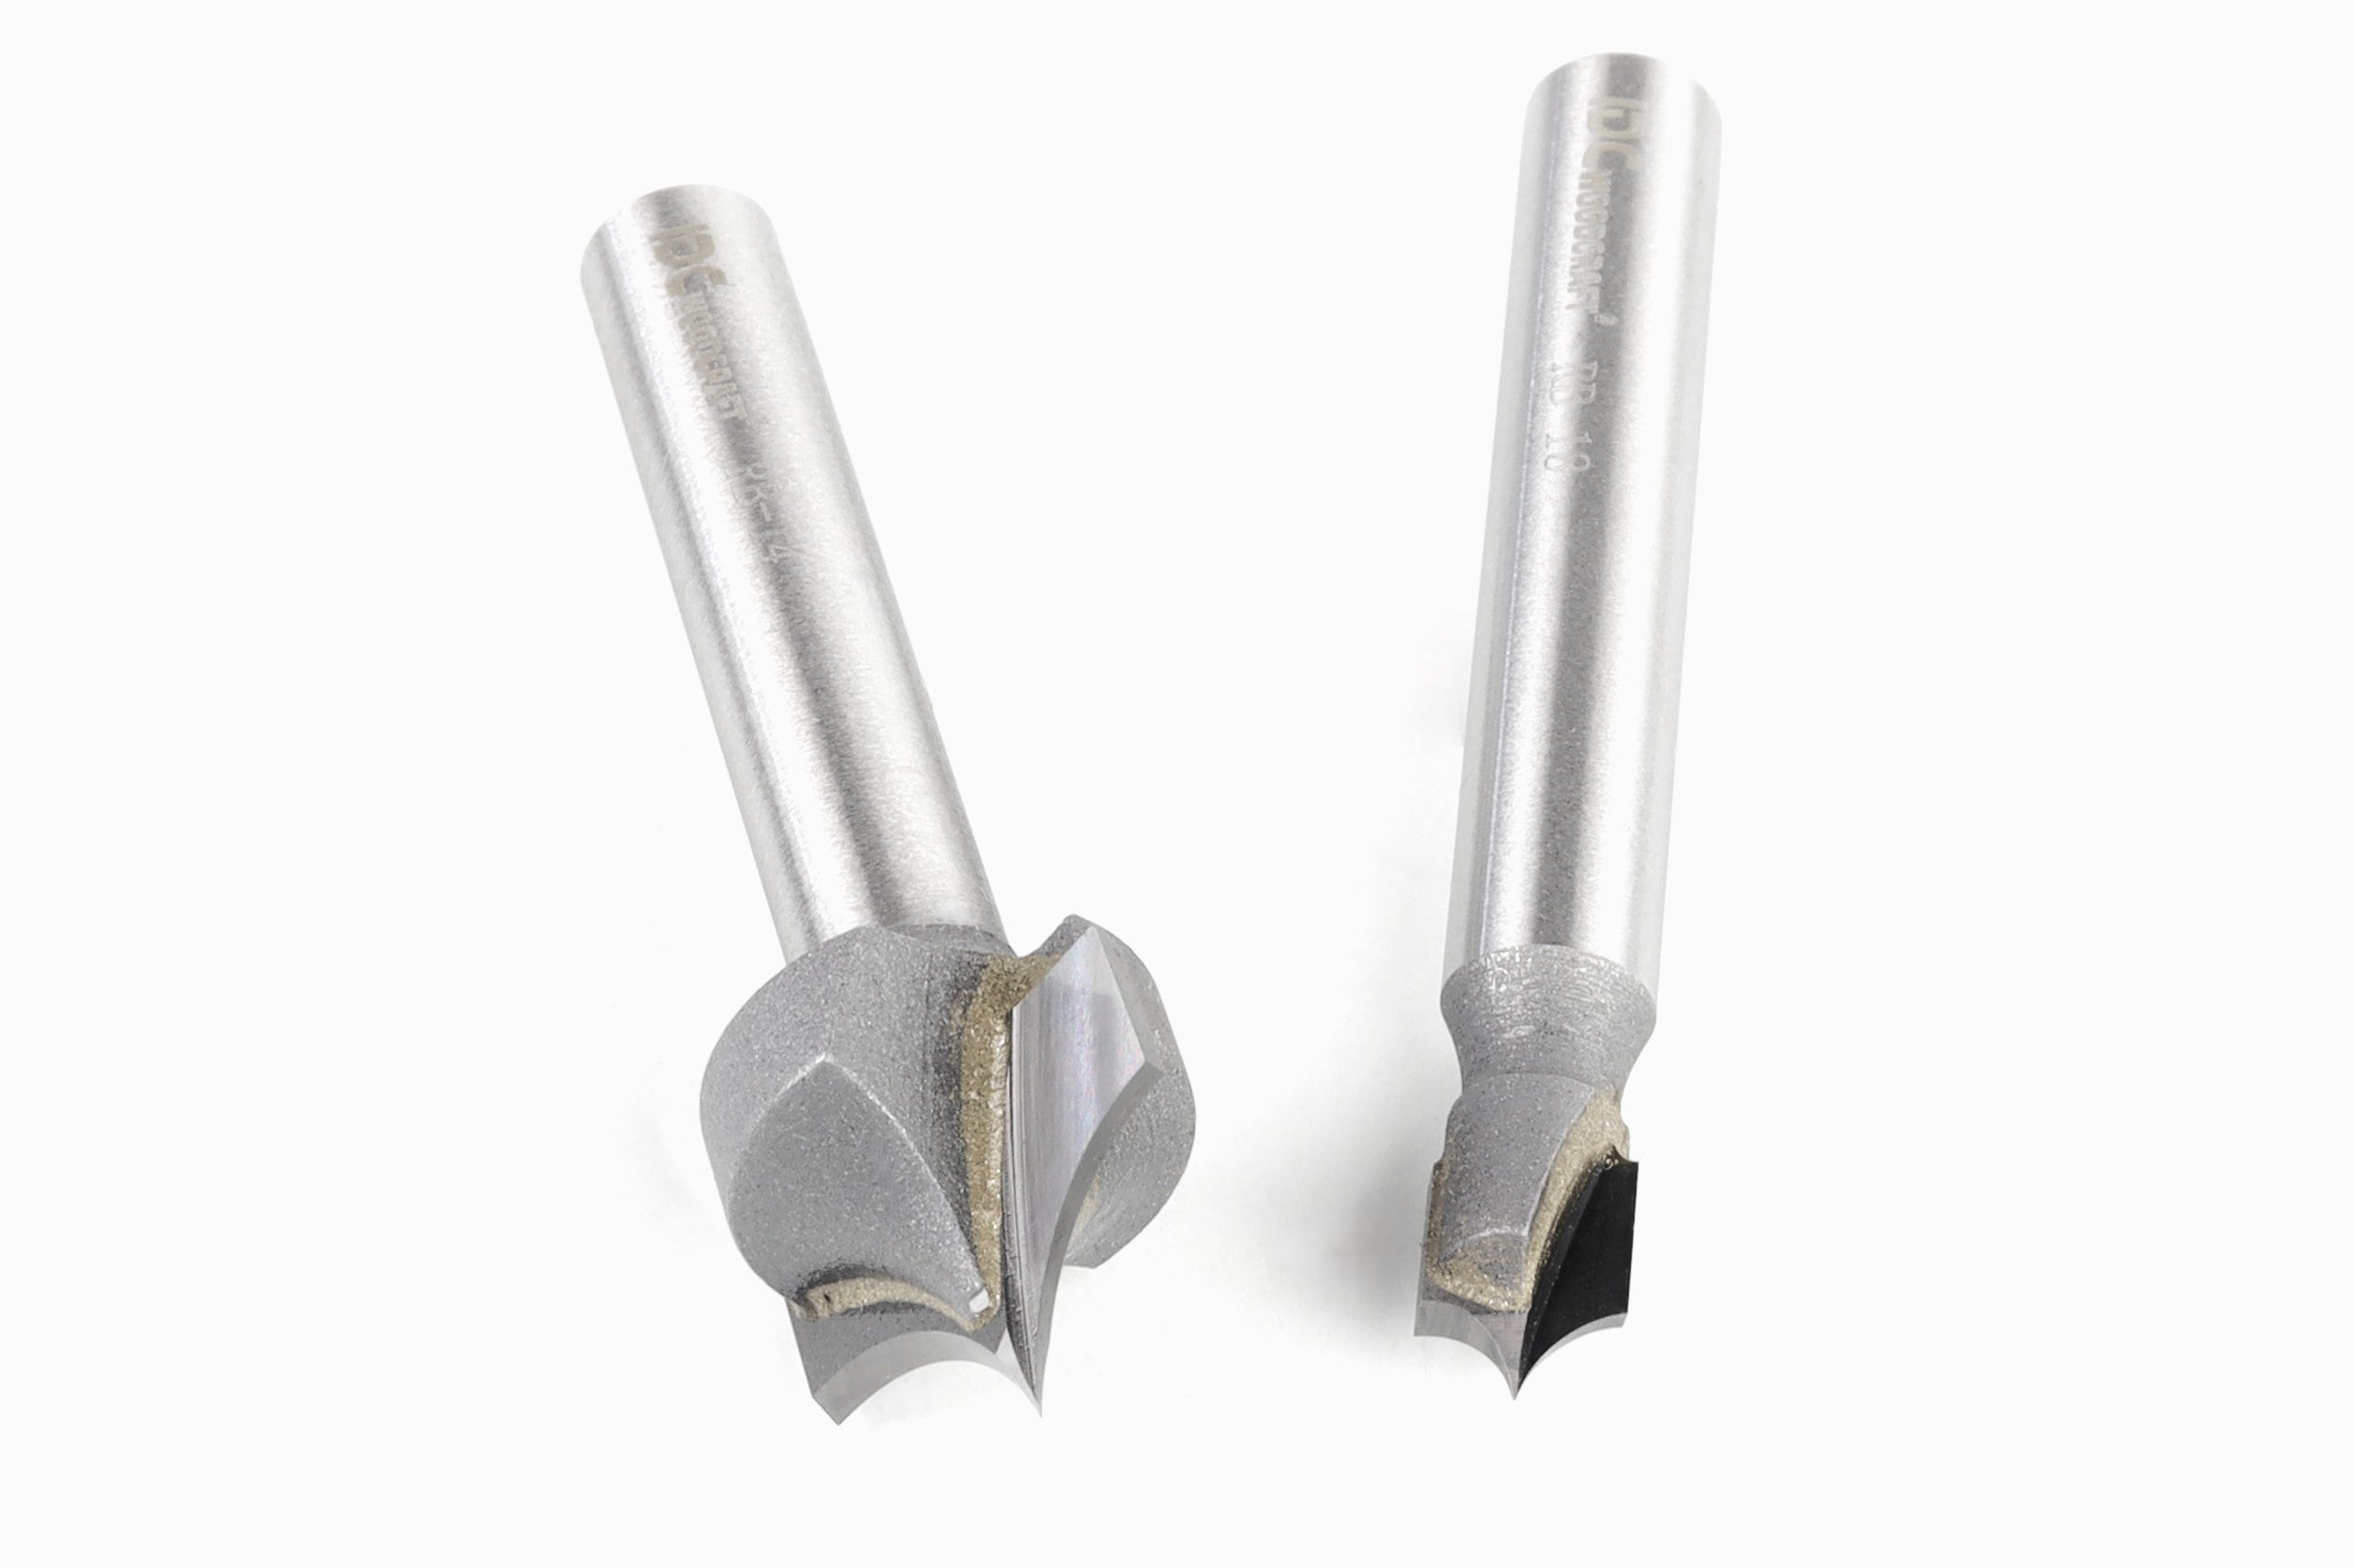
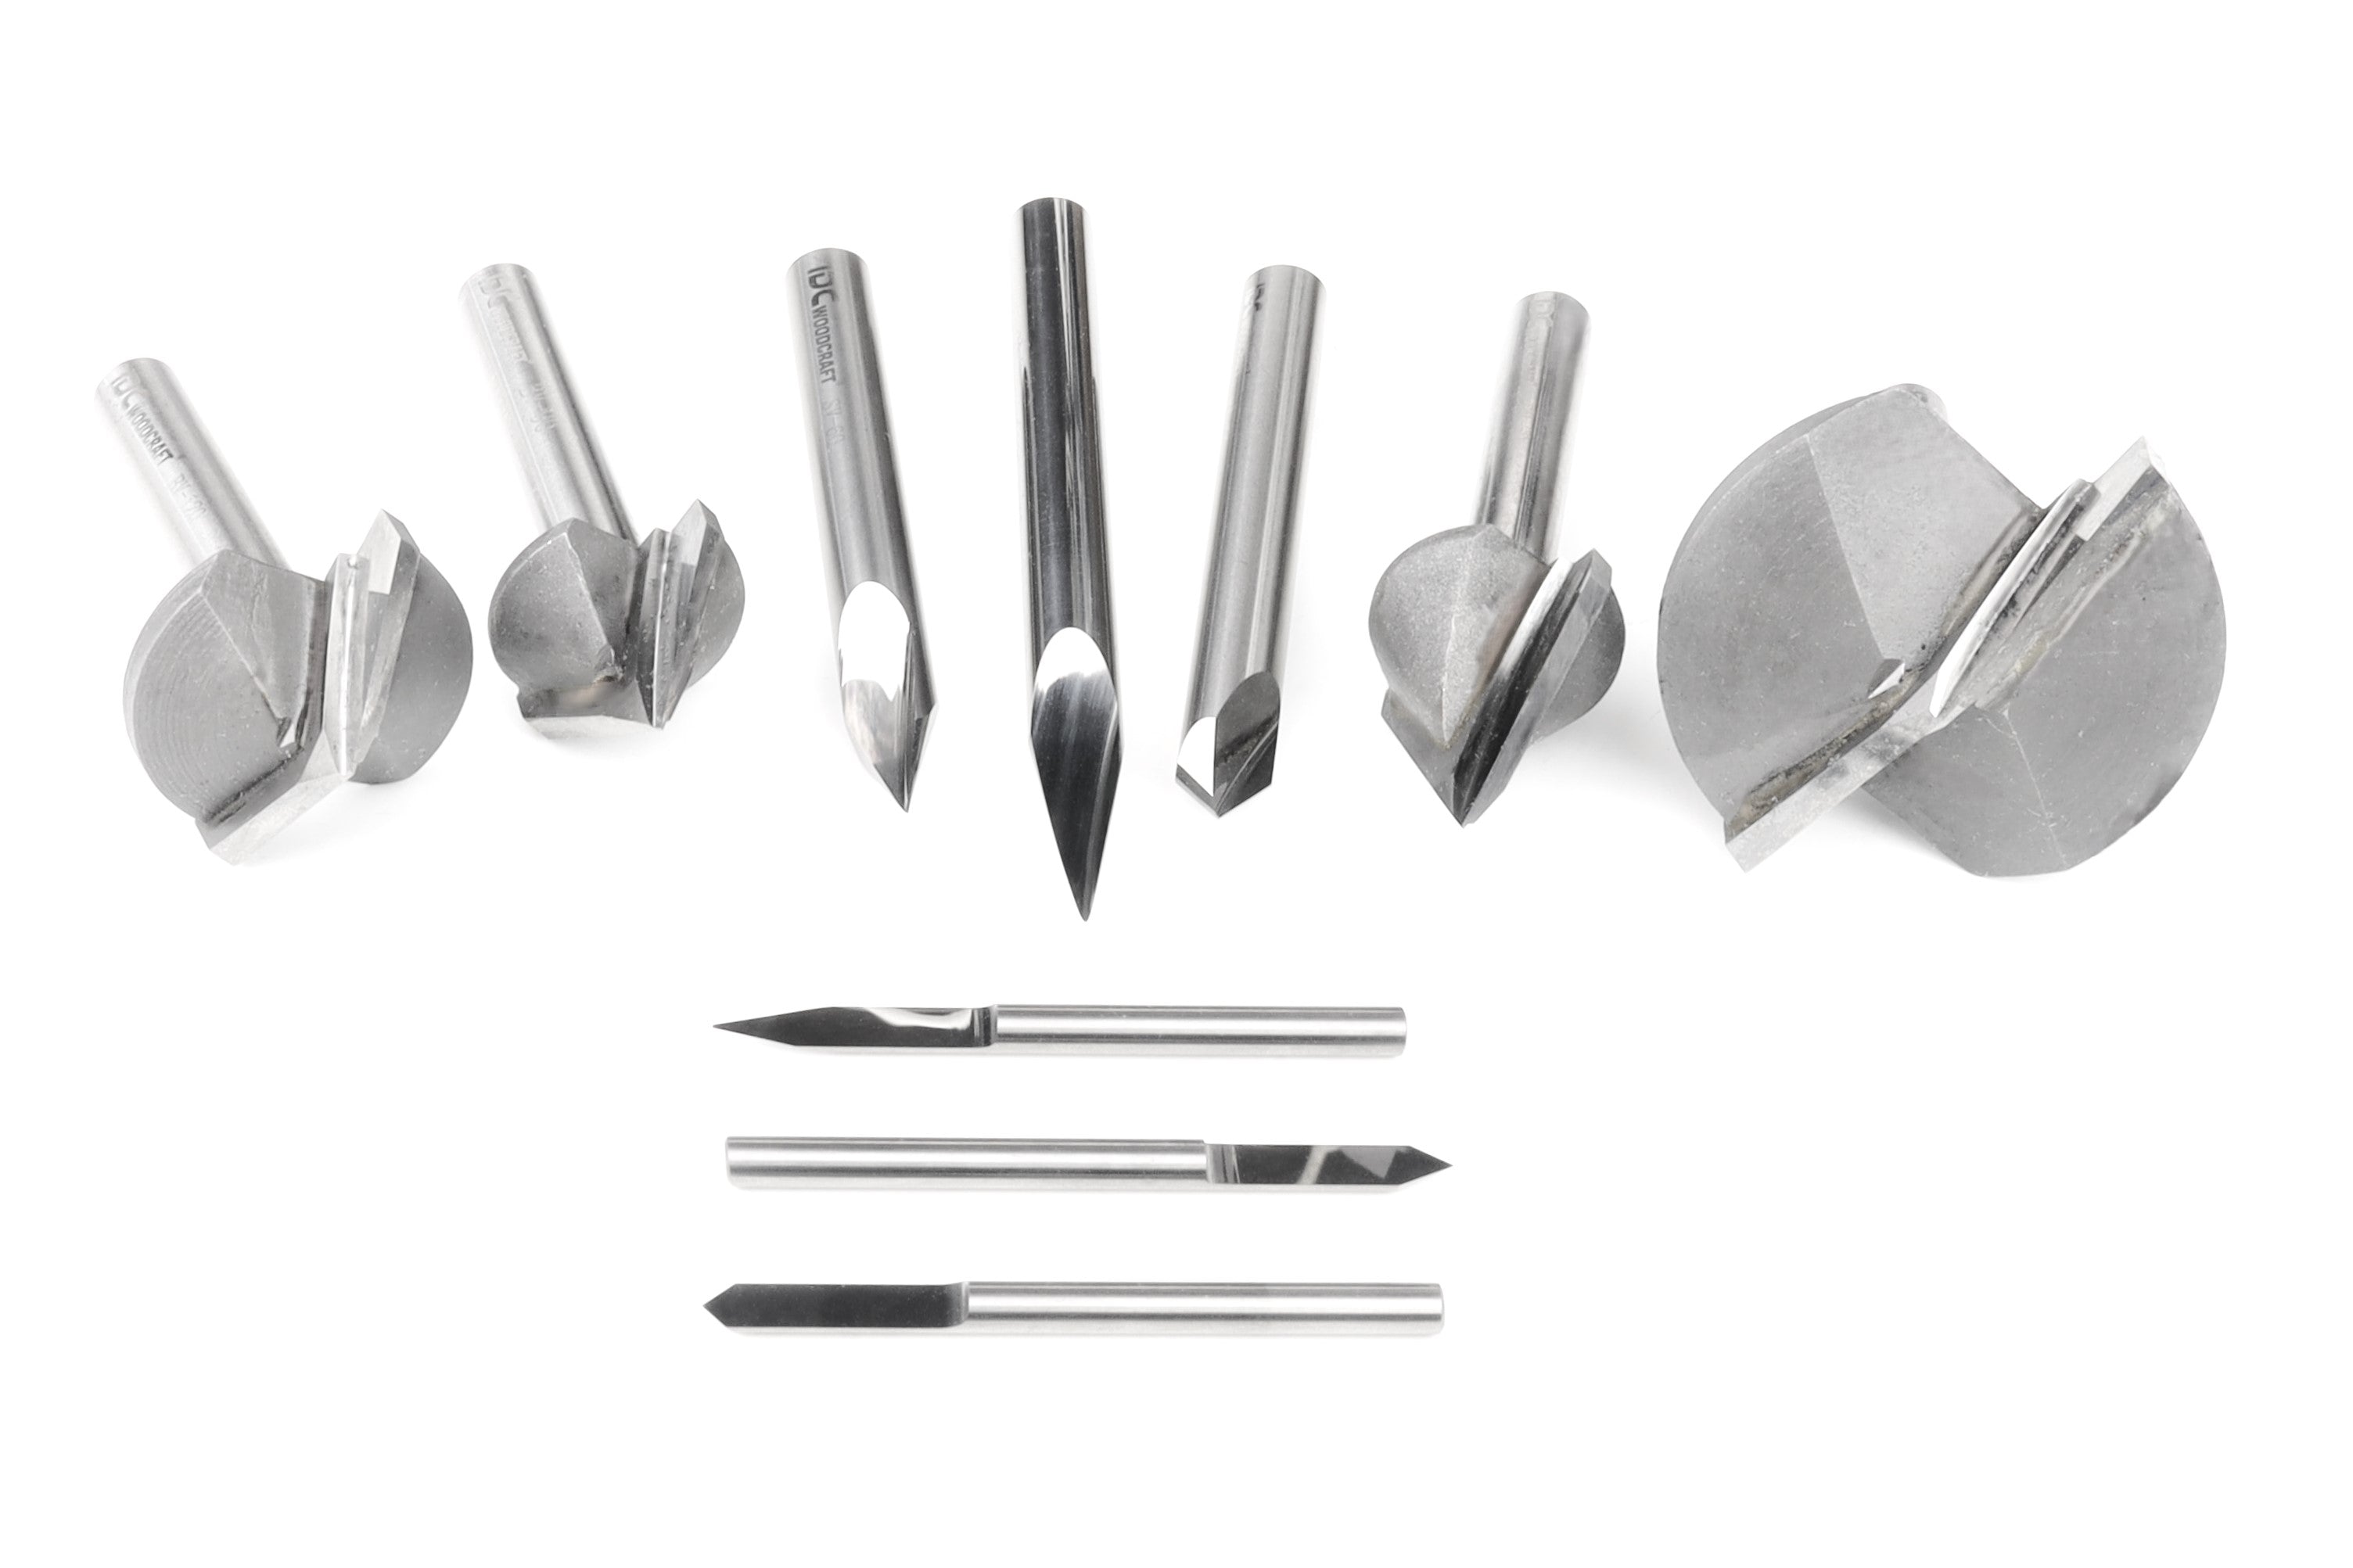
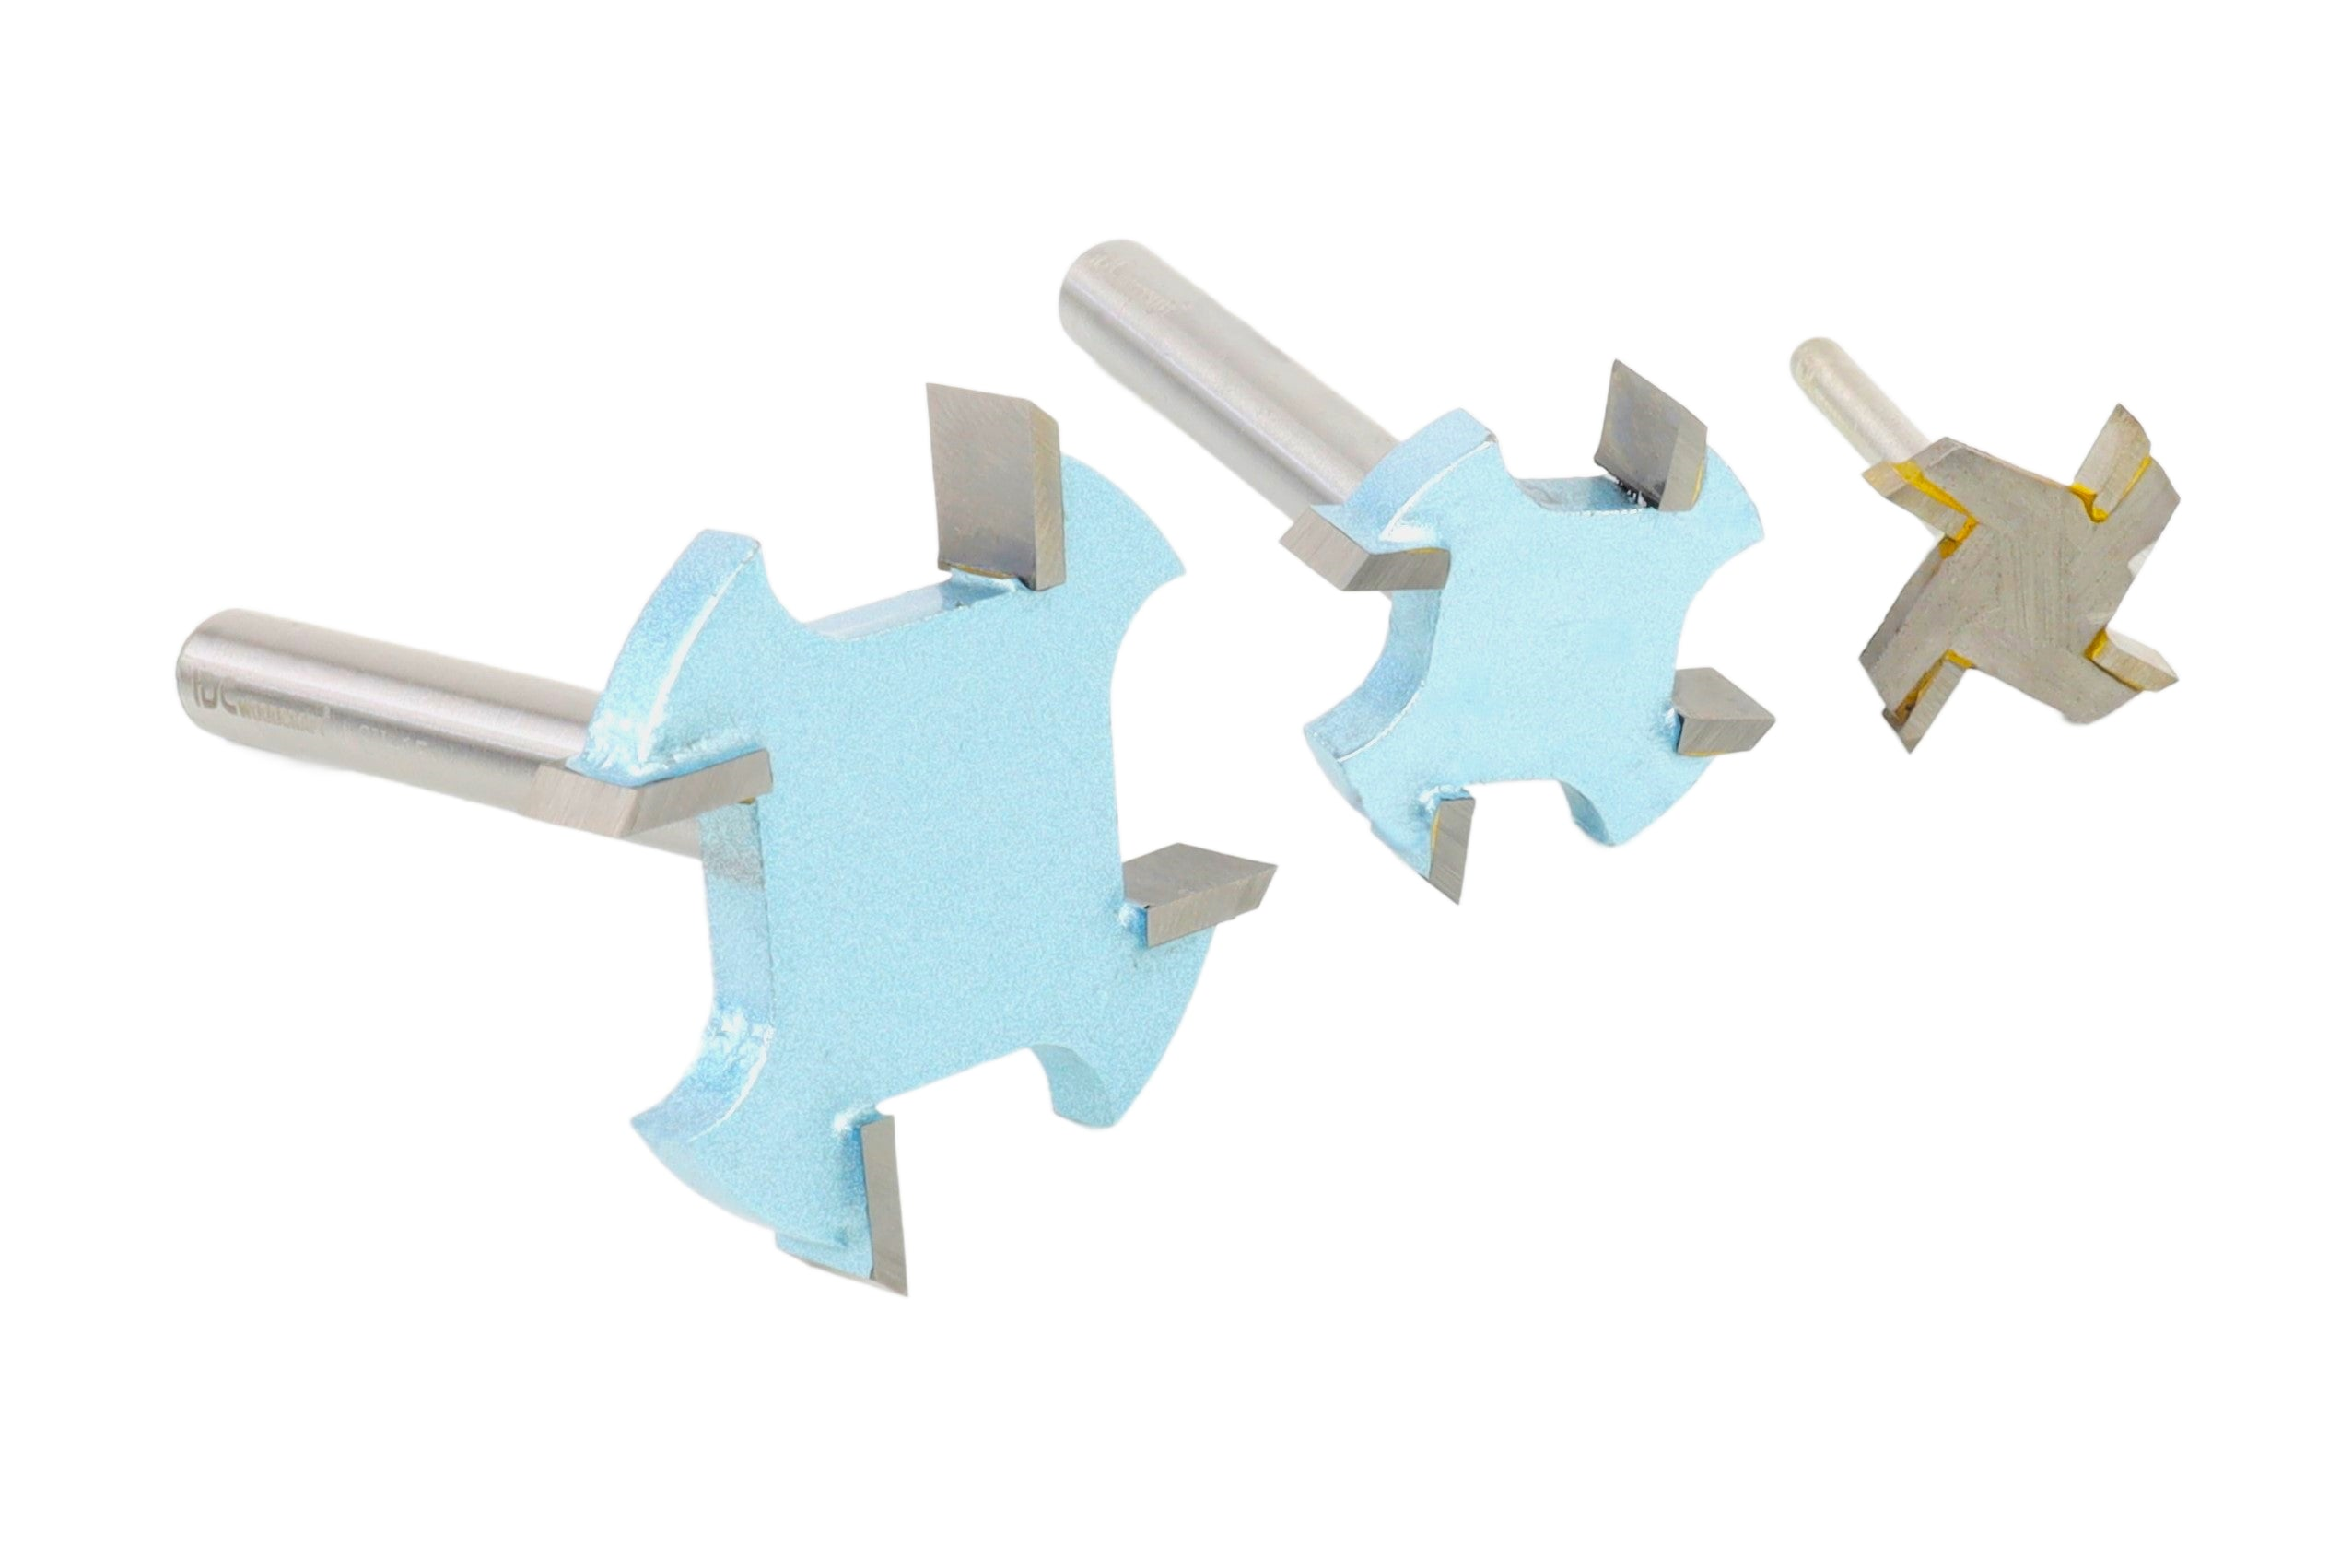
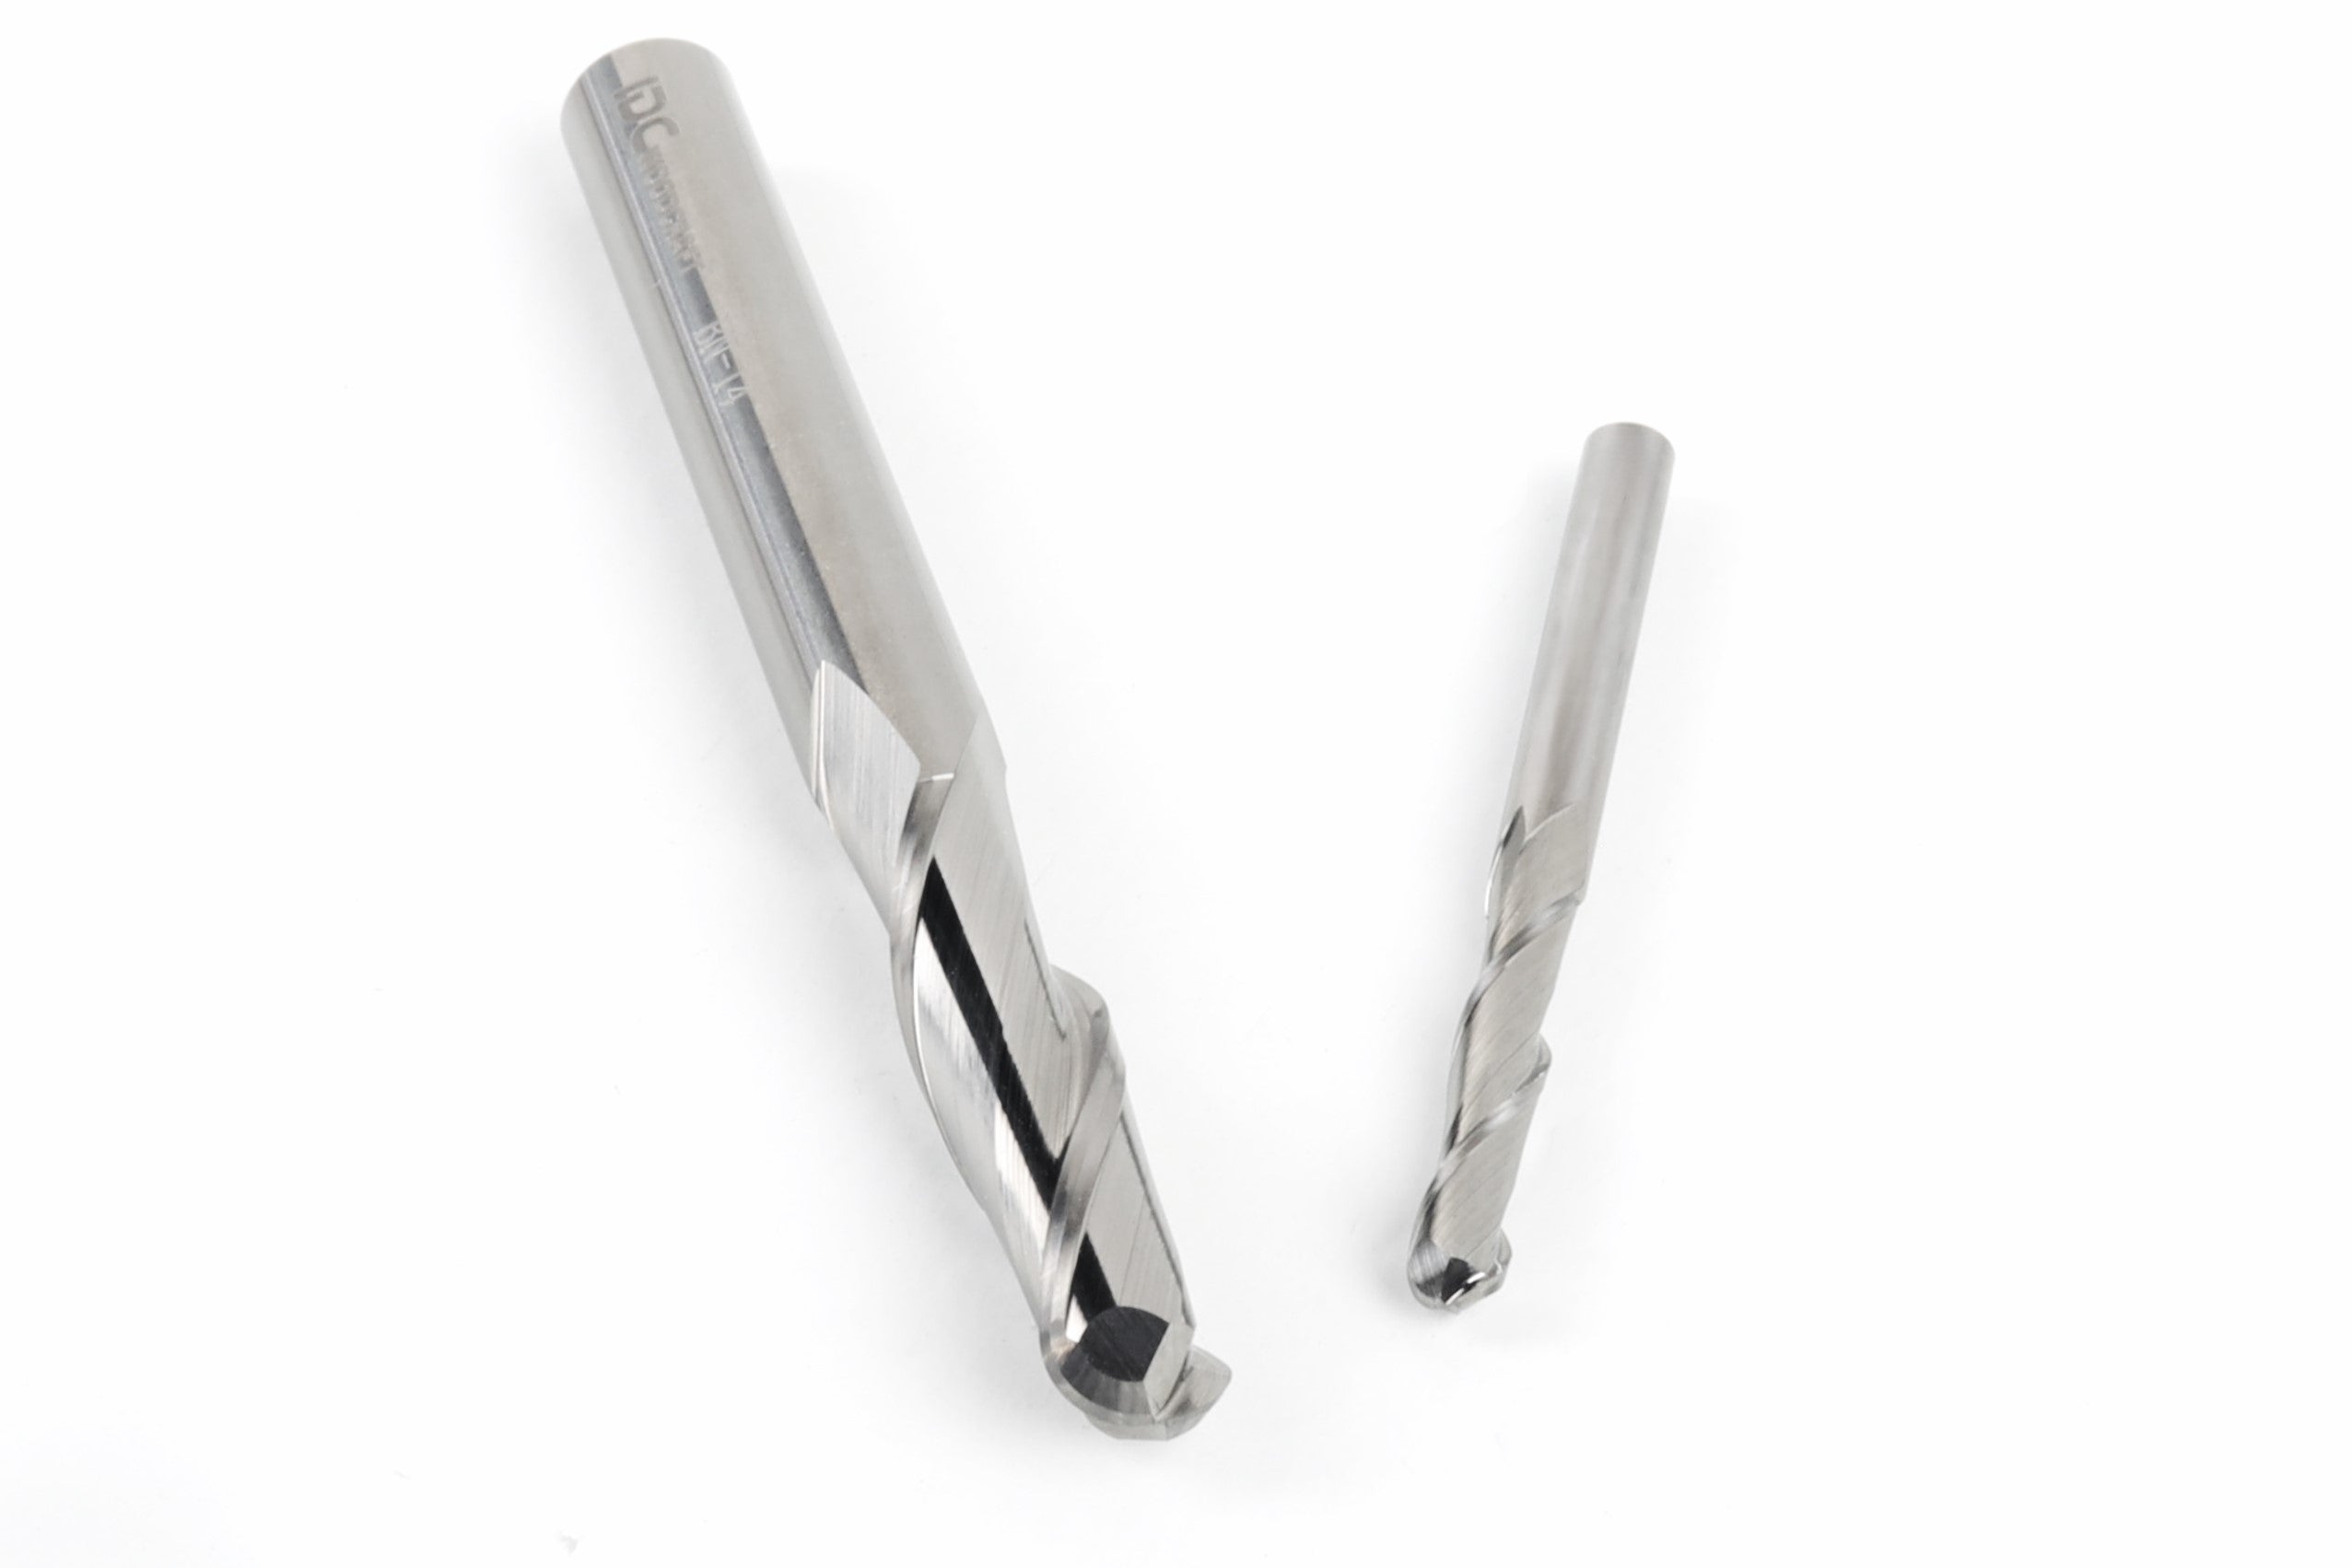
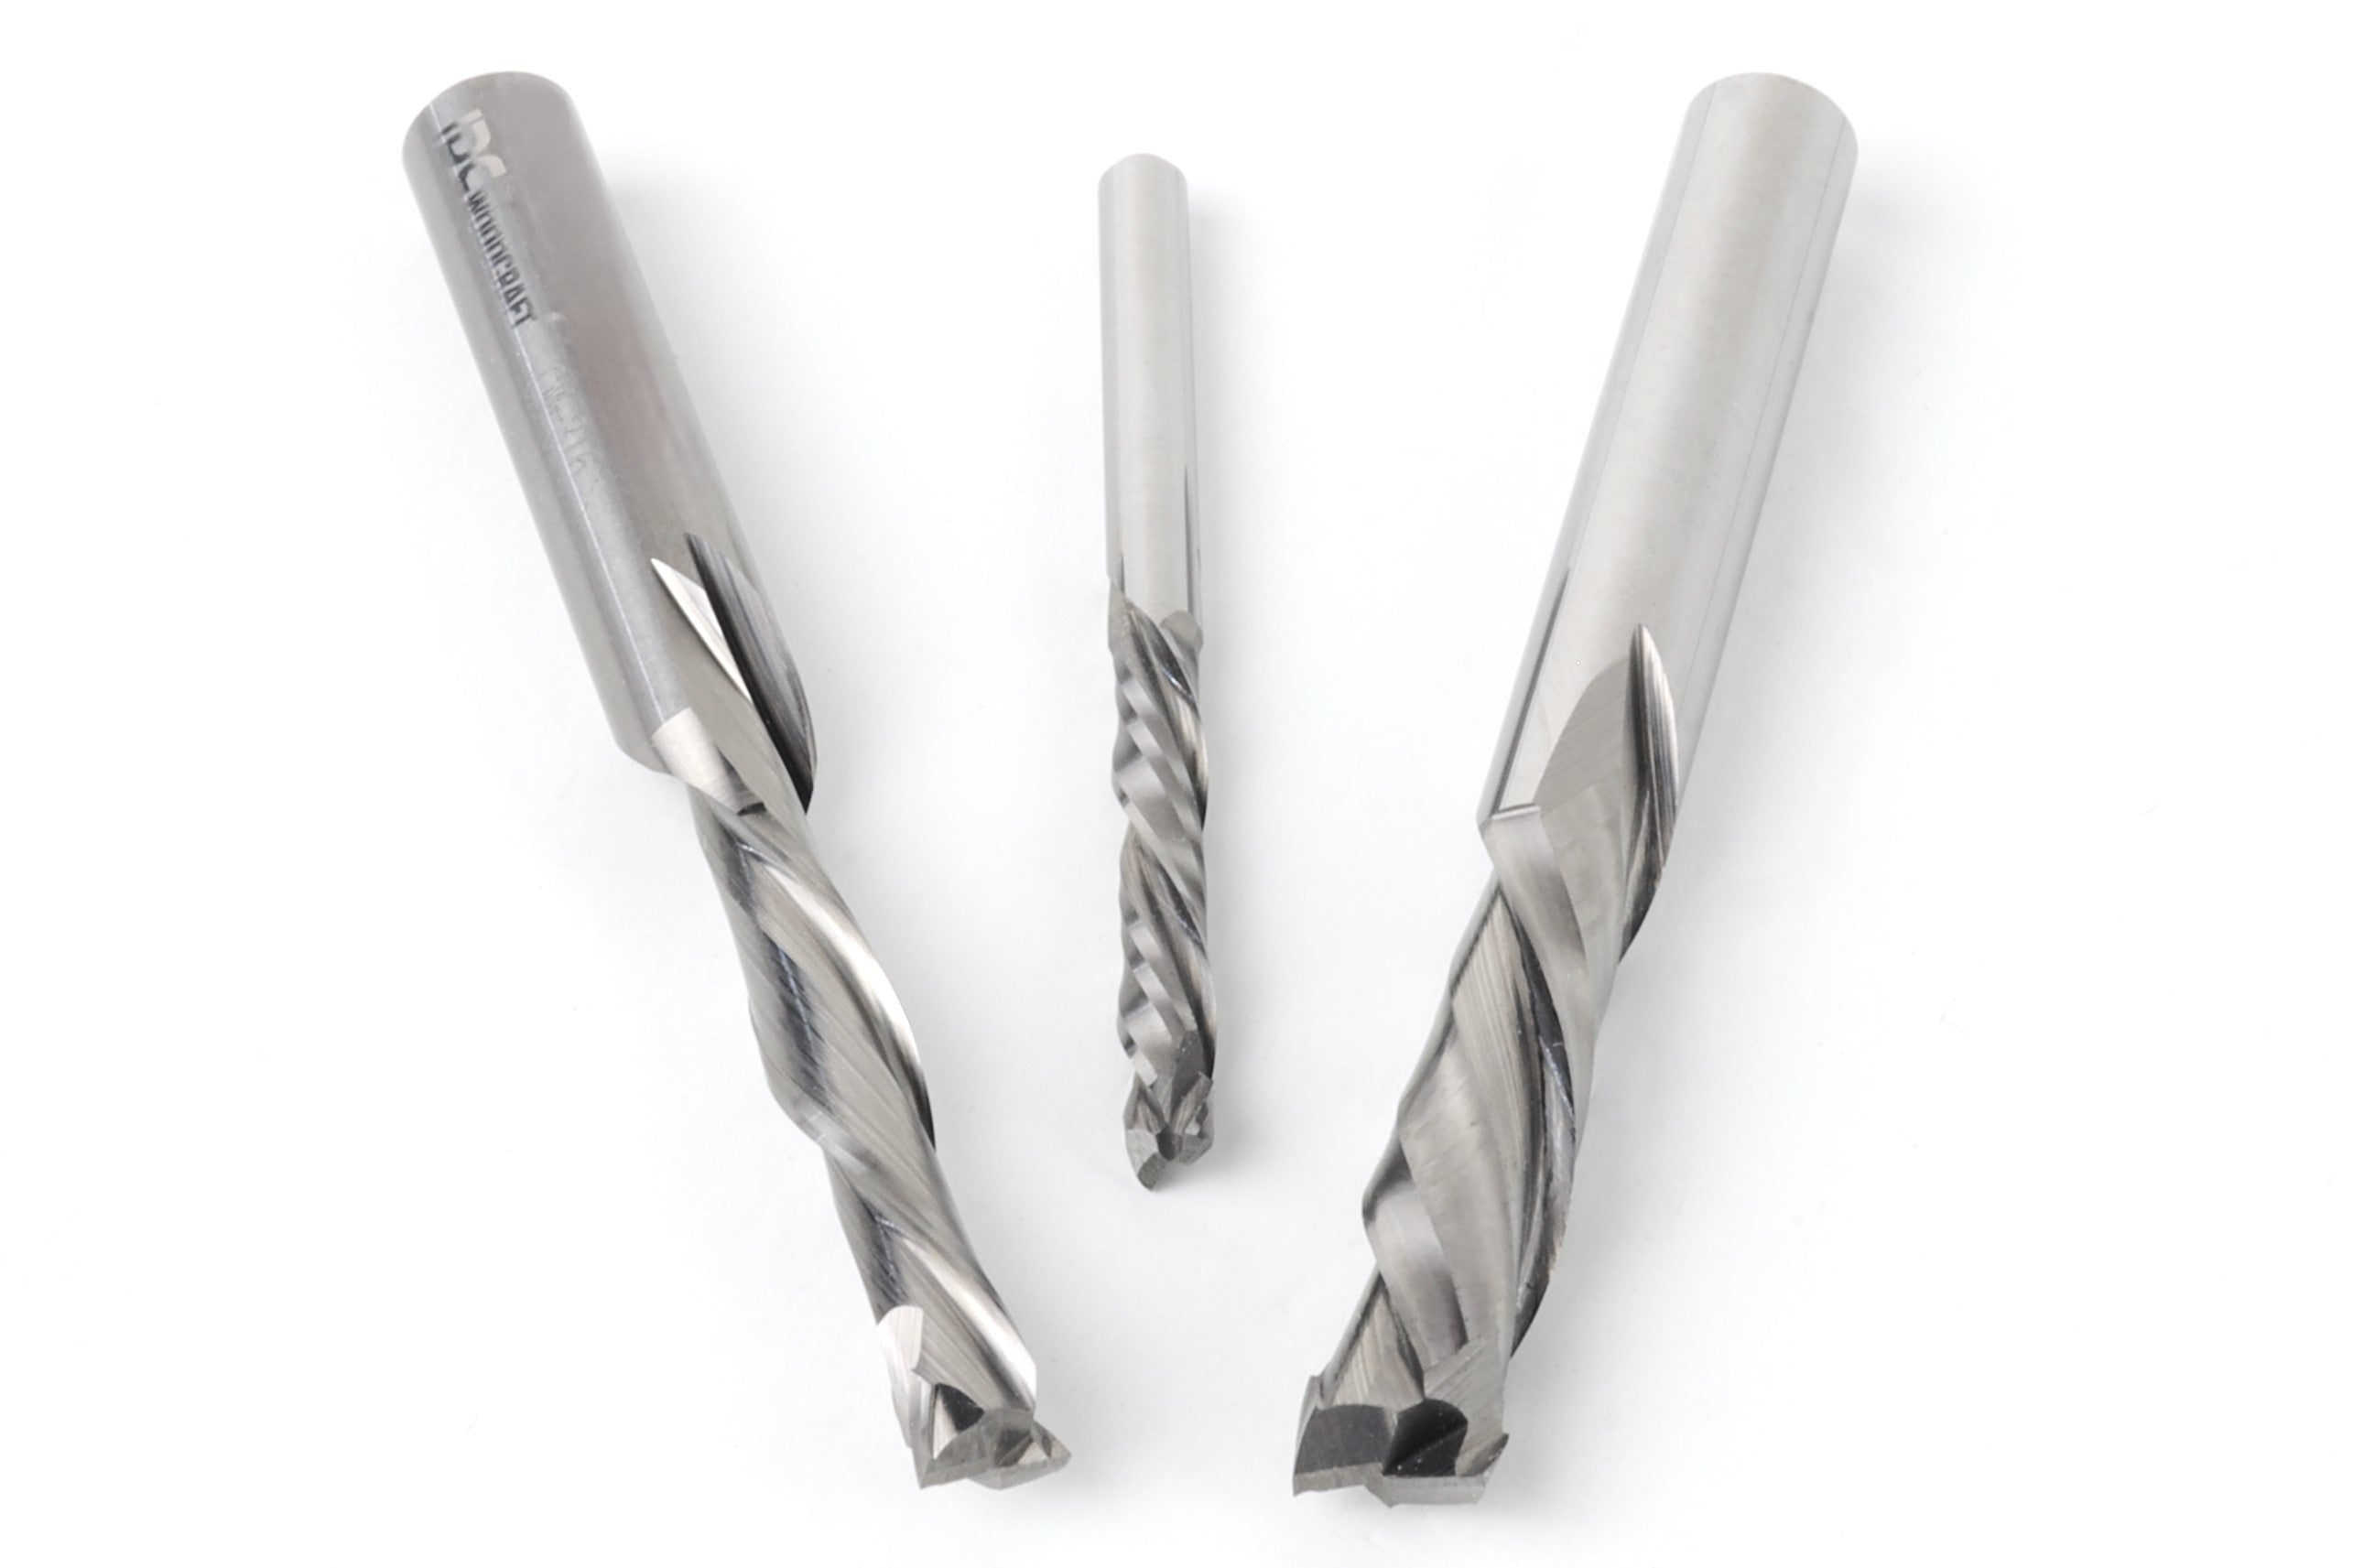
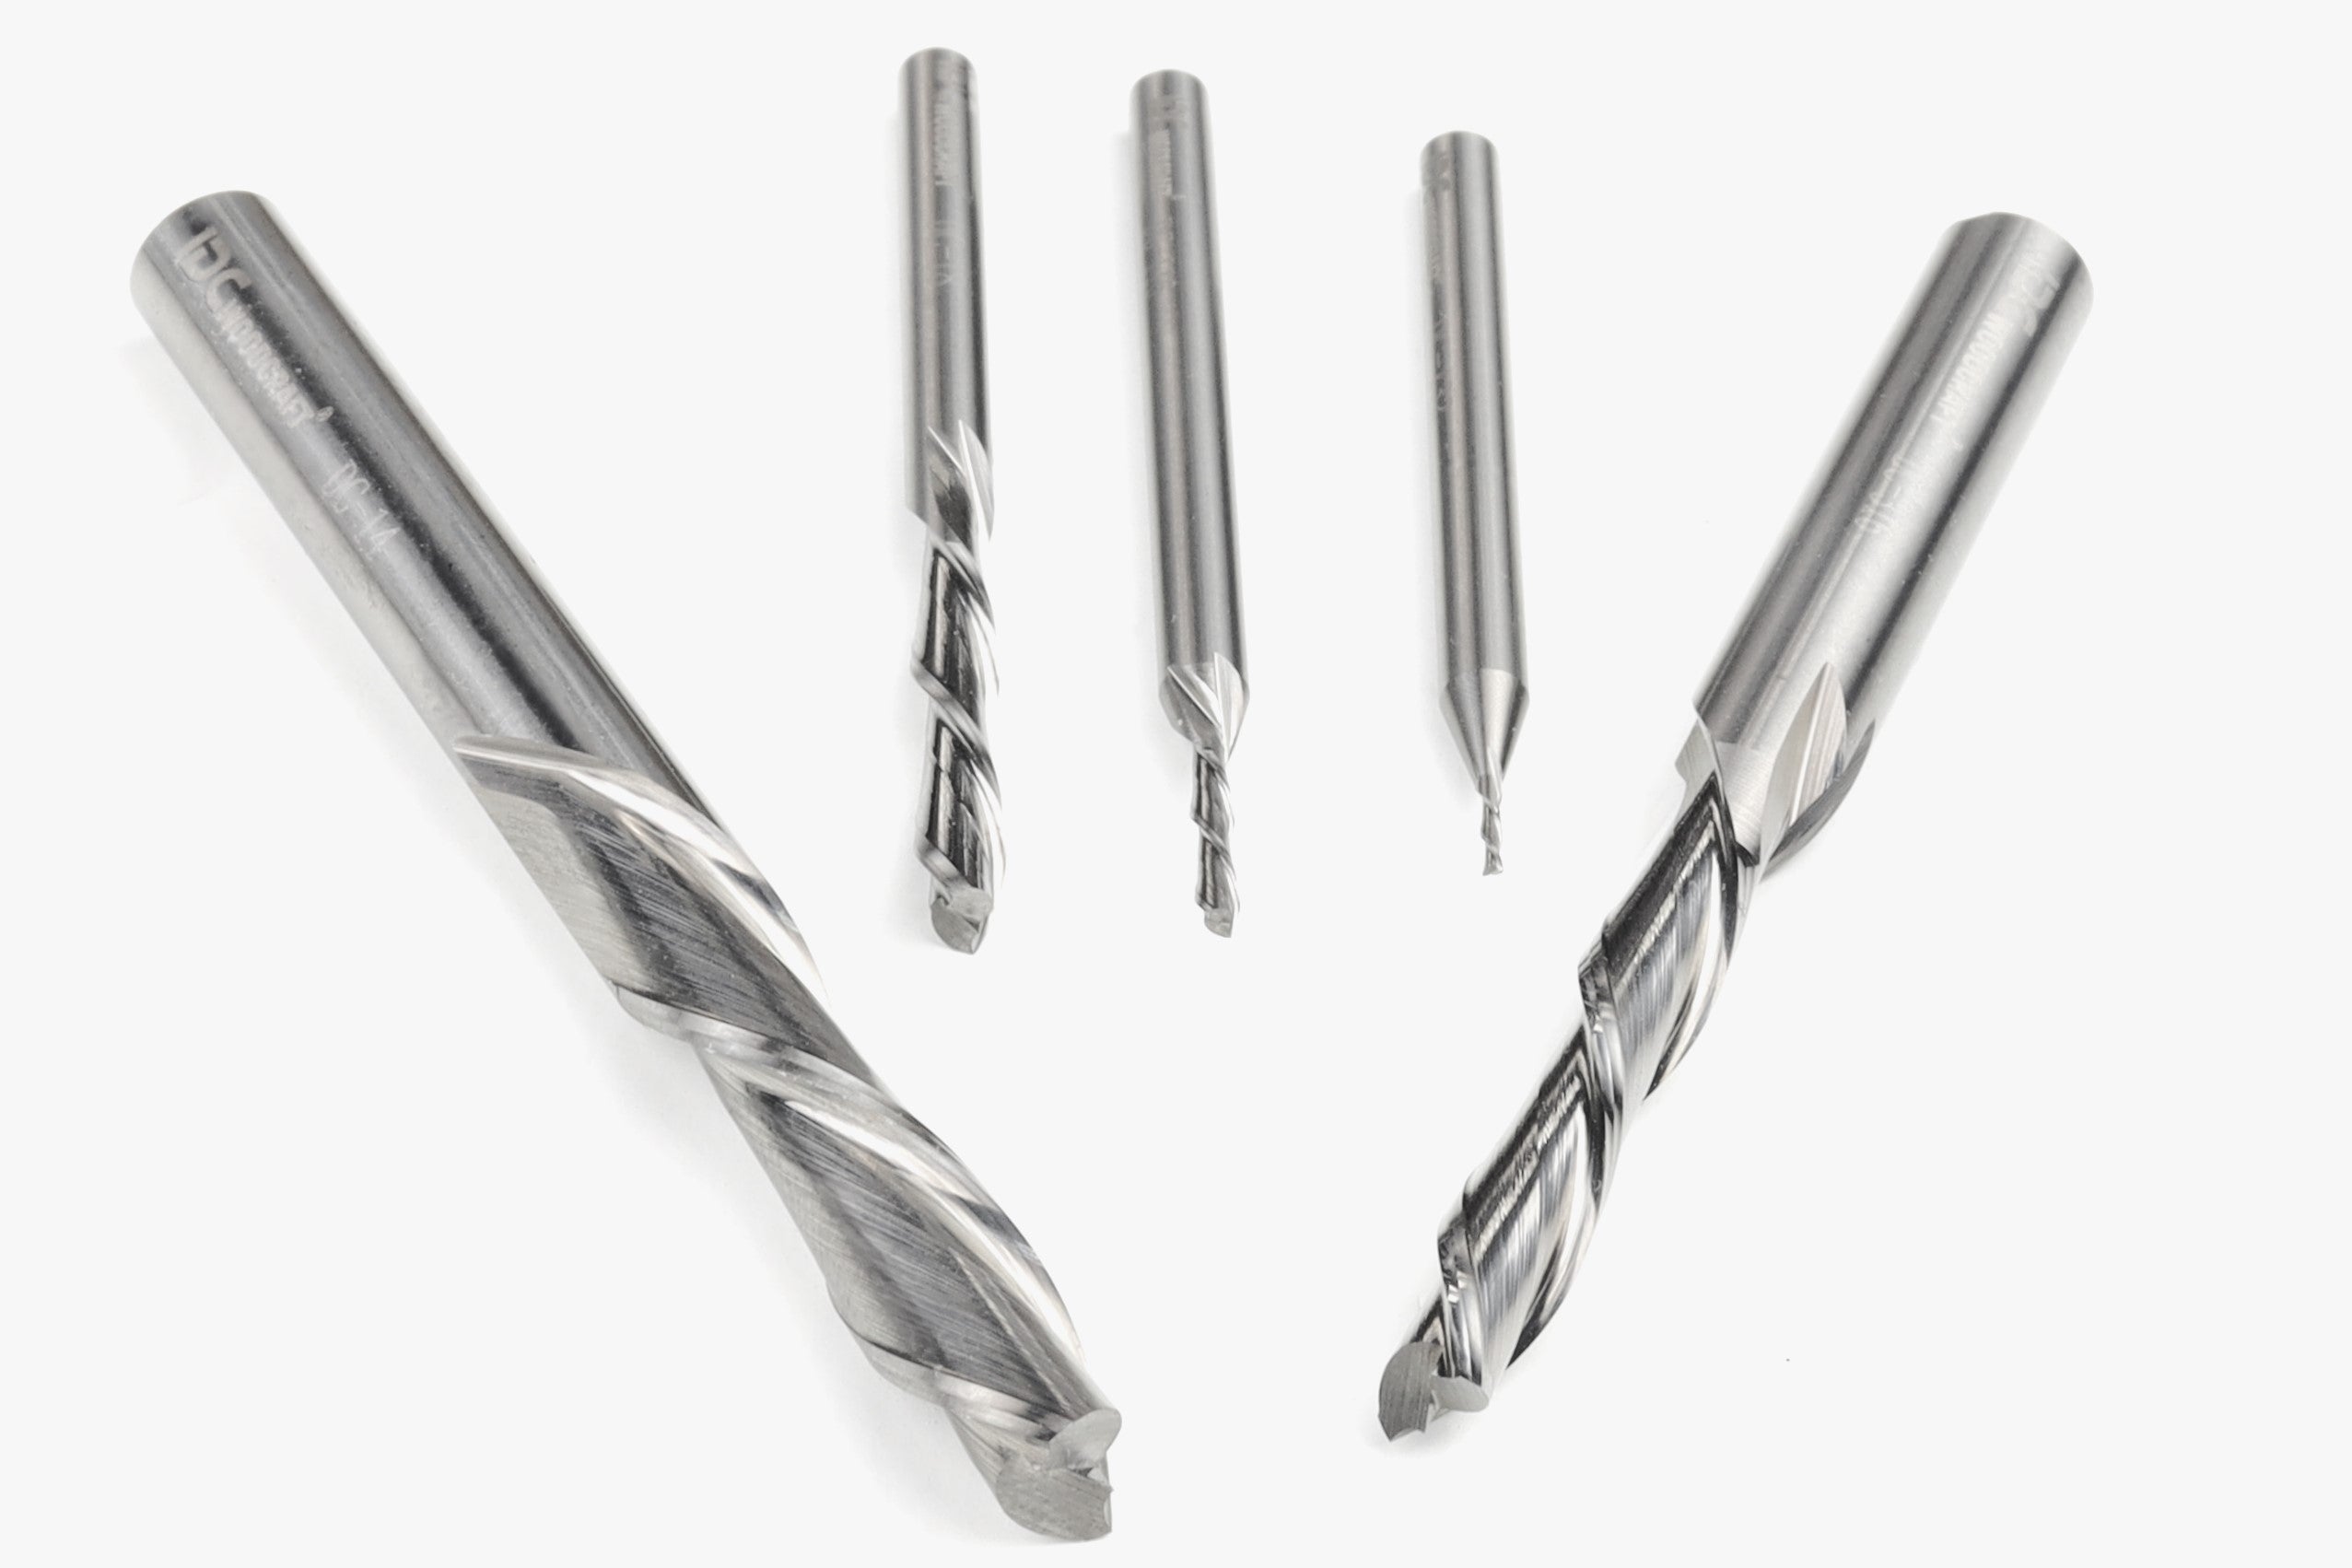
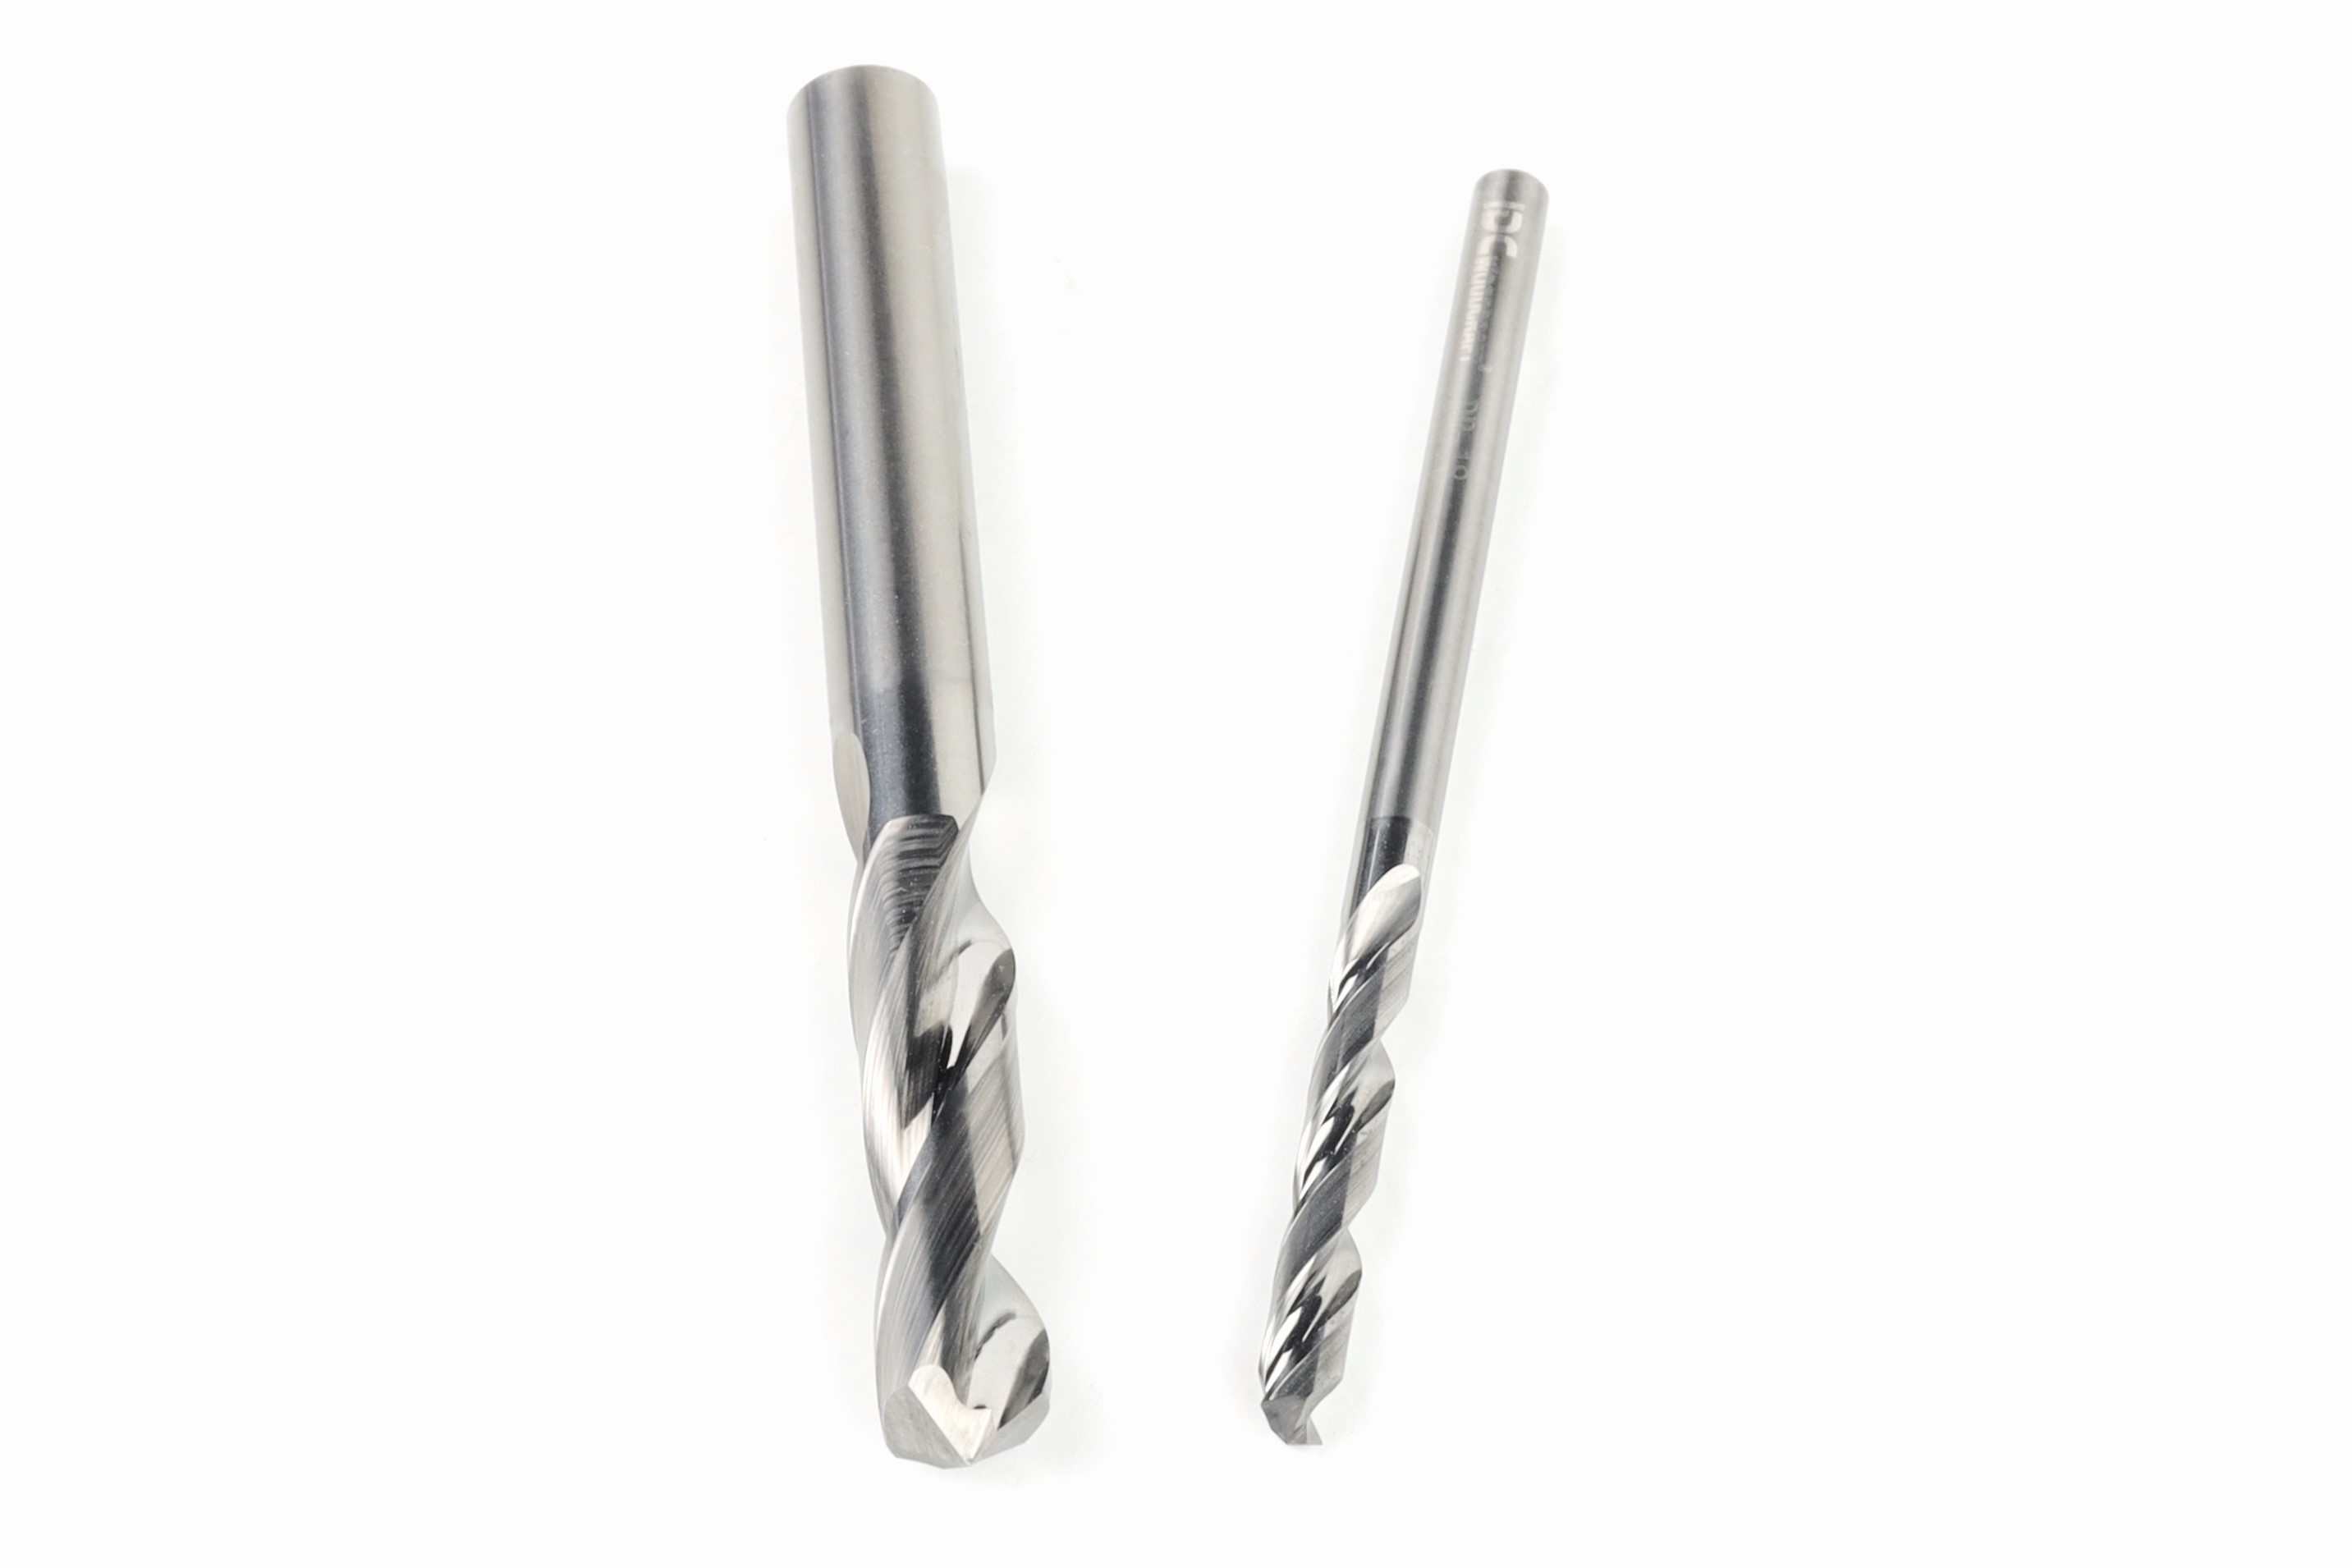
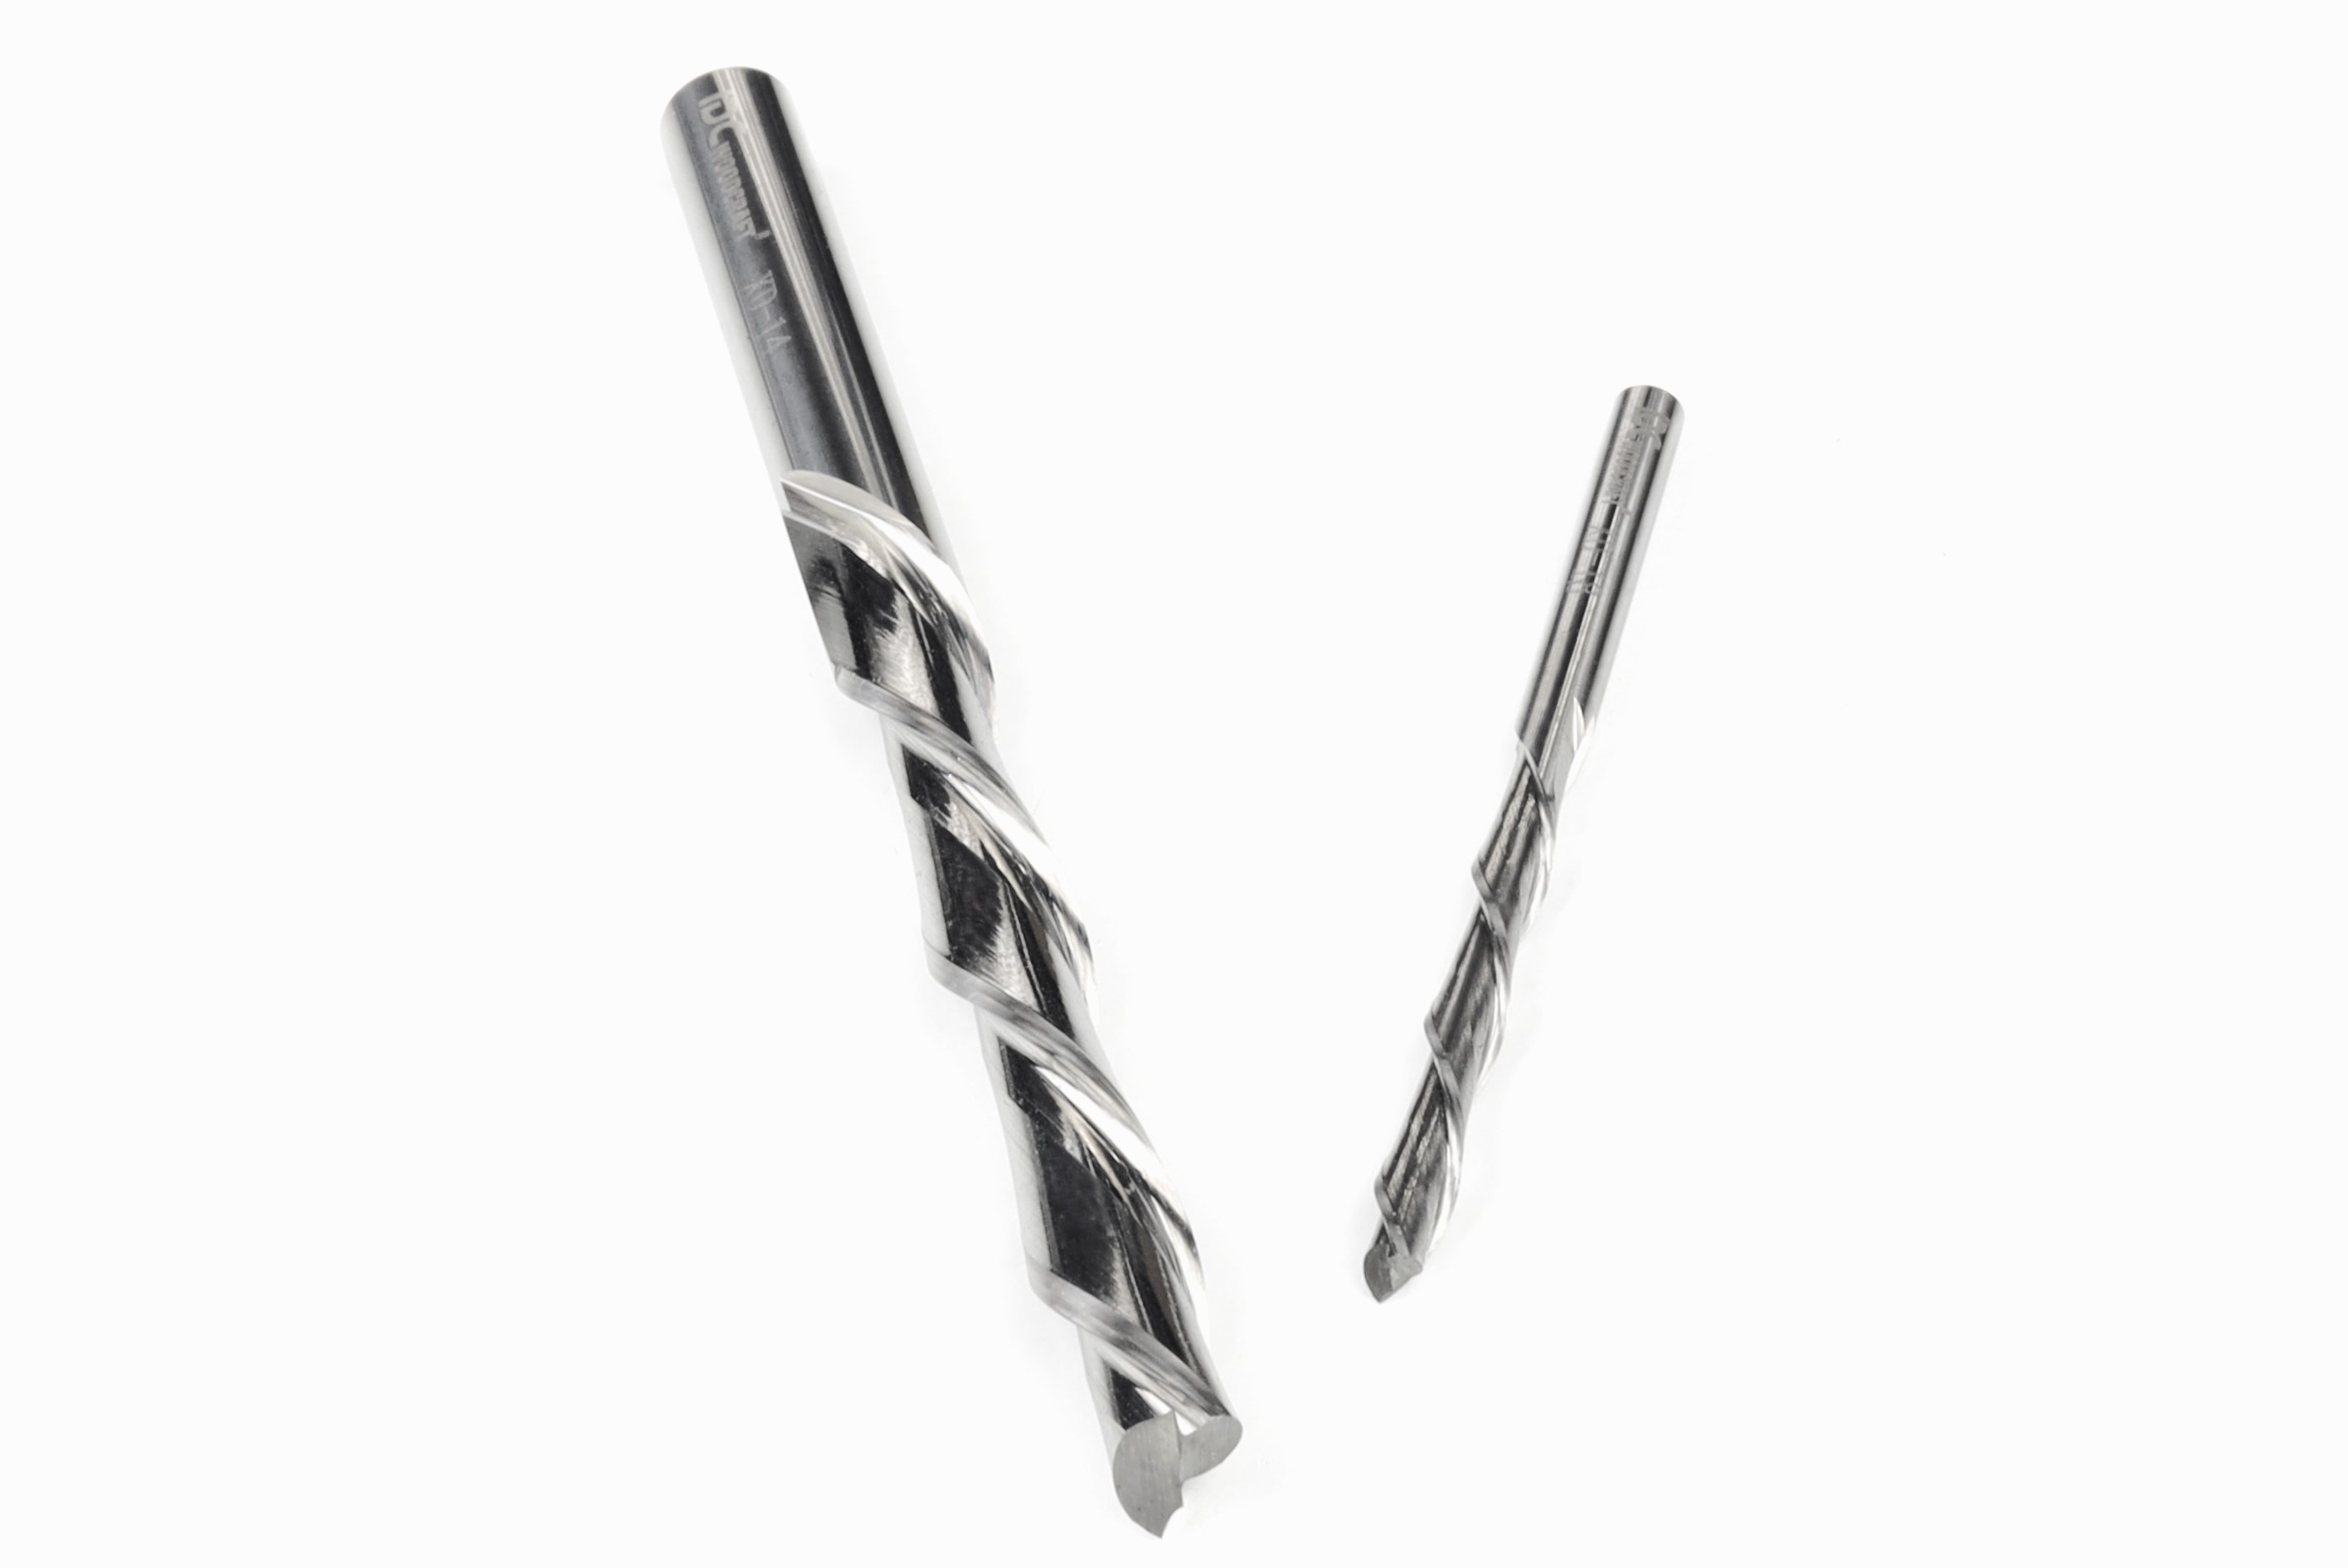
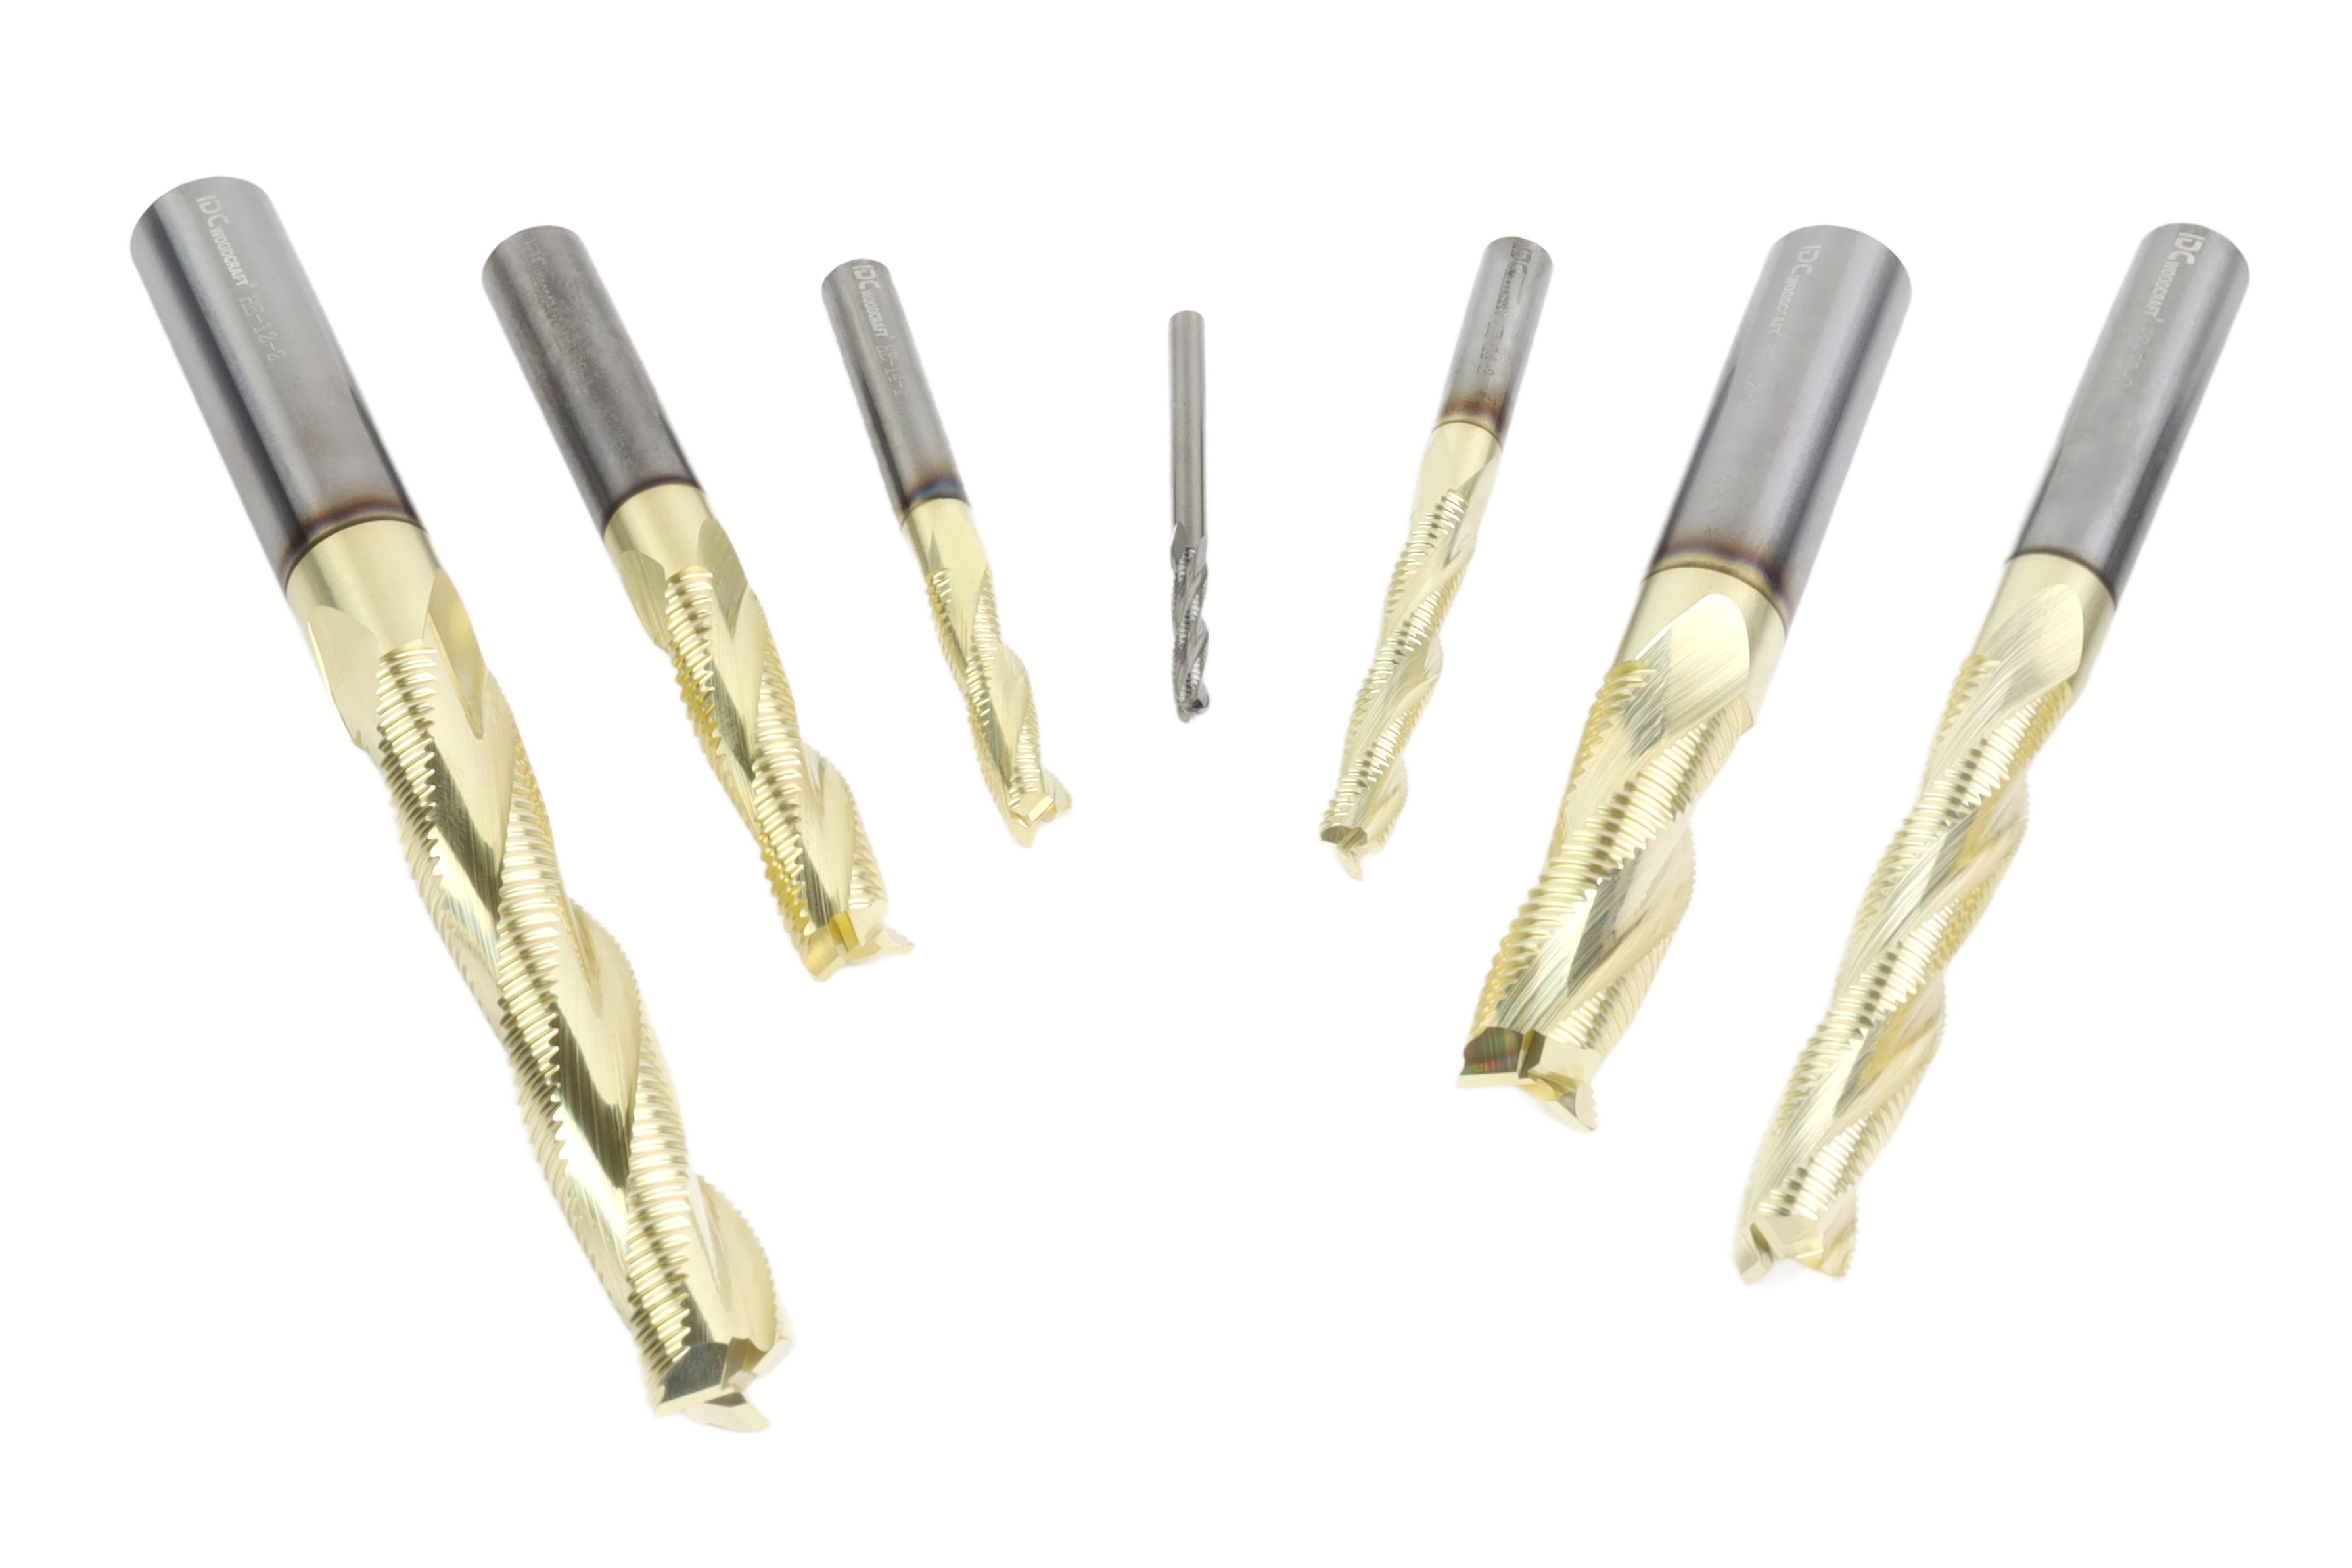
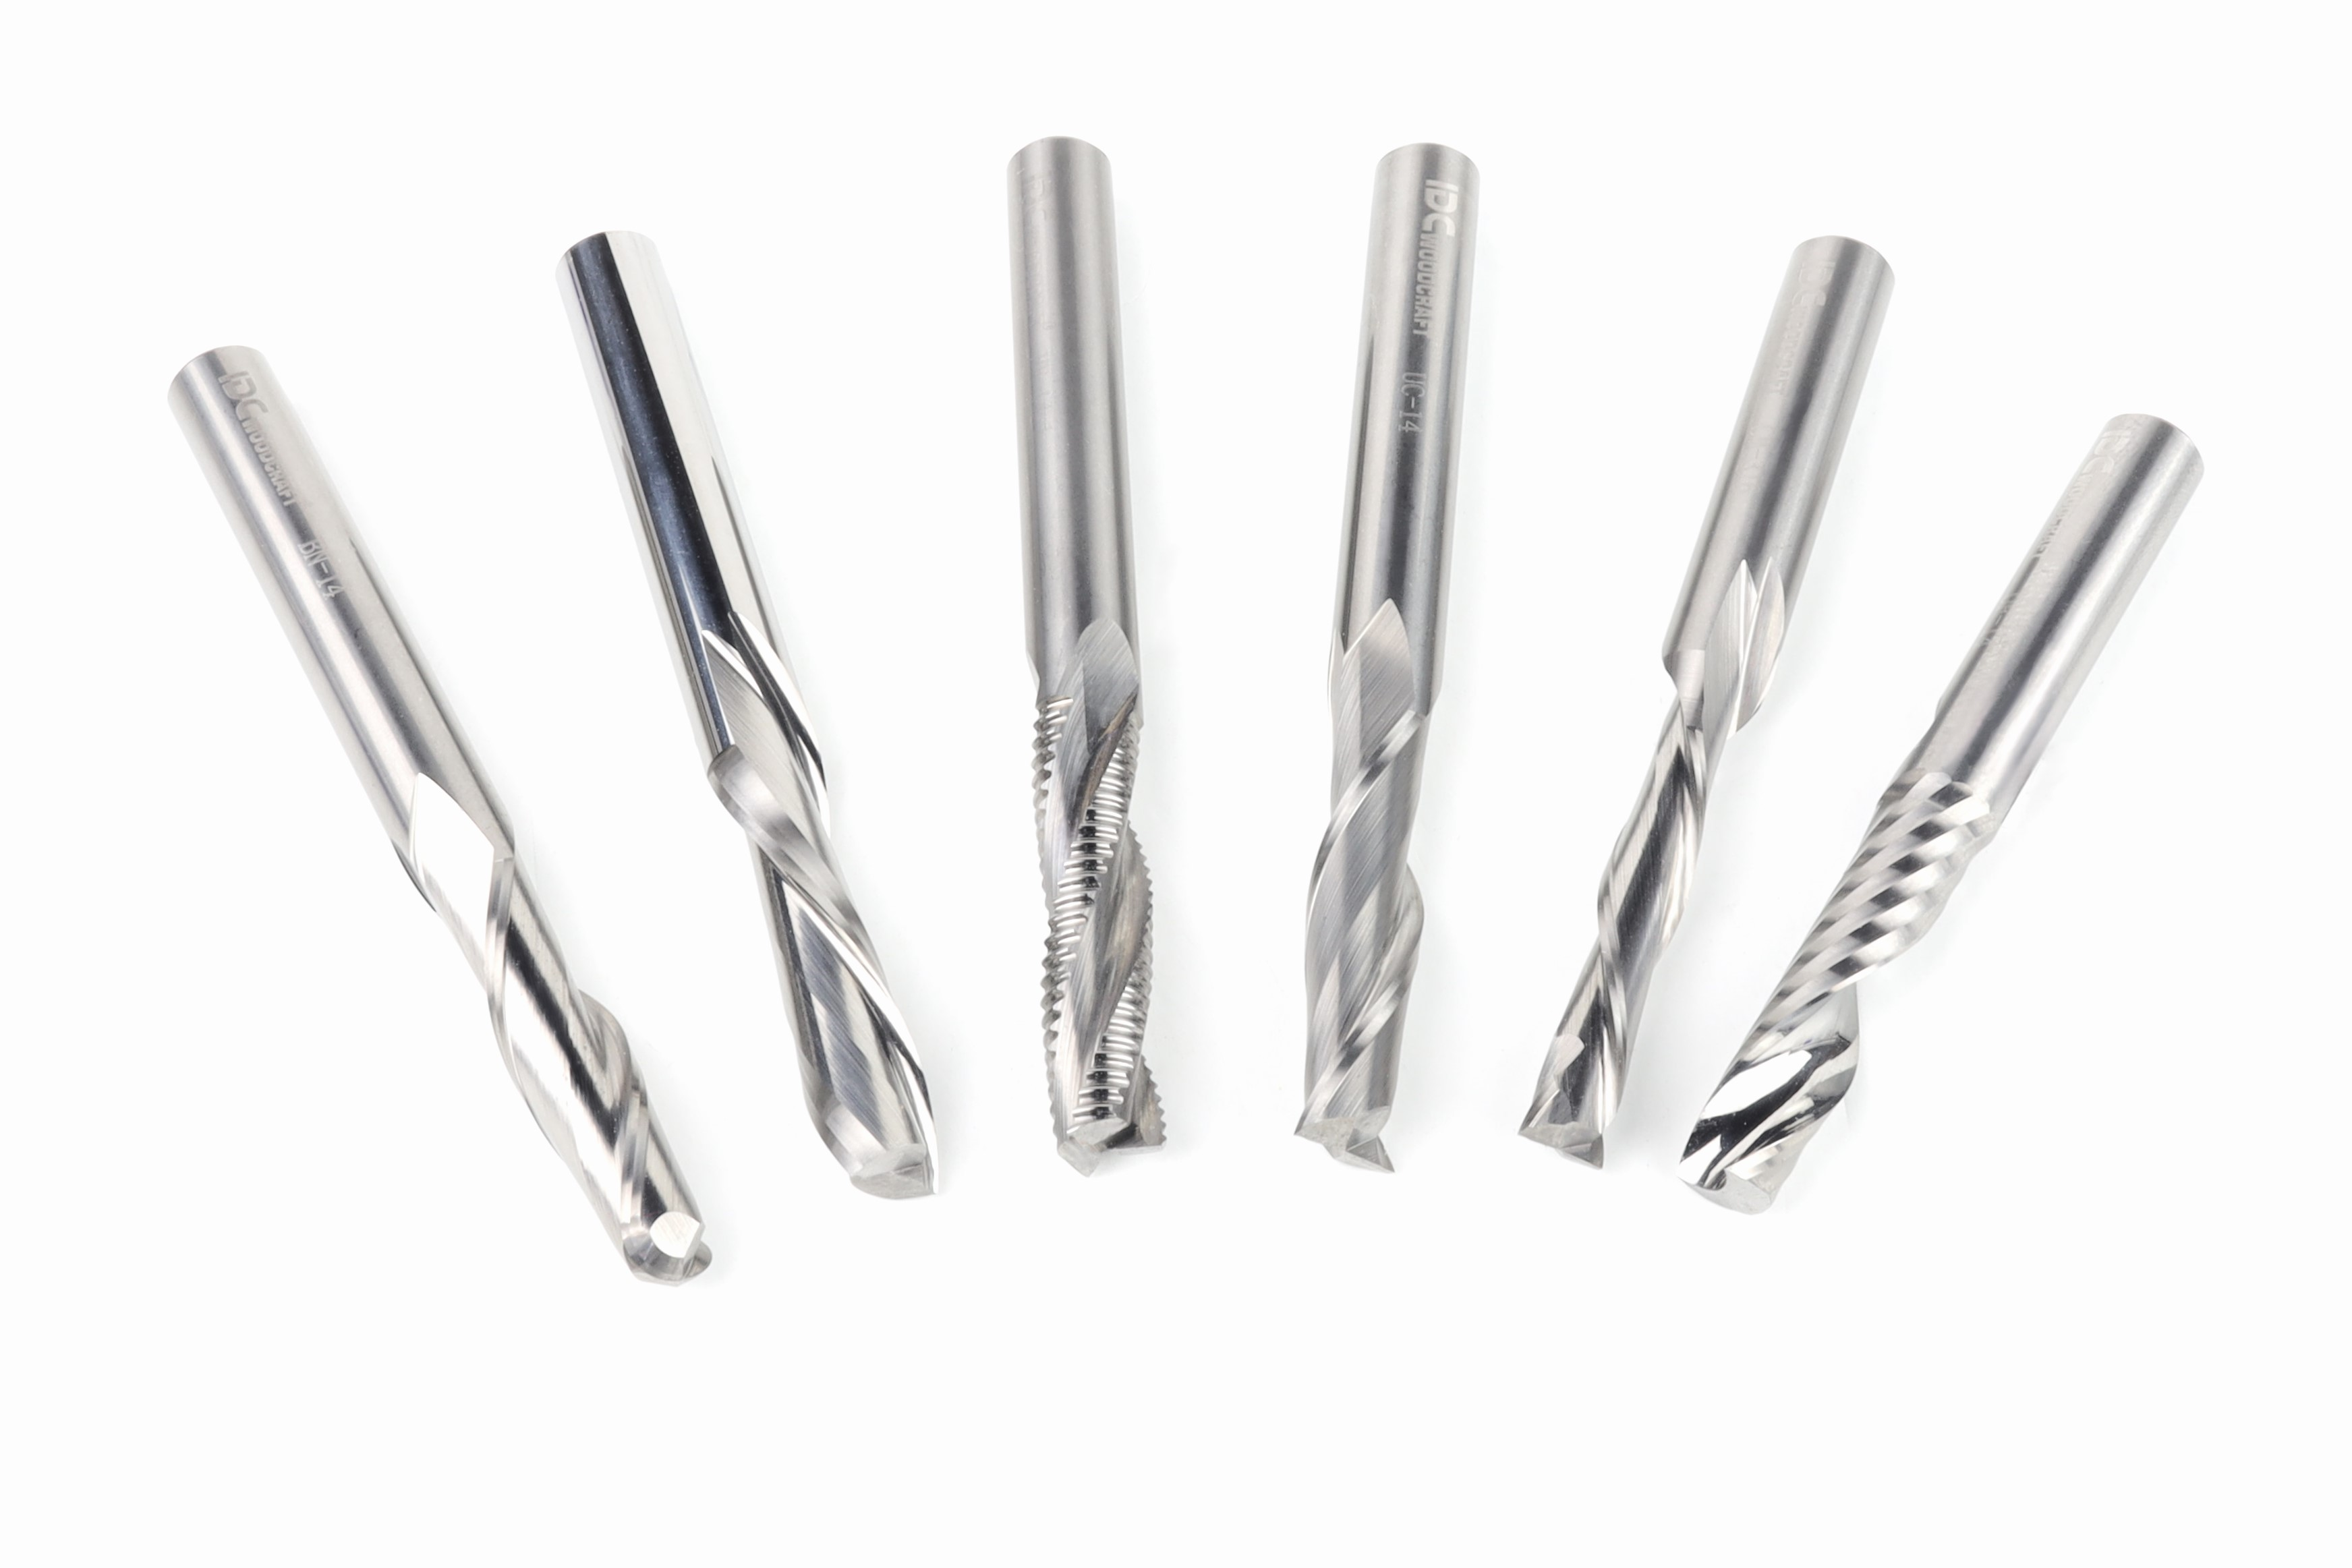
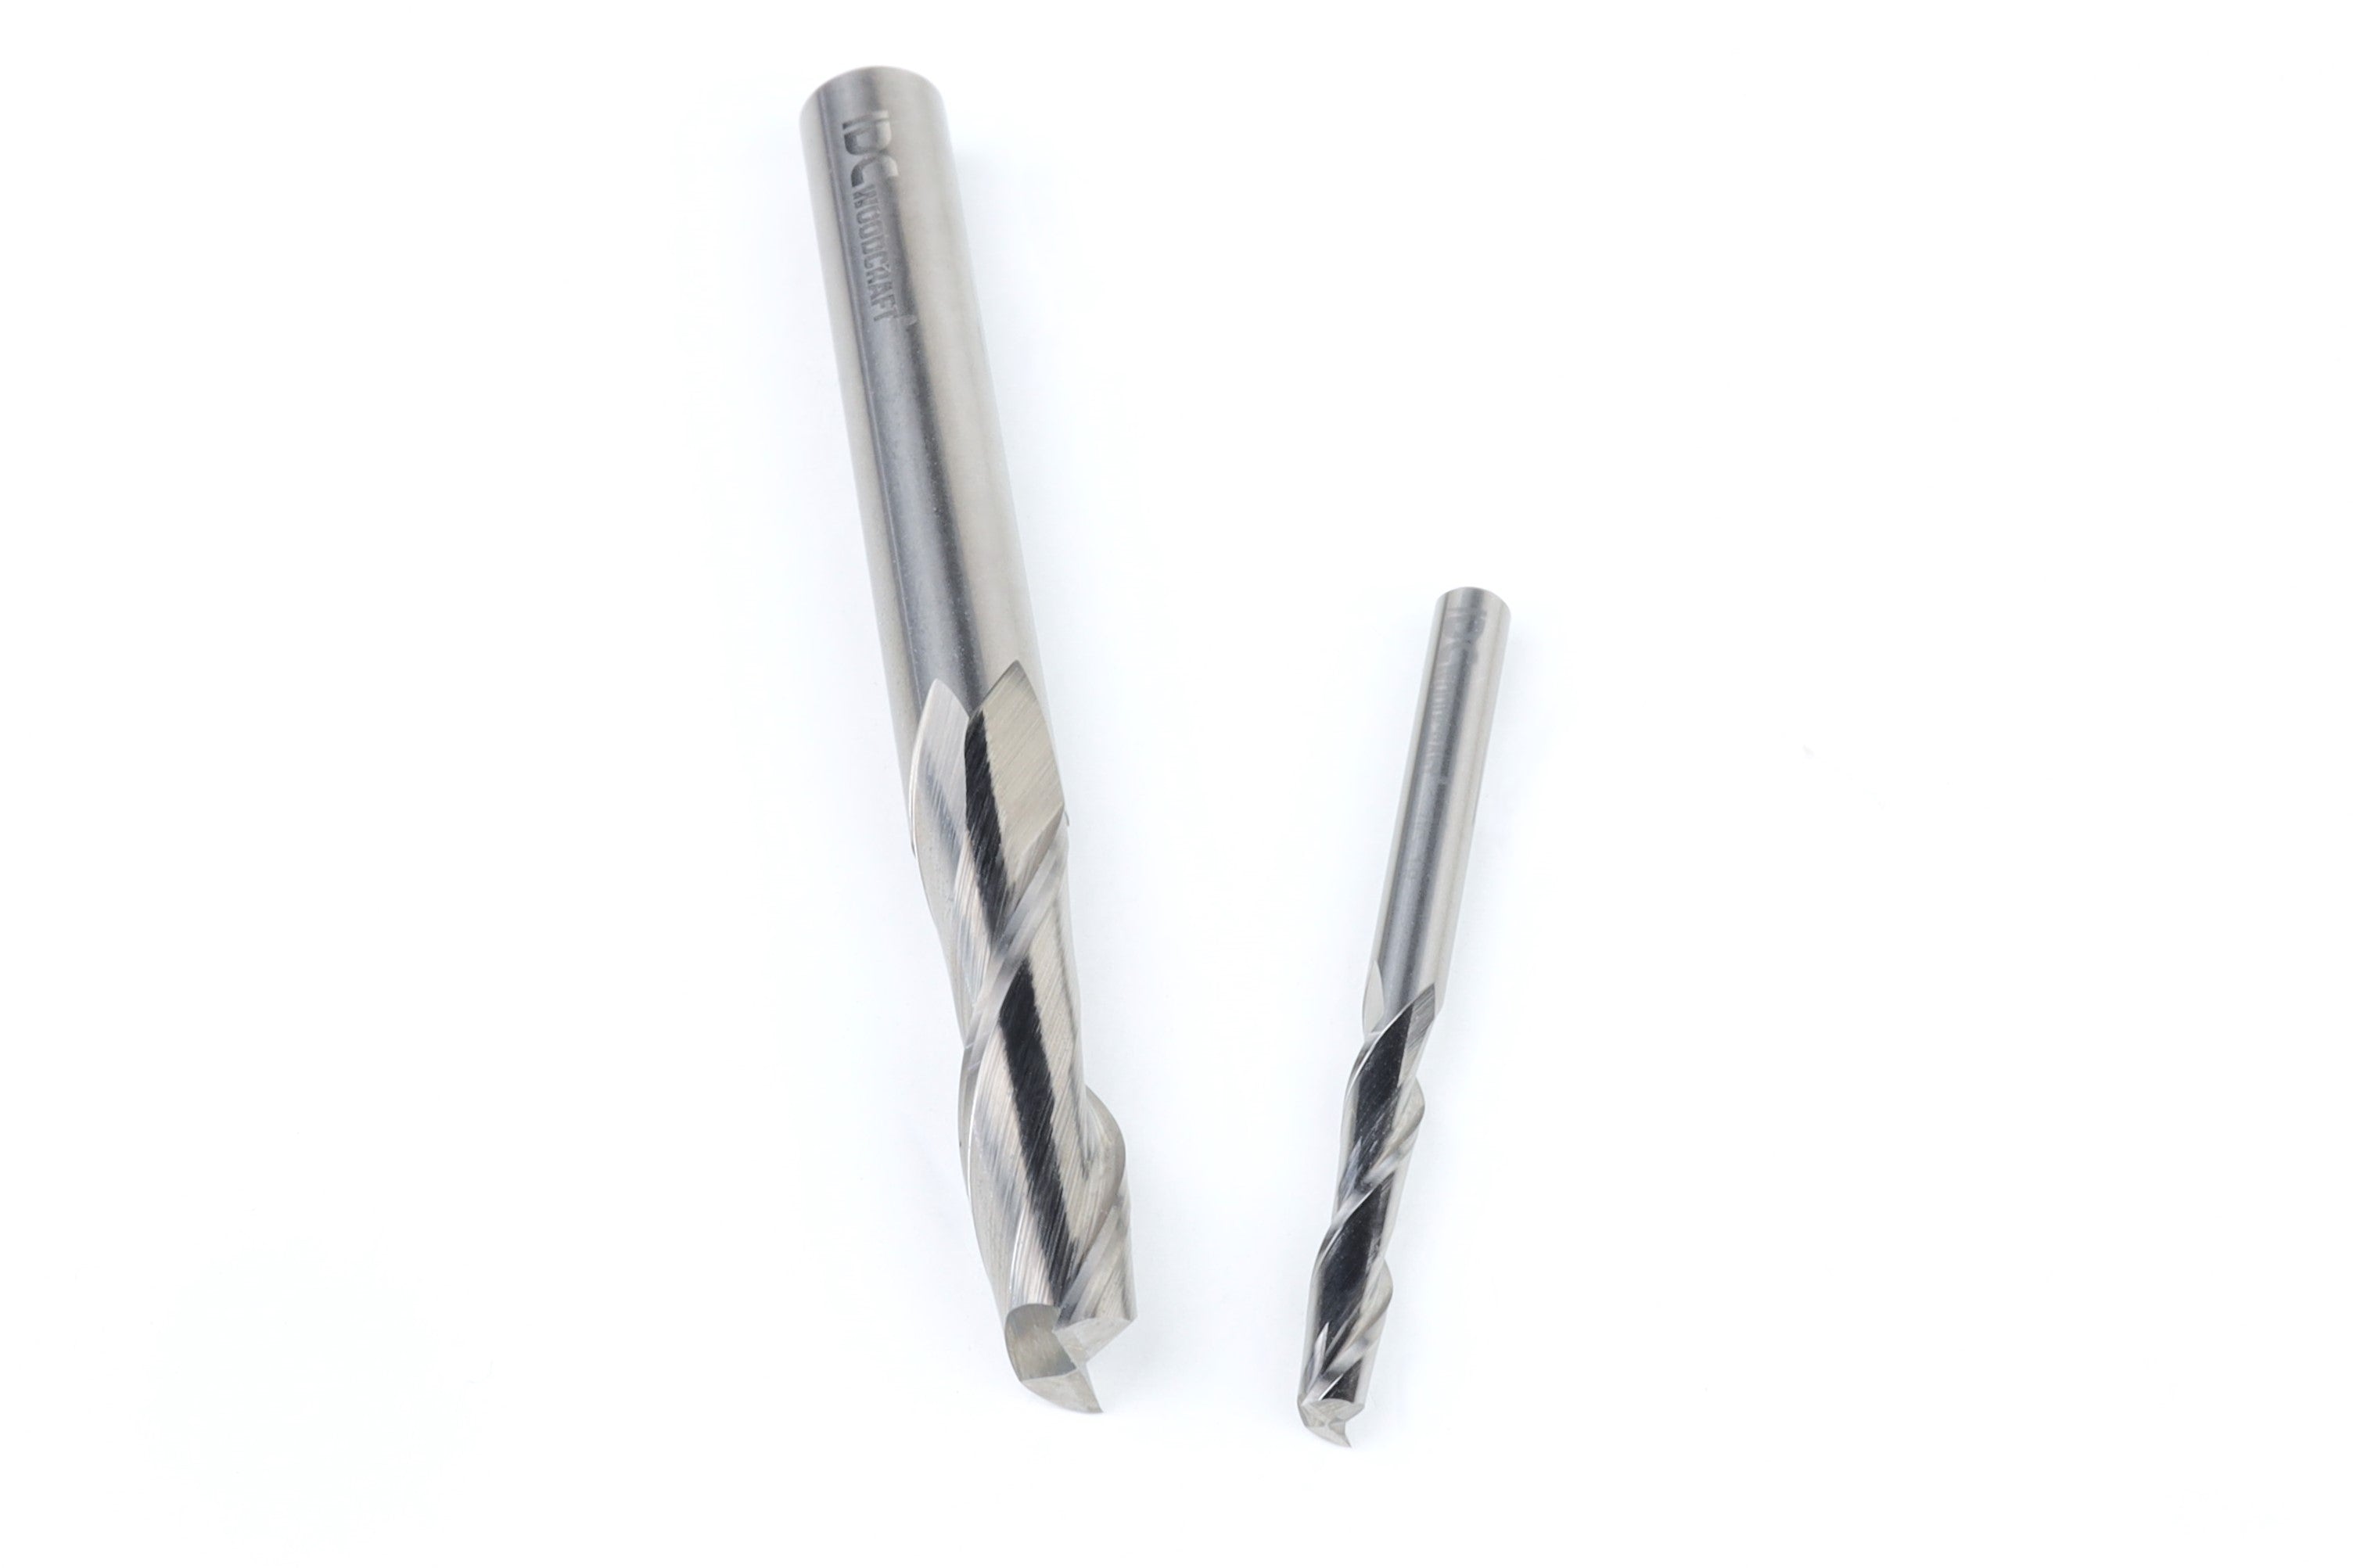
The surfacing bit is wide and flat for leveling the board. A ball nose or bowl bit has a round tip that carves the rounded juice groove. A V-bit comes to a point and cuts crisp lines and letters. A straight or compression bit cuts the board loose at the end. Thicker cutting boards over 1.5" will need different bits. The Hog or The Ripper are two of our larger bits that work well for larger projects and save time. IDC Woodcraft stocks all of these USA-made carbide bits online and in store so you can get all the gear you need from one spot.

Step 5: Assign Bits and Toolpaths in the Software
 

Tell the software which bit cuts each feature using toolpaths. A toolpath is the path the bit follows for one operation, and each feature gets its own.


Use a pocket toolpath, which clears out an entire area instead of cutting a single line, for the juice groove and set it about 1/8 to 1/4 inch deep. Use a carving toolpath for the name with the V-bit, and a profile toolpath for the outside shape with the straight or compression bit, and set it to cut all the way through. 


Save each toolpath, then send them to the machine as a file, or save them to a USB drive.


Step 6: Clamp the Board Down
 

With your toolpaths set, the last thing to do before cutting is secure the board. Clamp the blank board before the machine moves, because a board that shifts mid-cut will ruin the piece and can snap a bit or damage your CNC machine. You have three easy options: clamp the corners, stick it down with painter's tape and CA glue, or set it on a vacuum table.


Whichever you use, push on the board with your hand before starting to make sure it does not rock or slide. It should feel solid. Also remember to leave room at the corners so a clamp is not sitting where the bit needs to travel.


Step 7: Surface the Board Flat
 

The first step in cutting is surfacing the board. Surfacing the top is important because a flat face is what lets the board sit steady and gives your groove and letters a level surface to cut into. Run the surfacing bit across the whole top face in the software's surfacing pass. If you run an IDC surfacing bit, our free database loads the right feeds and speeds into your software so that the surfacing pass is set up correctly. For a full tutorial on how to surface CNC projects, check out our video below!


IDC Pro tip: Run a wide surfacing bit at a lower RPM than a small bit. The edge moves fast at the outside, and a lower RPM keeps it from burning the wood. A drum sander can flatten a board too, but surfacing on the CNC machine keeps everything referenced to the same setup. Once the top is flat, leave the board clamped exactly where it is and do not flip it, so you keep the same reference for every cut that follows.

Alt image

Step 8: Set Your Zero Point
 

Set the zero point so the machine knows where the board is. Zero is the starting corner, and surface the machine measures everything from, usually the top of the board at one corner.


Move the bit to your chosen corner, touch it to the top of the board, and set X, Y, and Z to zero in the control software. Take your time here, because a small error at zero shows up as a groove that is too deep or a name that barely shows. 


IDC Pro Tip: Mount your board on a flat, properly surfaced spoilboard so it sits fully supported and does not flex while cutting. 


Step 9: Cut the Juice Groove an Name
 

Once the zero point is set, you should run the inside cuts first while the board is still solid and held down. Load the ball nose or bowl bit and run the juice groove pass. You are carving a shallow channel, not cutting through, so it should only remove a little depth.


Then, swap to the V-bit and run the name. Keep the passes light so the letters stay crisp, and watch the first pass of each cut before you step away, since that is when you can catch a wrong depth or a loose clamp.


Step 10: Cut the Board Free
 

Once the internal cuts are done, cut the outside profile last. Load the straight or compression bit and run the profile toolpath we made earlier.

Two things keep this cut safe. 

  1. Set a shallow depth per pass, around 1/8 inch, so the machine takes the full 3/4 inch thickness in several passes instead of forcing it all at once and breaking the bit. 
  2. Leave a few tabs, small uncut bridges of wood, that hold the board to the surrounding stock so it does not come loose and shift on the last pass. 

Keep your feeds and speeds moderate for hardwood so the bit clears chips instead of burning them. IDC Woodcraft bits come with recommended settings, so you have a starting point instead of guessing. When the job finishes, cut the tabs with a chisel or hand saw and lift the board out.


Step 11: Sand the Board
 

Now that the cutting is complete, we can sand the board so it has a smooth, even finish. Start around 120 grit to knock down tool marks, then move up to 220 for a fine finish. Wipe the board with a damp cloth to raise the grain, let it dry, and sand once more with the 220, which helps it stay smooth after its first wash. 


IDC Pro Tip: Round the edges and corners by hand until they feel good to hold.


Step 12: Apply a Food-Safe Finish
 

Once the board is fully constructed, all you have to do is finish with a food-safe coating. Food-grade mineral oil is the simplest option, and a board butter of mineral oil and beeswax adds additional water resistance and a soft sheen to your finished cutting board. Flood the top with oil, let it soak in for a few minutes, wipe off the excess, and repeat until the wood stops absorbing it. The result is a finished product ready for daily use. 

Remember that most regular wood finishes and stains are not made for a surface that touches food, so they should not be used in cutting boards.


Get Started with IDC WoodCraft
 

Your first cutting board teaches the skills every other project builds on: workholding, surfacing, setting a zero, and running a clean profile cut. These same processes carry straight over to trays, coasters, serving boards, signs, and any other projects you might be working on.

The one thing that makes or breaks a board is the tooling. One dull or wrong bit can burn the wood or ruin the finish, while a sharp, purpose-made bit leaves a clean cut the first time. IDC Woodcraft is your partner through any woodcraft journey, offering free online tutorials, additional databases and information, and USA-made carbide bits that perform no matter your project, including ball nose bits for carving, surfacing bits for flattening, and V-bits for names. Browse our range of bits and pre-made sets at IDC Woodcraft and start your first board.